When I was a kid I learned how to create shoebox dioramas where you would look through a small hole in a shoebox and inside see a scene that tells a story. I loved doing this so much I started doing it at home, no assignment required. I didn’t have a lot of shoe boxes so I would build one, show it off then tear it apart and start again.
As an extension to my love of dioramas and story telling in three dimensions I would constantly be blown away by dioramas in museums and distinctly remember the ones in a museum that was showing an scene depicting native American life in the pacific northwest. The scene had canoes and shelters and it looked so real to me I couldn’t stop staring. I continued to really love dioramas and especially ones that had water elements in them because it always blew me away for some reason, I guess I could just imagine myself in them and it was a bit like flying over high above these lands. I just recently just starting thinking about how much I loved dioramas and wanted to know how the water effects were actually done so I started researching this and discovered all of these people out there making incredibly realistic scenes as if by magic. It was like watching someone paint and all of the sudden the picture pops into view from what appeared to be abstract shapes.
After reading a few books and watching some videos I decided I would have to start creating my own dioramas but to start with I would experiment with each element by itself.
First up is some rocks and rock walls.
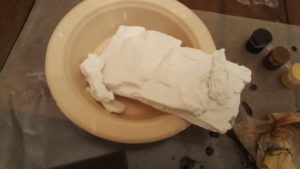
I got a mold for some rocks online and immediately started mixing and pouring my hydrocal plaster to get my rocks.
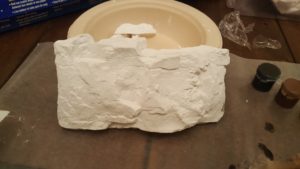
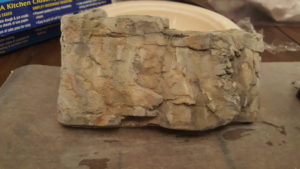
I started with my nice new plaster casts of rocks.
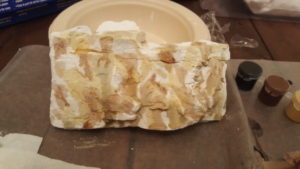
I diluted my highlight colors and got my rock face ready
Adding in my highlight colors
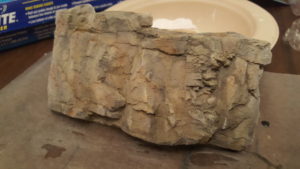
Post wash, just look at those rock walls!!!
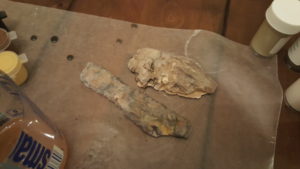
Oh and lets not forget our other rock friends
These practice rocks turned out great, now I need to build up a landscape to attach them to and go to the next step of adding ground cover and making a realistic scene.
Stay tuned for more diorama fun in the very near future!
