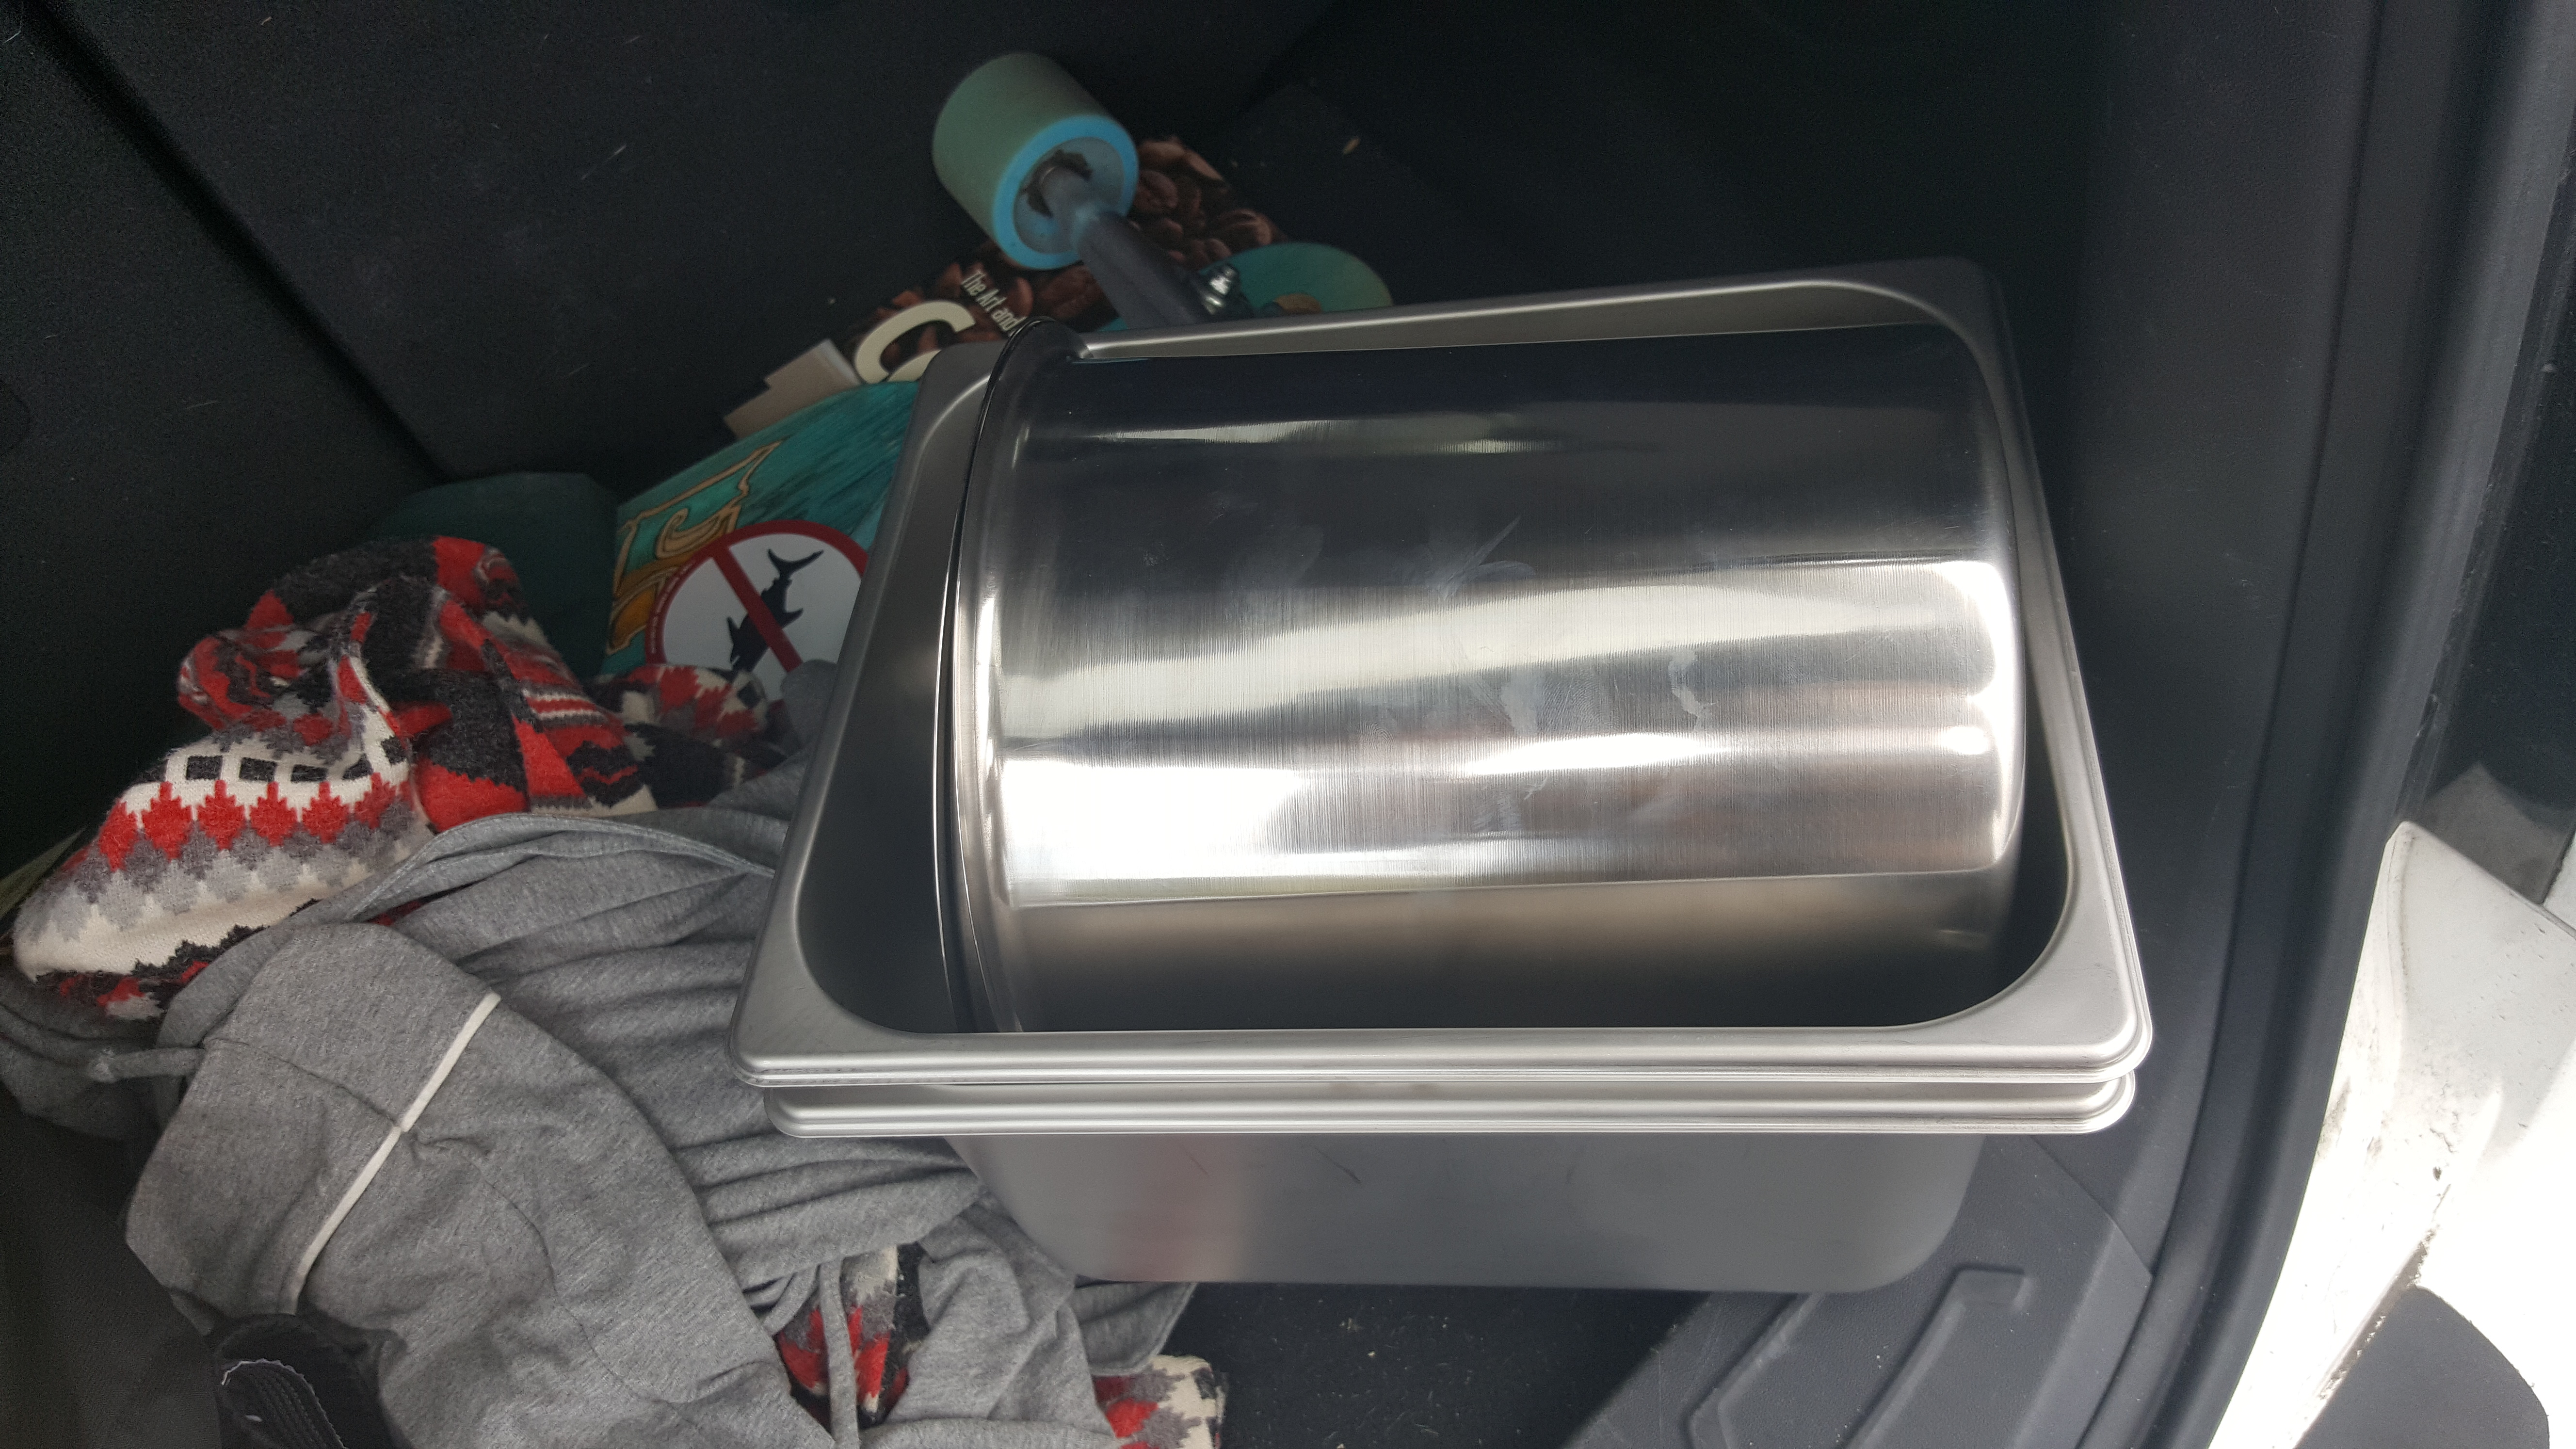
I found a few things at the local kitchen supply shop, a metal pot for a inner tumbler and a couple metal bins for the oven or enclosure, I wasn’t quite sure at this point.
I knew I wanted to make an electric oven for the roaster so I started looking up heating elements for ovens and then ended up learning a lot about building pottery kilns.
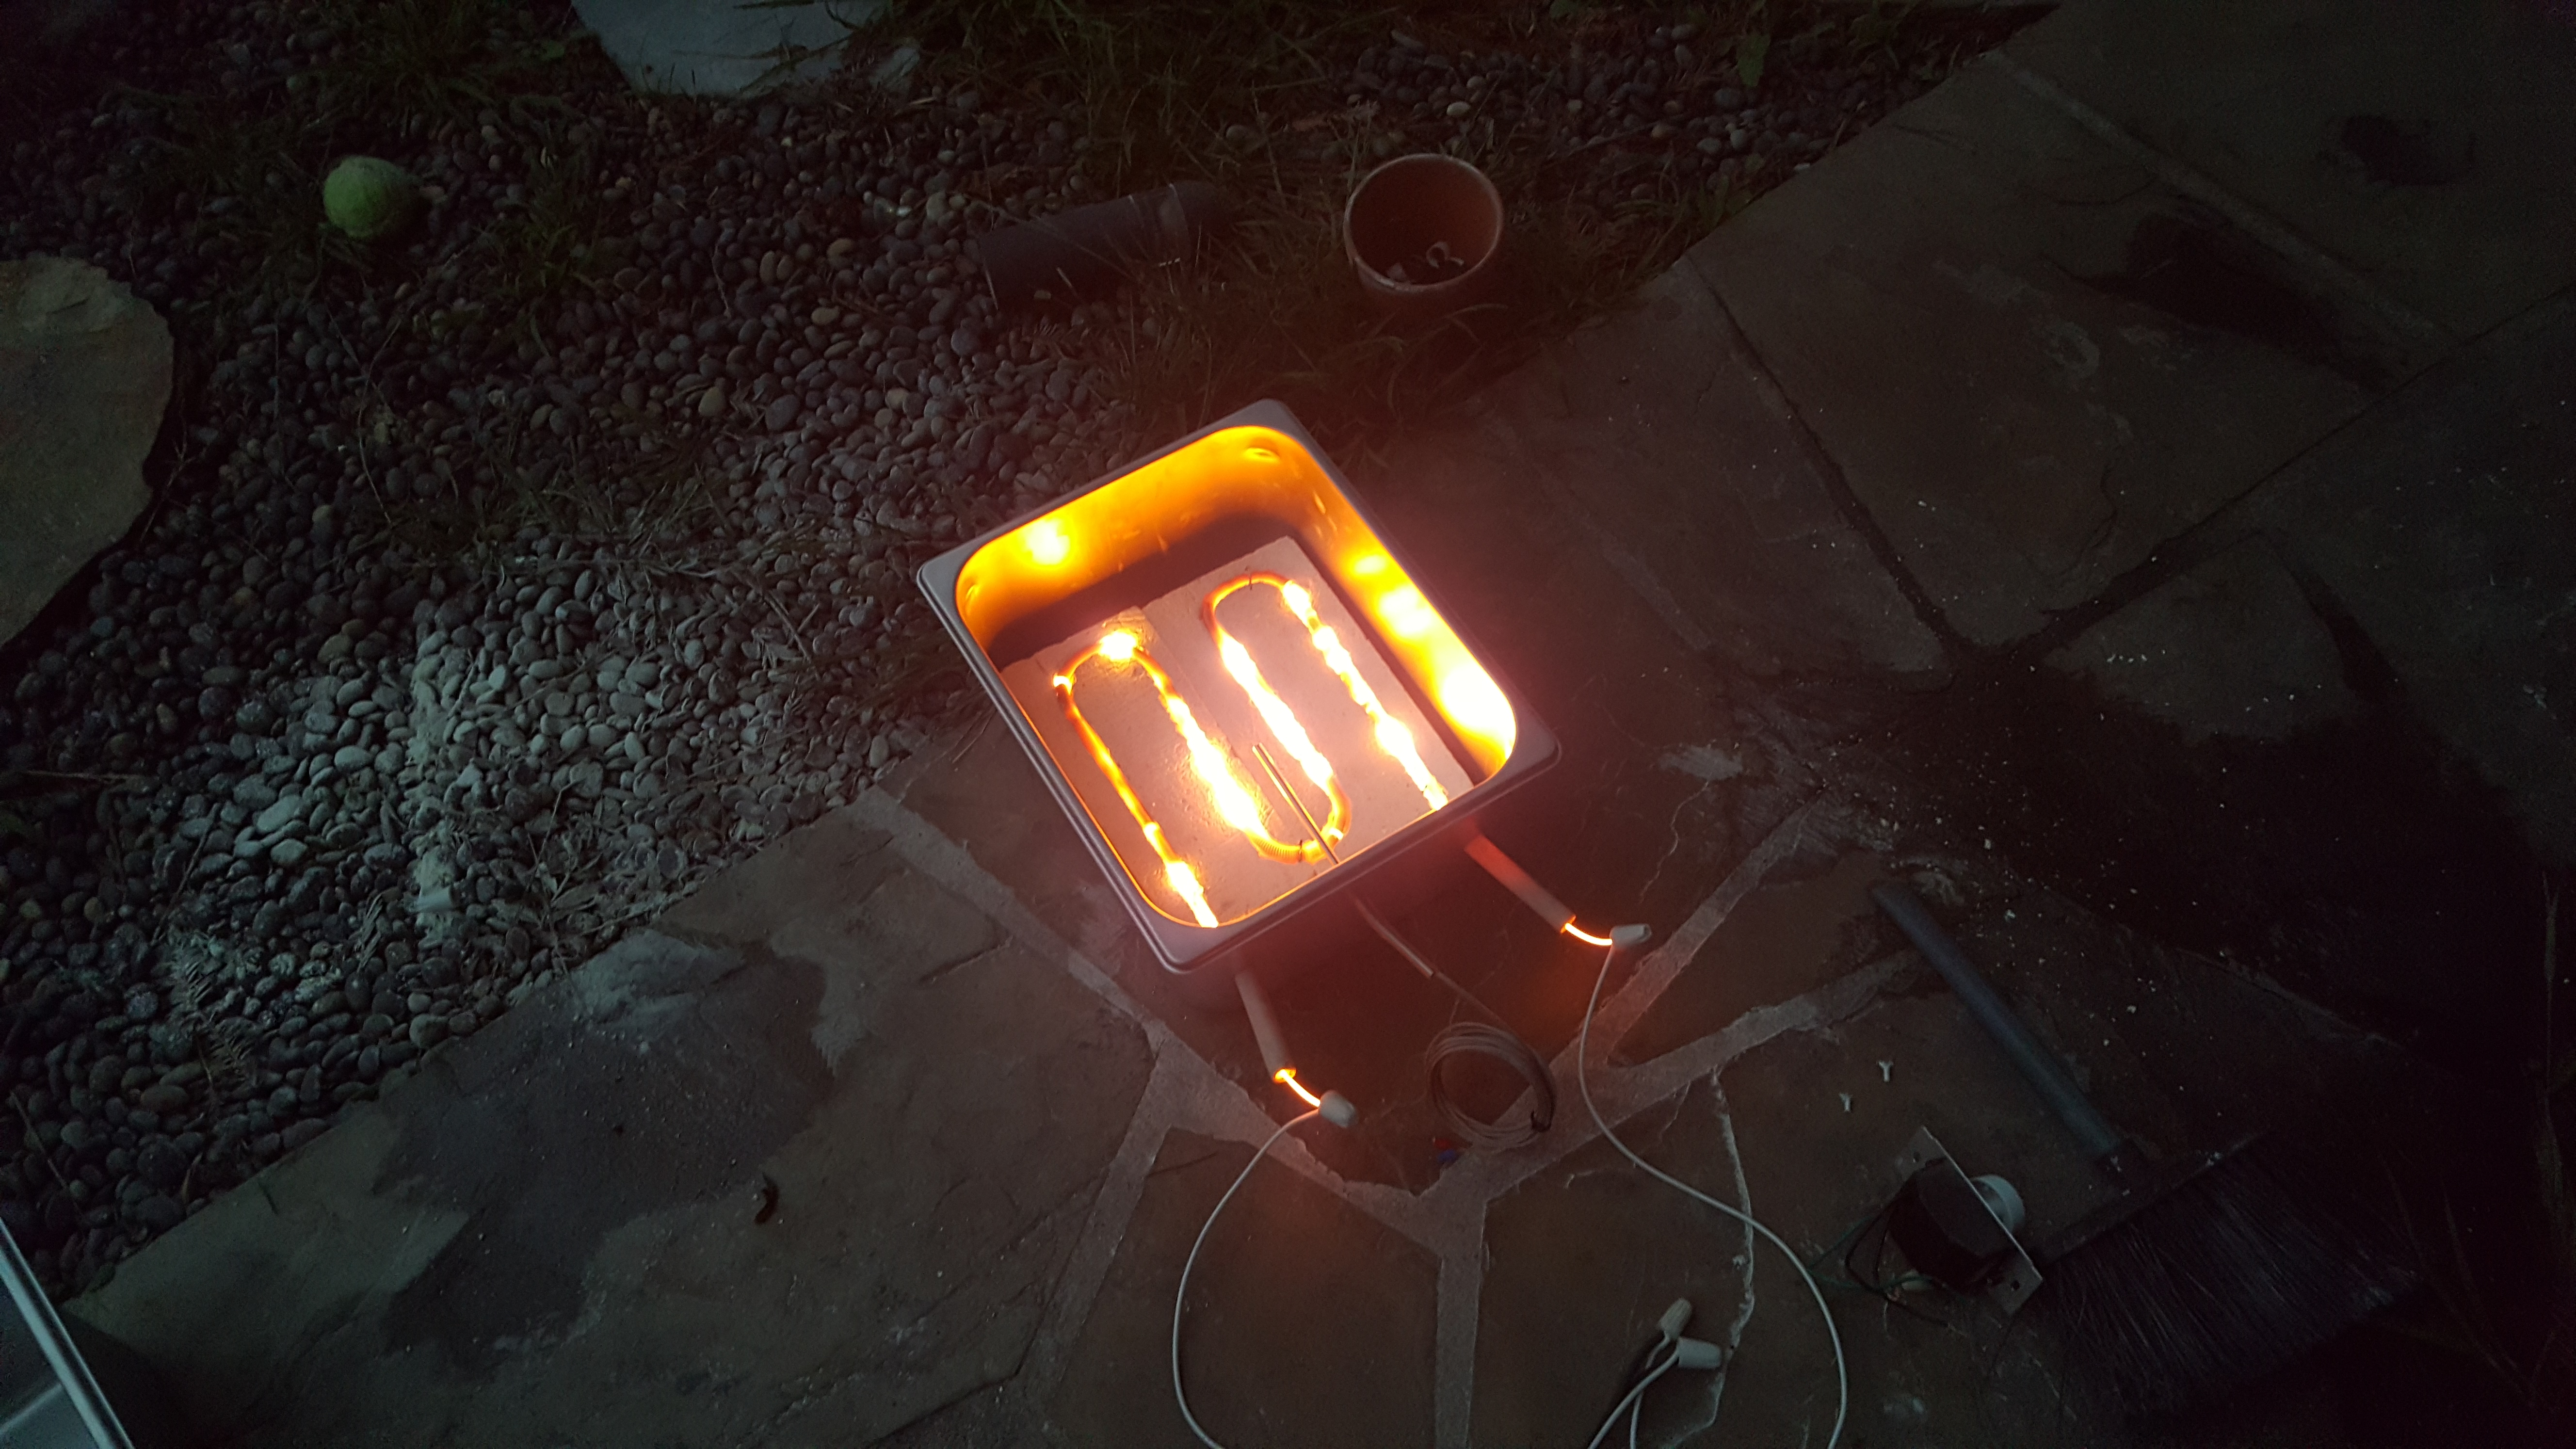
I constructed an oven out of a metal food safe bin from the kitchen supply store, kiln bricks and kiln oven wire. I made a channel to support the oven wire and laid out the wire in the channel. I ran the wires through the metal using two ceramic rods from old home electrical parts and ran the wire to high temp wires. This worked great and I tested it with a temperature controller and thermocouple. It works great and should be more than capable of getting to and holding 450 degrees F!
Here is a shot of the oven hooked up to a PID temp controller with thermocouple and working for the first time.
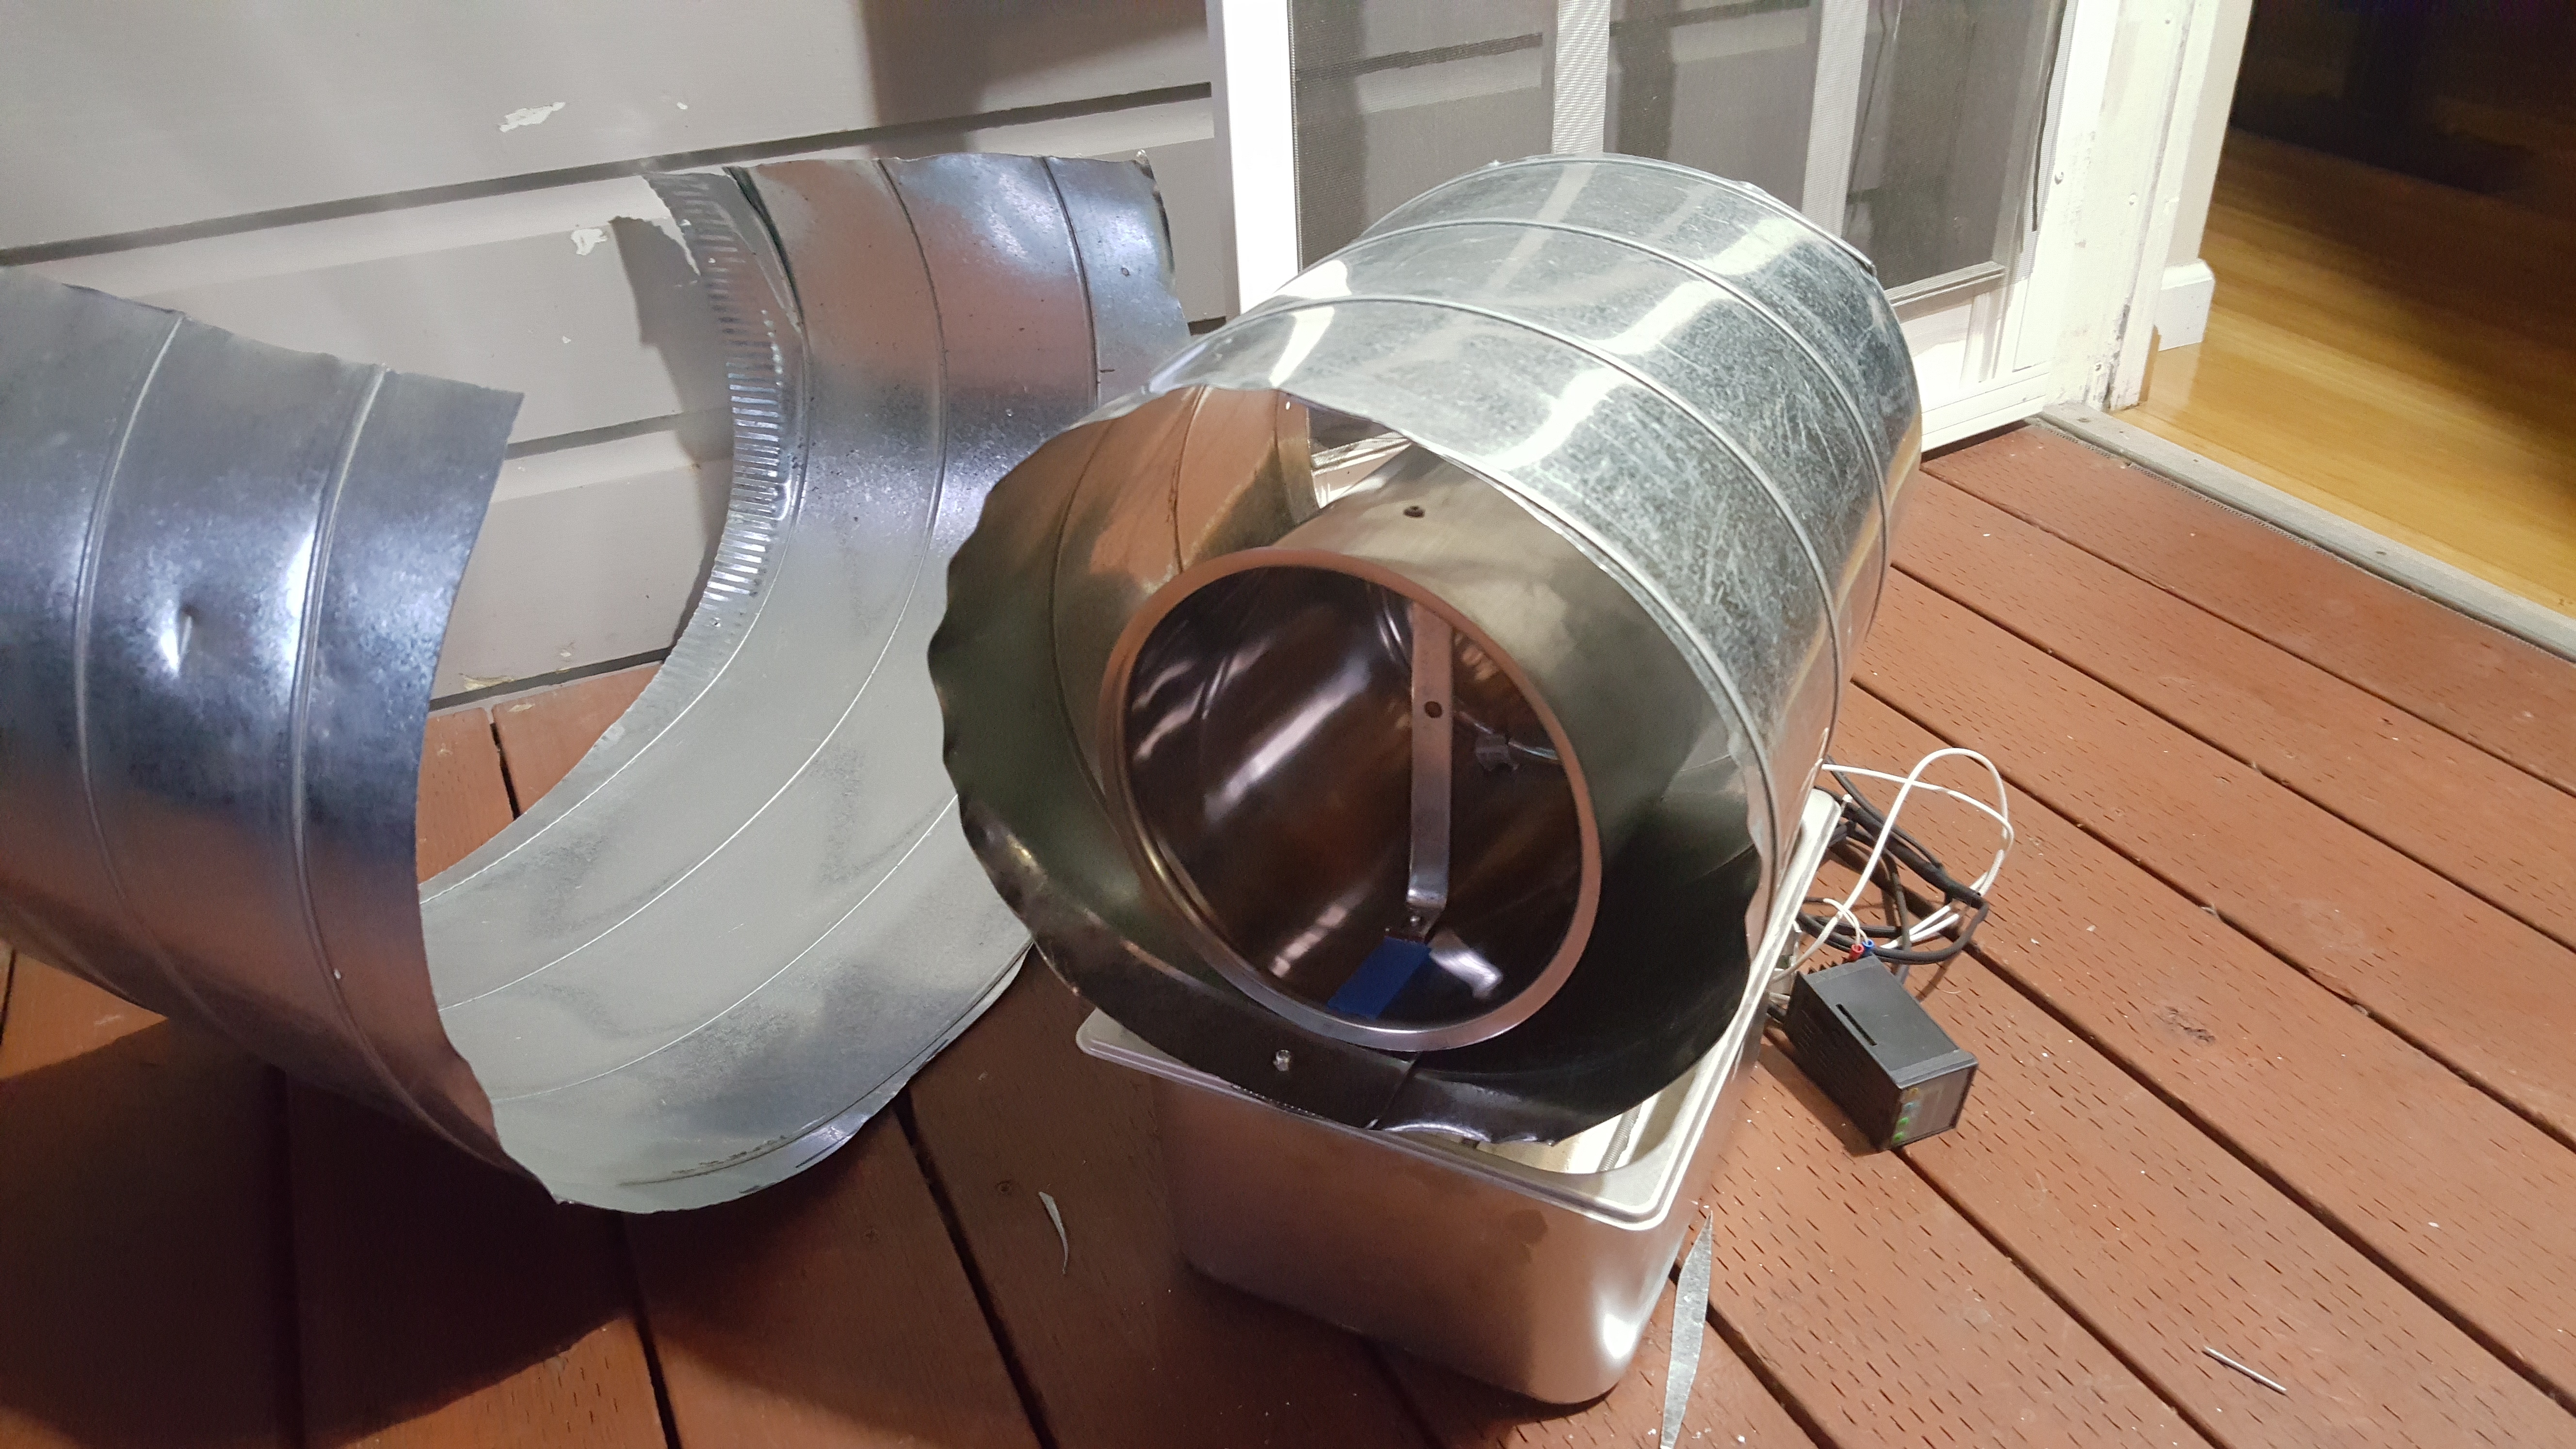
After getting to this milestone I began trying to figure out the barrel. I found some good HVAC pipes at a local salvage store and created an oven barrel that the tumbler would sit inside.
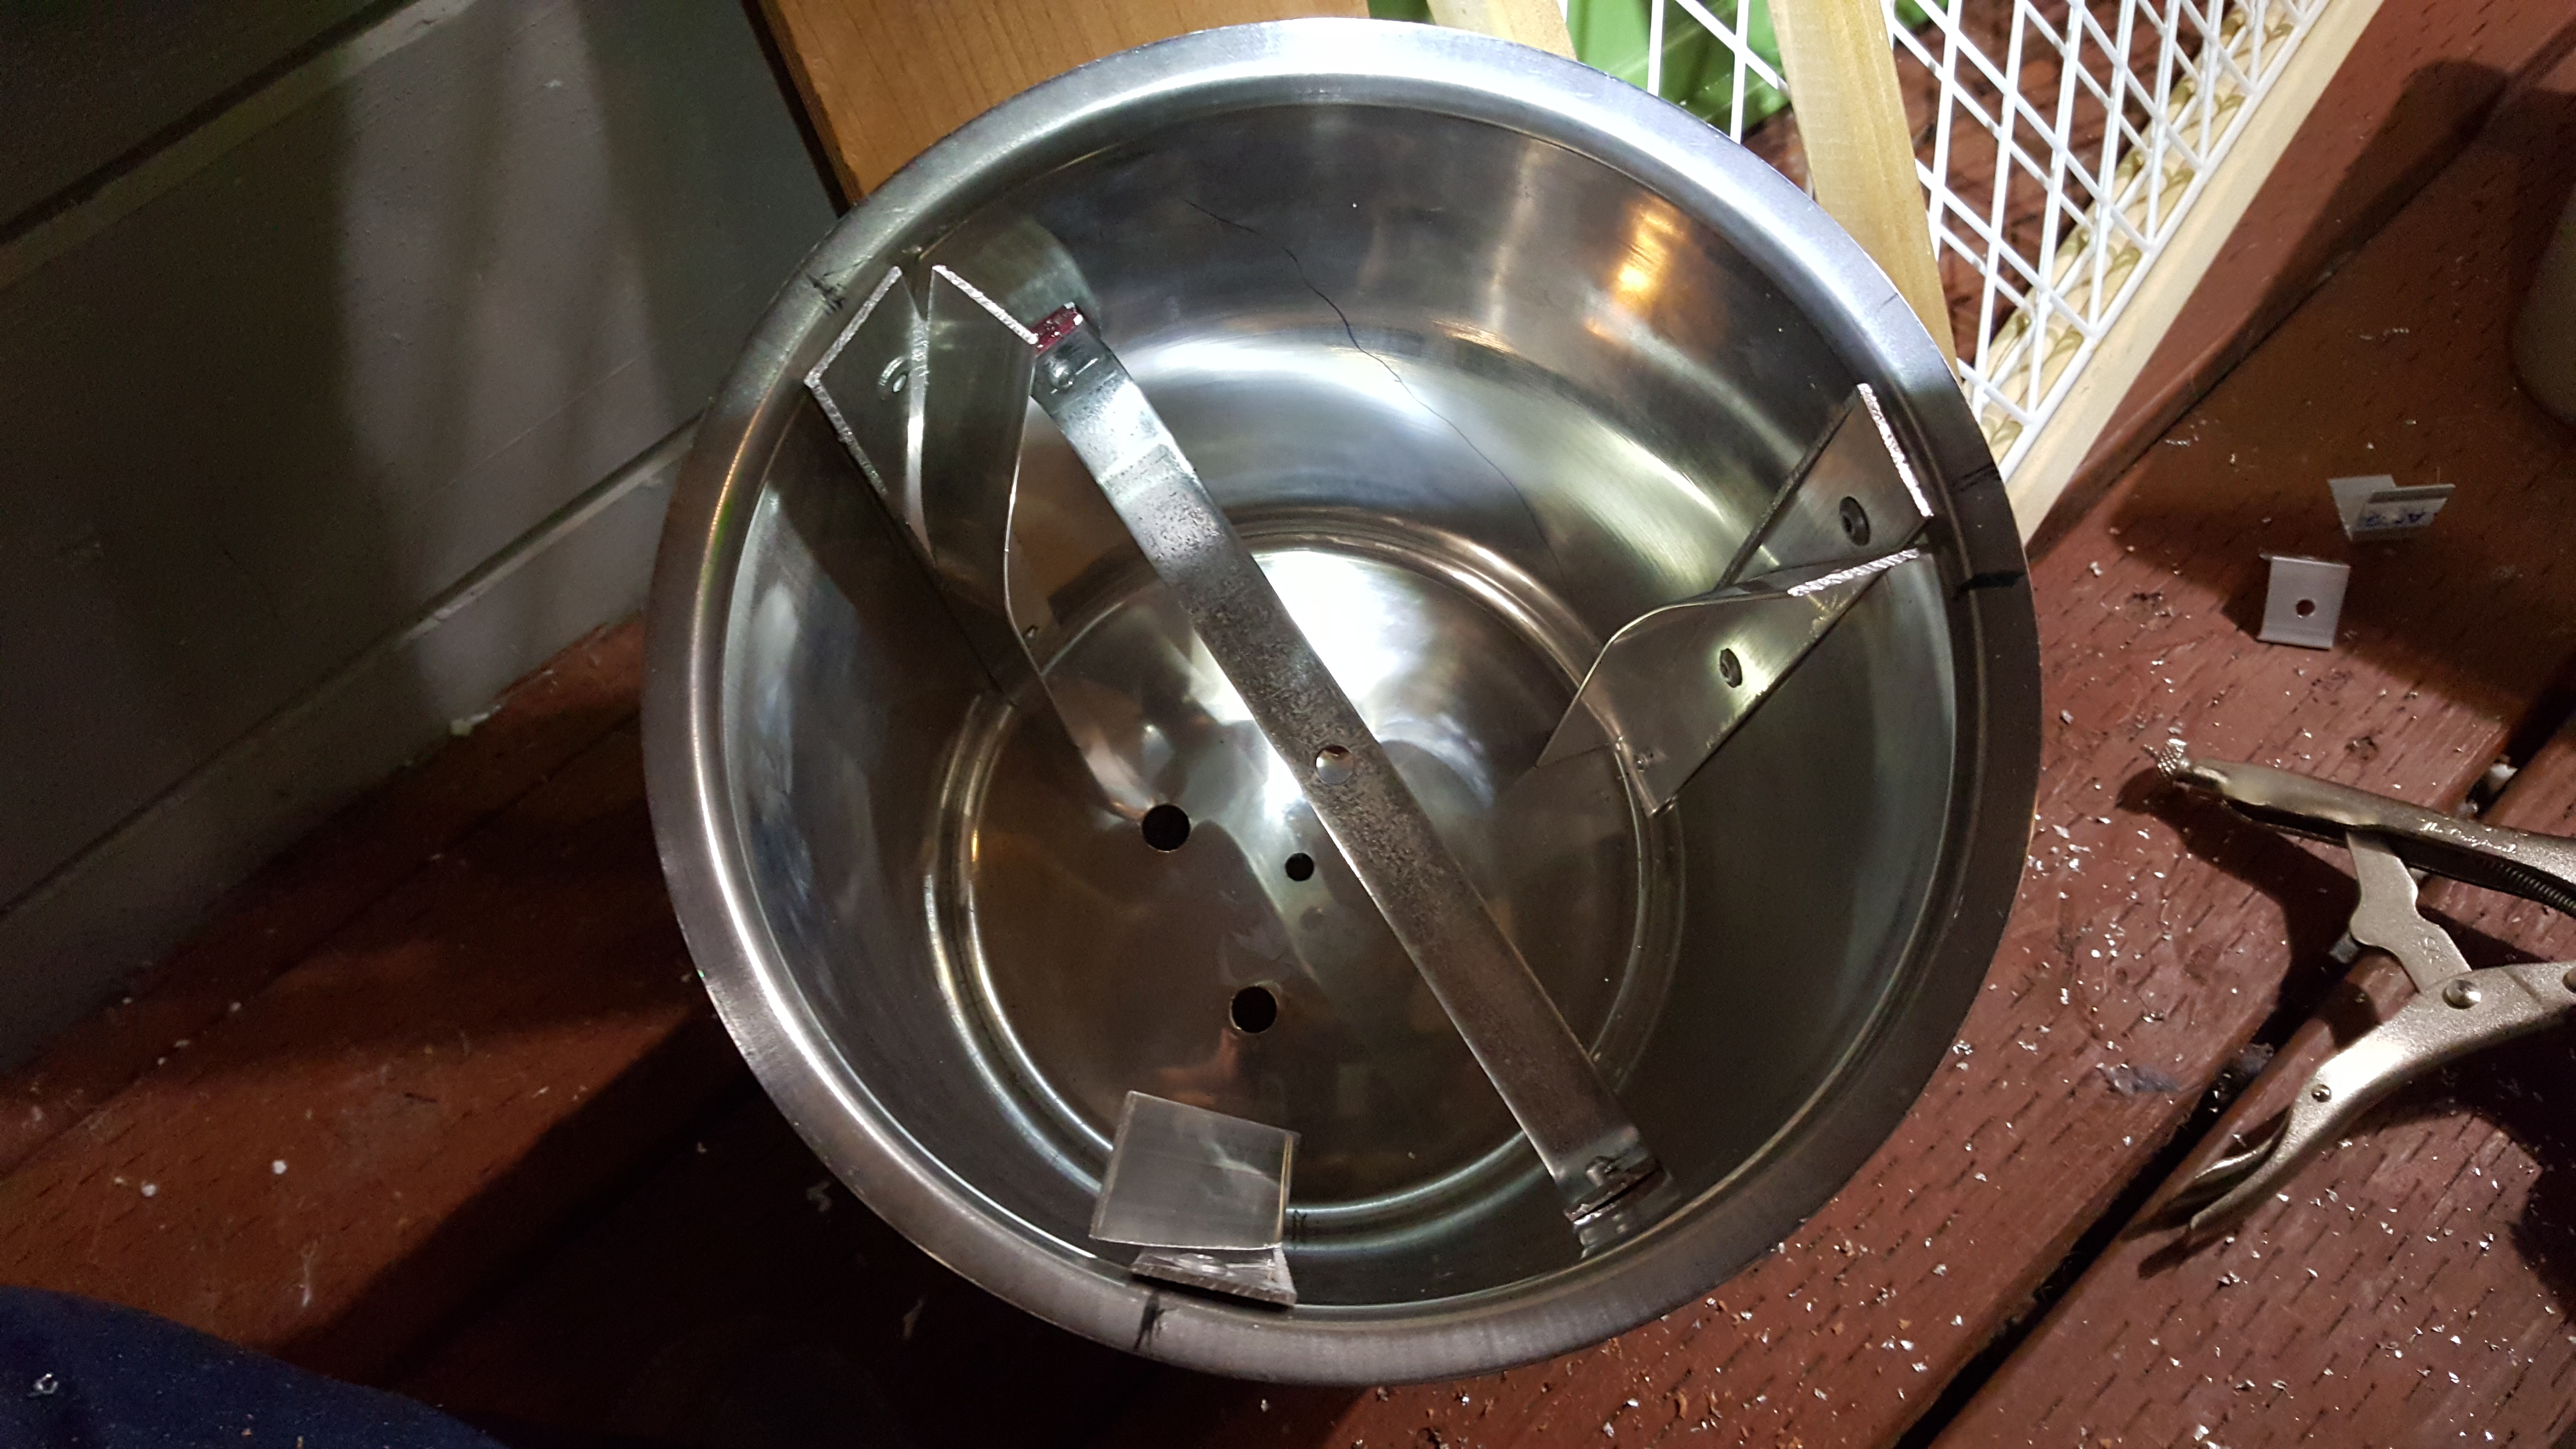
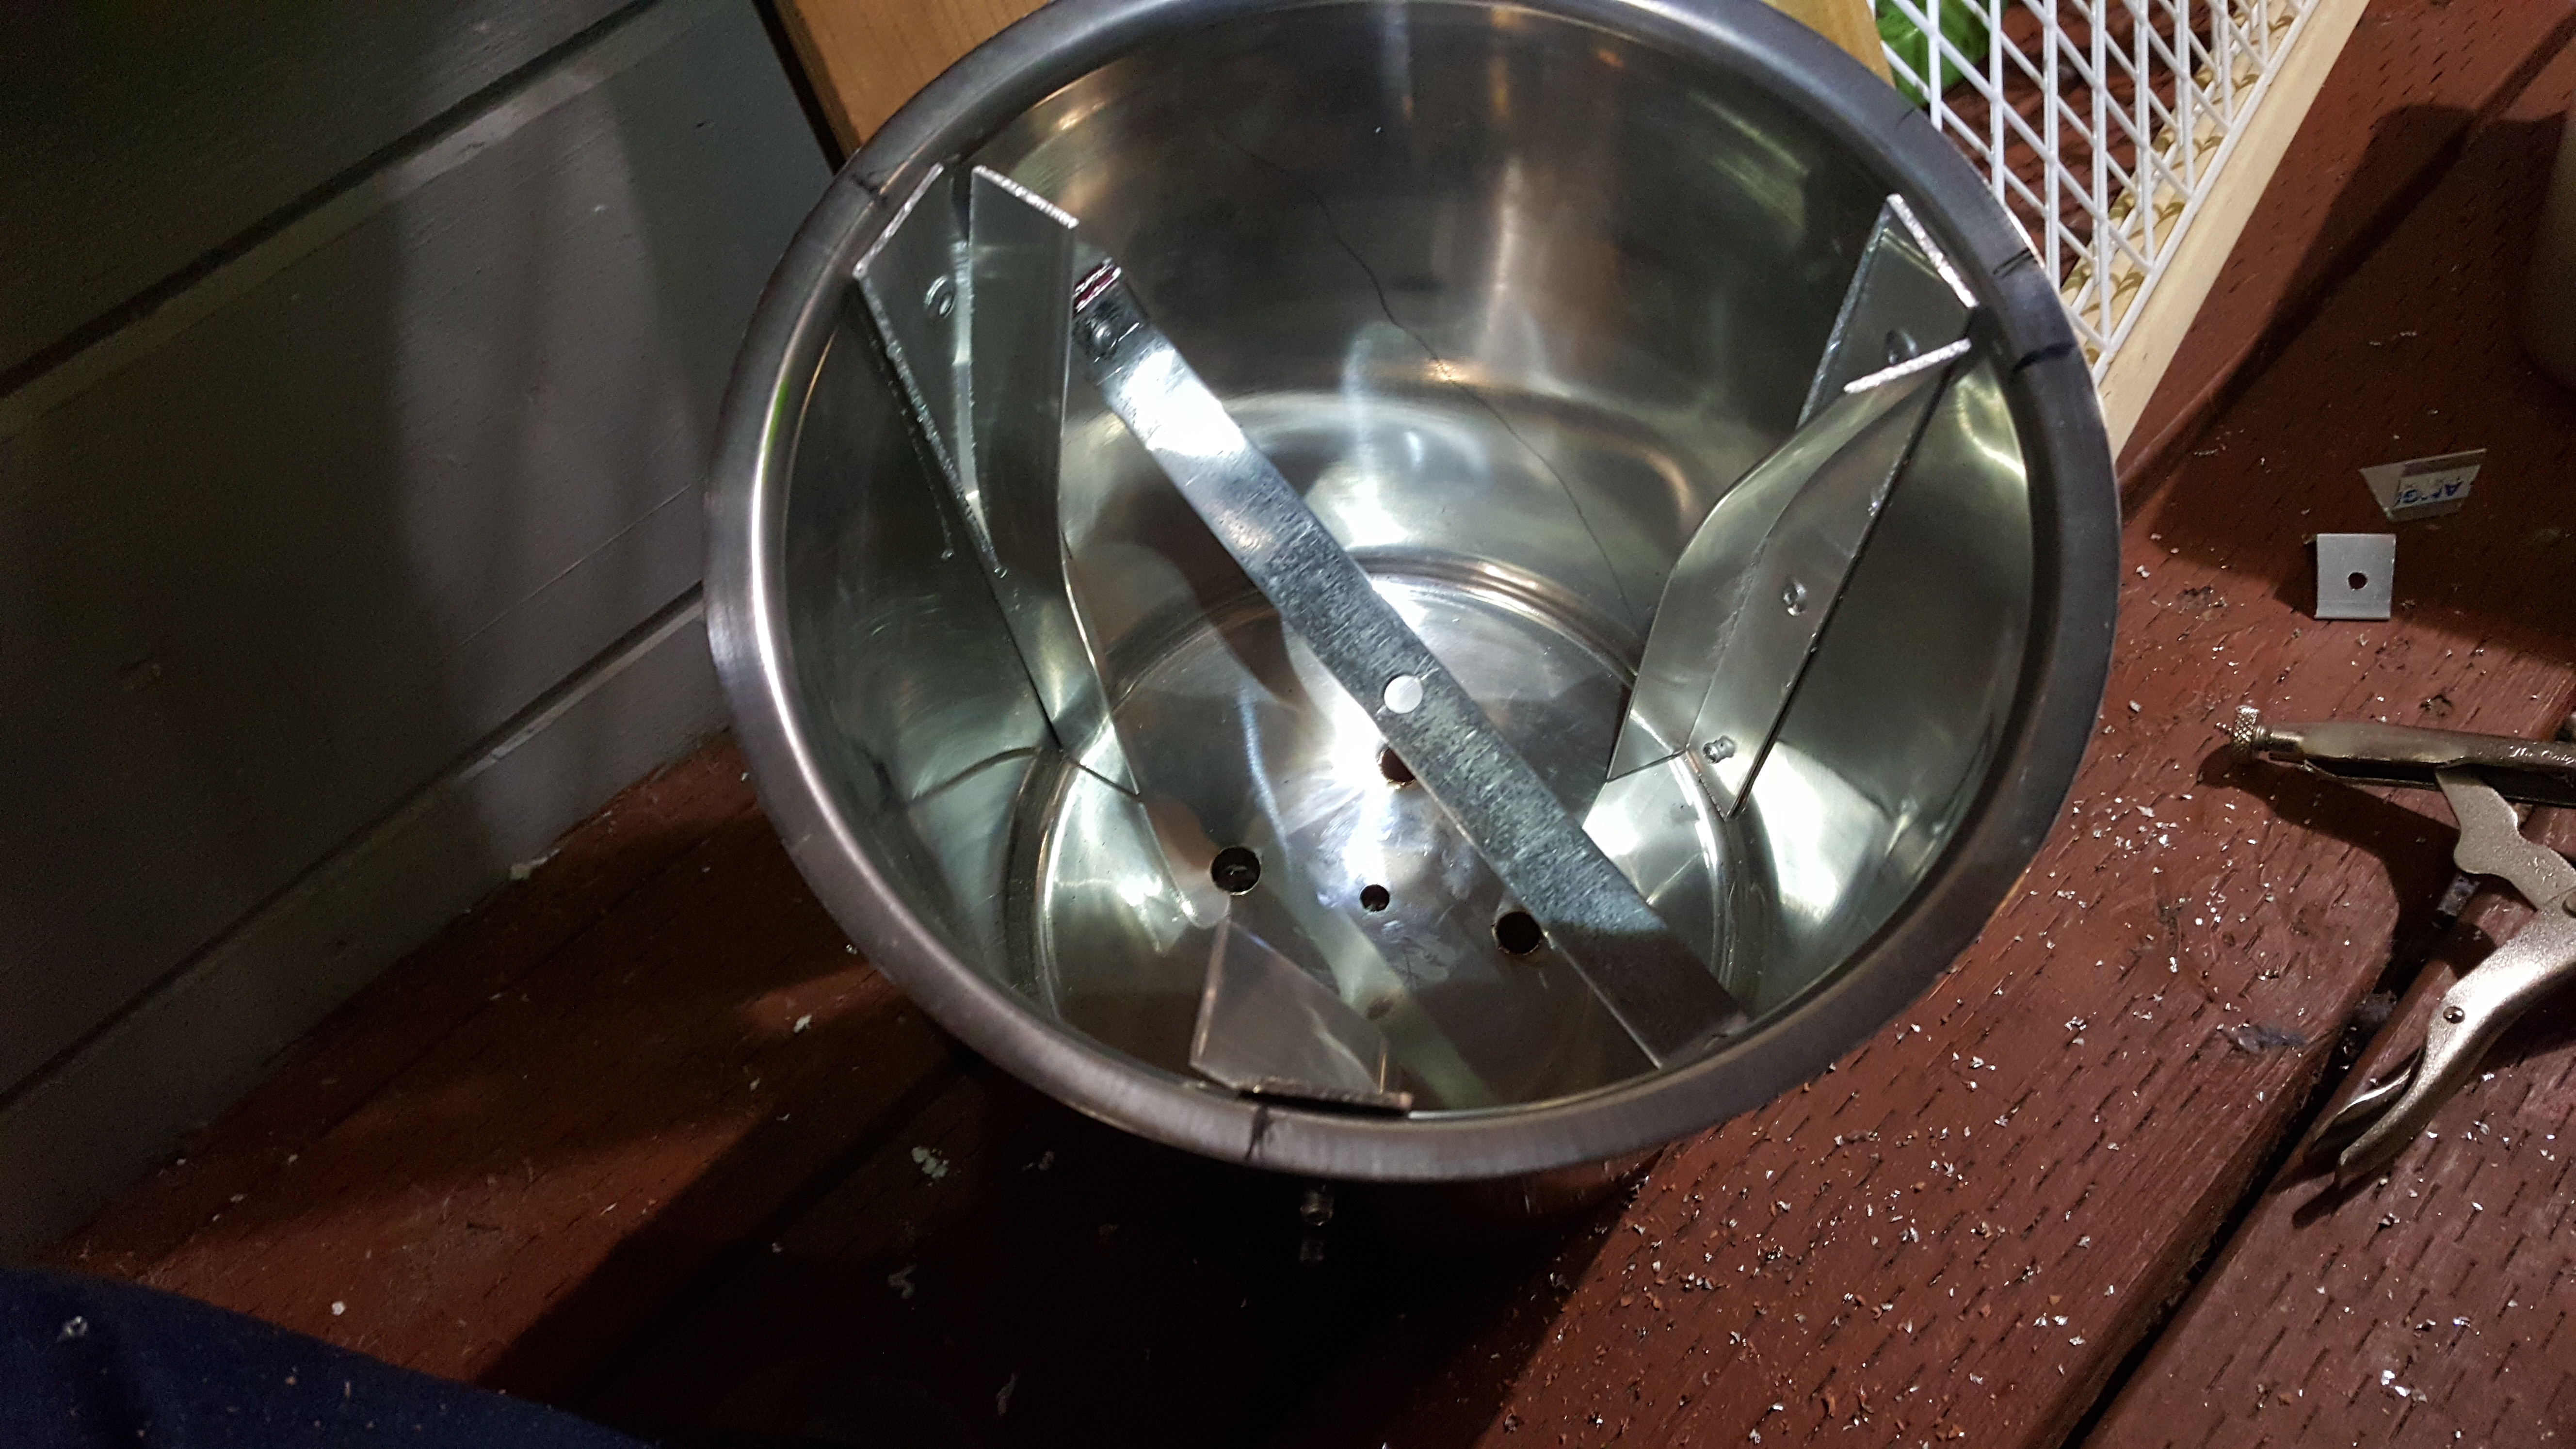
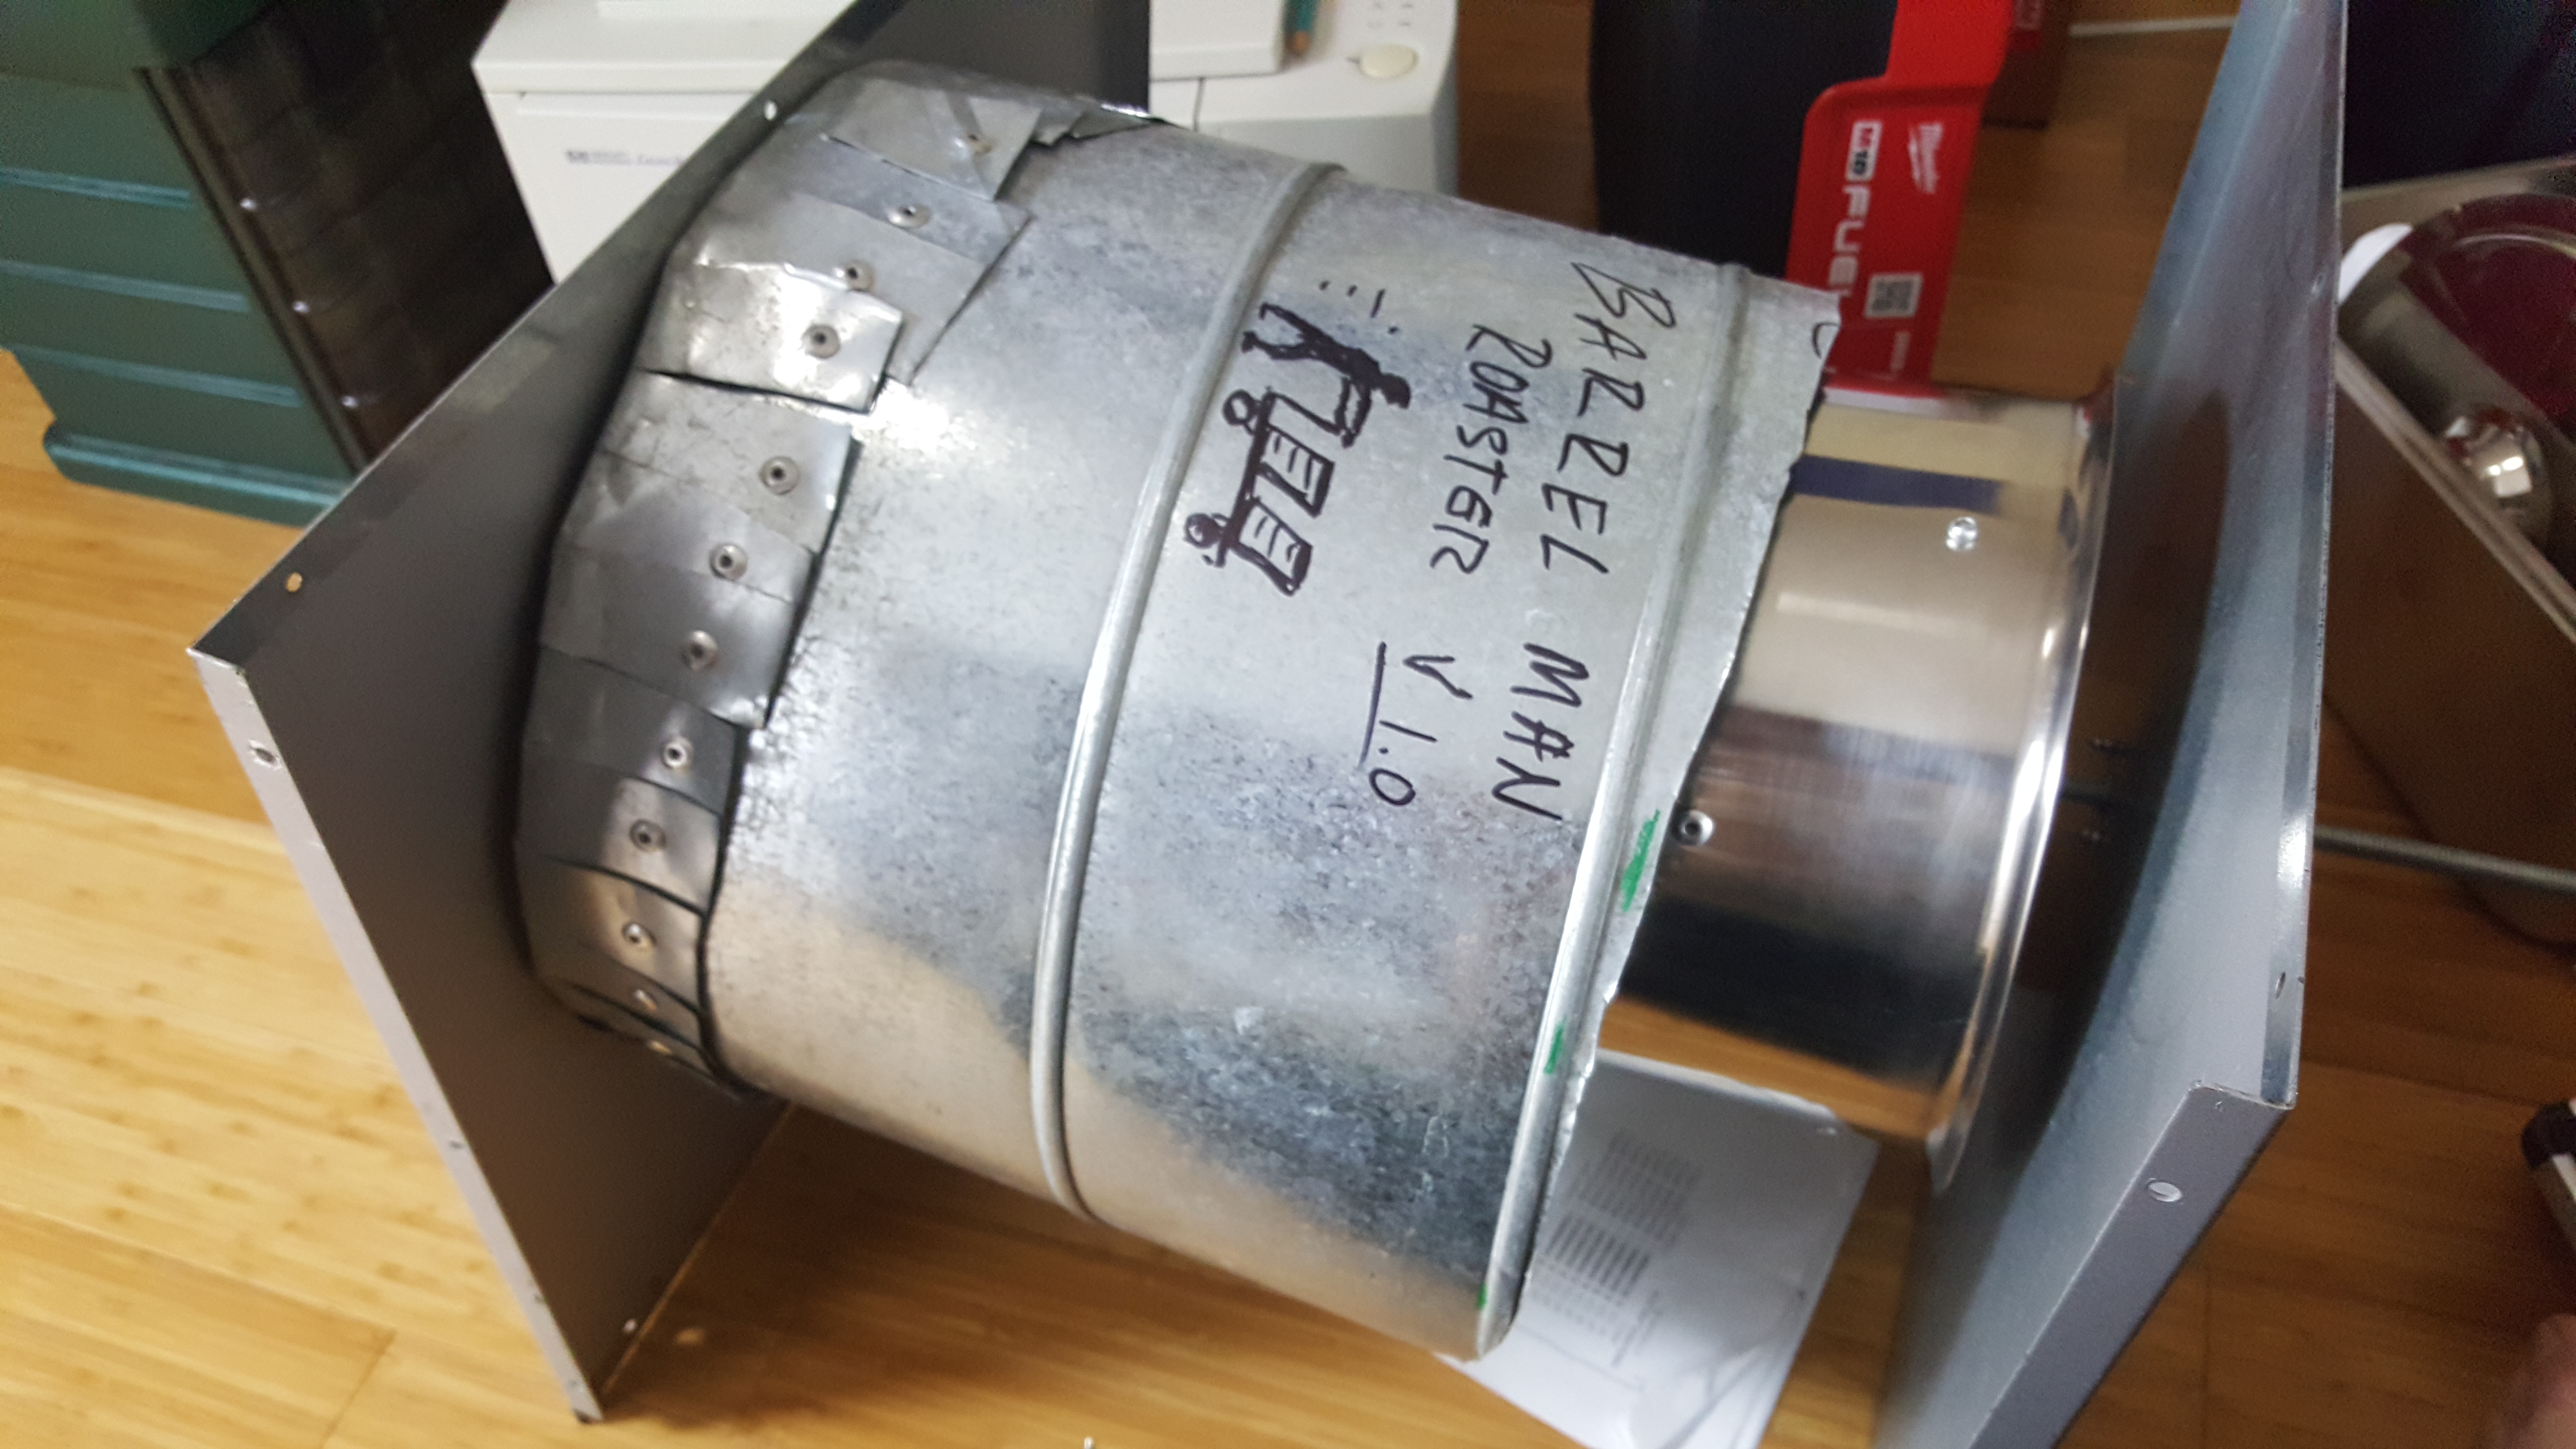
I modified the metal bin I got at the kitchen store into a pretty decent looking tumbler.
I modified the HVAC piping to serve as the oven chamber


To make the front and rear of the roaster oven I got a few pieces of scrap metal from the salvage bin at work.
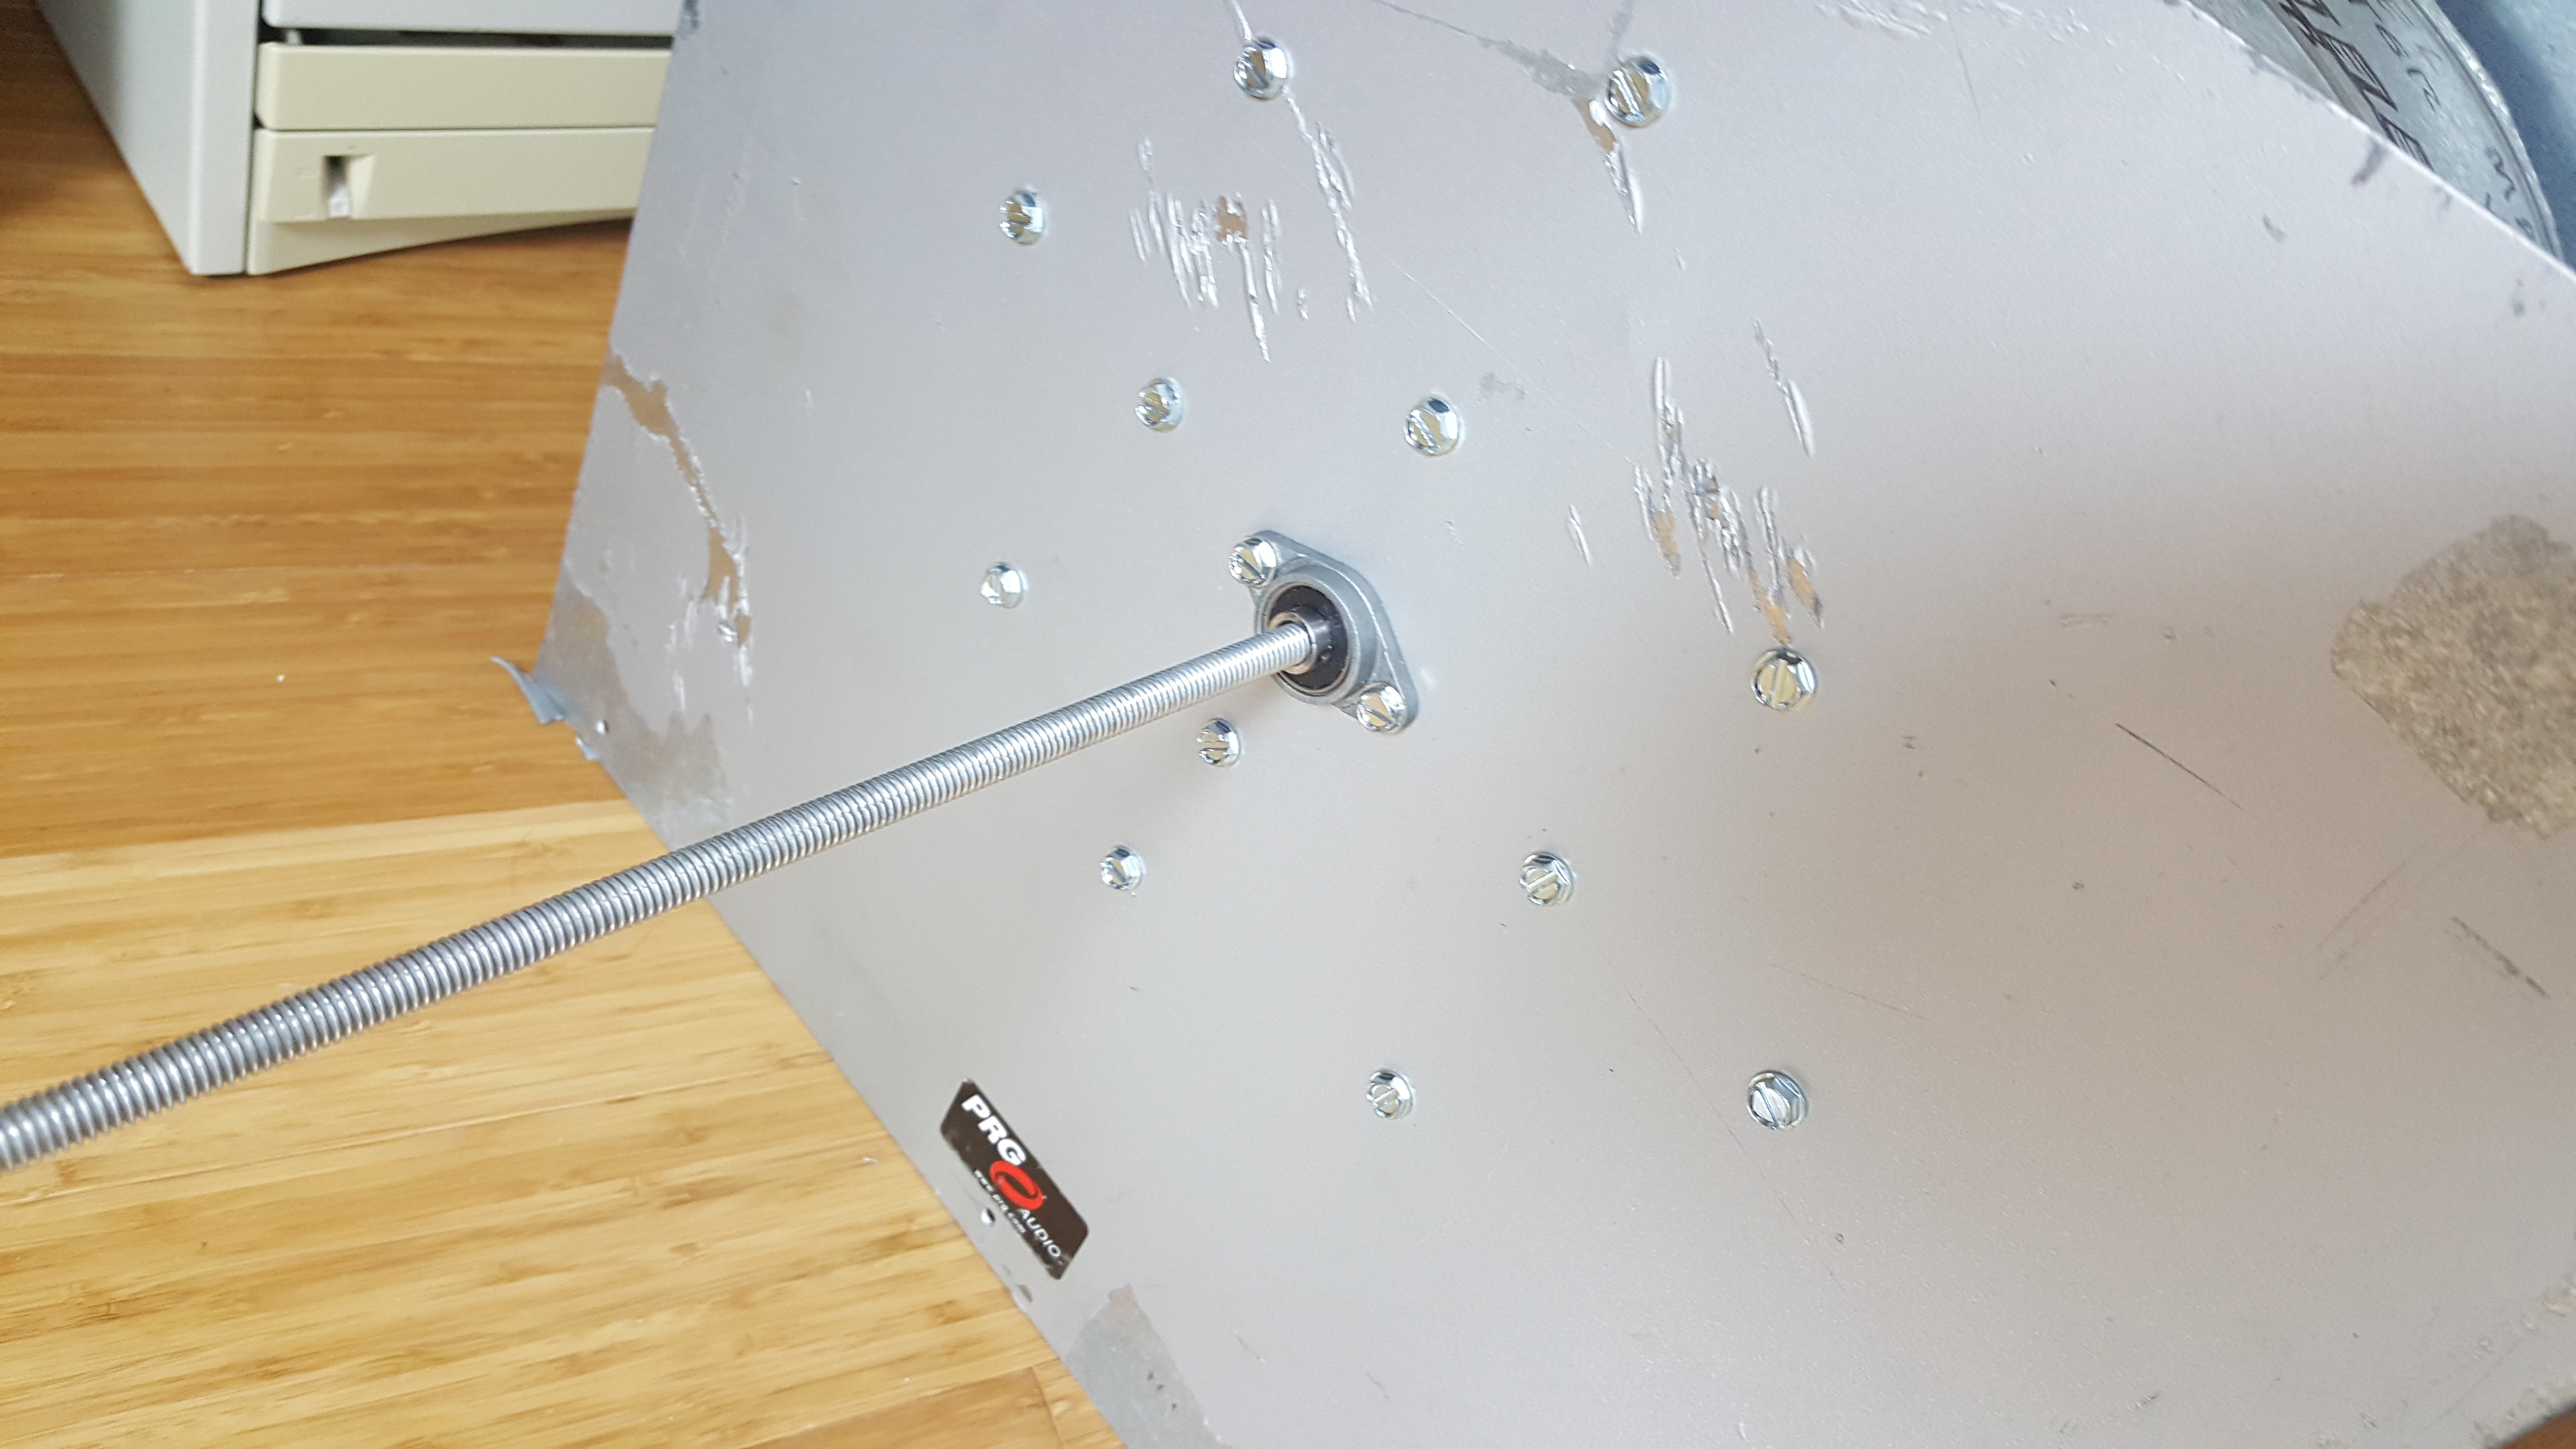

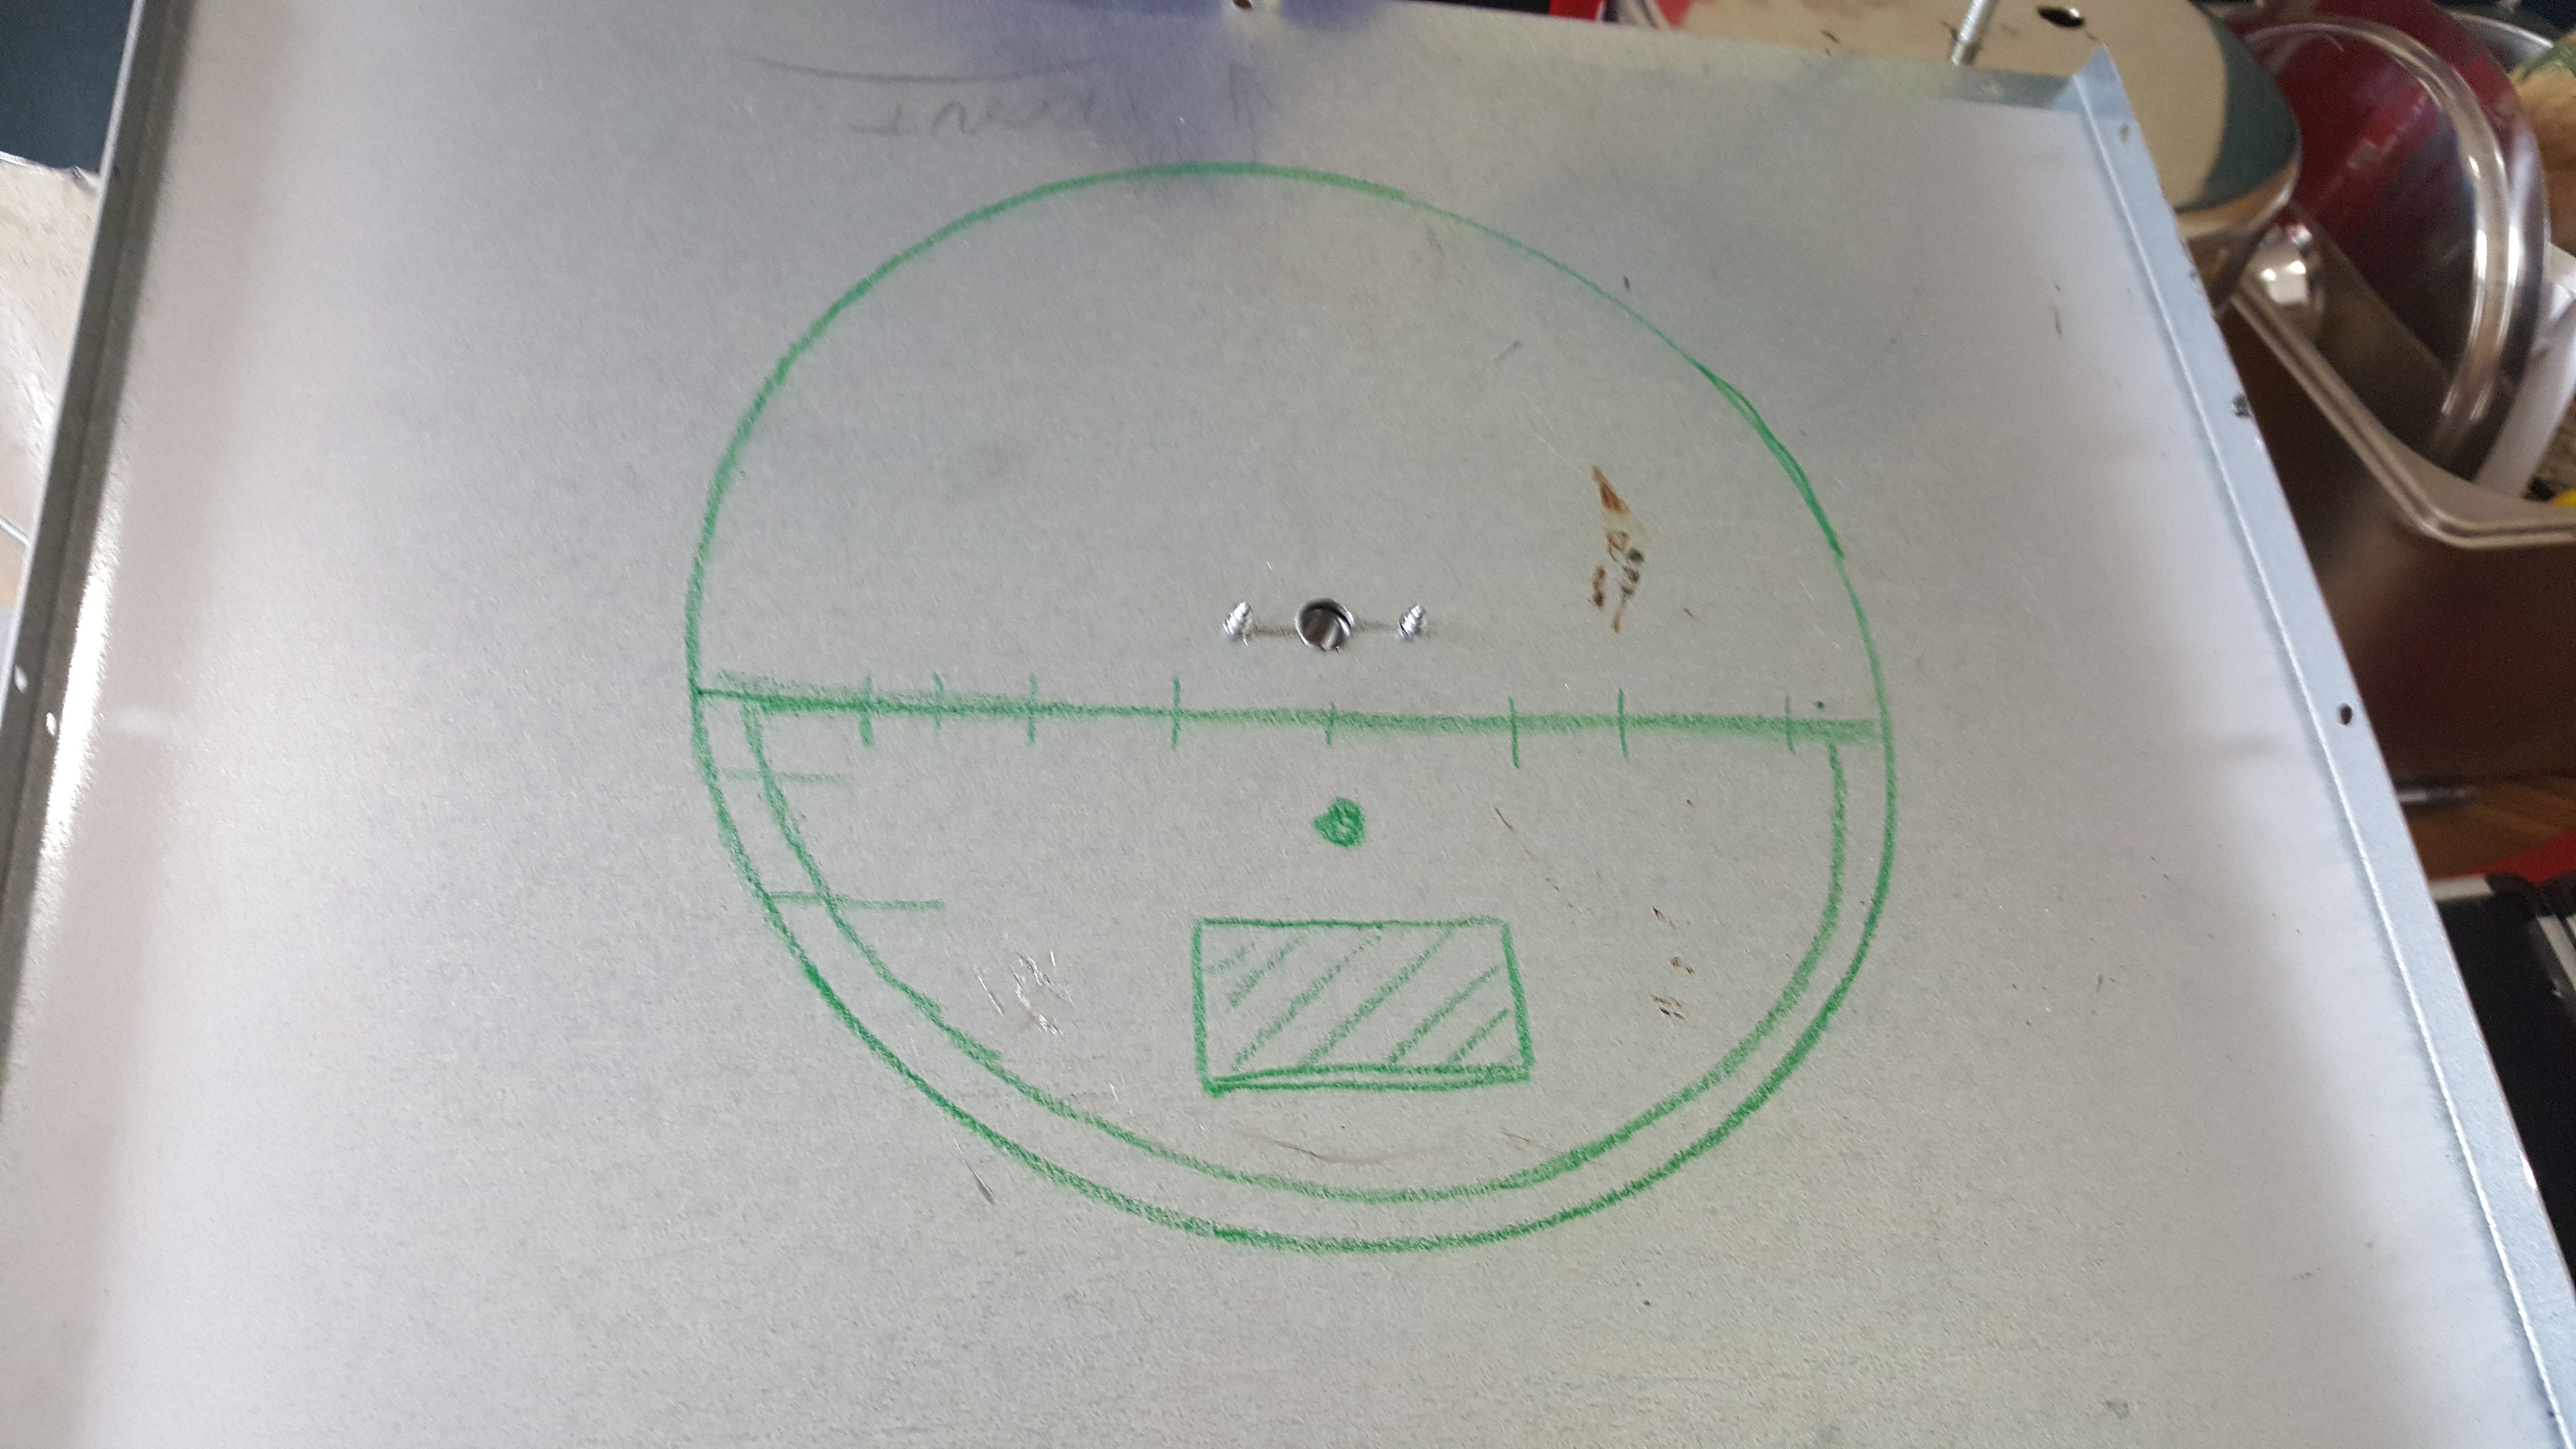
Next up is to cut out and create the bean door and then get the motor mounted and working.
Once we are spinning then I will start on sorting out the attachment of the oven portion and sourcing some ceramic oven insulation.