Building, Modifiying, and Repairing Guitar Pedals

For a year I was completely consumed with learning everything I could about guitar pedals.

This included building my own effects pedals and modifying them.

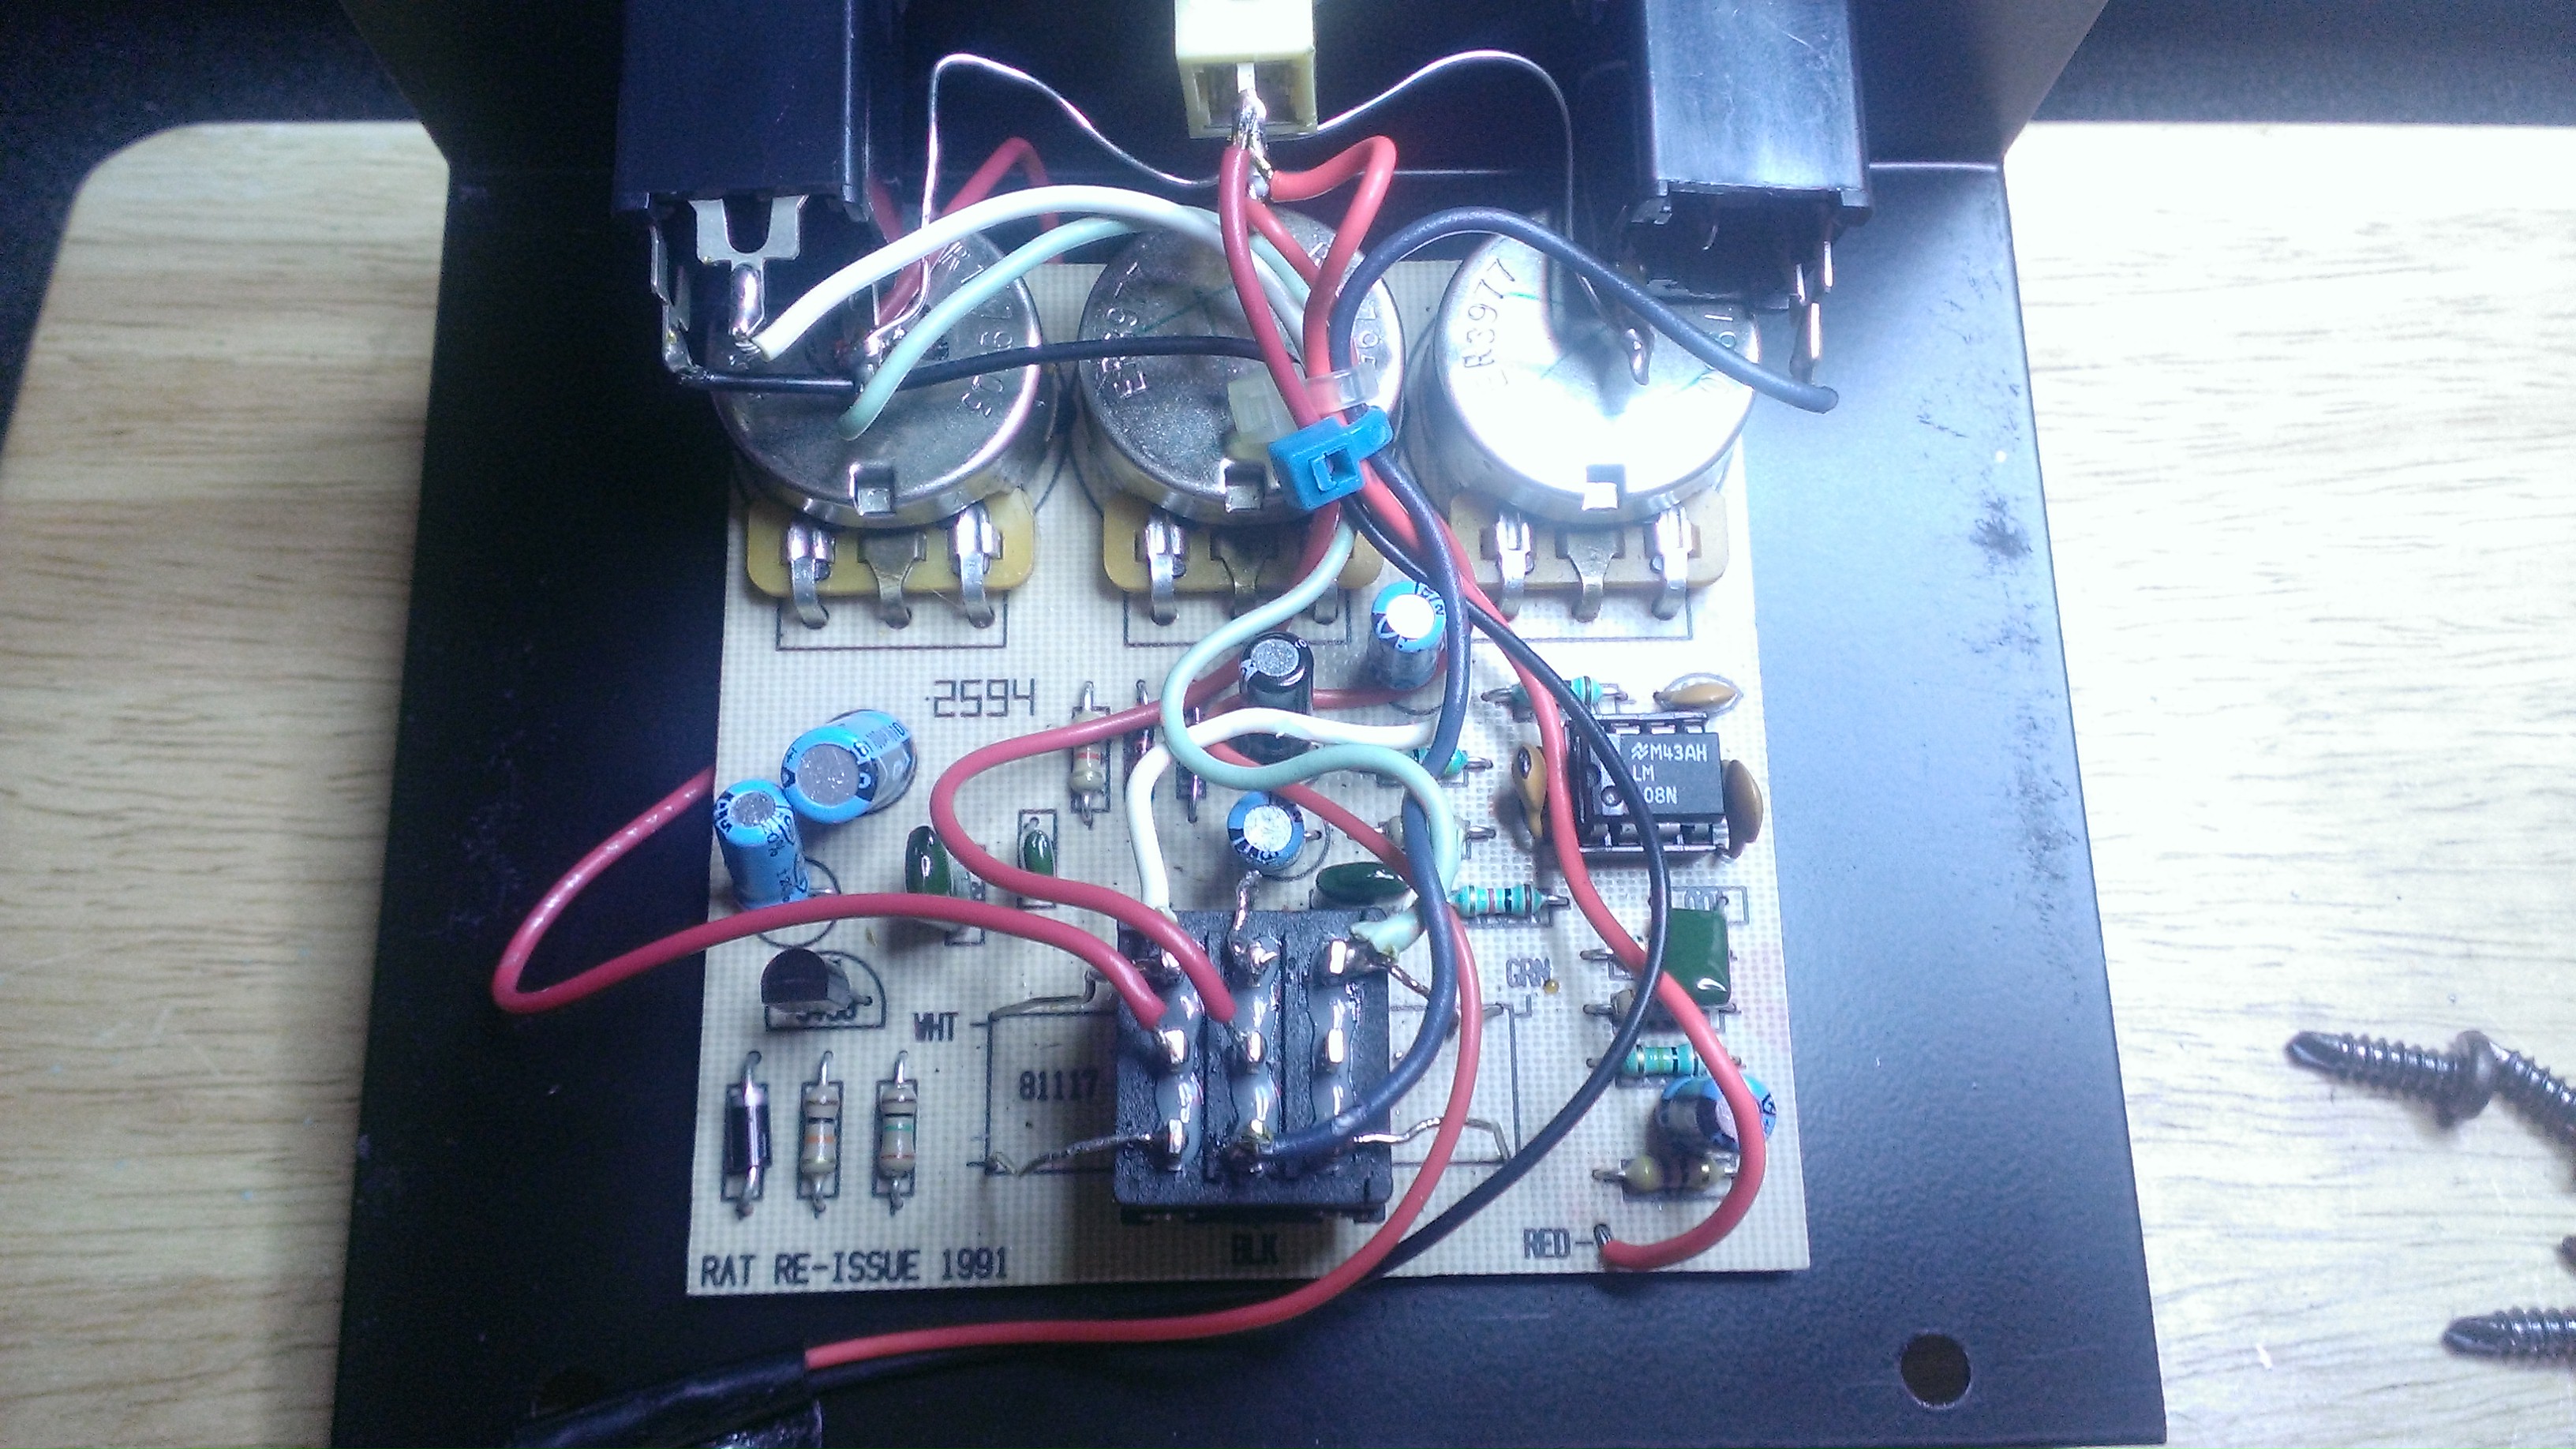
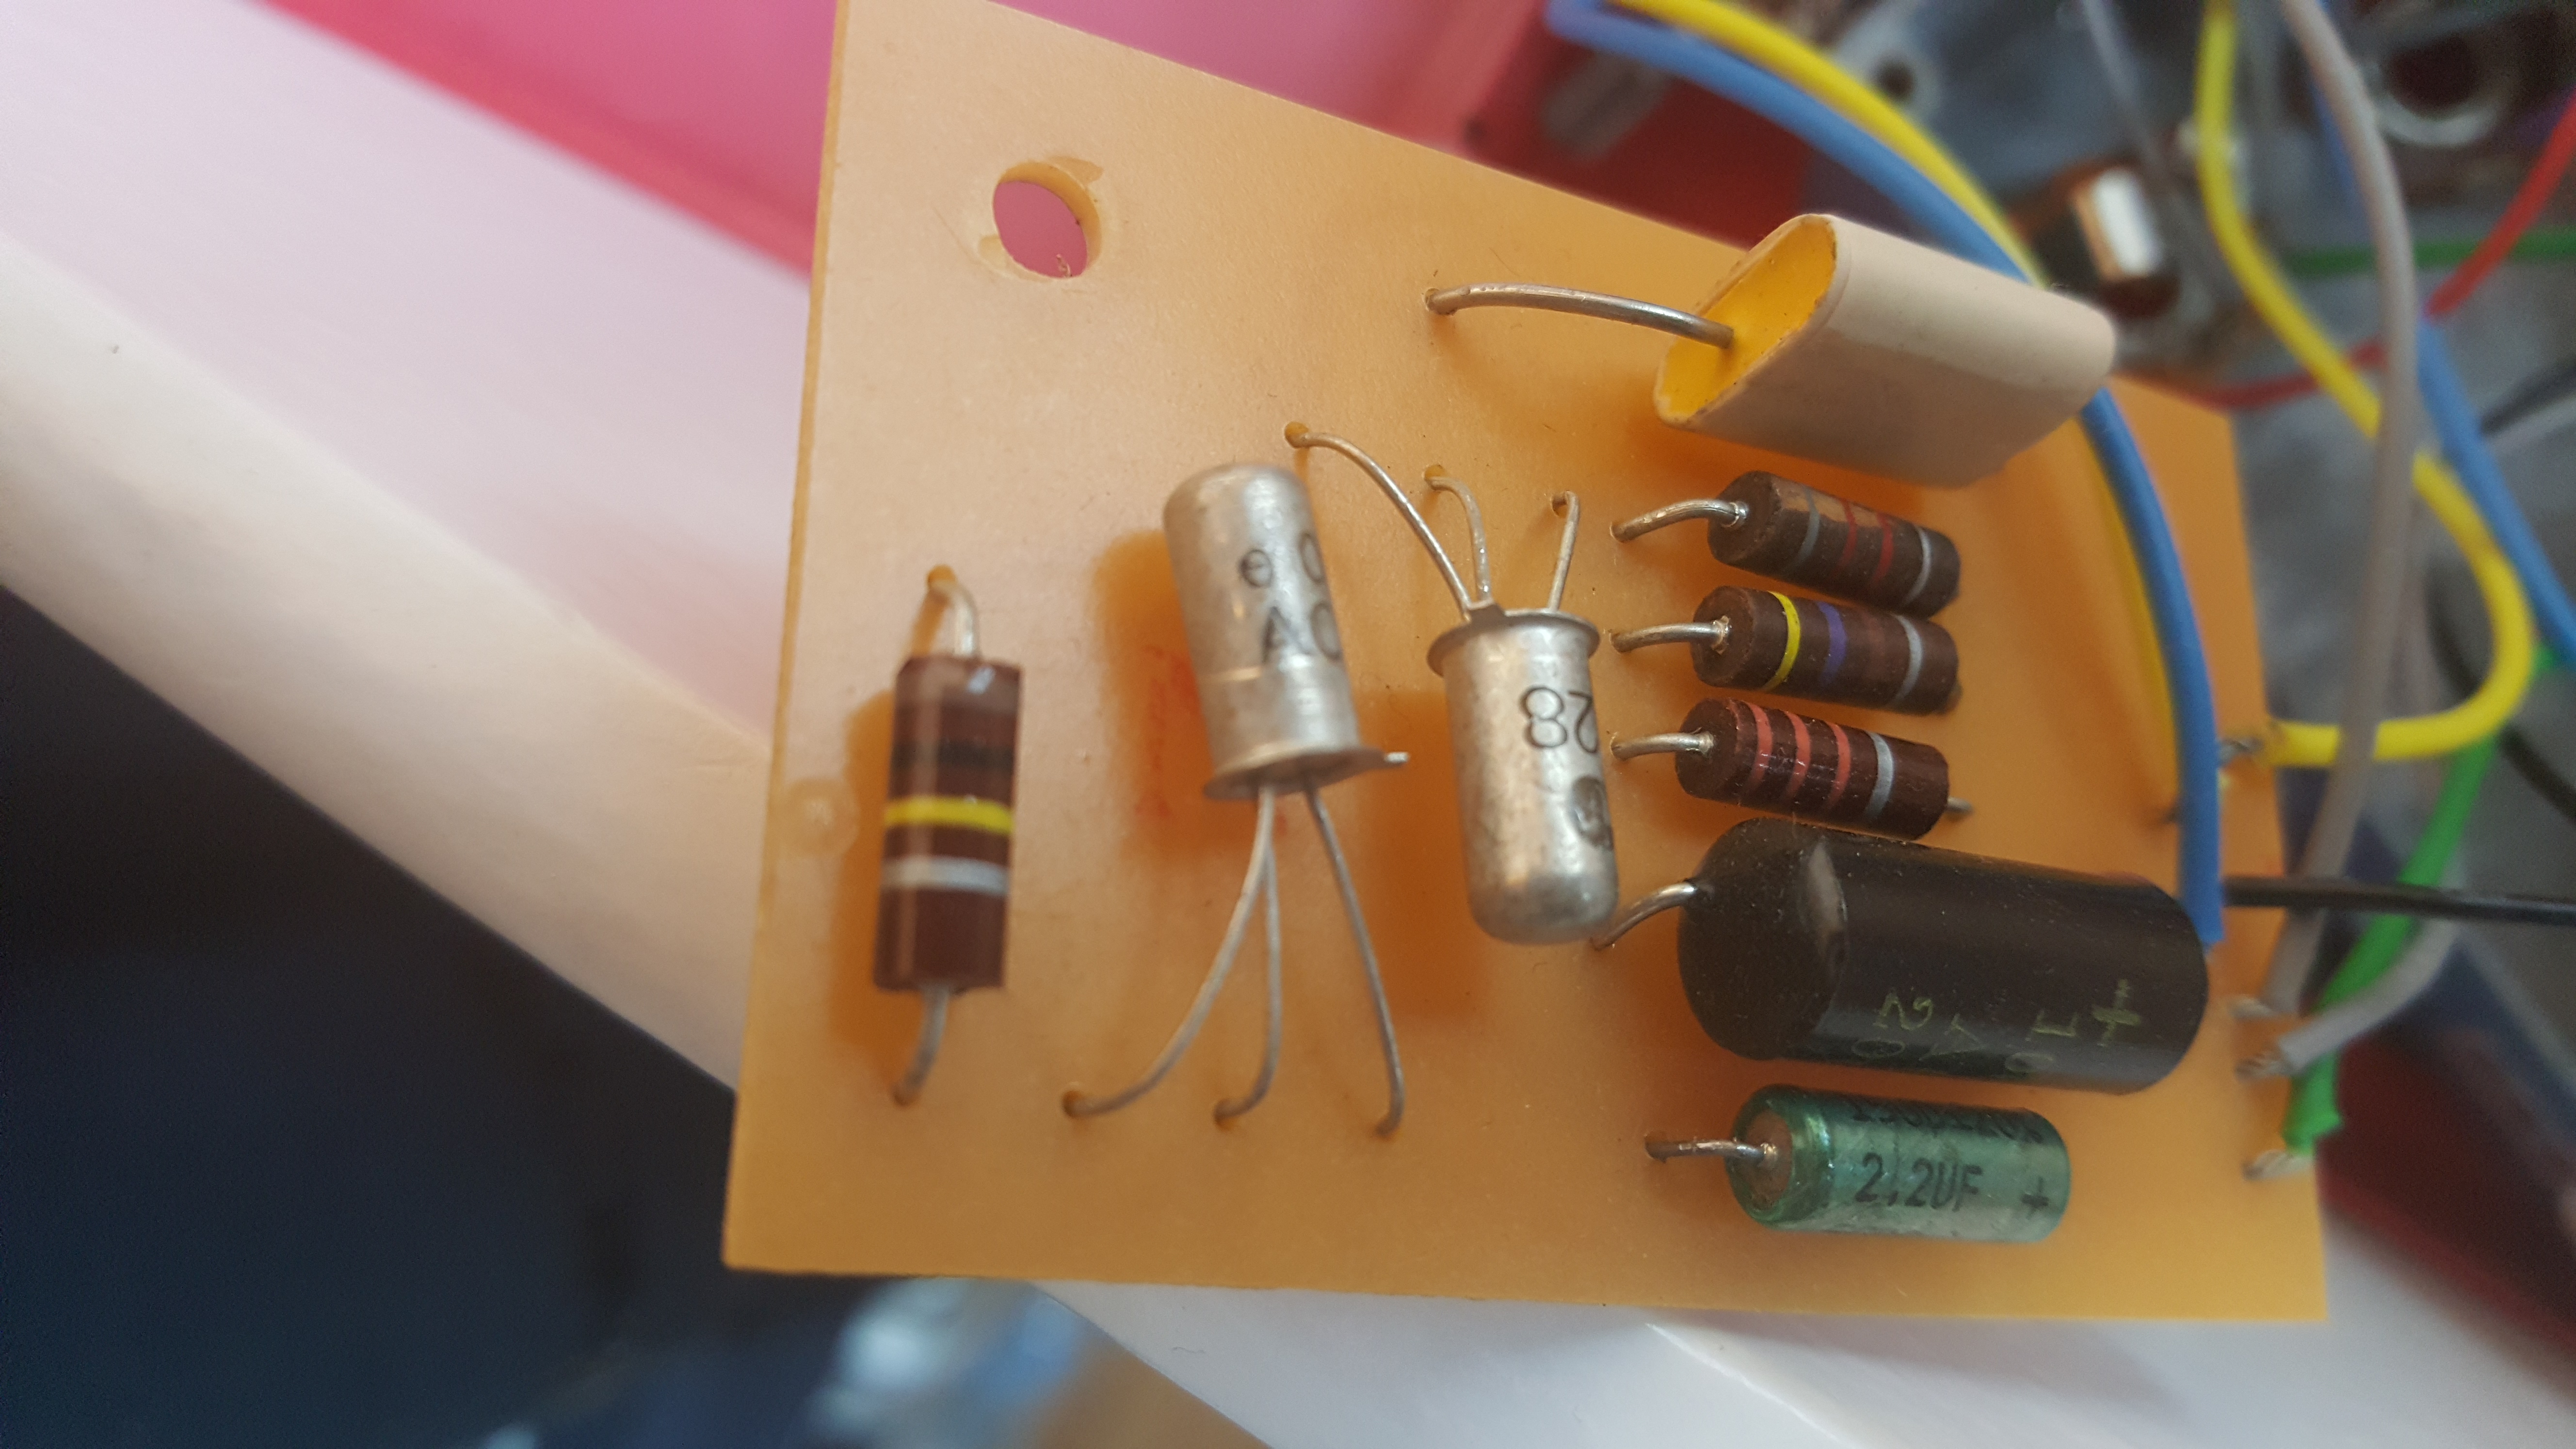
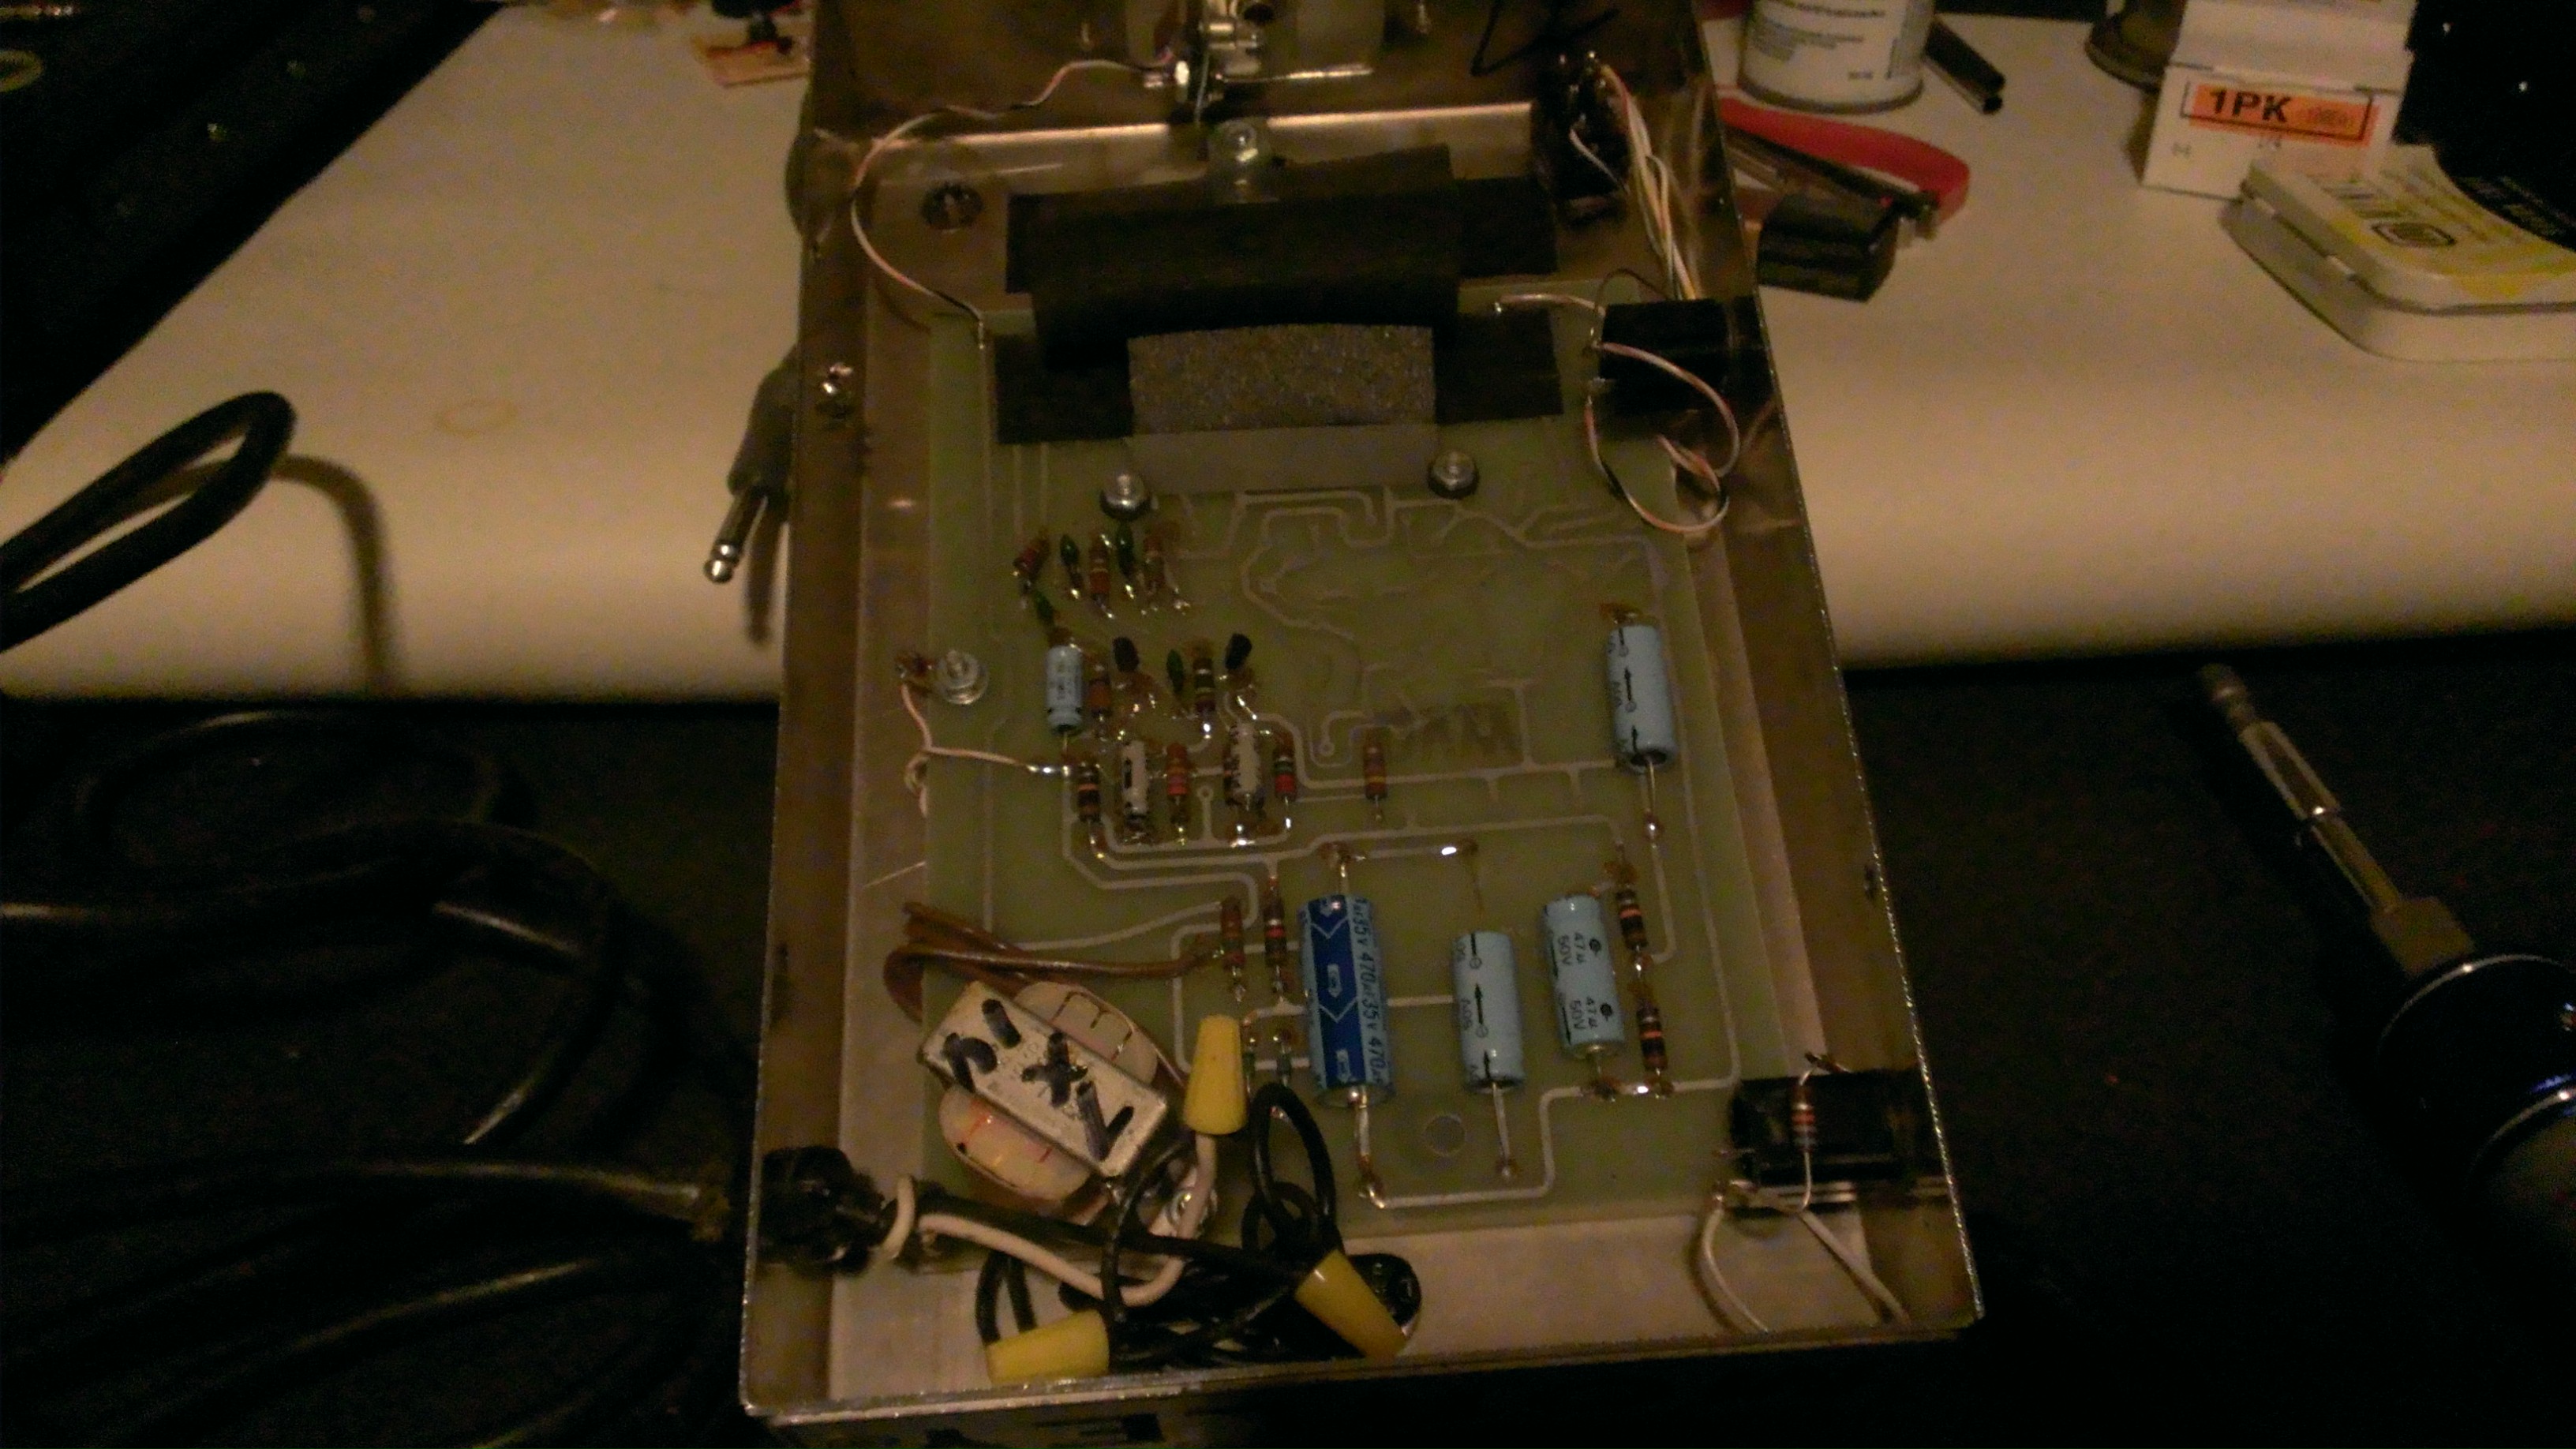
I read everything I could find on effects pedal design and began collecting broken guitar pedals from ebay and fully repairing them. While repairing them I was studying how they were designed to understand how they worked.

I made an ad on craigslist offering my services and for a year I met all kinds of people and got to fix some incredibly rare and old guitar effects pedals. It was great, I made a few bucks and got to study the guts of some of the greatest pedals. I went to great lengths to find parts for some of the odd pedals, for example I had a tube distortion pedal that had a transformer go bad. I tracked down the manufacture of the of the transformer and discovered it was a custom part they had done for the manufacture. I was able to secure a sample from them and brought that pedal back to life.

I also learned a valuable lesson about obsolete parts and how hard it is to find them when they are popular. For one pedal I was fixing for a person from craigslist, it took a two months but I was able to locate the part and fix the pedal. To this day its the longest I have ever taken to repair a pedal. Fortunately the guy I was fixing it for was incredibly understanding given the rarity of the part. In the end it was a lot of fun doing this and a learned a bunch.

My Ad read as follows:

Guitar Effects Pedal Broken? I can fix it!!

Is your guitar effects pedal just sitting under your bed collecting dust or dangling over the trash can?

I can help you out.

Don’t let the music die!

If I can’t fix it, there is no charge.


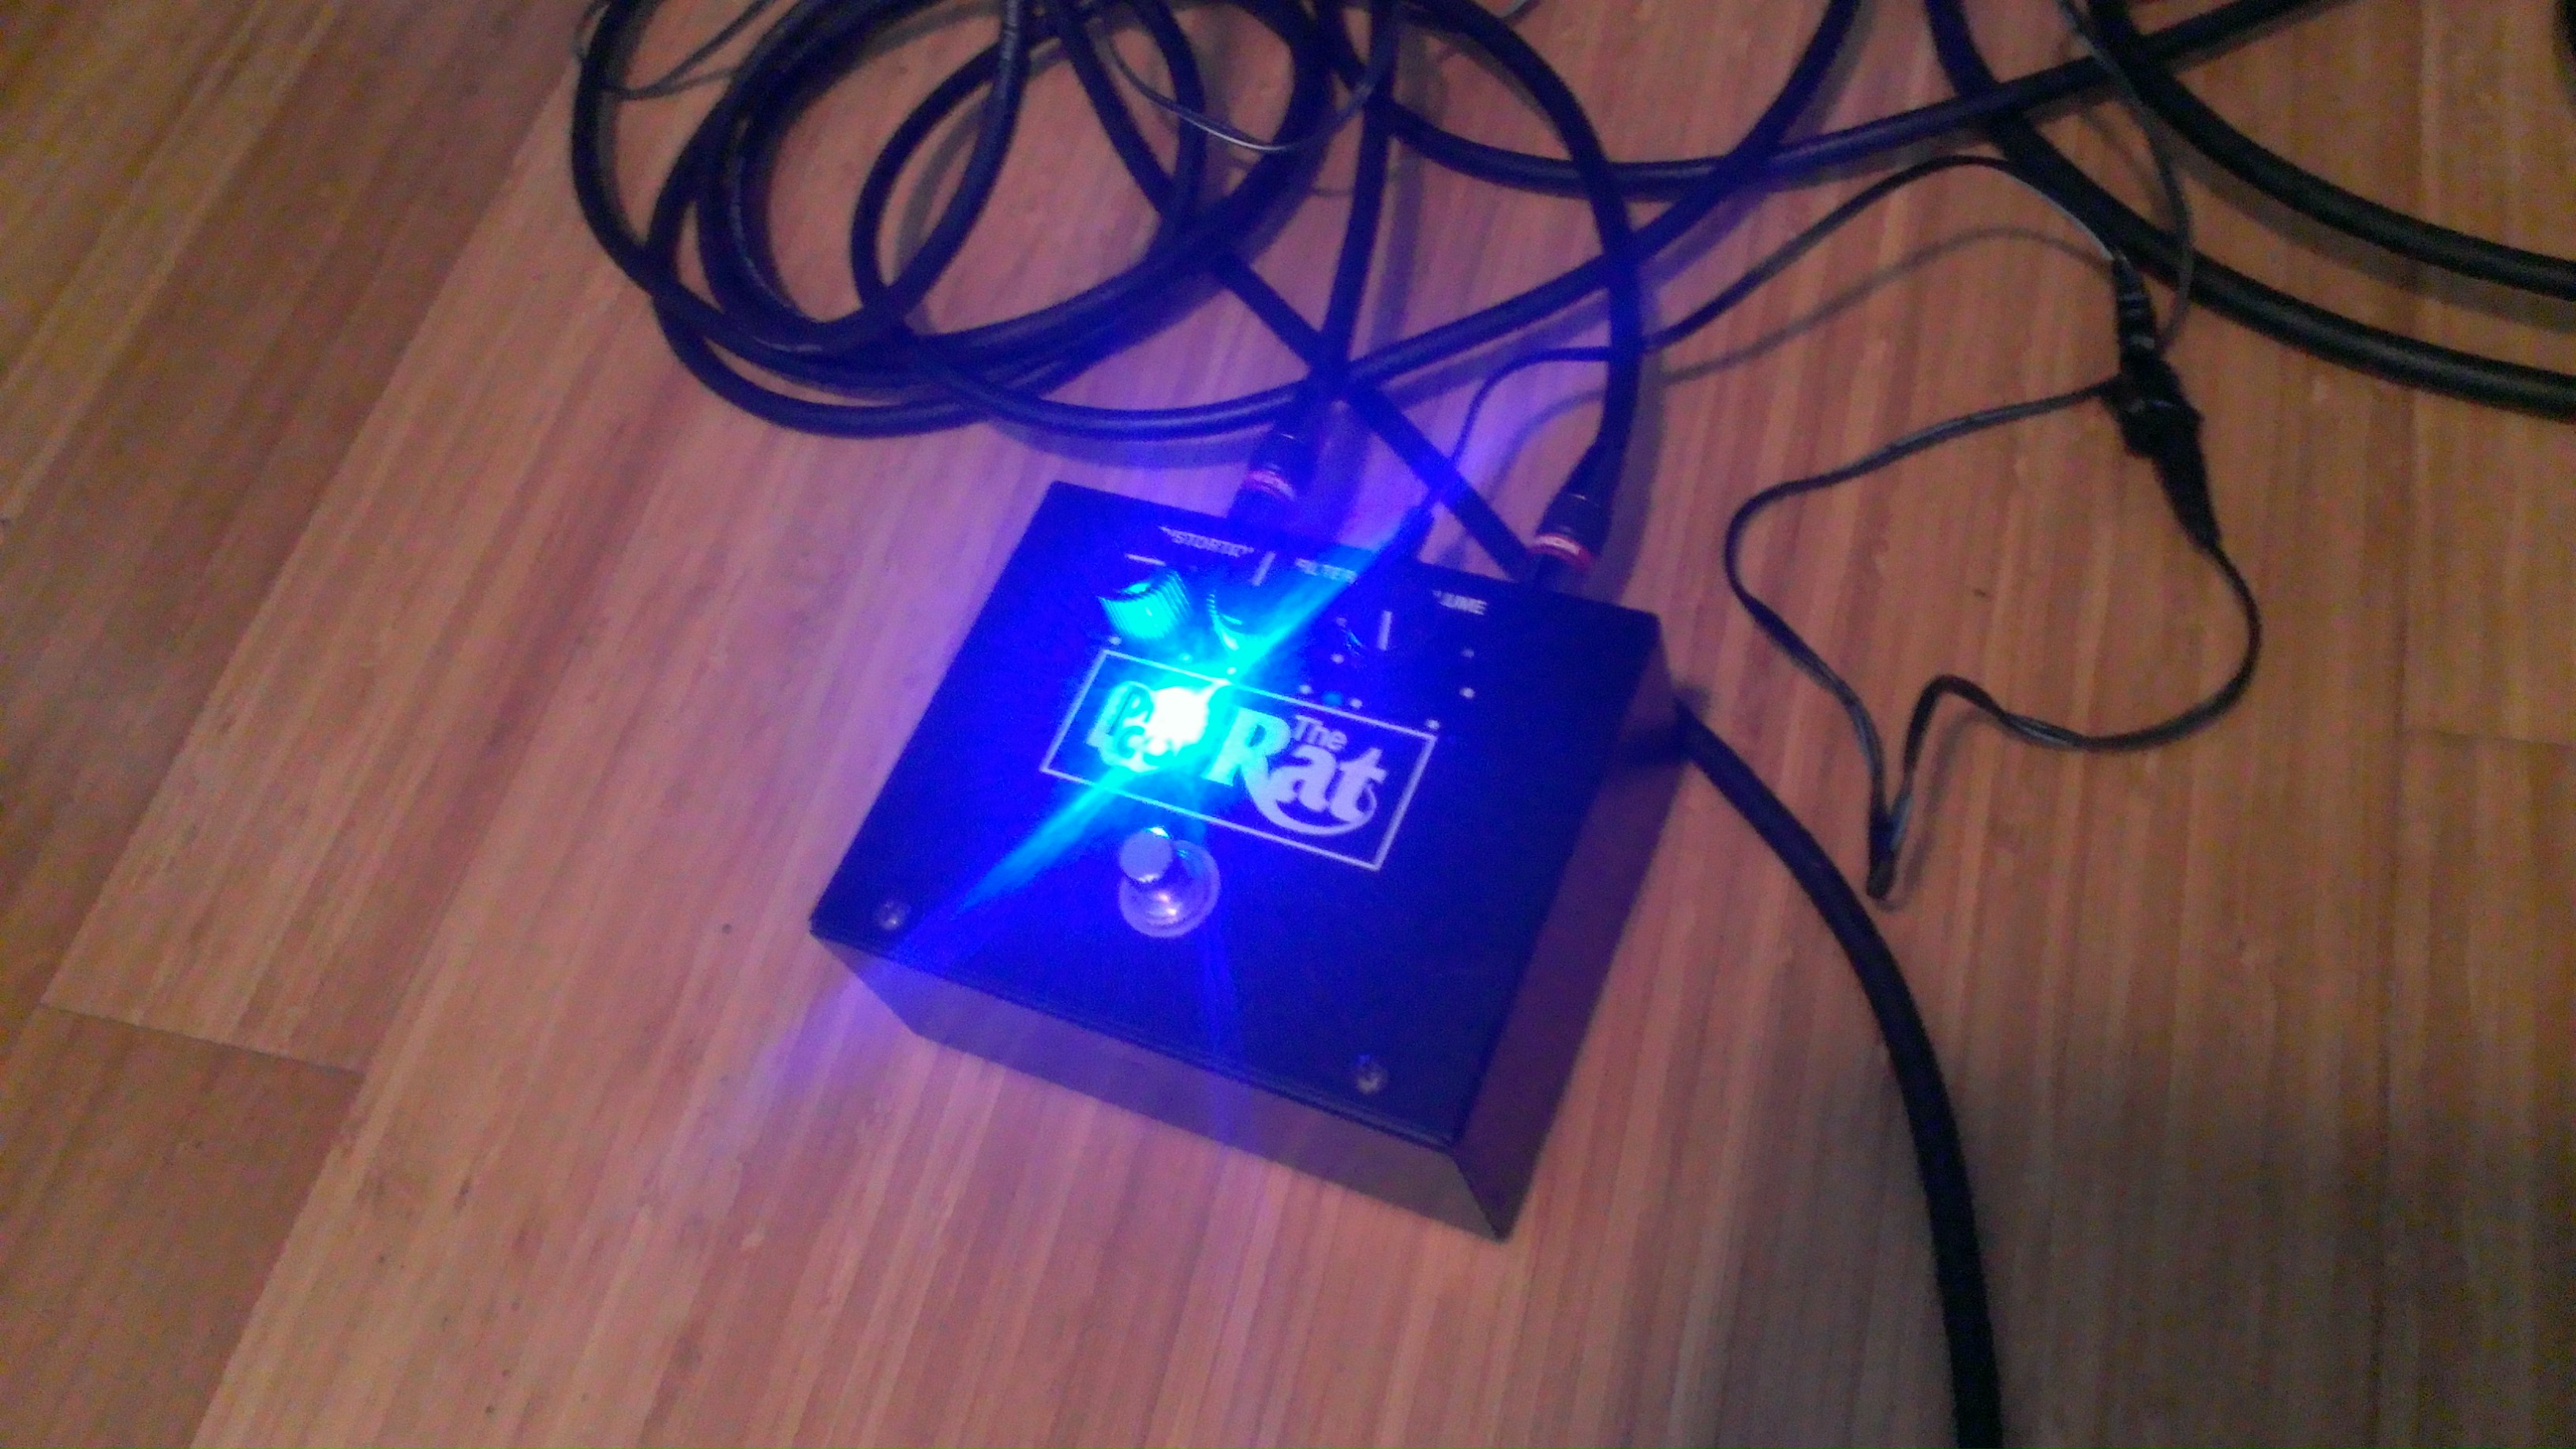
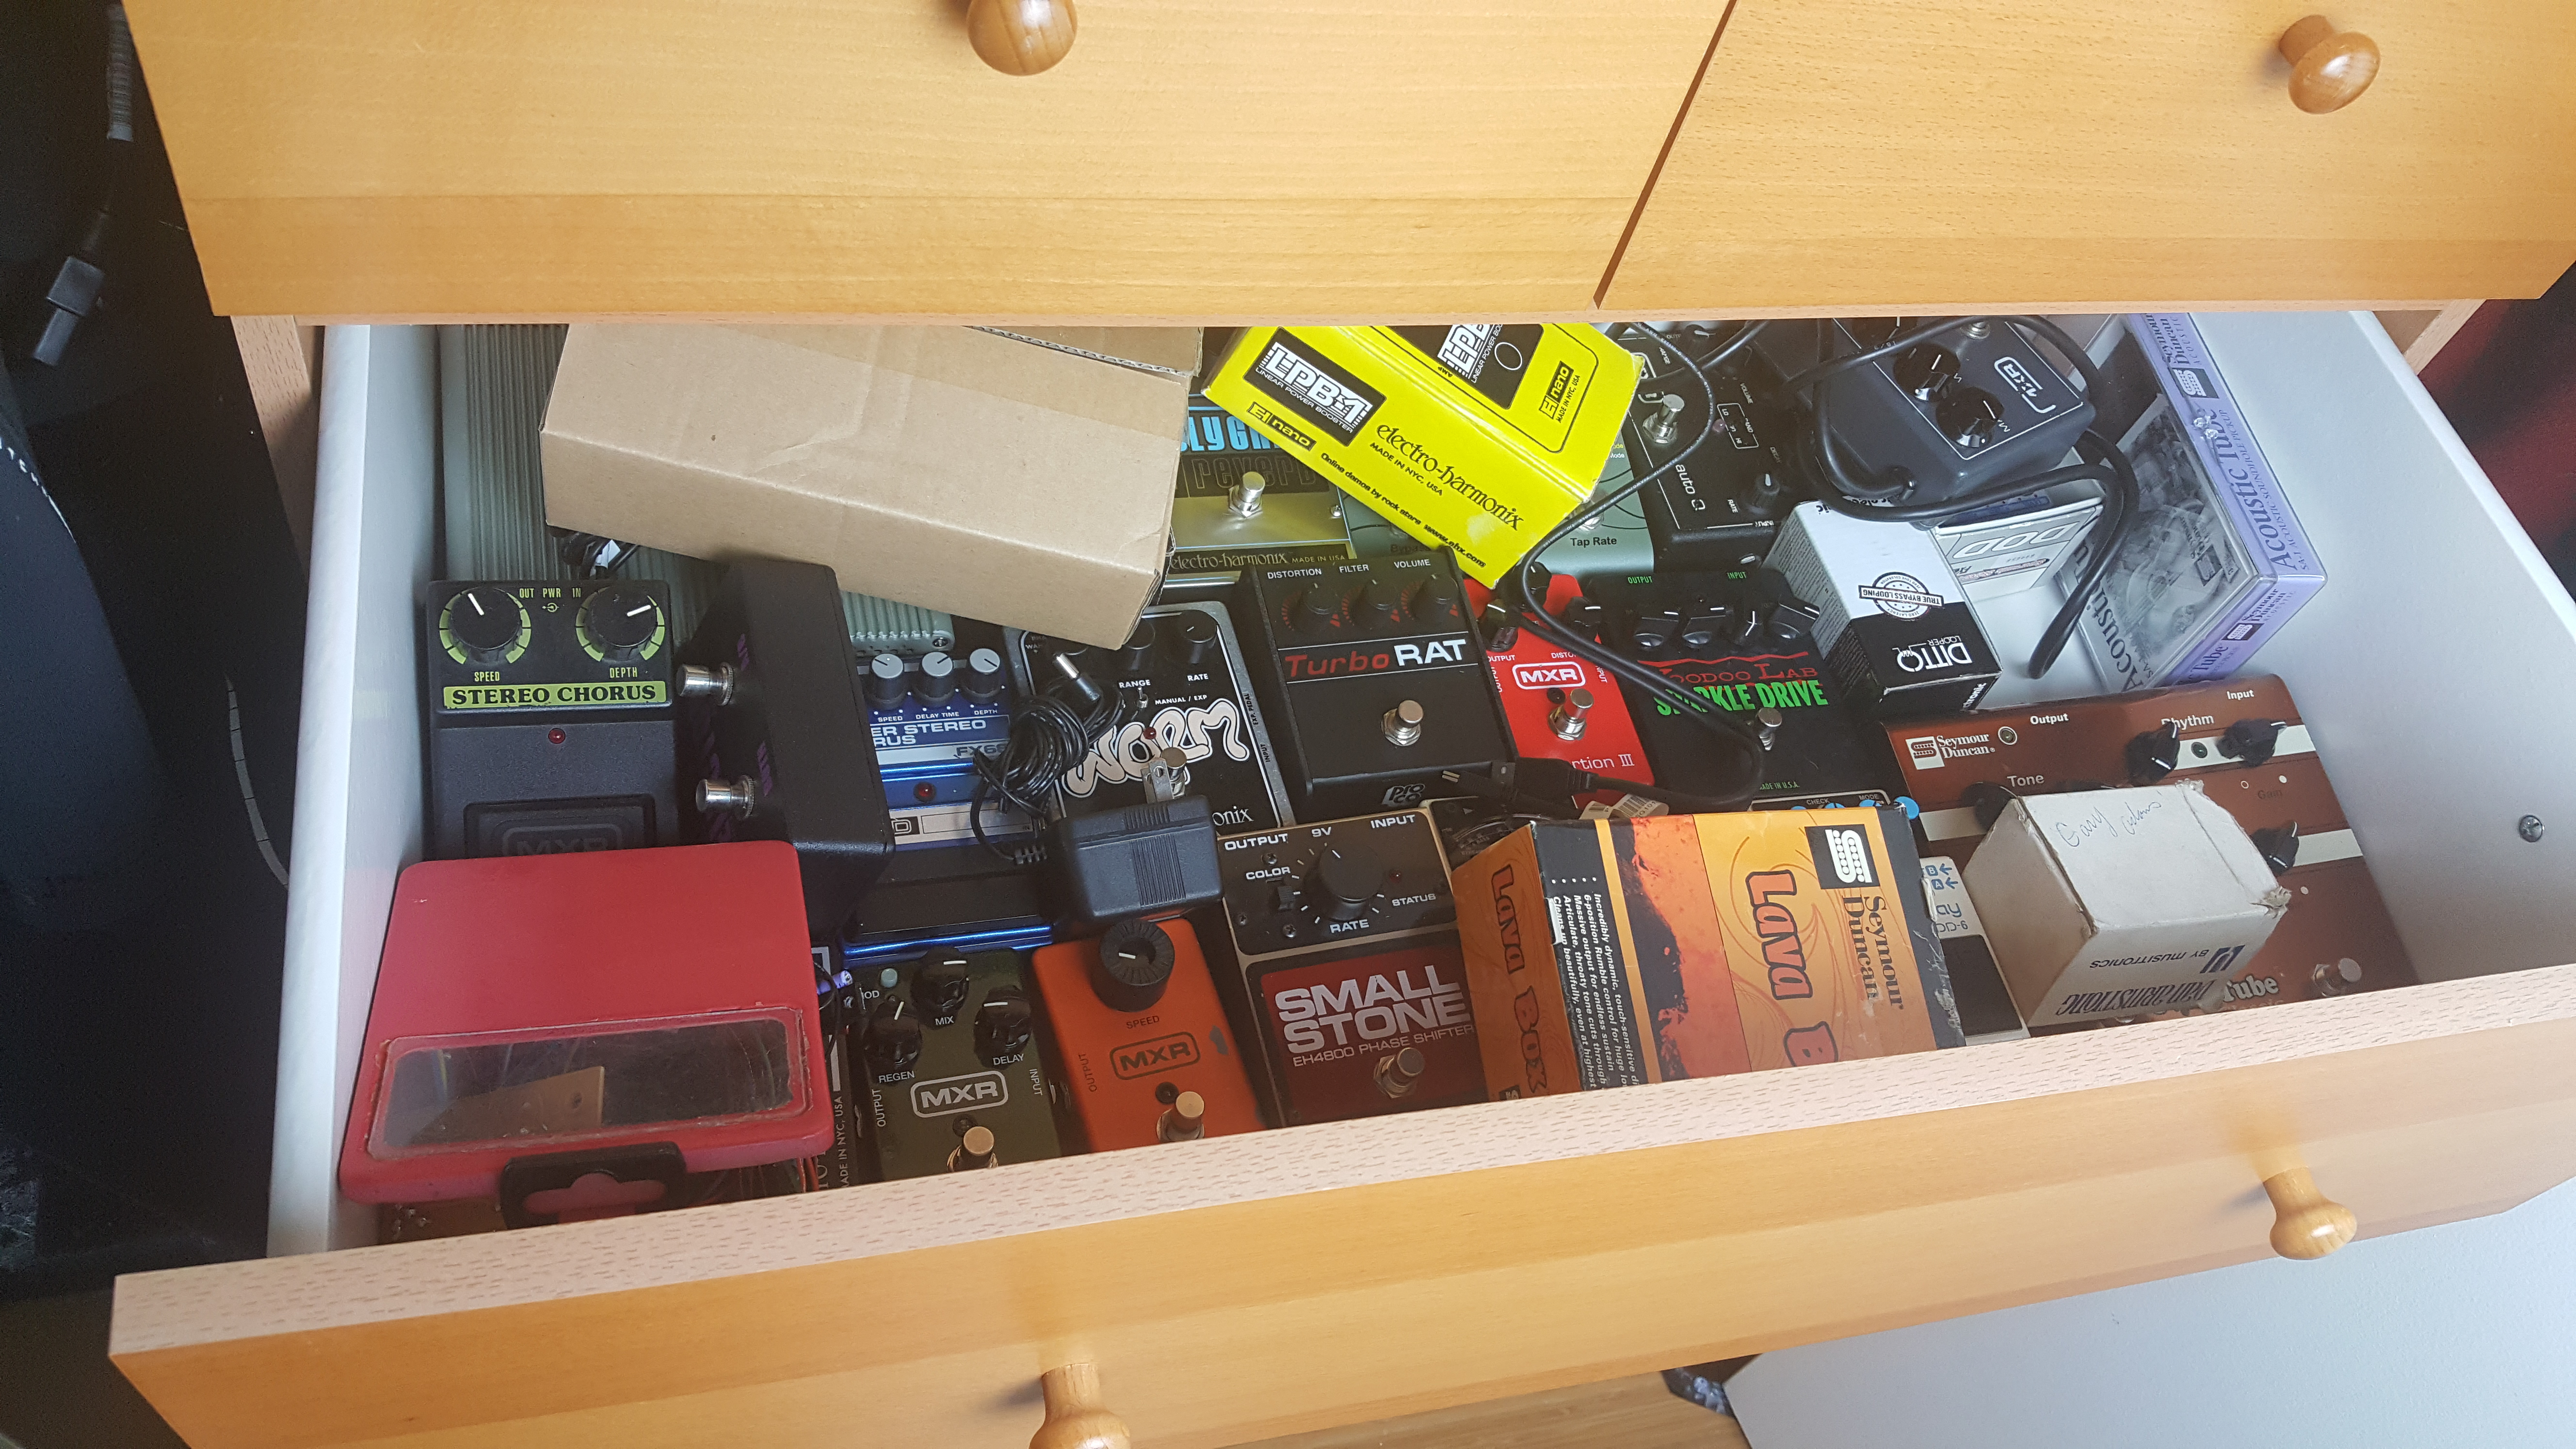
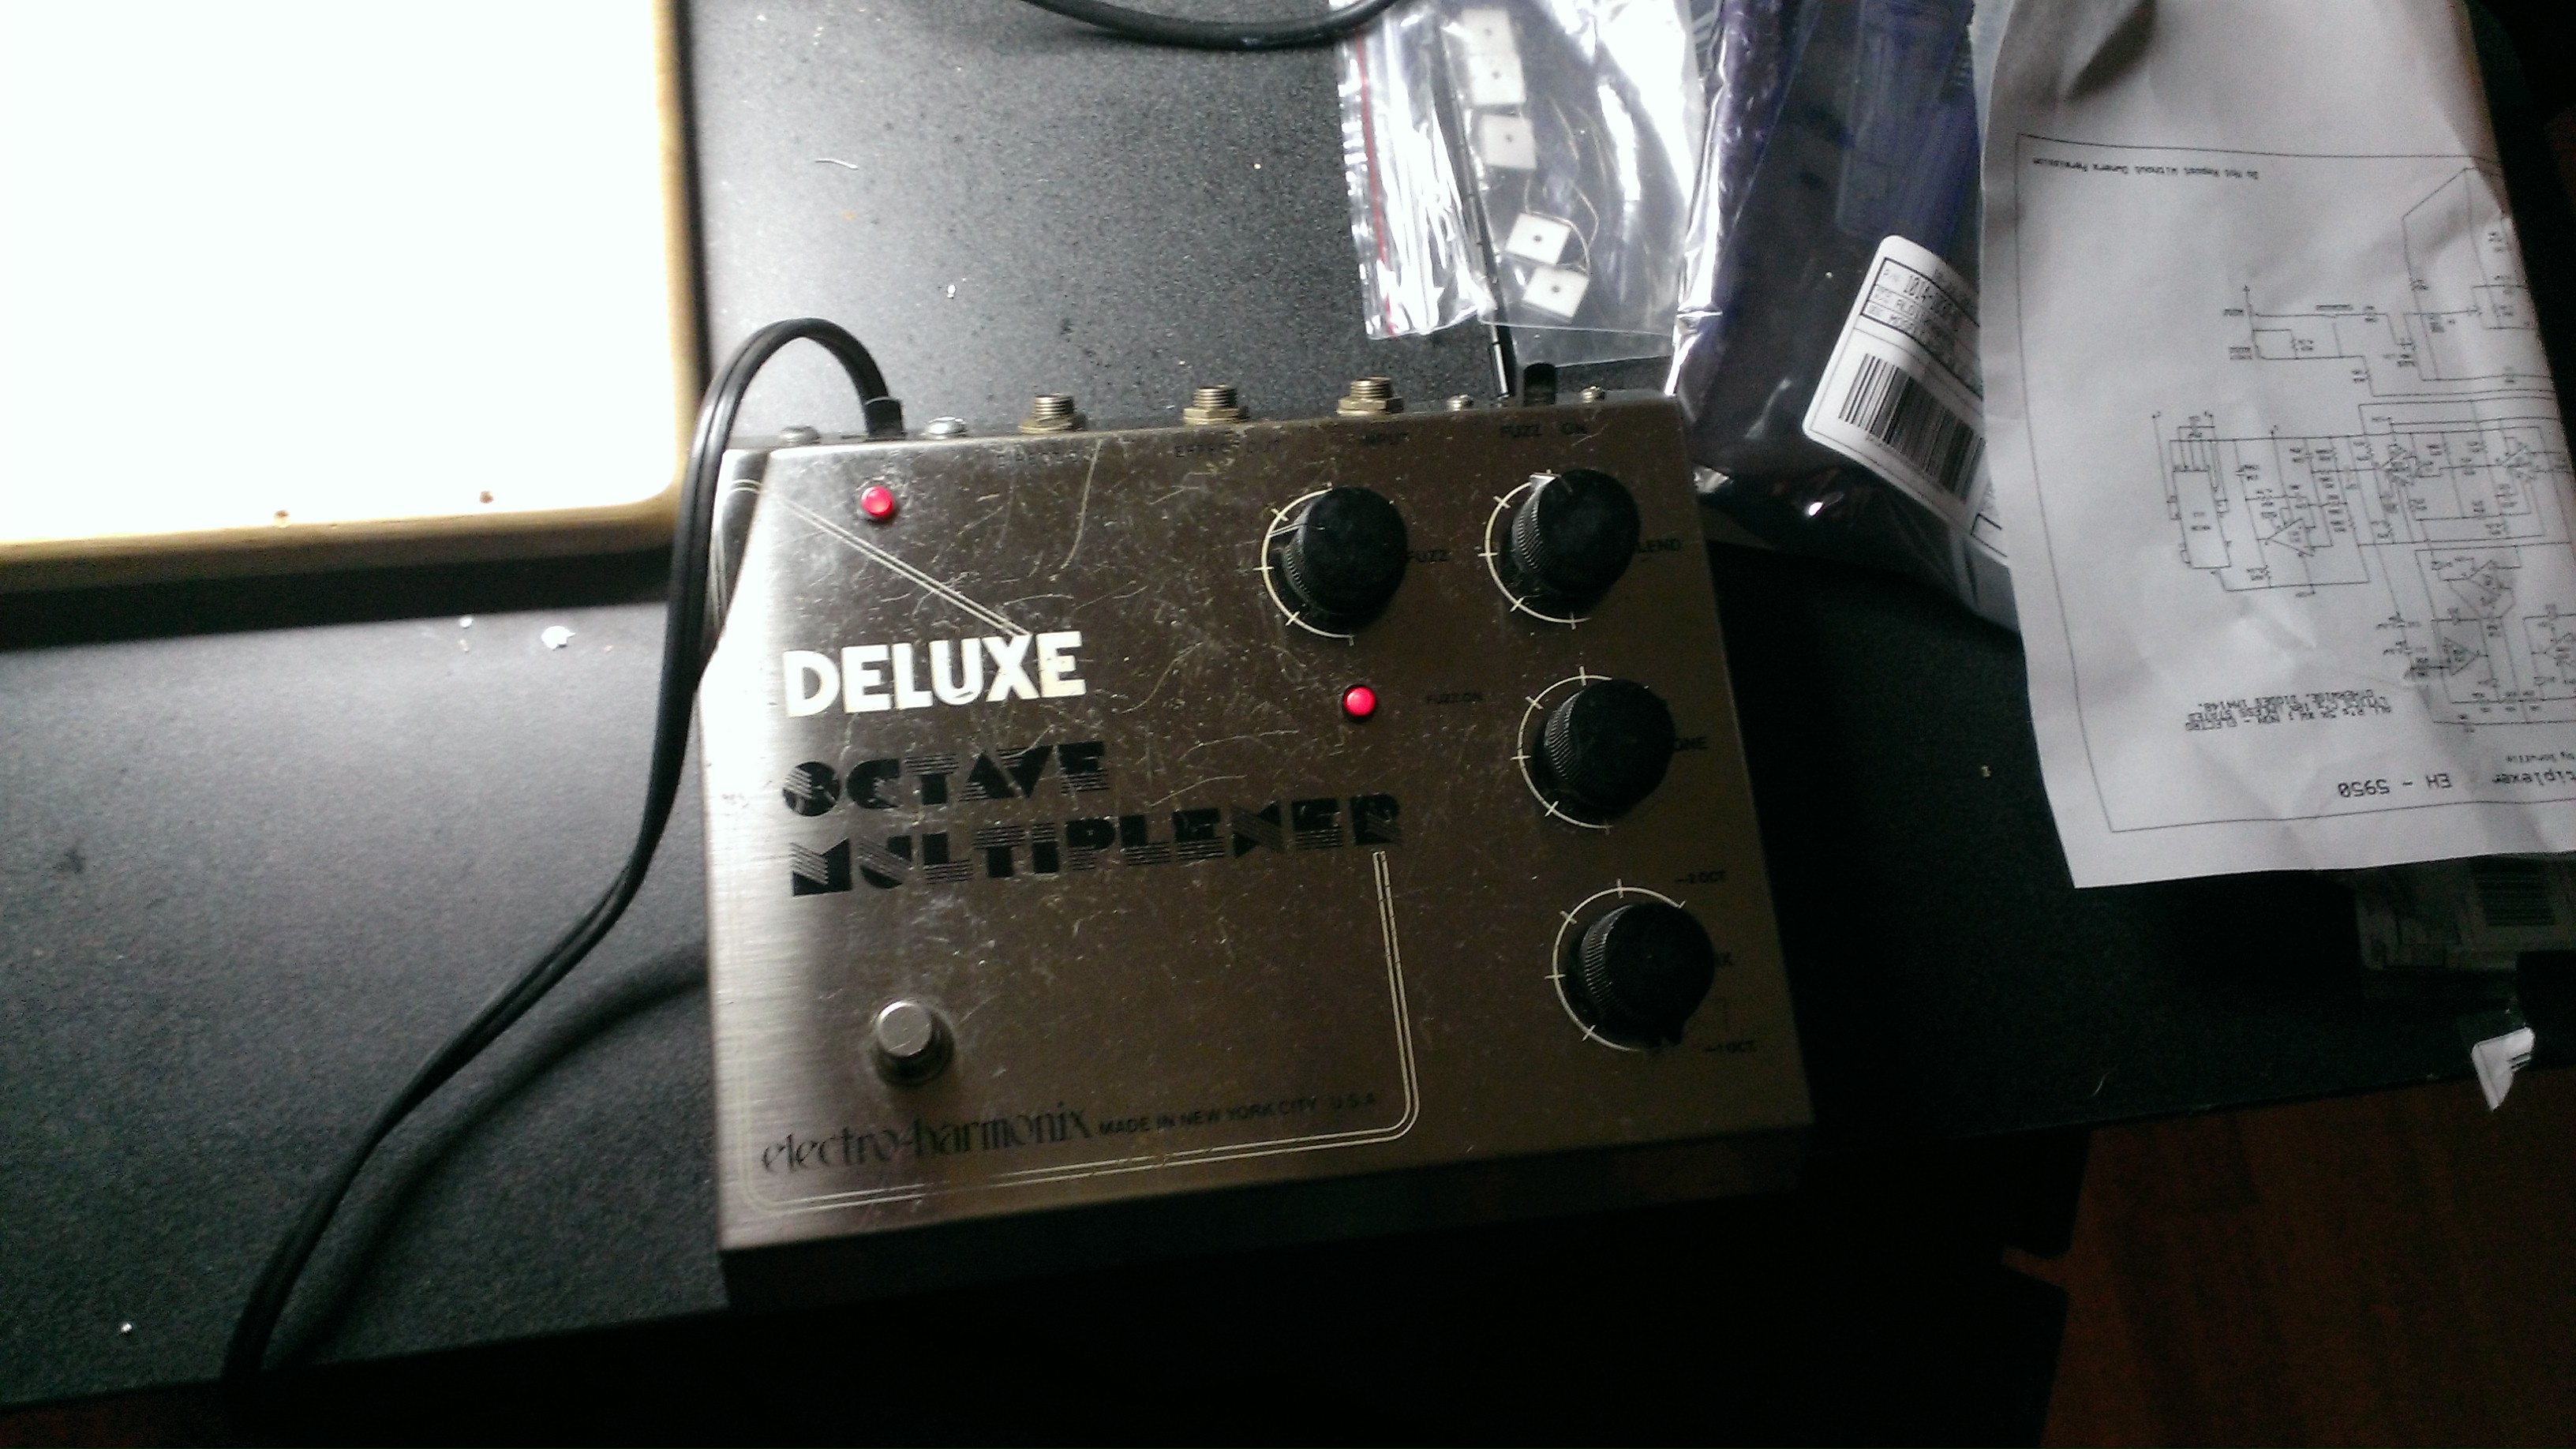
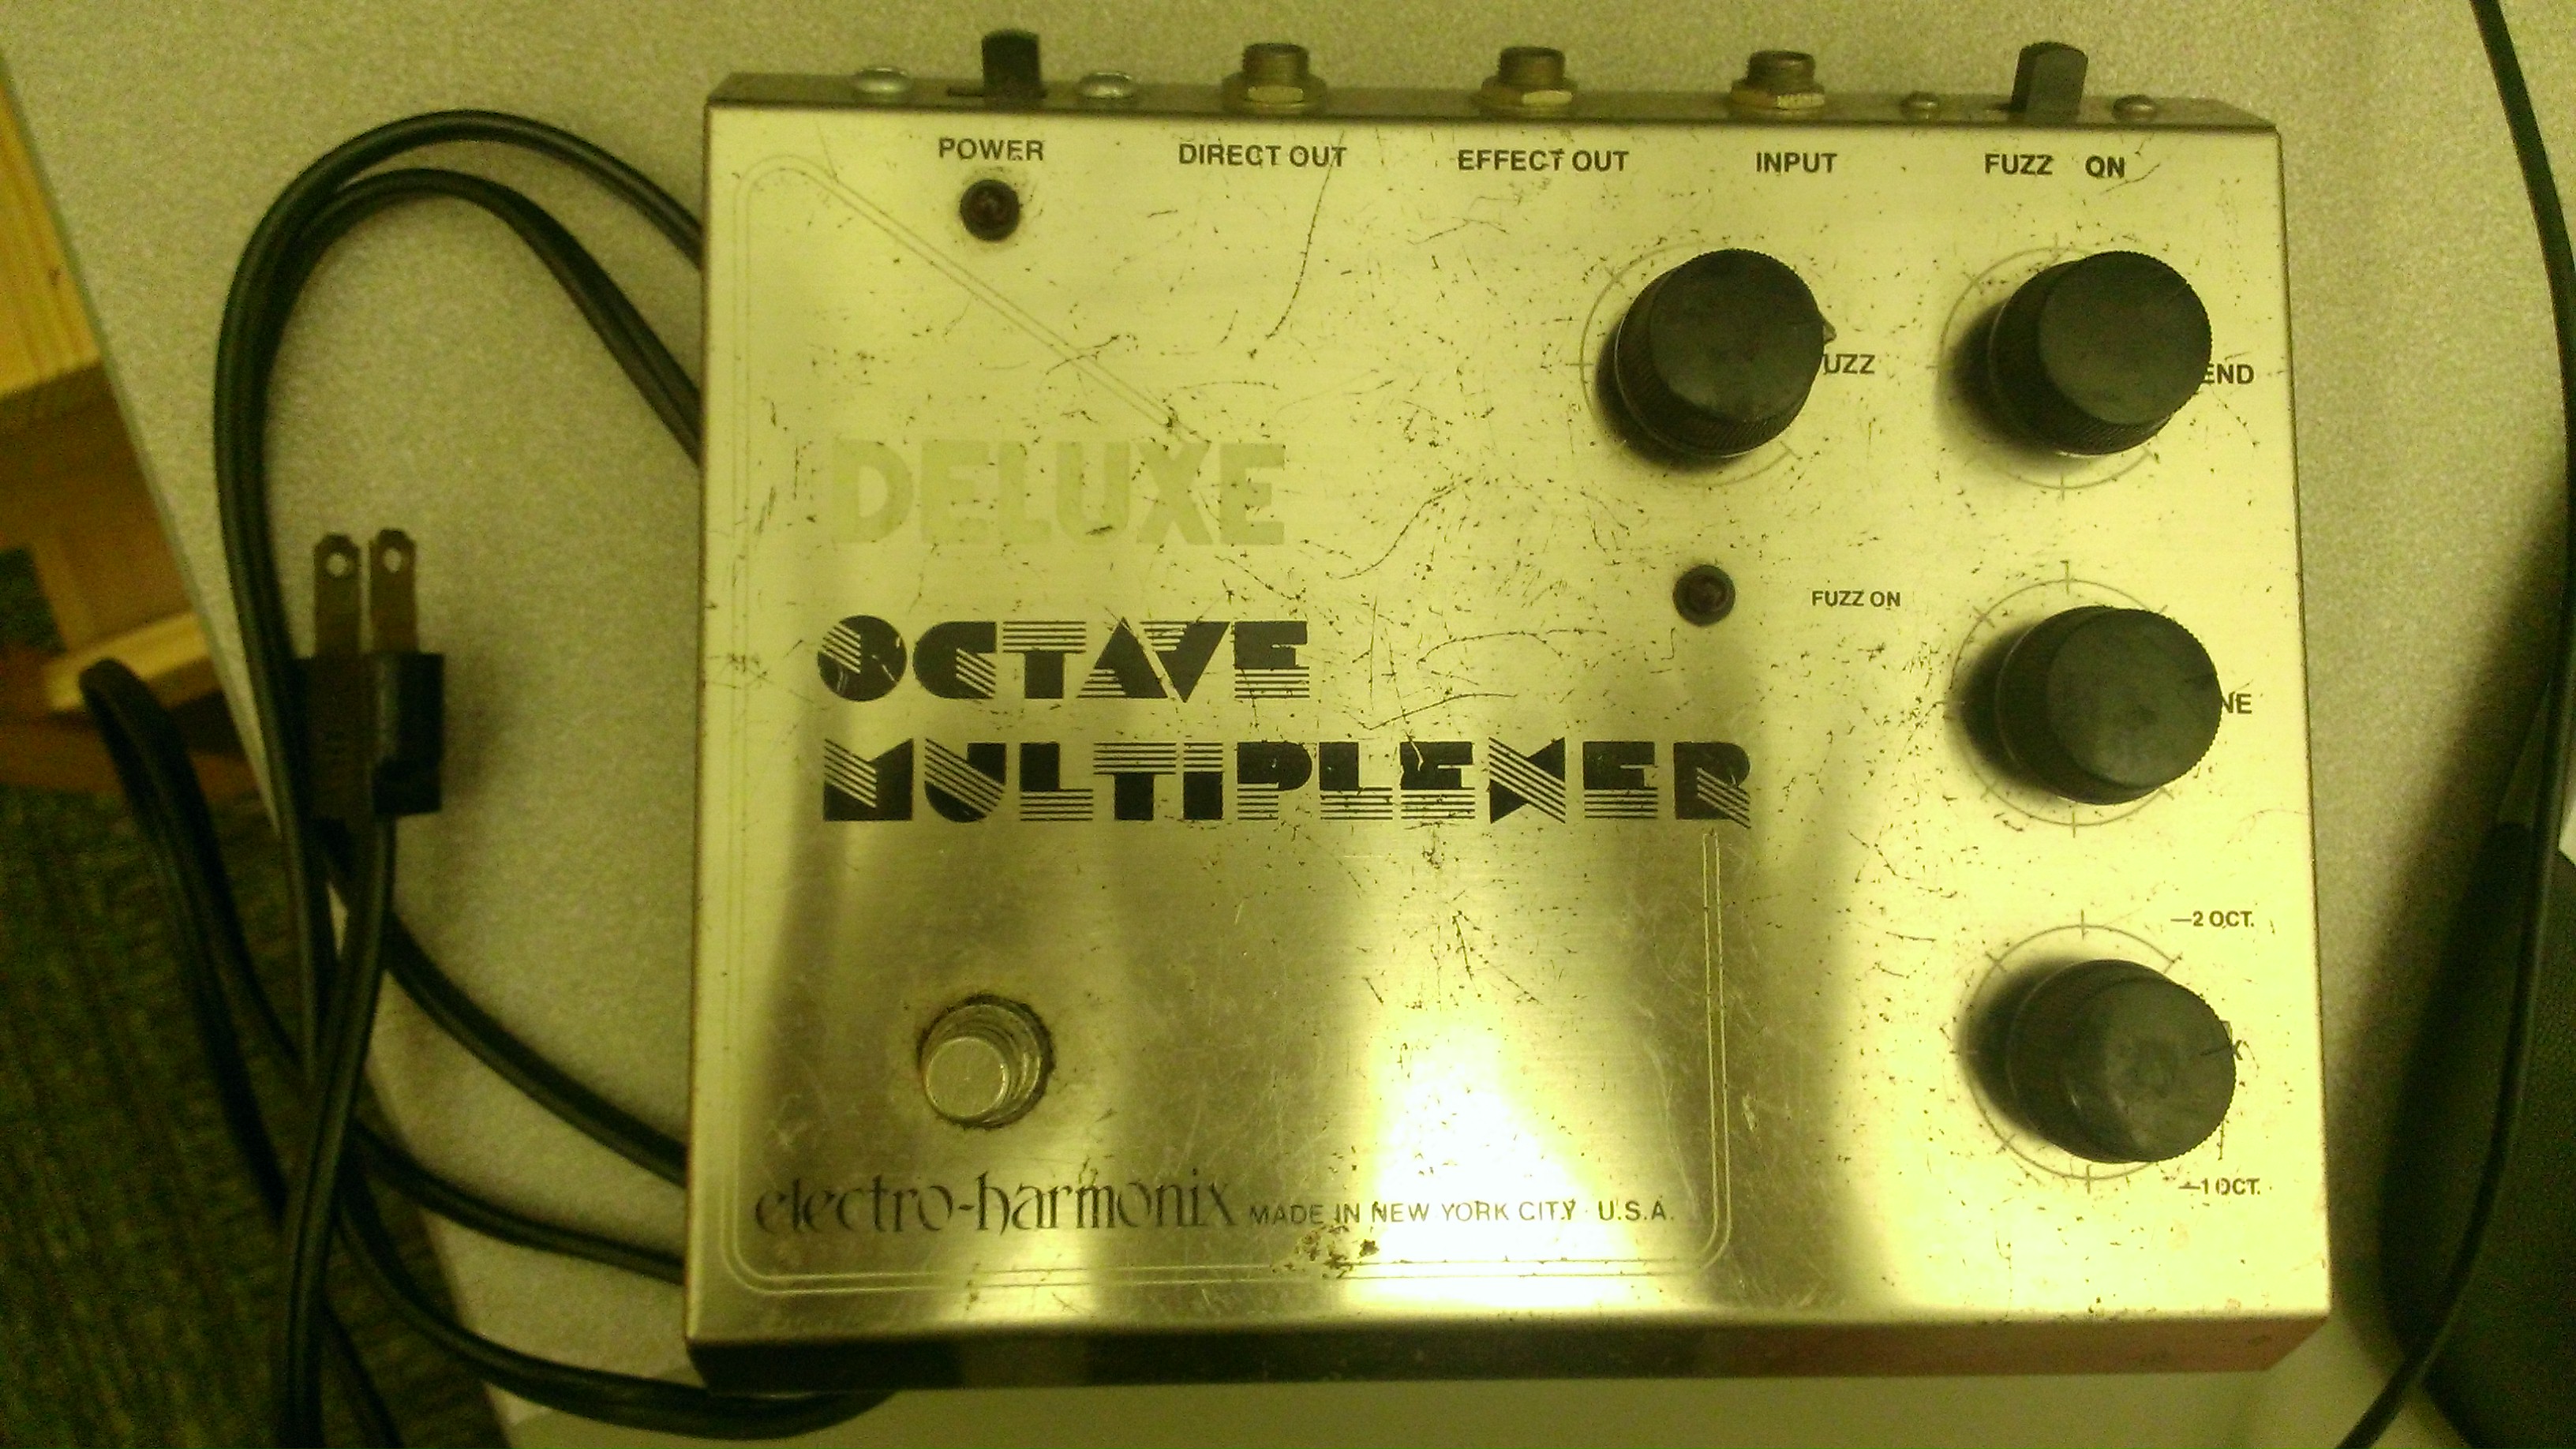
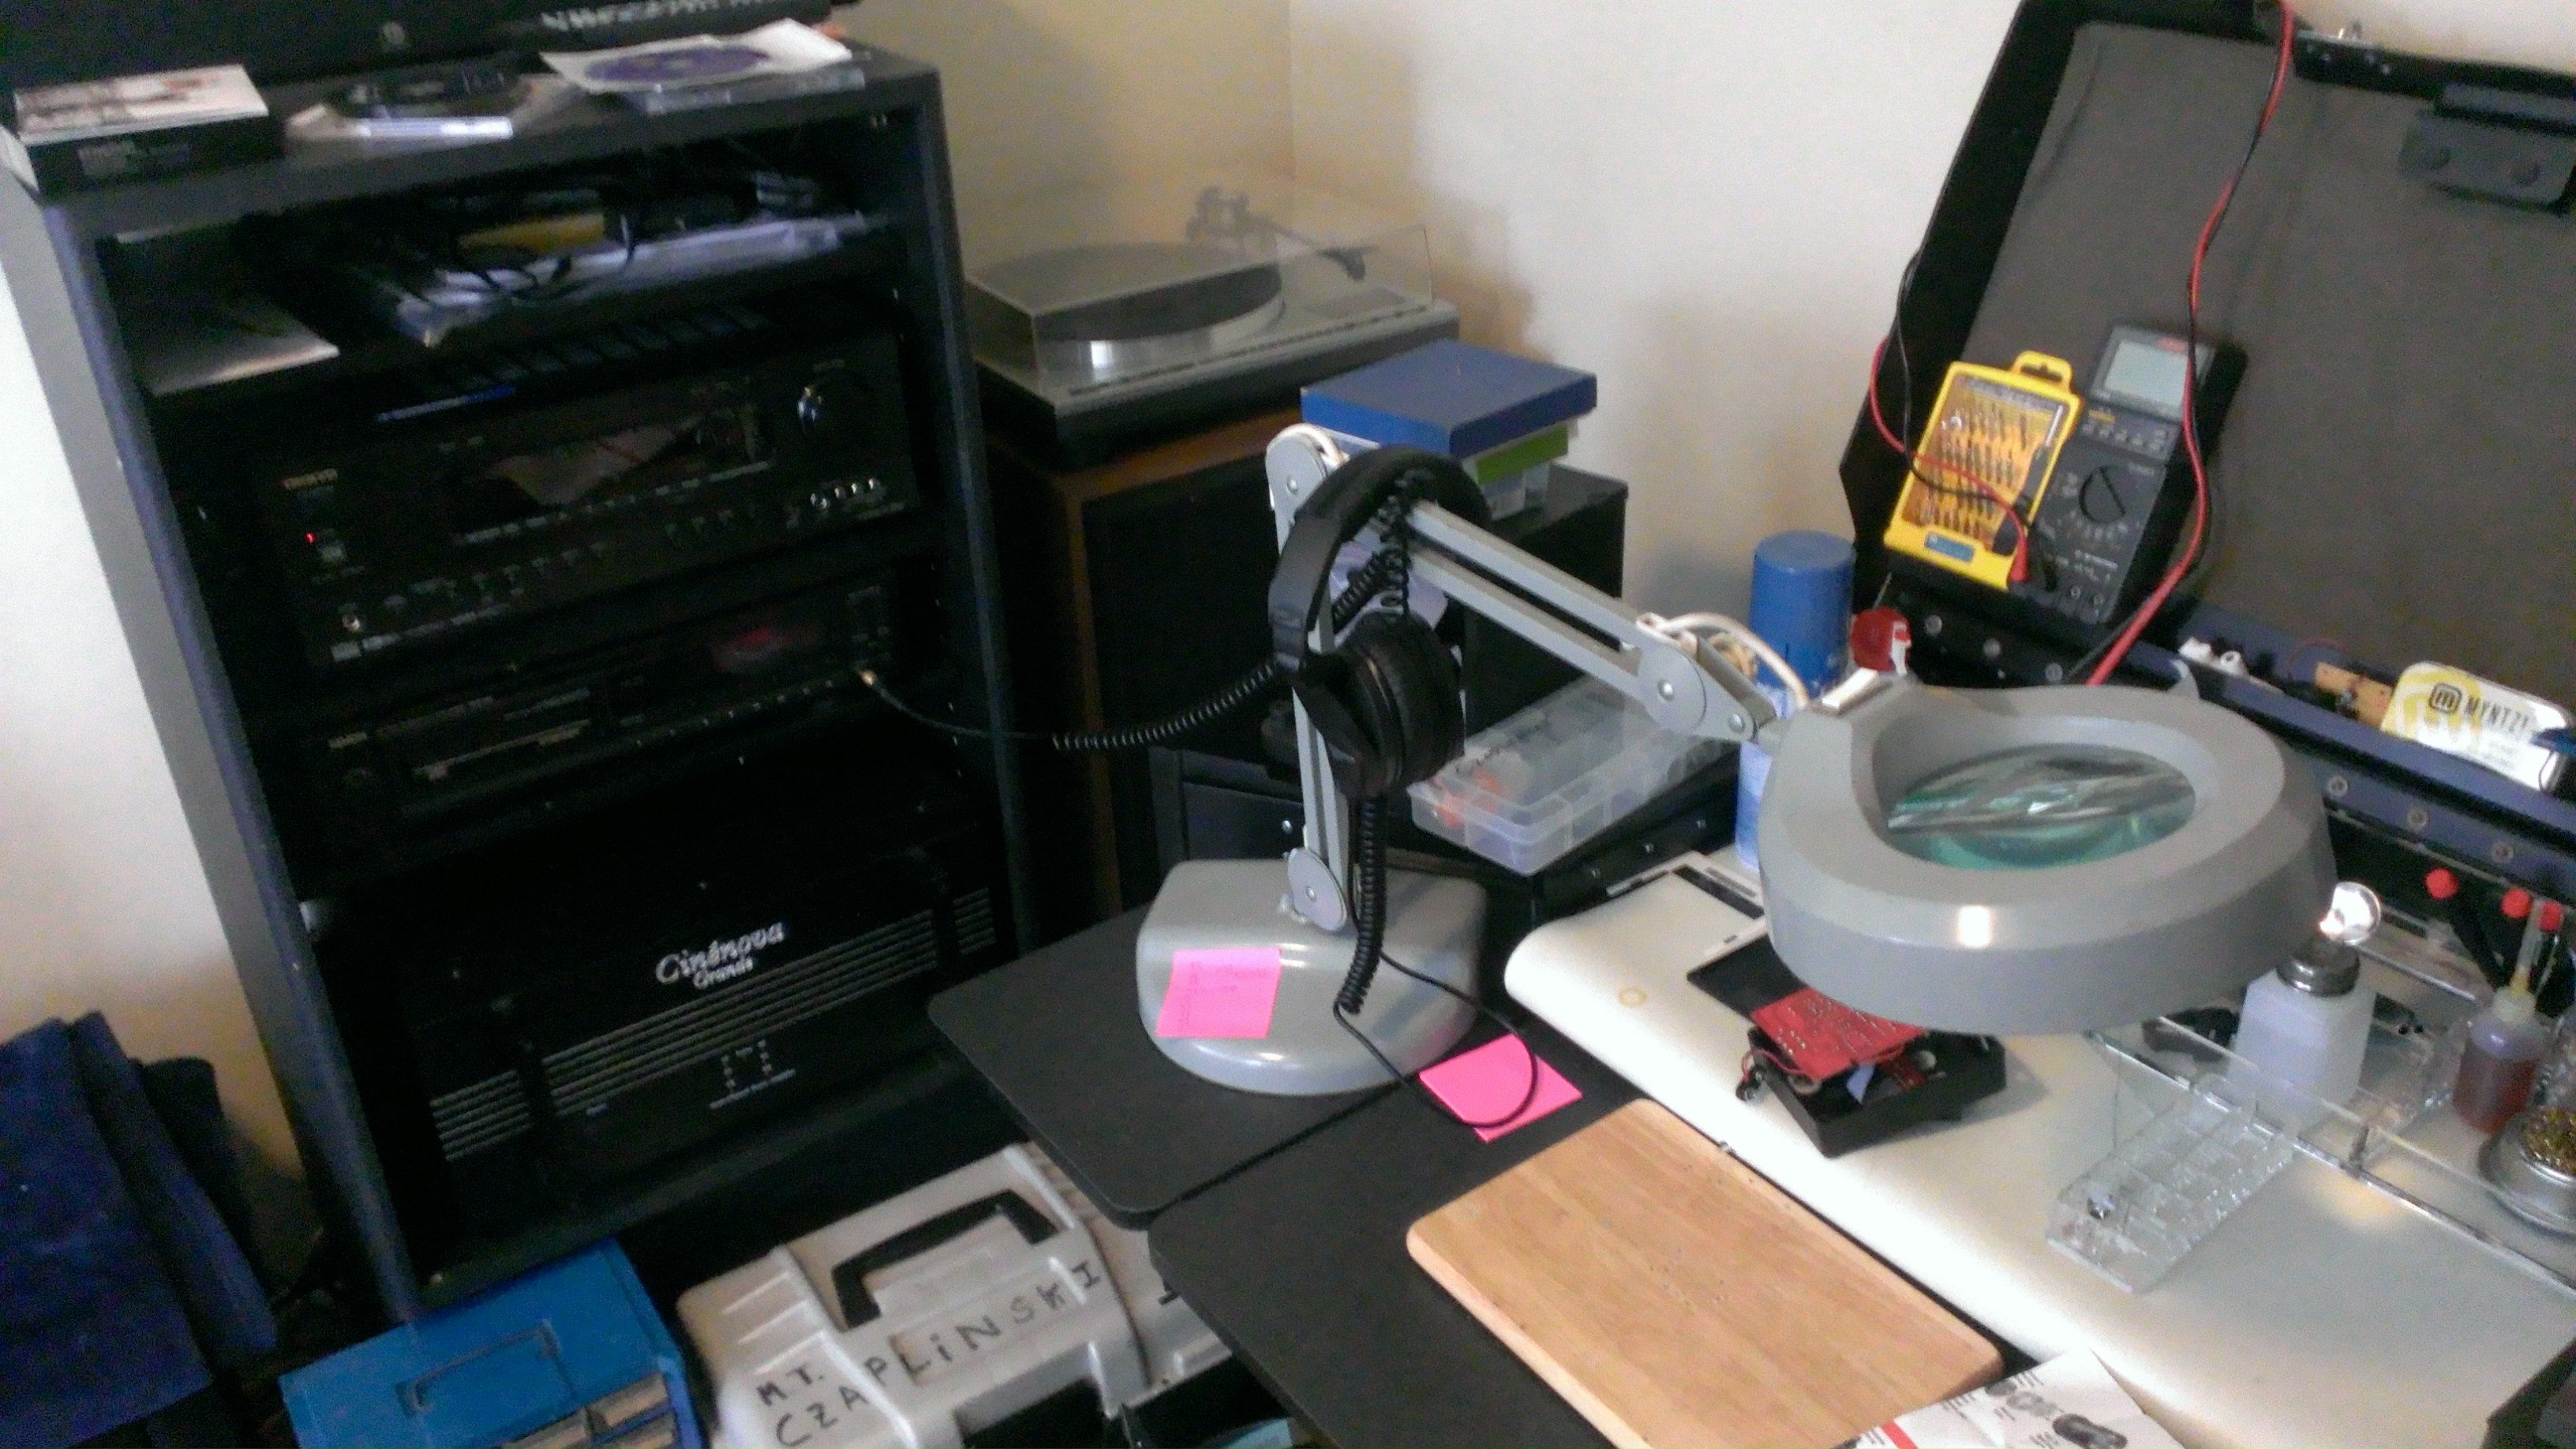
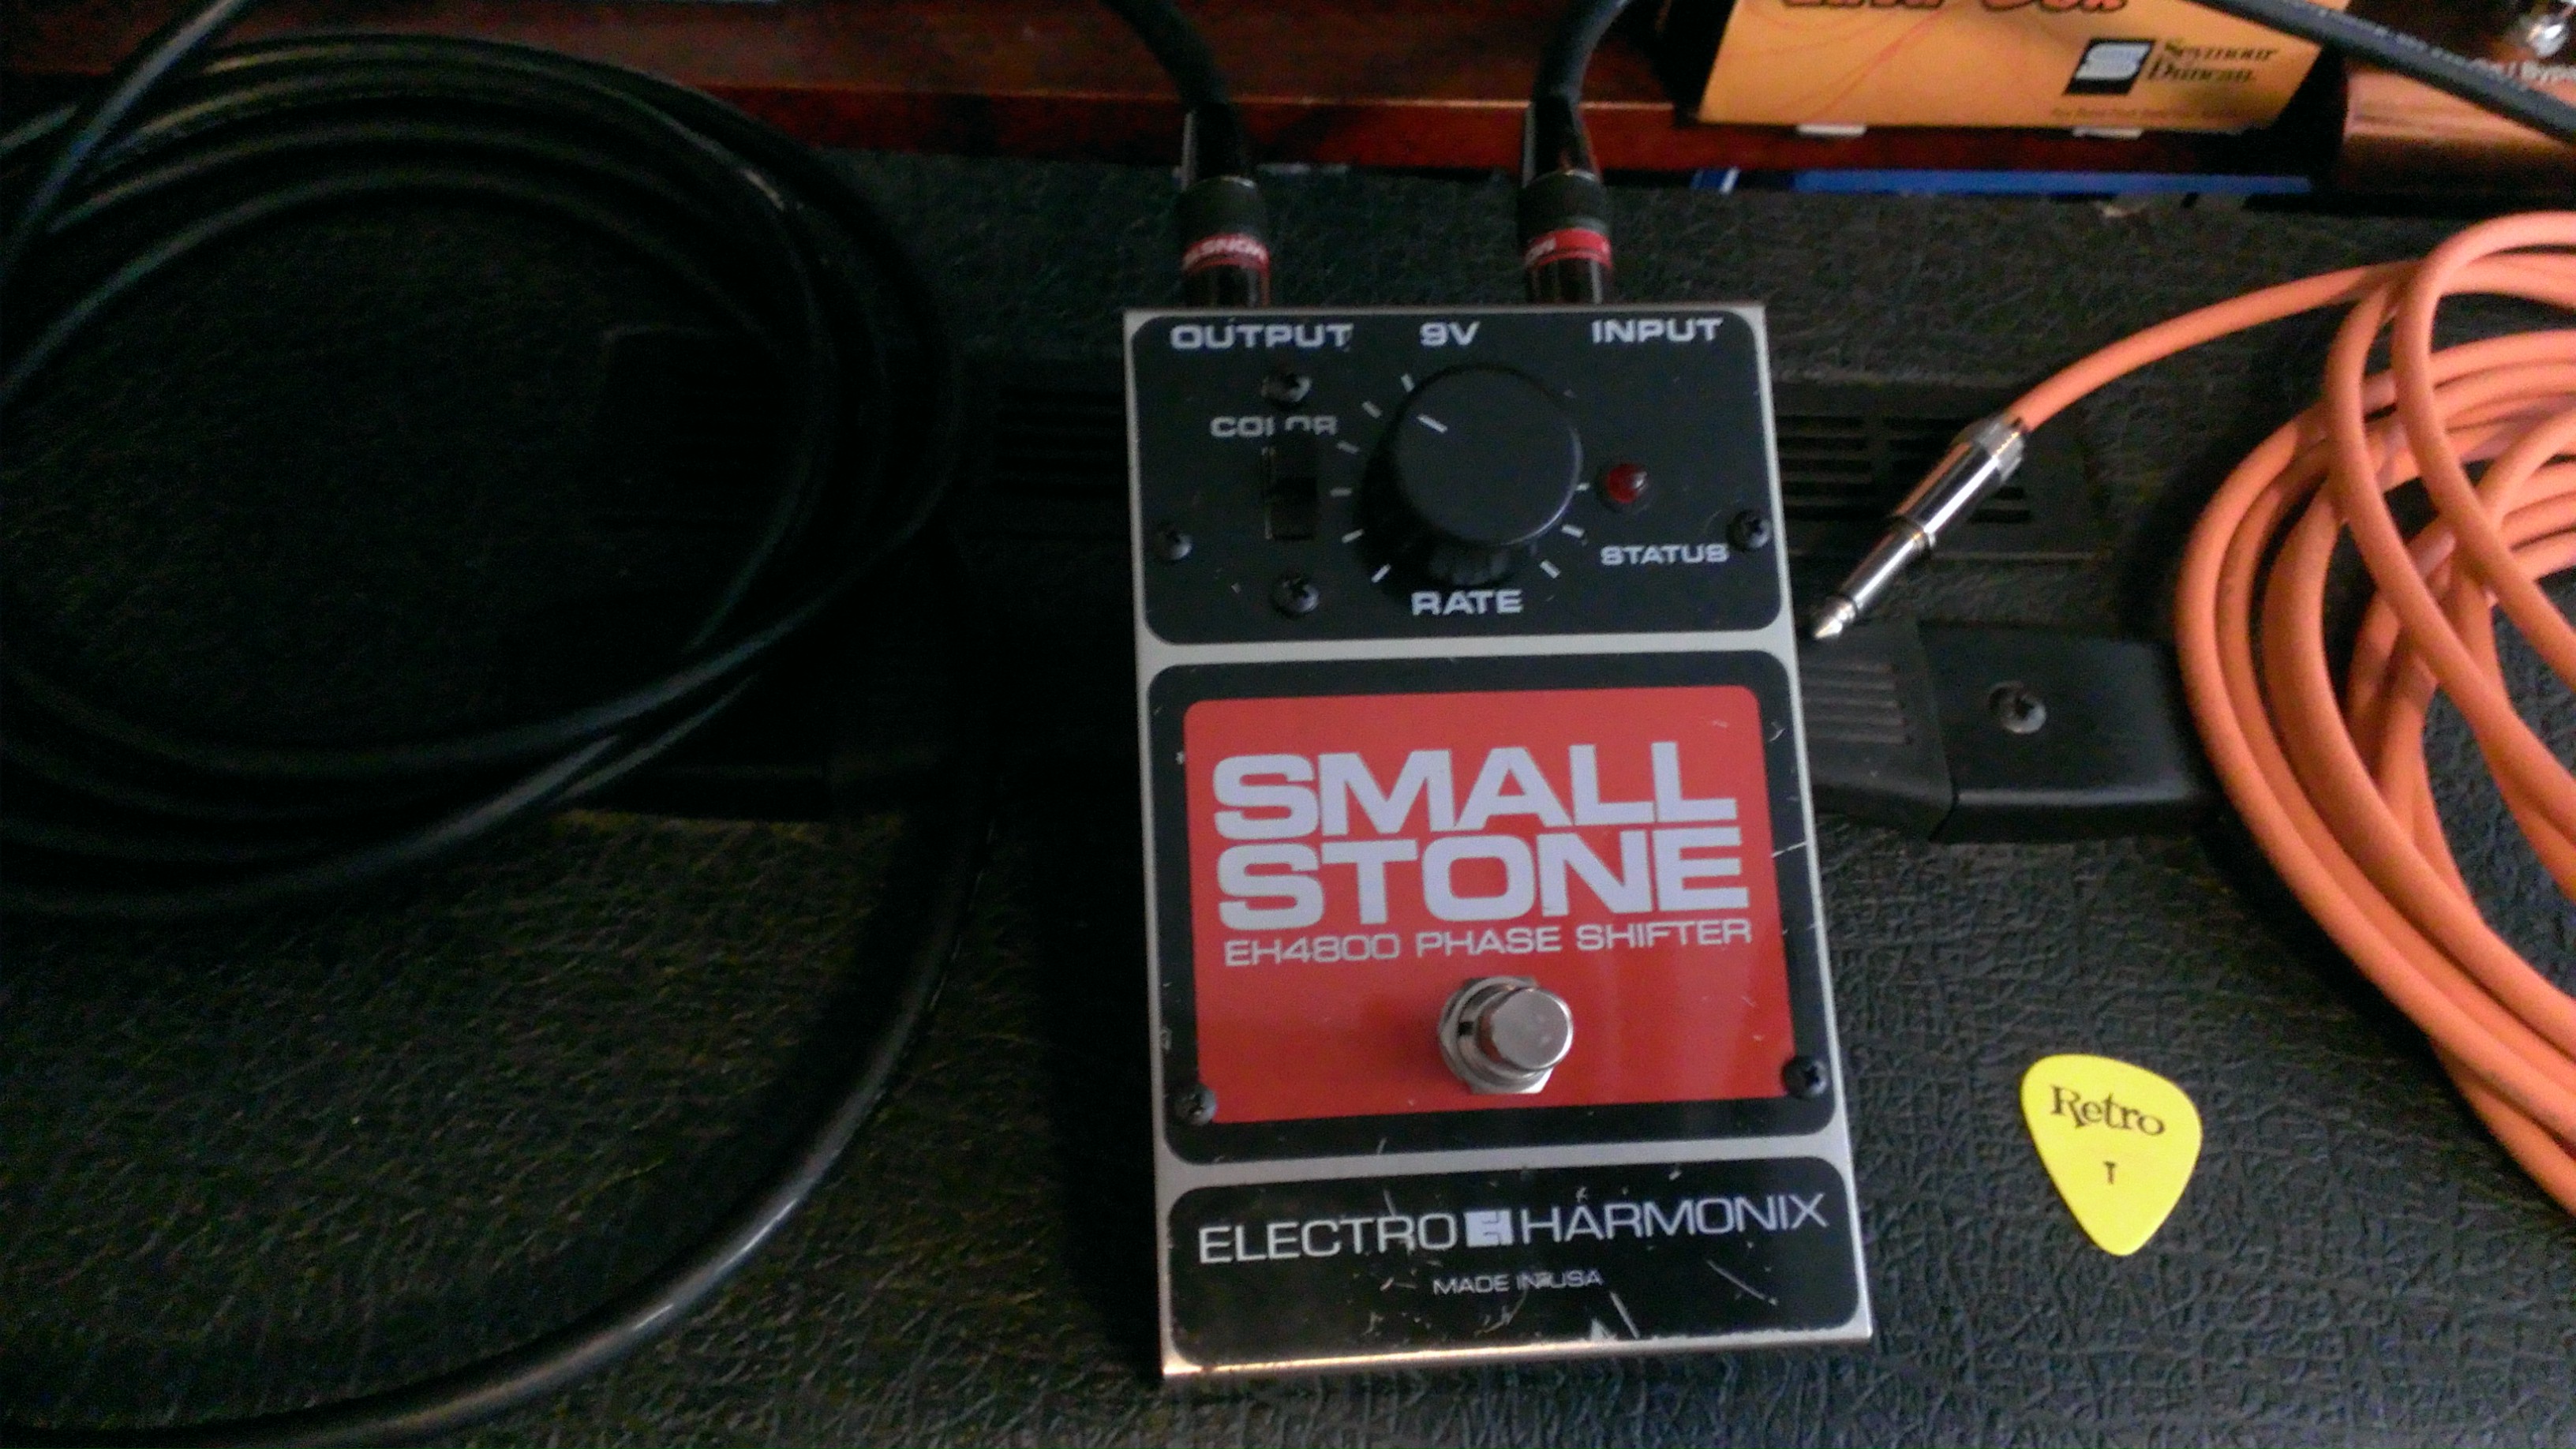
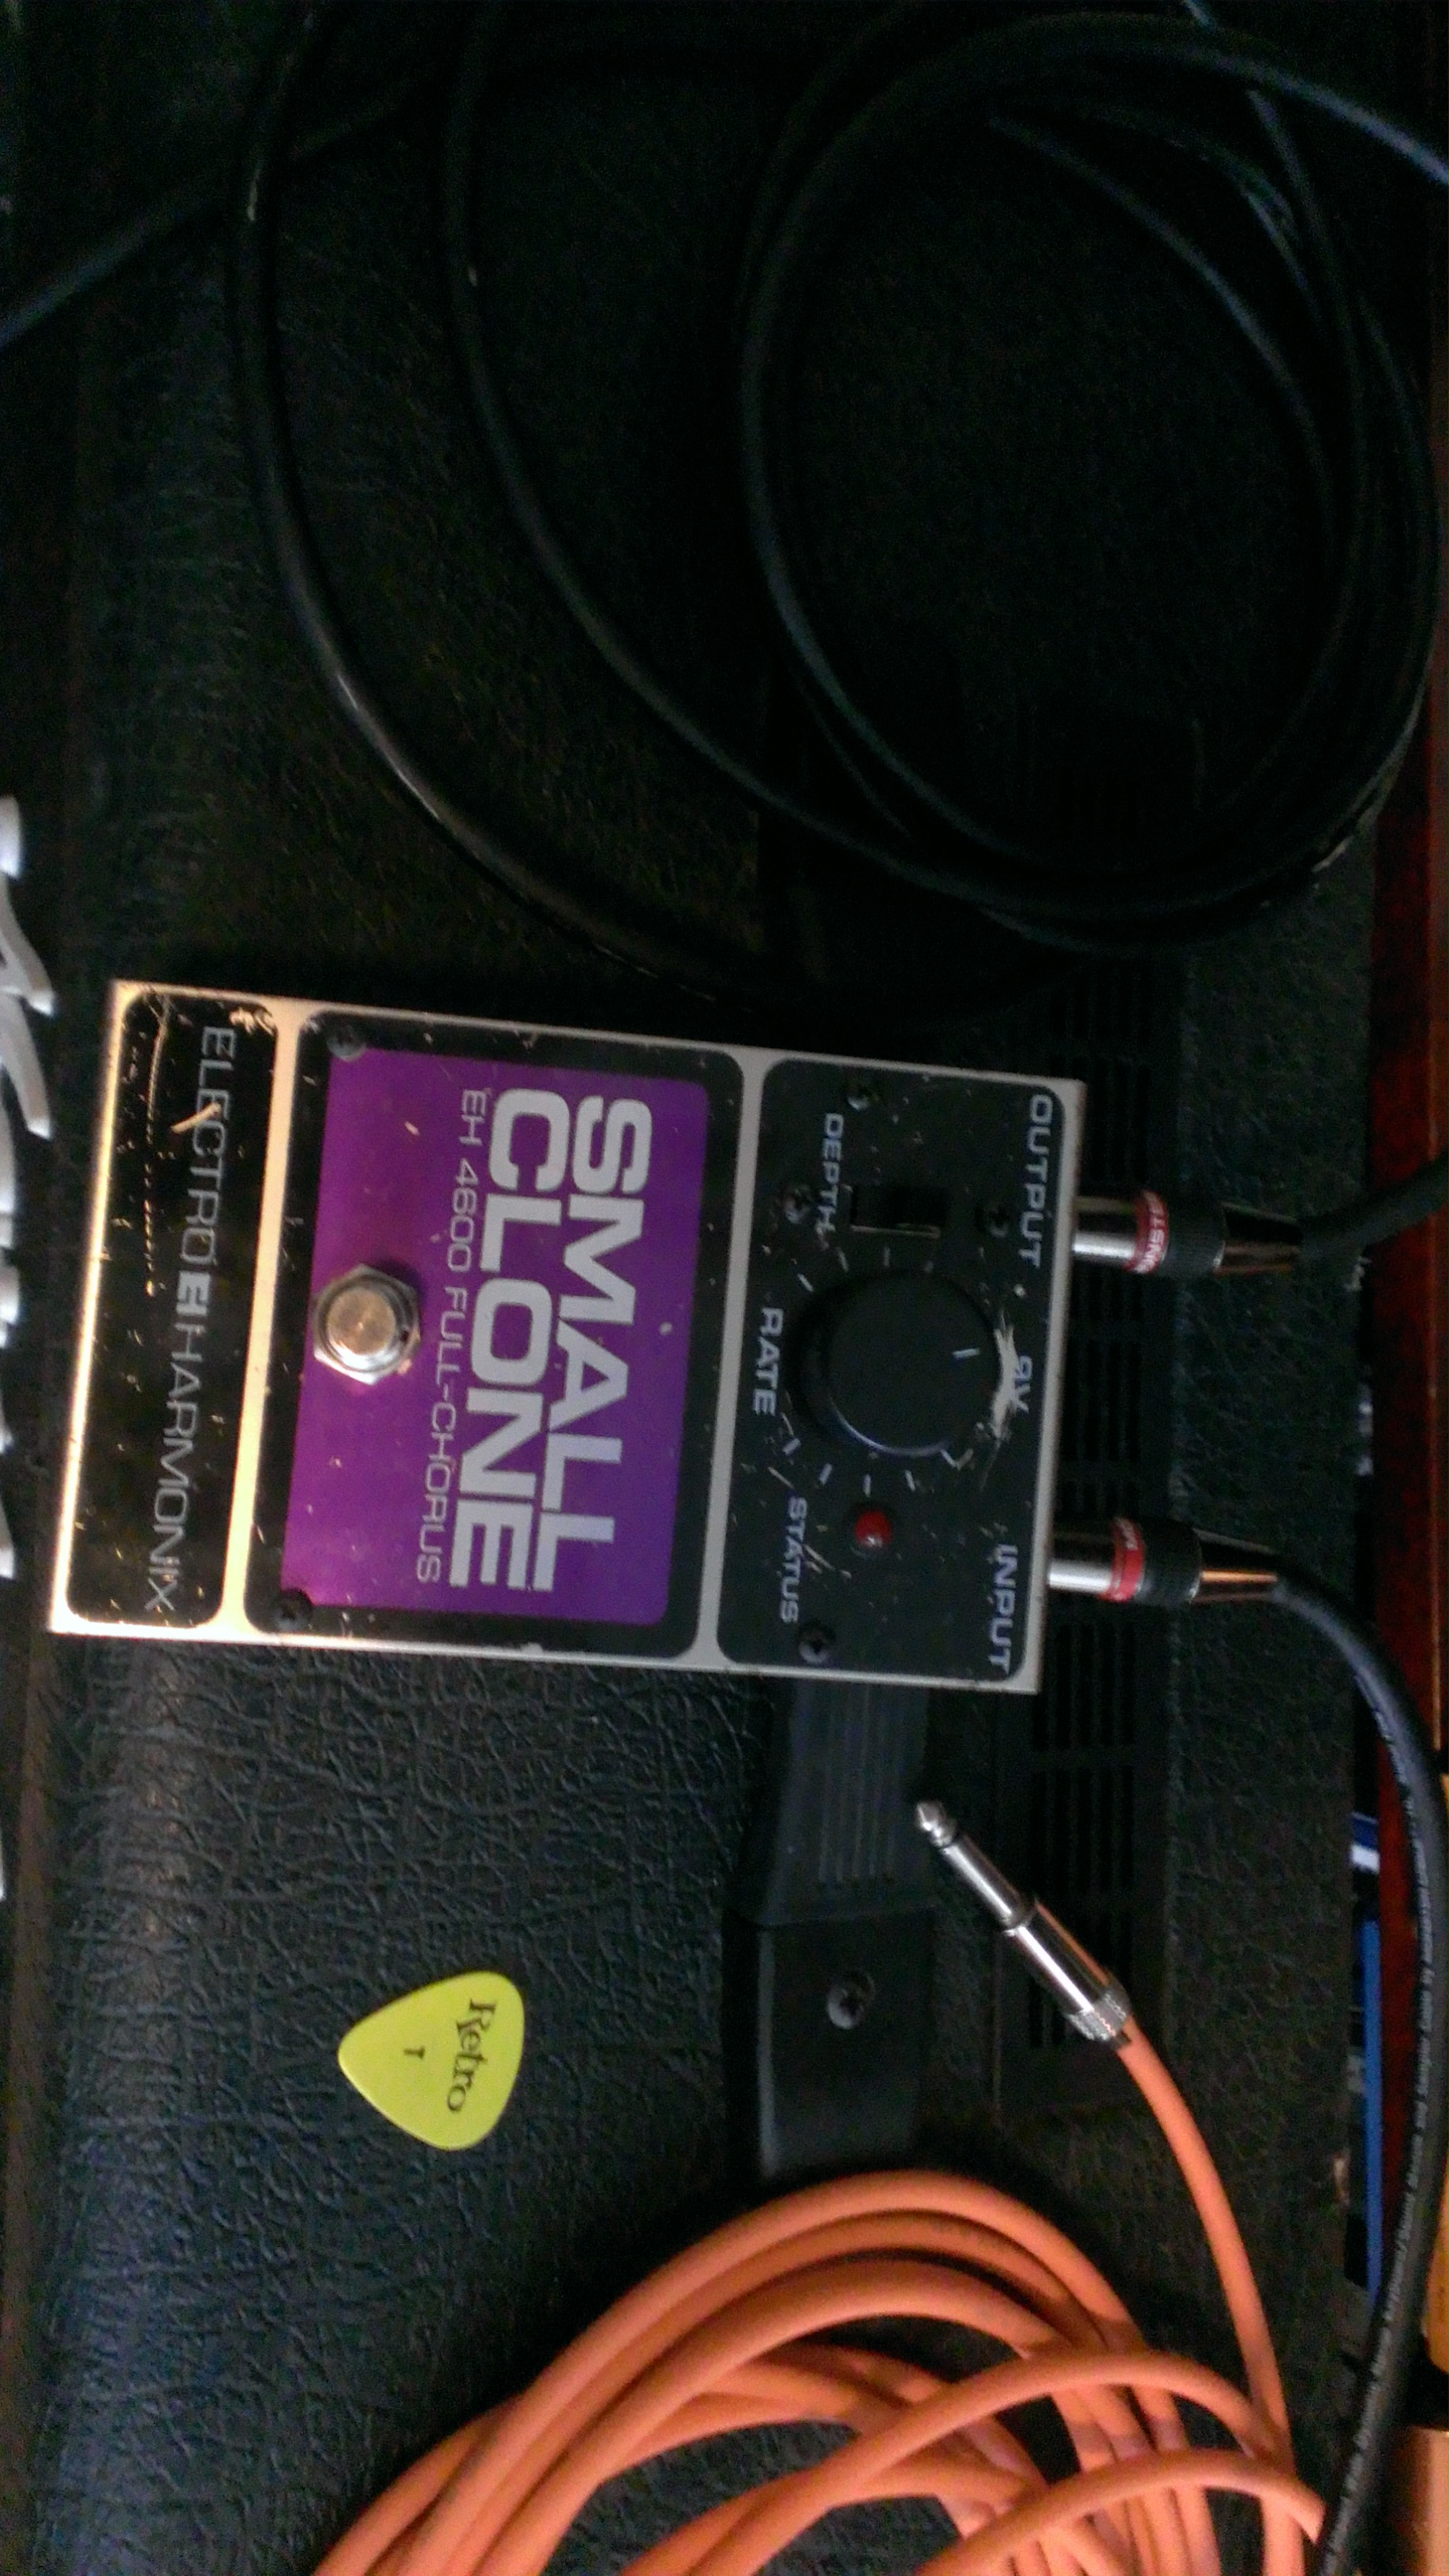
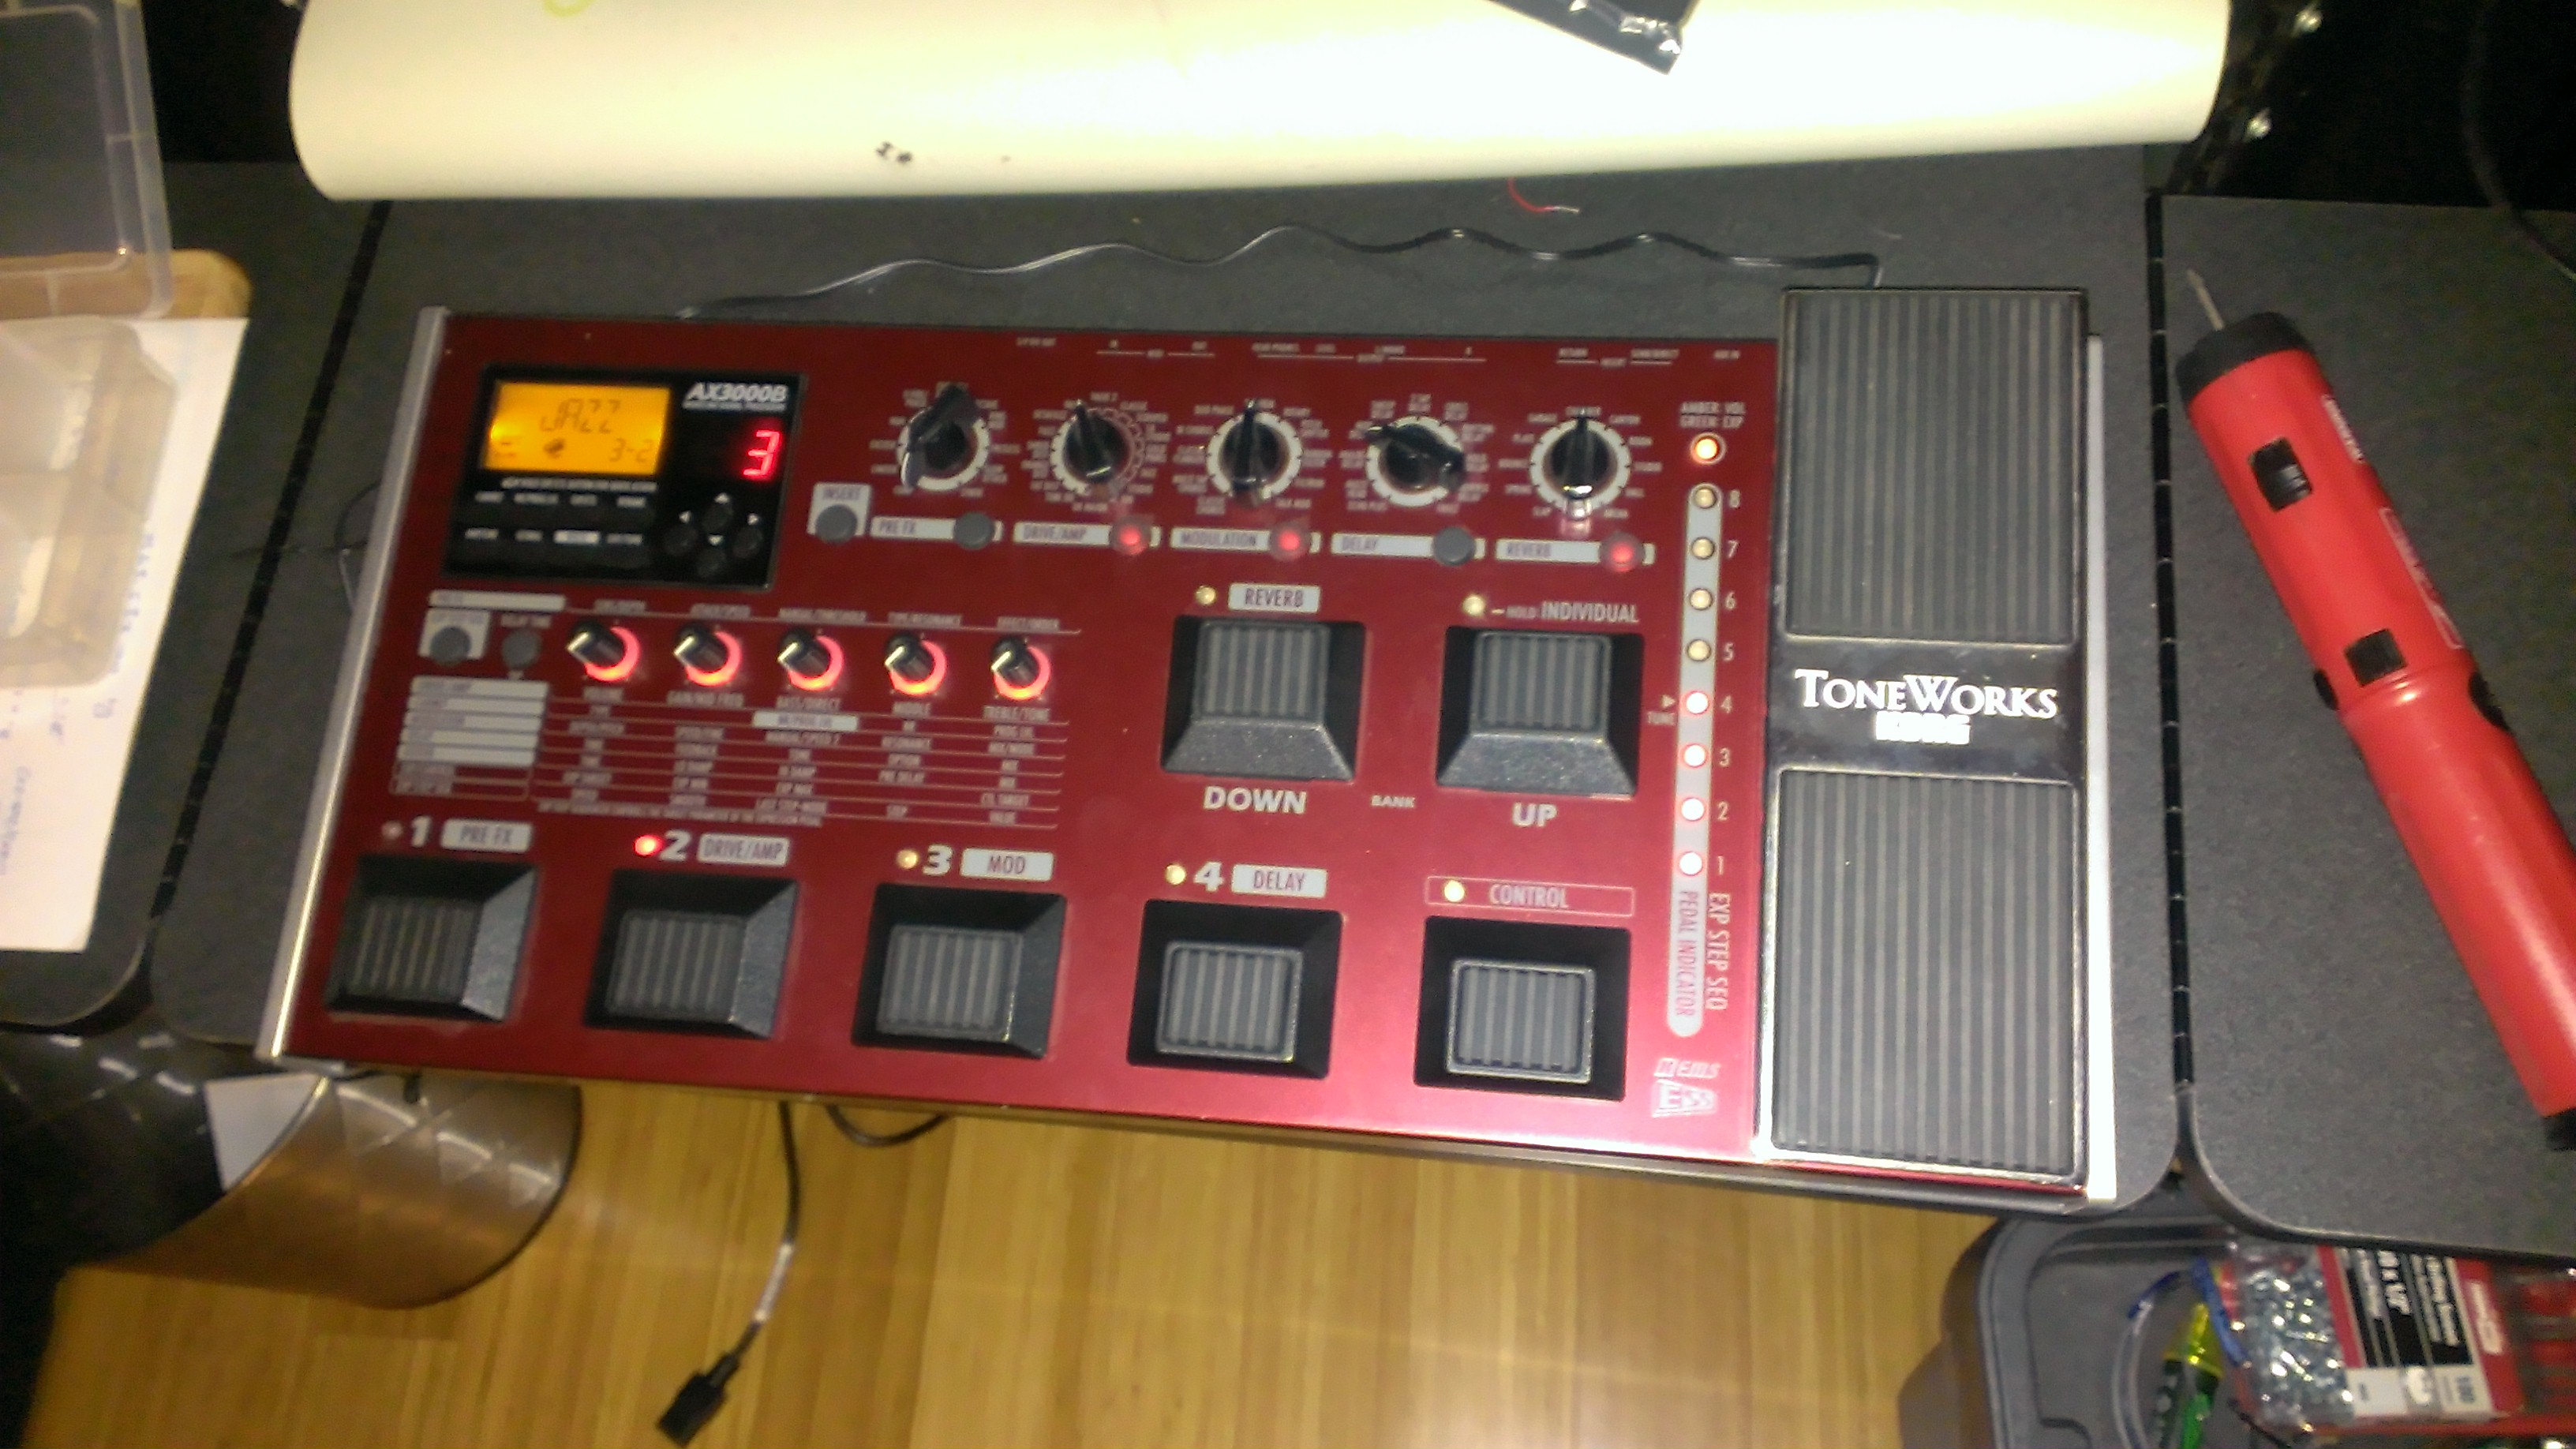
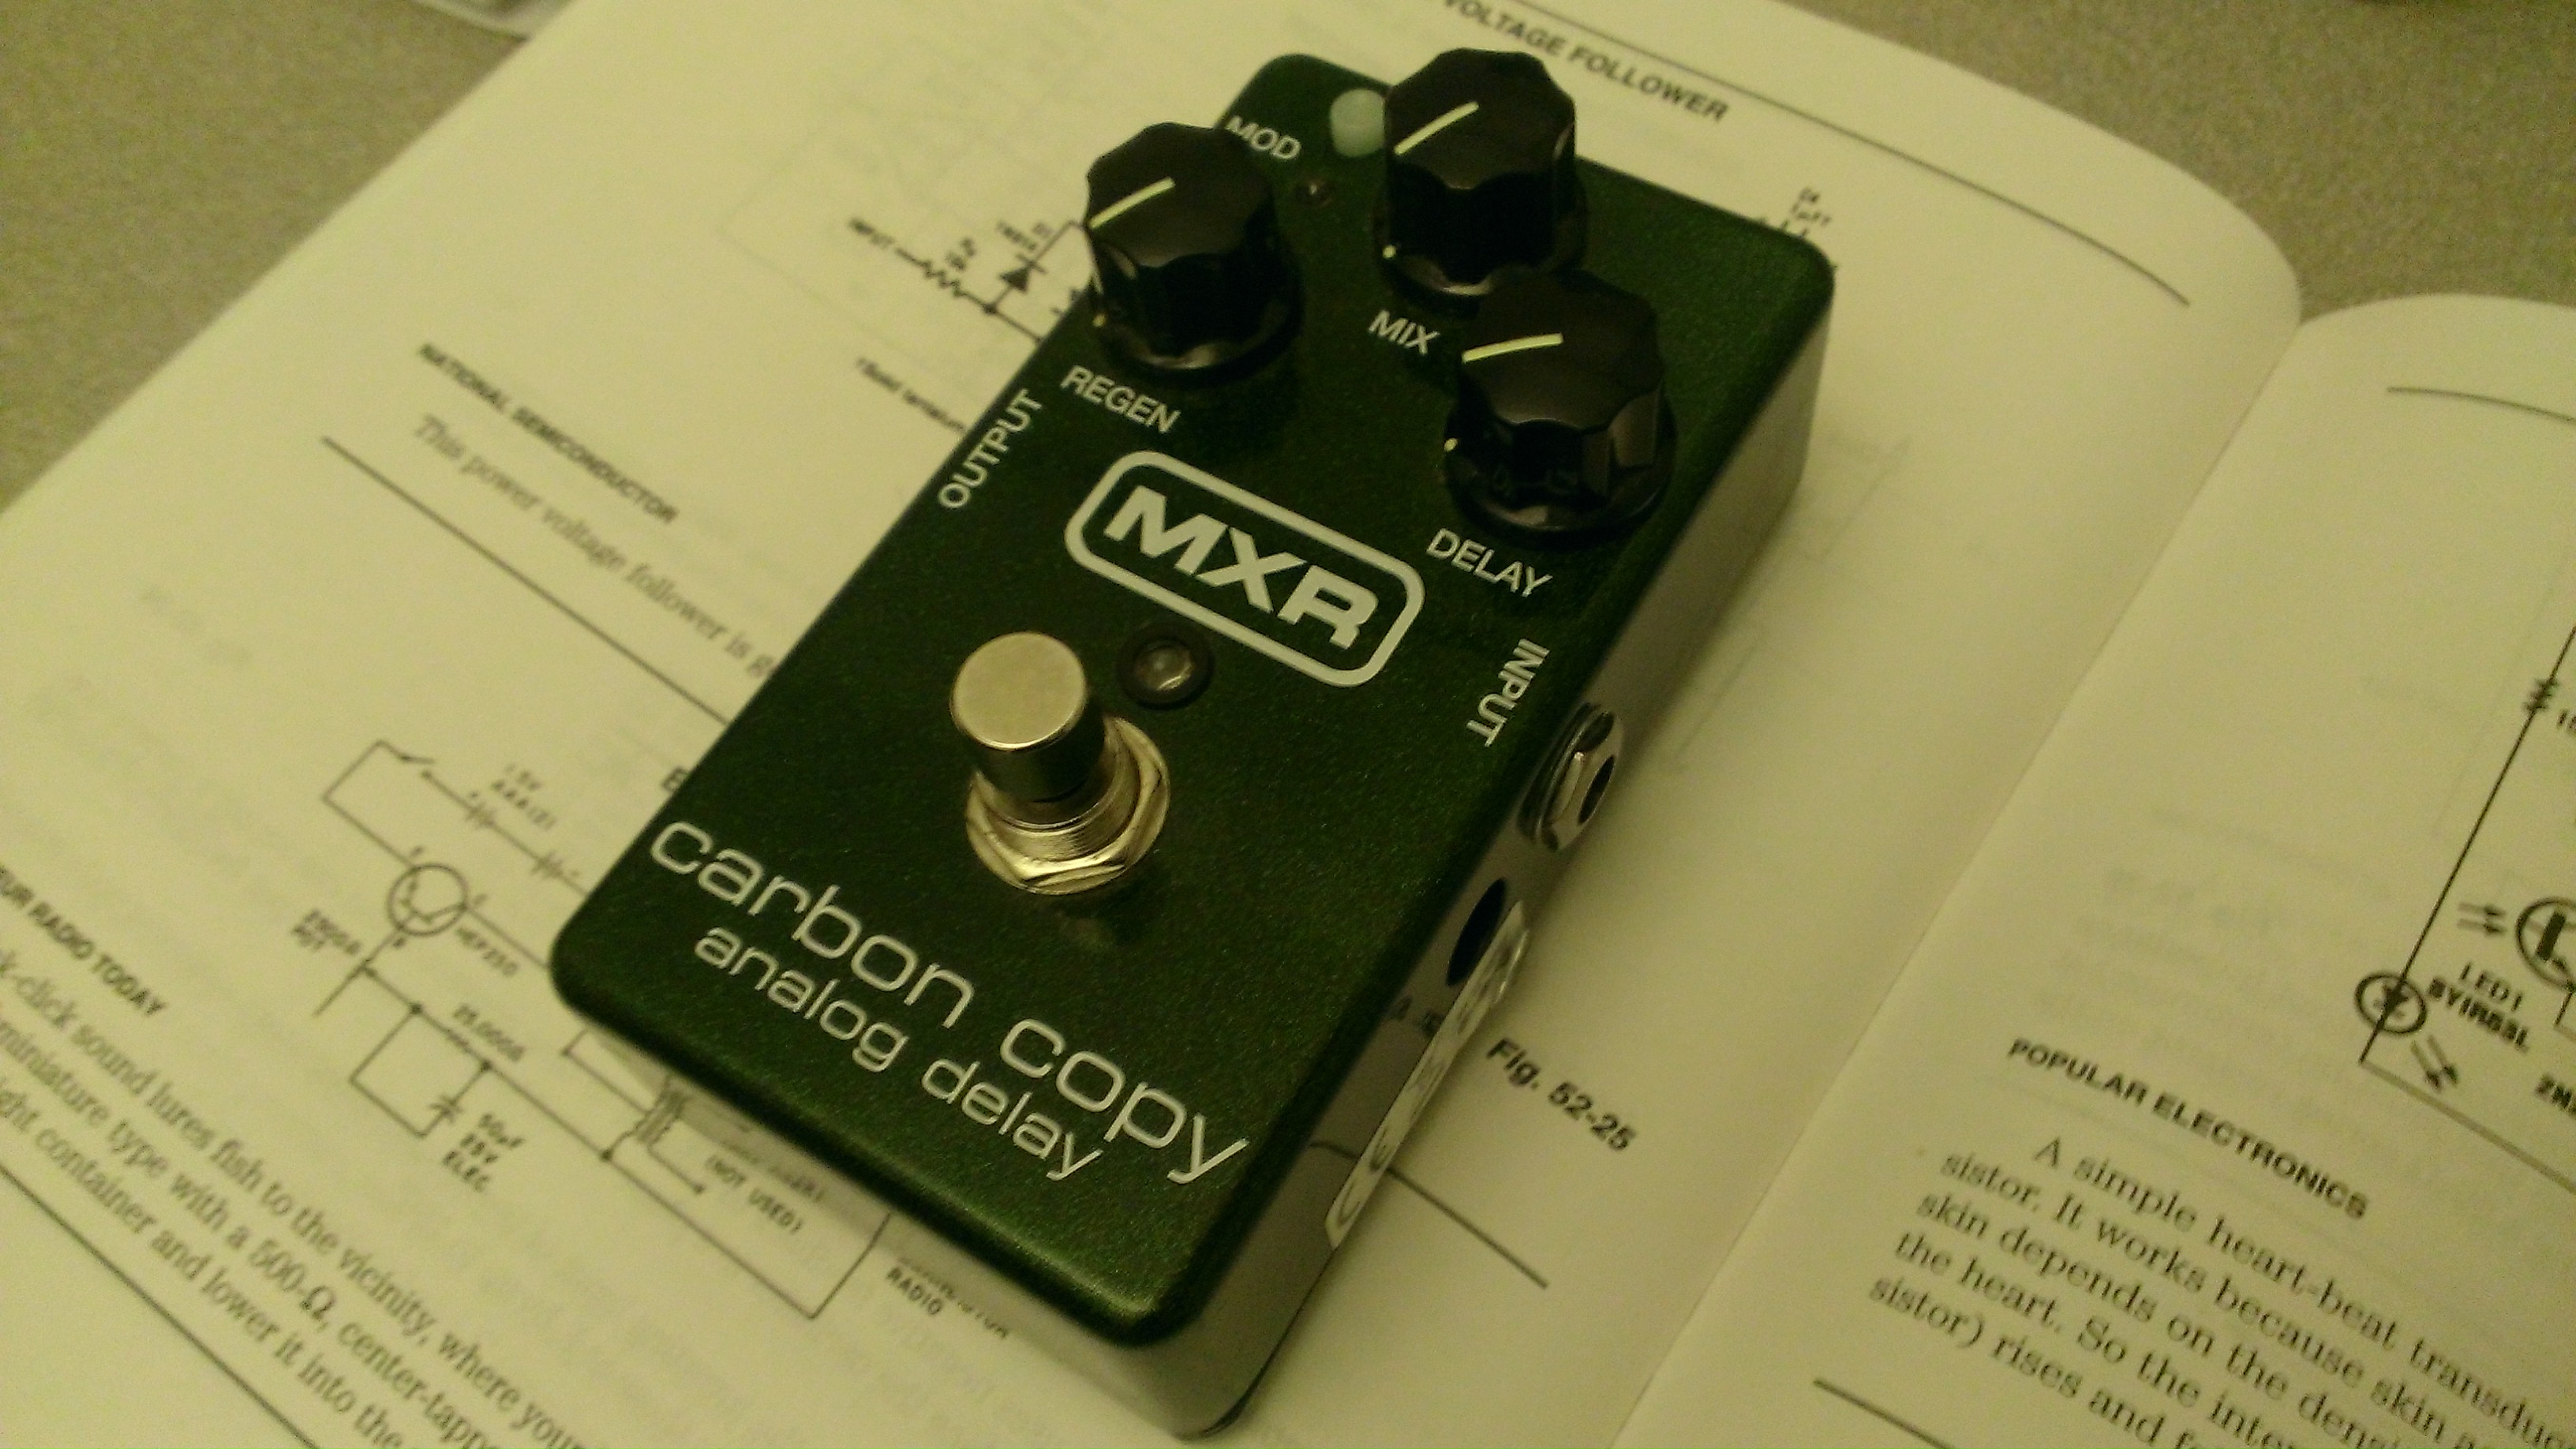
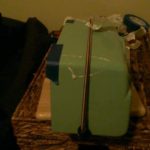
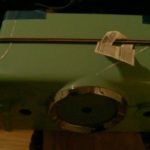
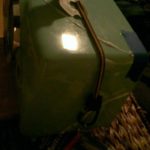
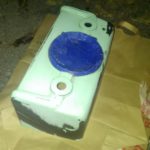
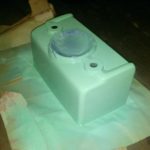
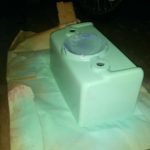
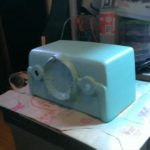
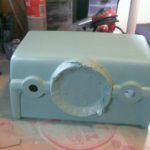
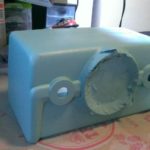
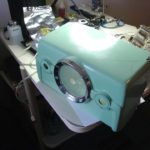
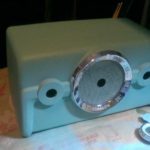
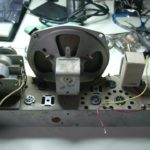
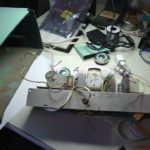
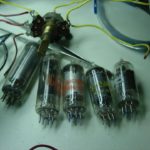
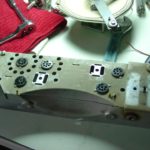
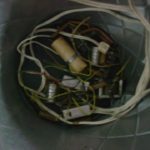
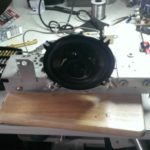
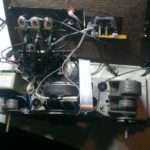
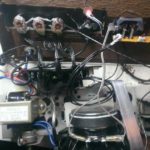
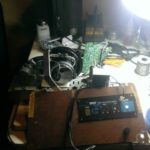
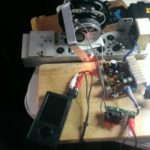
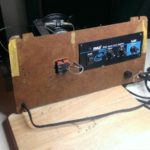
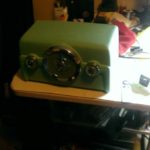
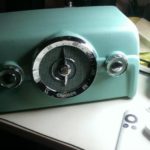
Here are a very few images from my adventures in guitar pedals, including my drawer of pedals that I trimmed down the collection to.

Retrofitting a 1950’s era radio for modern sound


The images themselves tell the story.

I had someone come to me with a special request, to replace the insides of a great looking vintage bakelite radio with modern amplifiers and the ability to wirelessly use his ipod.

I agreed to do this and next thing I knew the radio was on it’s way.


When it arrived though, it was discovered that it had been badly damaged during shipping to me.

After careful inspection I found that all the pieces were there so I said not to worry I would completely restore the radio and do the modifications he wanted.

As you can see in the pictures it was quite the project, but it turned out fantastic and everyone was very pleased with the results.

My Self-imposed senior project: A video game system.

Back in 2006 when I was graduating from my undergrad program I decided that I would like to make a video game system for a senior project. I wasn’t required to do a senior project but I thought it would be a good thing to do and present it to students. Dubbed “The Vulture”, this project changed quite a bit from start to finish and since I had only 3 months I had to make some tough choices. Originally I wanted to fit a small Linux distro on my system and run from that, but I ended up doing a bunch of scripting in dos as I could not get a quick boot from Linux. Also the hardware I ended up with was totally different, I originally bought 30 zero footprint computers form a surplus sale but ended up with a really small board made for kiosks. In the end the system could boot, recognize what disc was a game disc and of course play games. I only made one game for the system, Doom, and it worked great! Who knew I would eventually end up working on both the Xbox 360, Xbox One as well as Surface!

CRT Projector Theatre

While I was in Disney World I was watching a circle-vision presentation, and being me, wanted to know where that amazing looking picture was coming from. I looked up and saw a familiar site; boxes with three lights beaming out of lenses, almost like the traffic lights of the gods! I have seen these before in a miniature theater I visited in elementary school. I instantly became obsessed with finding out what these great projectors were all about.

After looking around on the internet I discovered that these projectors were called CRT (Cathode Ray Tube) projectors. Like a man possessed, I preceded to learn everything I could about them, so much so, I even bought a broken one so I could take it apart and learn more.  After I learned all that I needed to know, and there was a lot, I began to watch craigslist and ebay for a good projector. The day came and I found a local seller on ebay. The guy was selling this particular projector (Barco 1208/2).

Now keep in mind, these projectors are not light, in fact this particular one is 160lb and that isn’t the heaviest out there.

Now that I had the projector, I had to figure out how to mount it to my ceiling safely, as it would really not be good to have it fall on someone. I settled on using lag bolts and unistrut extruded metal. I went a bit overkill on the mounting but I want this to be safe.

After I got this all setup I started on blacking out the windows, painting the walls, running speaker cables and setting up my audio system. I already had a really great home theater receiver and speakers so I was really getting close to being in movie nirvana.

I did a bunch of reading on projector screens and found a company that makes screens with the right reflection and size (8ft wide by 6ft tall). I made a big frame for it and aligned it in the center of the room just like I had done with my projector mount.

Next I had to get the projector onto the mount and that took some planning, chain, and some serious strategy. I finally got it up there and lined up right. Then came the long and tedious part of setting up the projector focus and converging the images. This process took a long time and lots of tweaking, looking, and tweaking.

Once I got it solidly centered, focused, and converged I could then watch some flicks!

Overall this was a pretty big undertaking a took a whole lot of planning and even more learning on my part. These projectors were not made for the casual user and they are definitely not plug and play. I had to learn enough to service these things as  they were normally setup by professional technicians.

I can’t say that these guys are for everybody but I can say they have the best picture I have ever seen from a projector. I don’t recommend looking at pictures of peoples projections but find someone local that has a theater setup and see it in person, it is truly amazing. I am really happy with my setup and it really feels like you are in a movie theater when you are watching a movie. I watch movies in standard definition and high definition as well as play XBOX on it. It really does look like the film grain you see in the movie theaters and if you are willing to put the time and effort into one of these you will not be disappointed.

For more information on CRT projectors here are some great sites that I used in my research:

http://www.curtpalme.com

http://www.avsforum.com


Bonus: Here was a page of my checklist for planning this whole endeavor.

Inflatable Sport Dinghy!

A little while ago I got really interested in inflatable boats. I thought it would be great to have something I could collapse and would not require a trailer to tow. I did some research on these, and went digging on craigslist for a really great deal. I eventually found and bought a Achilles inflatable sport dinghy off a guy at a marina for 100 bucks. These guys are popular on big boats for small life rafts. When I was in Australia I saw lifeguards launching off waves with these little inflatables and basically looking like the motorcycles of the deep!

When I checked it out I noticed it needed a lot of work. I had to refinish the transom and create all new floor boards. I researched what type of plywood to use in this project as normal off the shelf plywood board is not rated for marine use. I used the original floor panels as my pattern and cut out all new pieces and then sanded them and suspended them from the ceiling. I finished them with a tough marine grade varnish and bought all new runners and joints to fit them together.

For the transom I sanded it down to the bare wood and coated it with more of the marine grade varnish.

The boat it’s self was looking pretty dingy so I got a special cleaner for it and cleaned it and put a protective coat on it as well. After I did that it looked brand new. I also noticed a slow leak so I also put a nice new patch on it as well.

I still need to find a 6-9 HP two stroke engine so I can take it out on a proper voyage but I plan on invading Vashon Island once I get it. Until then it is my Commando style row boat.

UPDATE:

My maiden voyage was successful, but it wasn’t in the Puget Sound but San Francisco Bay.

I rowed out from Crissy Field into the bay and bravely piloted my craft among the America’s Cup boats, and got some very surprised looks.

After my adventure on the bay it was time to let her go and I sold this beautiful boat to a man up in Marin so it can go on to make others happy and as is the point of many of my projects, the thing I wanted wasn’t the object but the experience of the project.

50 51 52 53 54 55 56 57


Copyright Pinecone Creative 2024
Tech Nerd theme designed by Siteturner