When I had a garage I had sketched out this pinky demon animatronic I wanted to make.
The animatronic armature would be on a base with a post and multi-axis barring at the top that would allow horizontal and vertical motion at a point about waist level.
The rod on pivot would jut forward to a mouth control to open and close the jaw pneumatically.
The idea was to maximize the free animation by attaching a pneumatic cylinder that could move the pivot rod the horizontal and vertical axis while keeping the front and back legs stationary.
This would give the illusion that the arms and legs are the ones providing the movement and if we did the joints on these correctly the motion would be incredibly convincing.
Here are my conceptual sketches for the armature I was going to build. I had learned to weld during this time so all the materials planned to be steel tubing.
What if I told you that my current employment has everything to do with my love of multimedia systems and most specifically my deep interest in audio amplifiers.
I remember as a kid looking in awe of my Dad’s home stereo, a JVC JR-S600, it was beautiful with its blue glow and heavy tuner shuttle.
When I was growing up I visited a hi-fi store in the Seattle area and was drawn to a room with a movie theater in it, I sat down and listened to the demo and I never forgot it.
It set off a quest to attempt to recreate what I had heard that one day, and that sound eluded me until I discovered the magic of high power audio amplifiers.
When I built my CRT movie theater in my basement I did a ton of research into amplifiers and ended up buying a fantastic amplifier and subwoofer and properly calibrated my audio to the room.
I could have never prepared myself to what I heard after I was done, not only had I met what I heard in that hi-fi store, but I exceeded it.
I could hear things in music I had never heard before buried inside the music and soundtracks that was buried in the mud.
I listened to every CD I owned and watched every movie as well, it was absolutely incredible.
Since I had fixed my CRT projector after failing to fix a DWIN CRT projector, I found a very nice audio receiver and attempted to fix that, and I failed to do that.
I would take a several year break between that failed amp fix and when I began to really dig into the world of audio amplifier design. When I was at Xbox, I decided to dig into audio amplifiers properly.
So I did like I seemly always tend to do, I went out and found every book on audio amplifier design that I could find current and past. I learned so much that I started to ask around the company to see if anyone around did any sort of audio amp design of any kind.
Sadly there wasn’t anyone. Since I knew enough about audio amps to be dangerous I was given the task of being the audio test lead for a project at work and I gathered all the material to begin testing and then I got hit by a really huge layoff at the company and had to leave.
At that time just before this I started buying some guitar amplifiers and actually began to fix them! I think it was a natural progression into amplifiers from learning as much as I could about them into fixing guitar pedals and then general audio equipment.. it was only a matter of time.
I moved on to fixing just about any amplifier I could get my hands on. If it was around 40 dollars on ebay and broken during this time I was probably just about guaranteed that I ended up buying it. I am not sure how many amplifiers I fixed during this first part of studying amplifiers. When I started slowing down on fixing amplifiers I started building them, mostly chip amps to test my ability to properly ground and layout audio boards. It was during this time I got hired on at a really great professional audio company and got the reputation of fixing amplifiers there too. I enjoyed fixing and restoring old amps and helping others I work with fix their own cool vintage audio equipment. I still really enjoy both restoring and fixing amps and building them too.
Here are some examples of amplifiers I have fixed:
Here is an Cambridge Audio A3i amplifier I fixed and modified, I am actually currently listening to it while I am writing this. Its not in the most cosmetically beautiful shape but it sounds amazing!
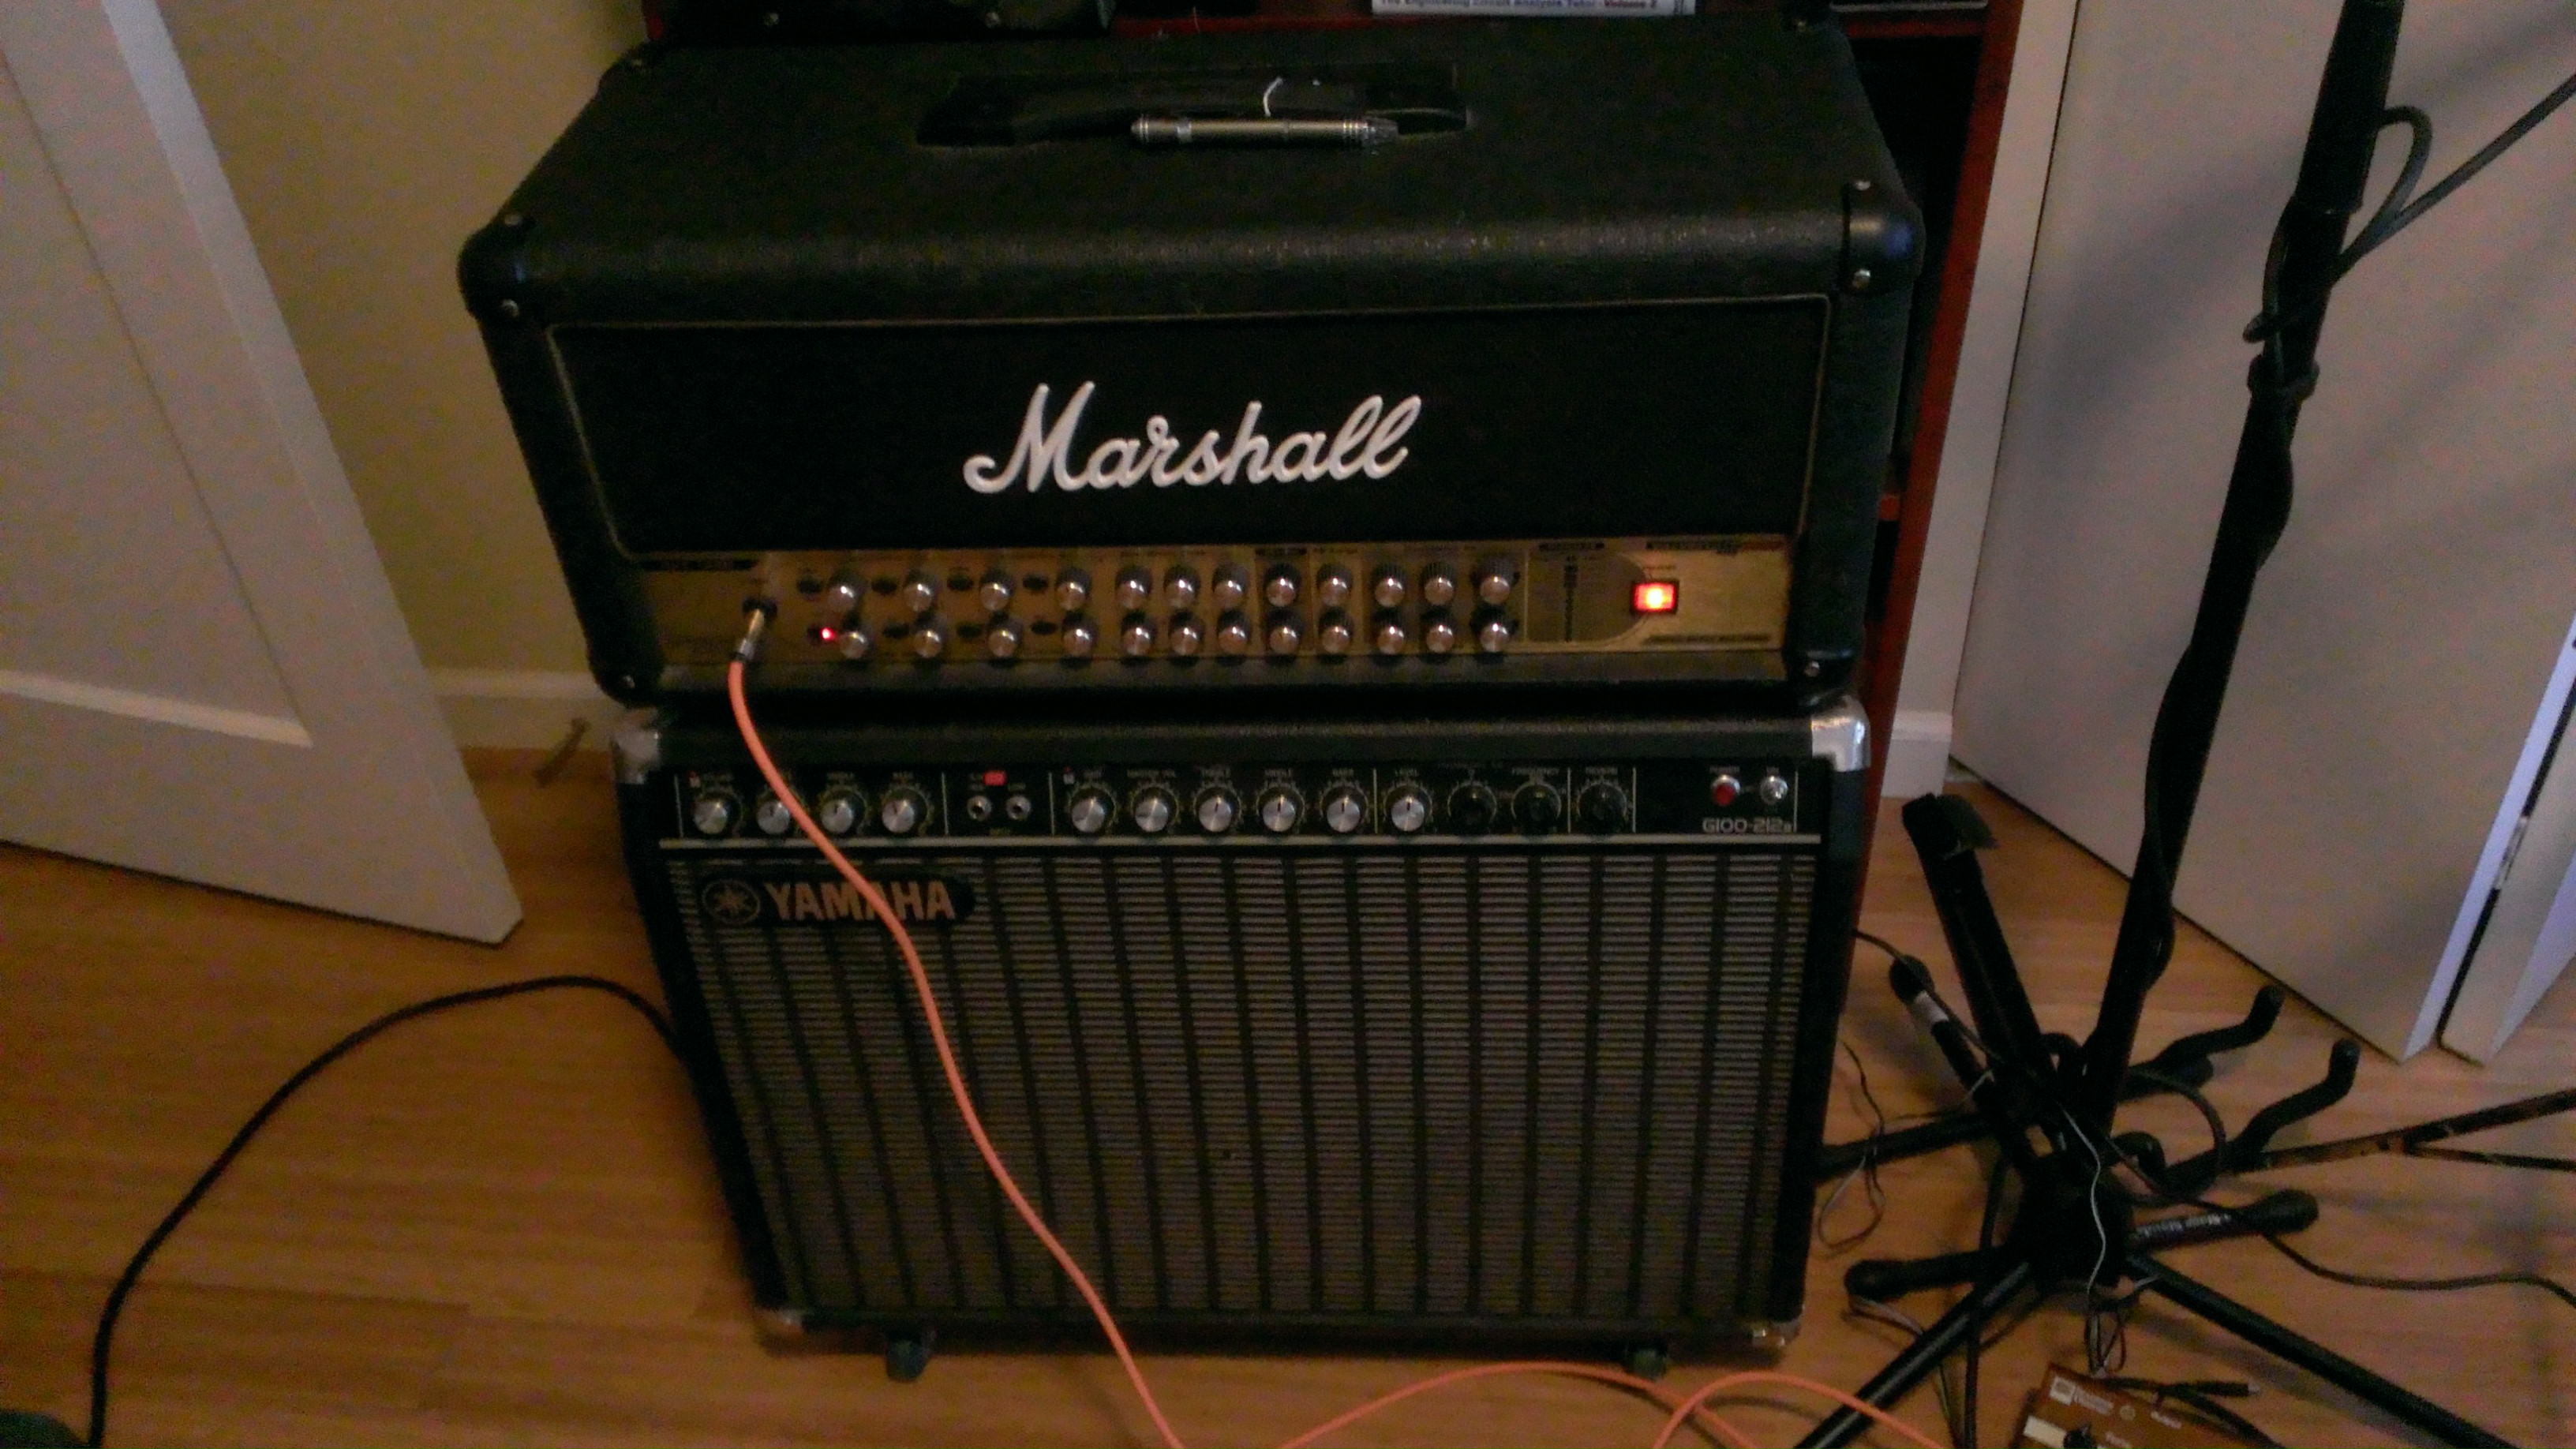
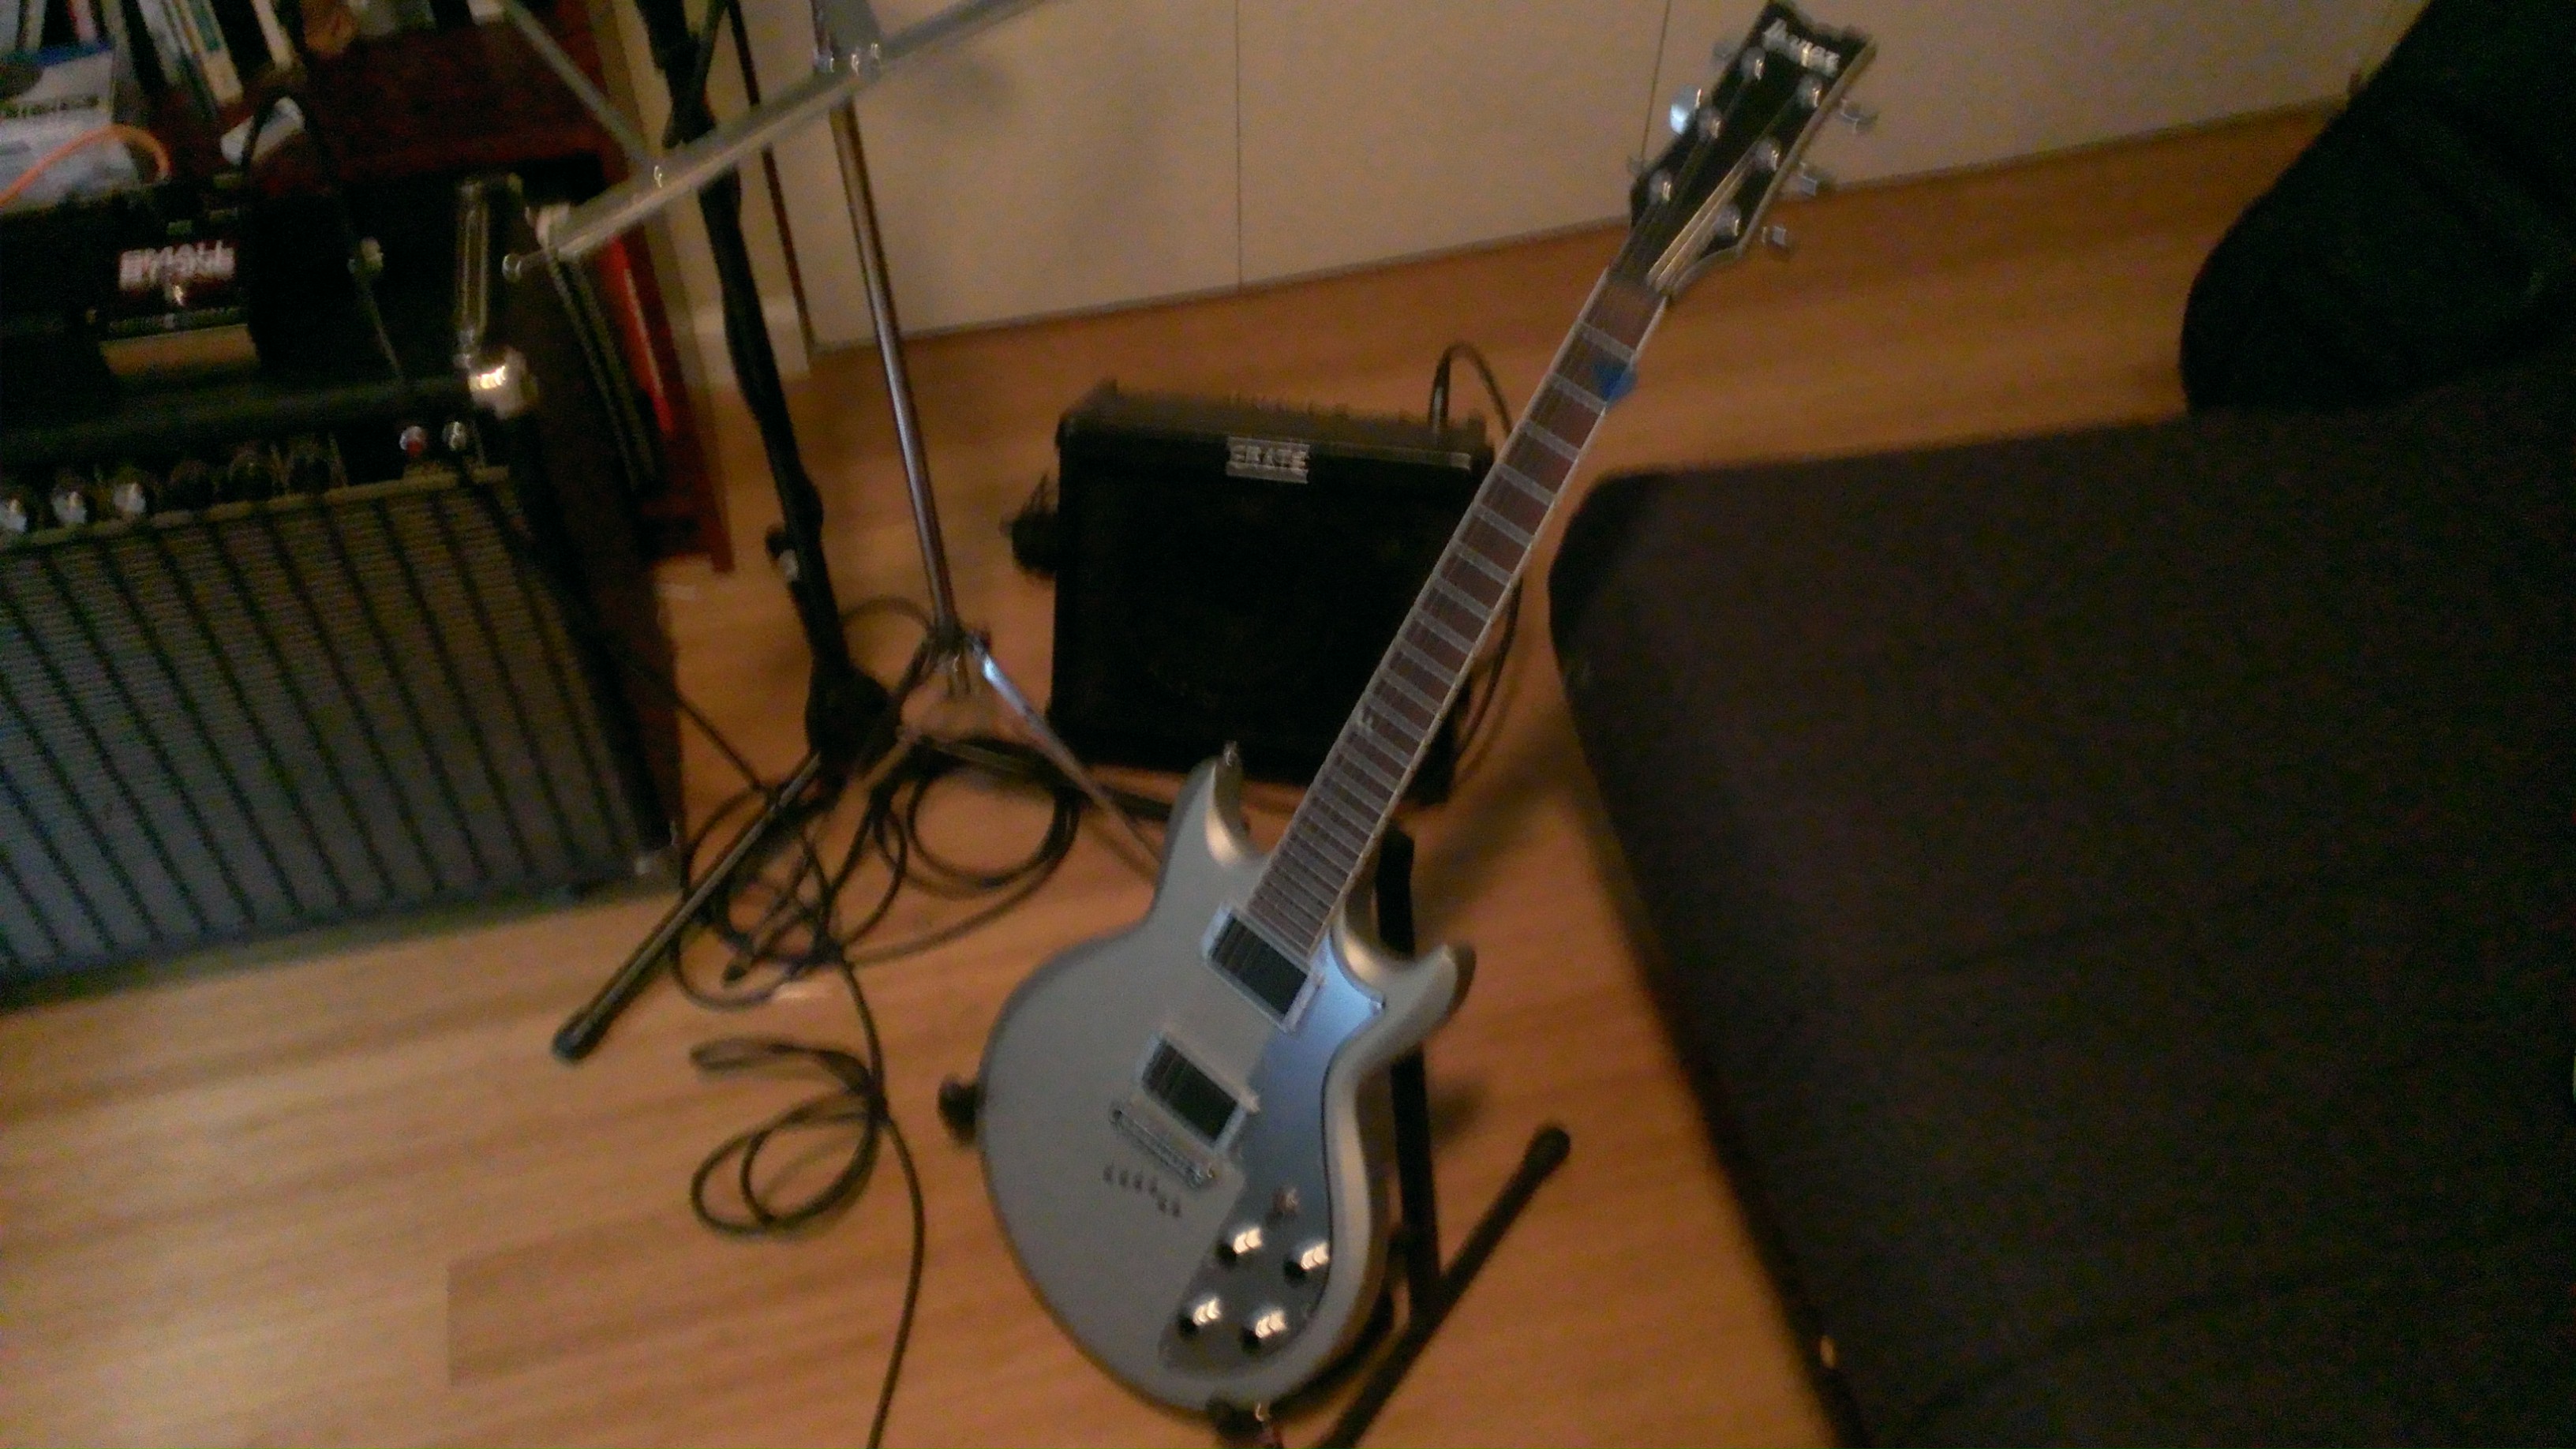
Here is a Marshall Valvetronix Amplifier that I got from Ebay and Fixed (new capacitors and new chip amps for the solid state section), and the guitar I got traded for it. I love that guitar so it was a great trade.
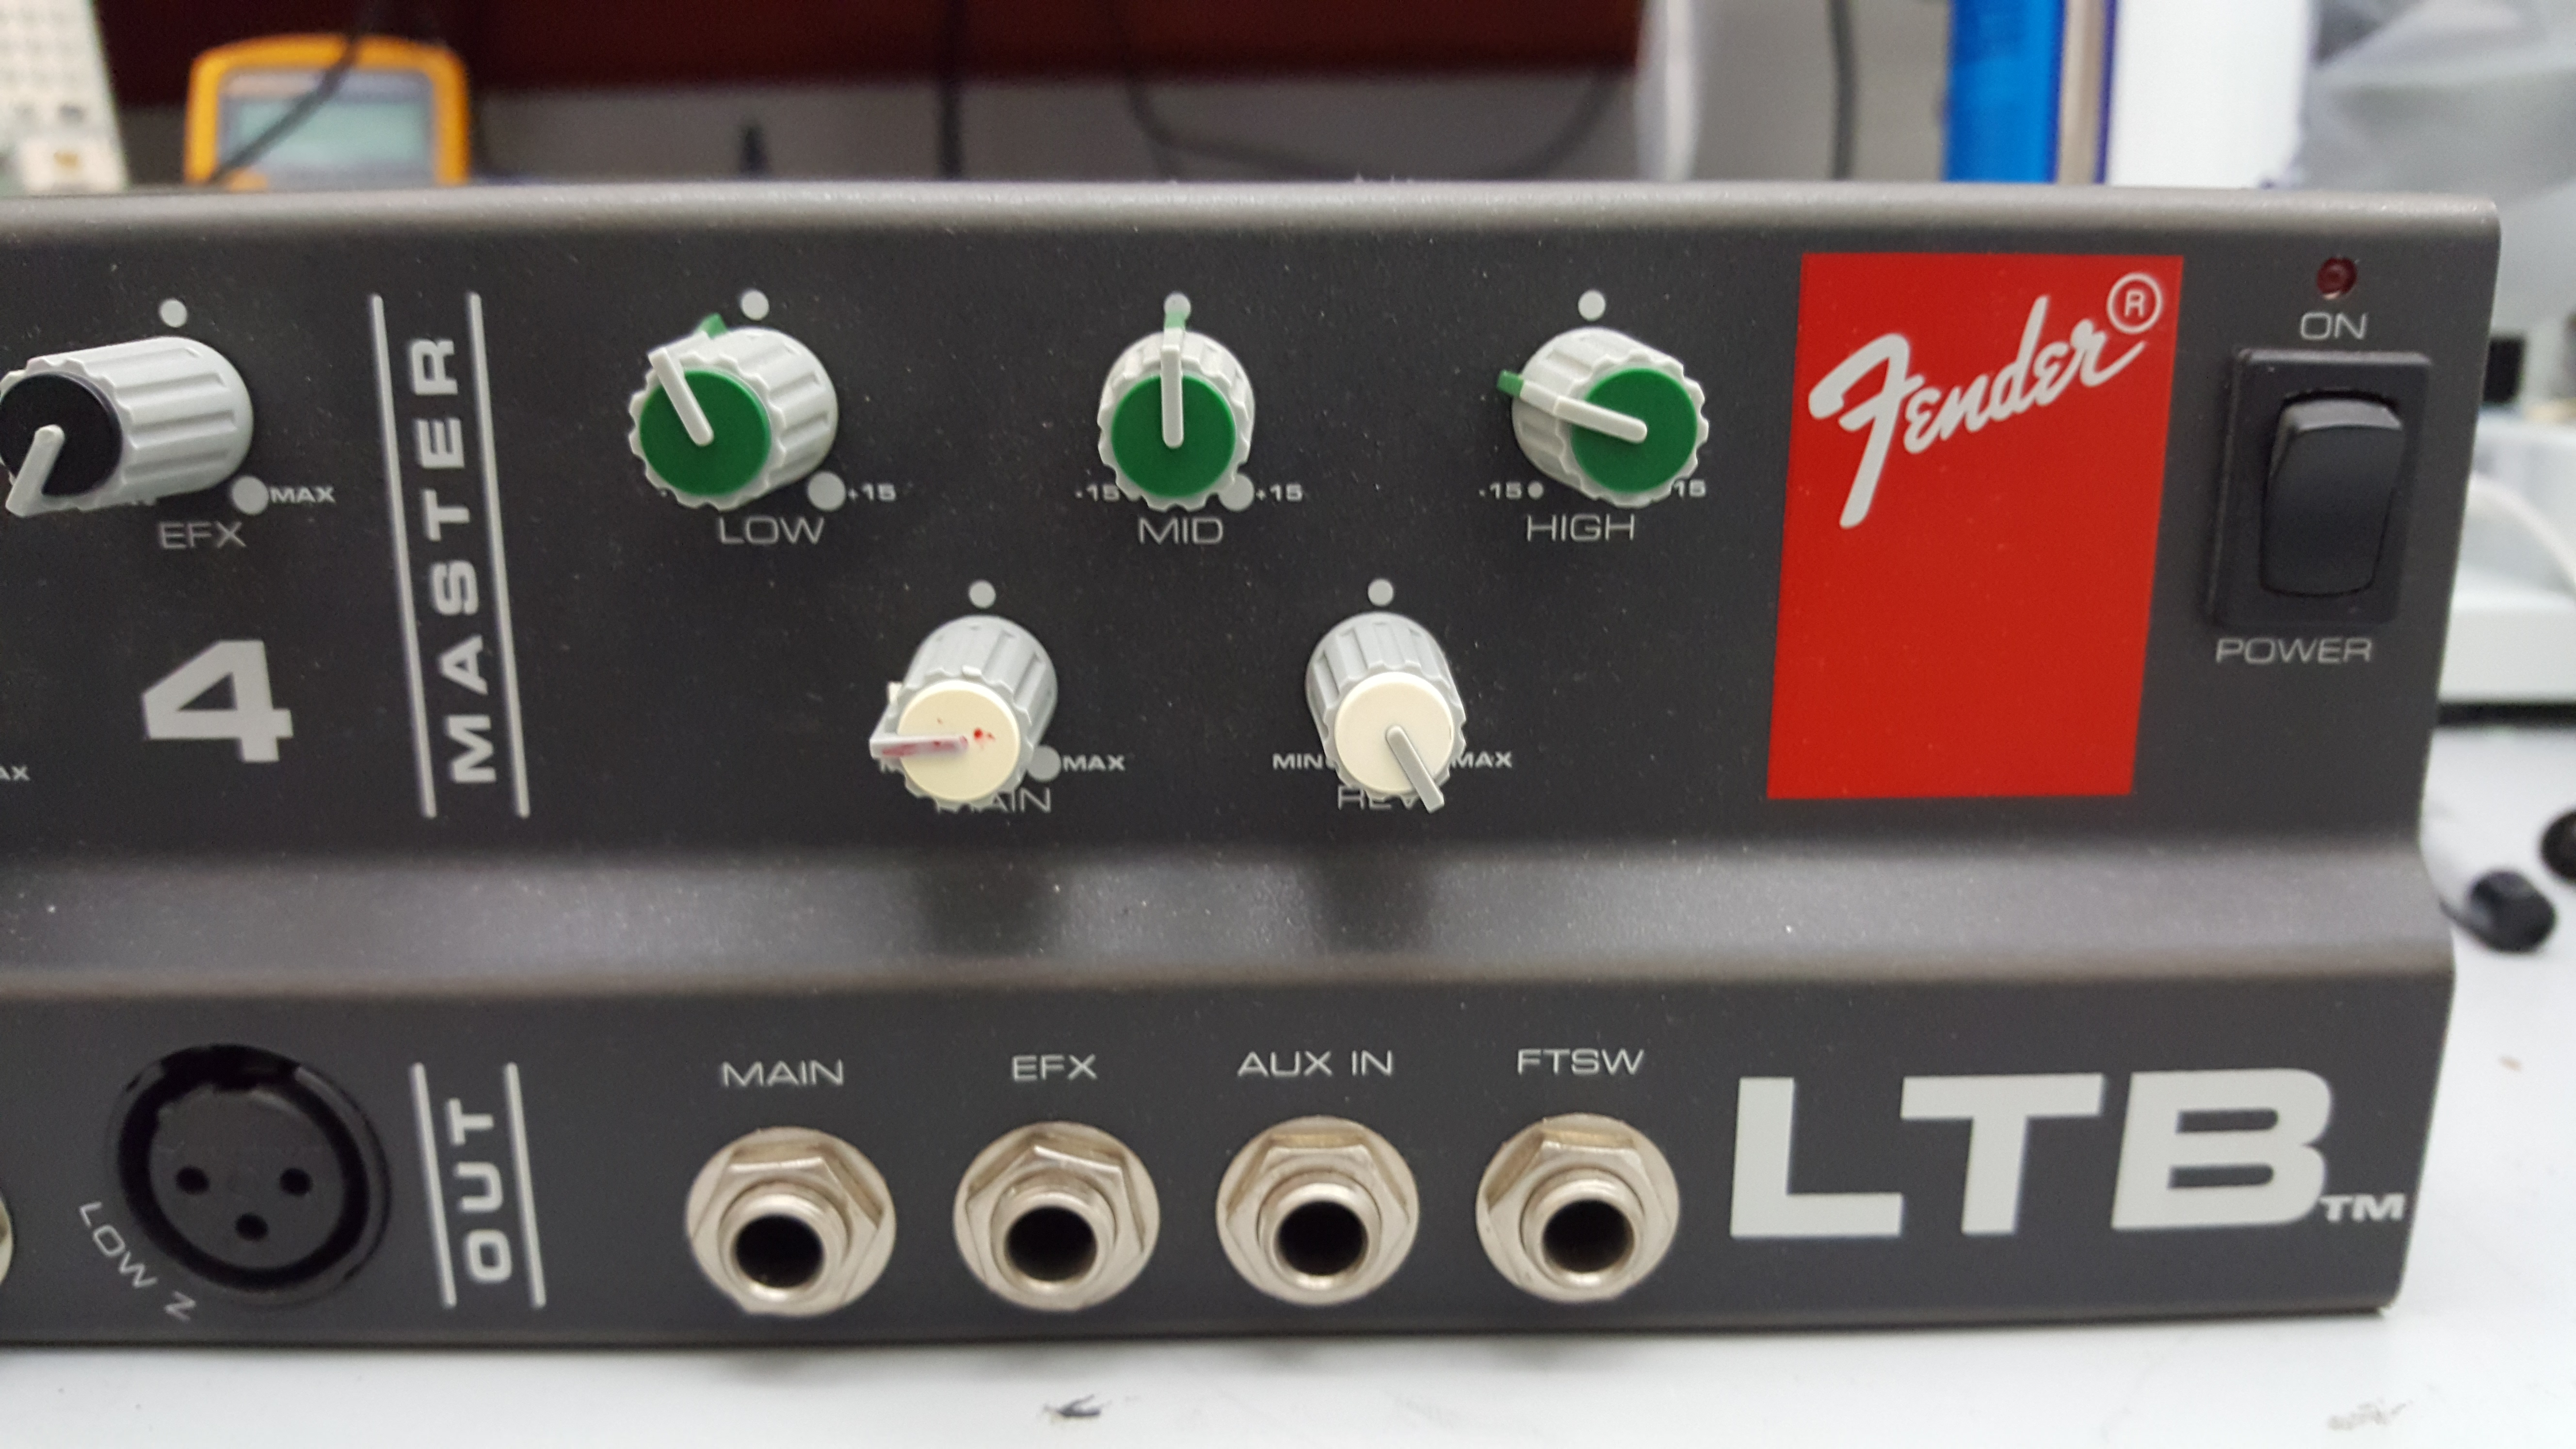
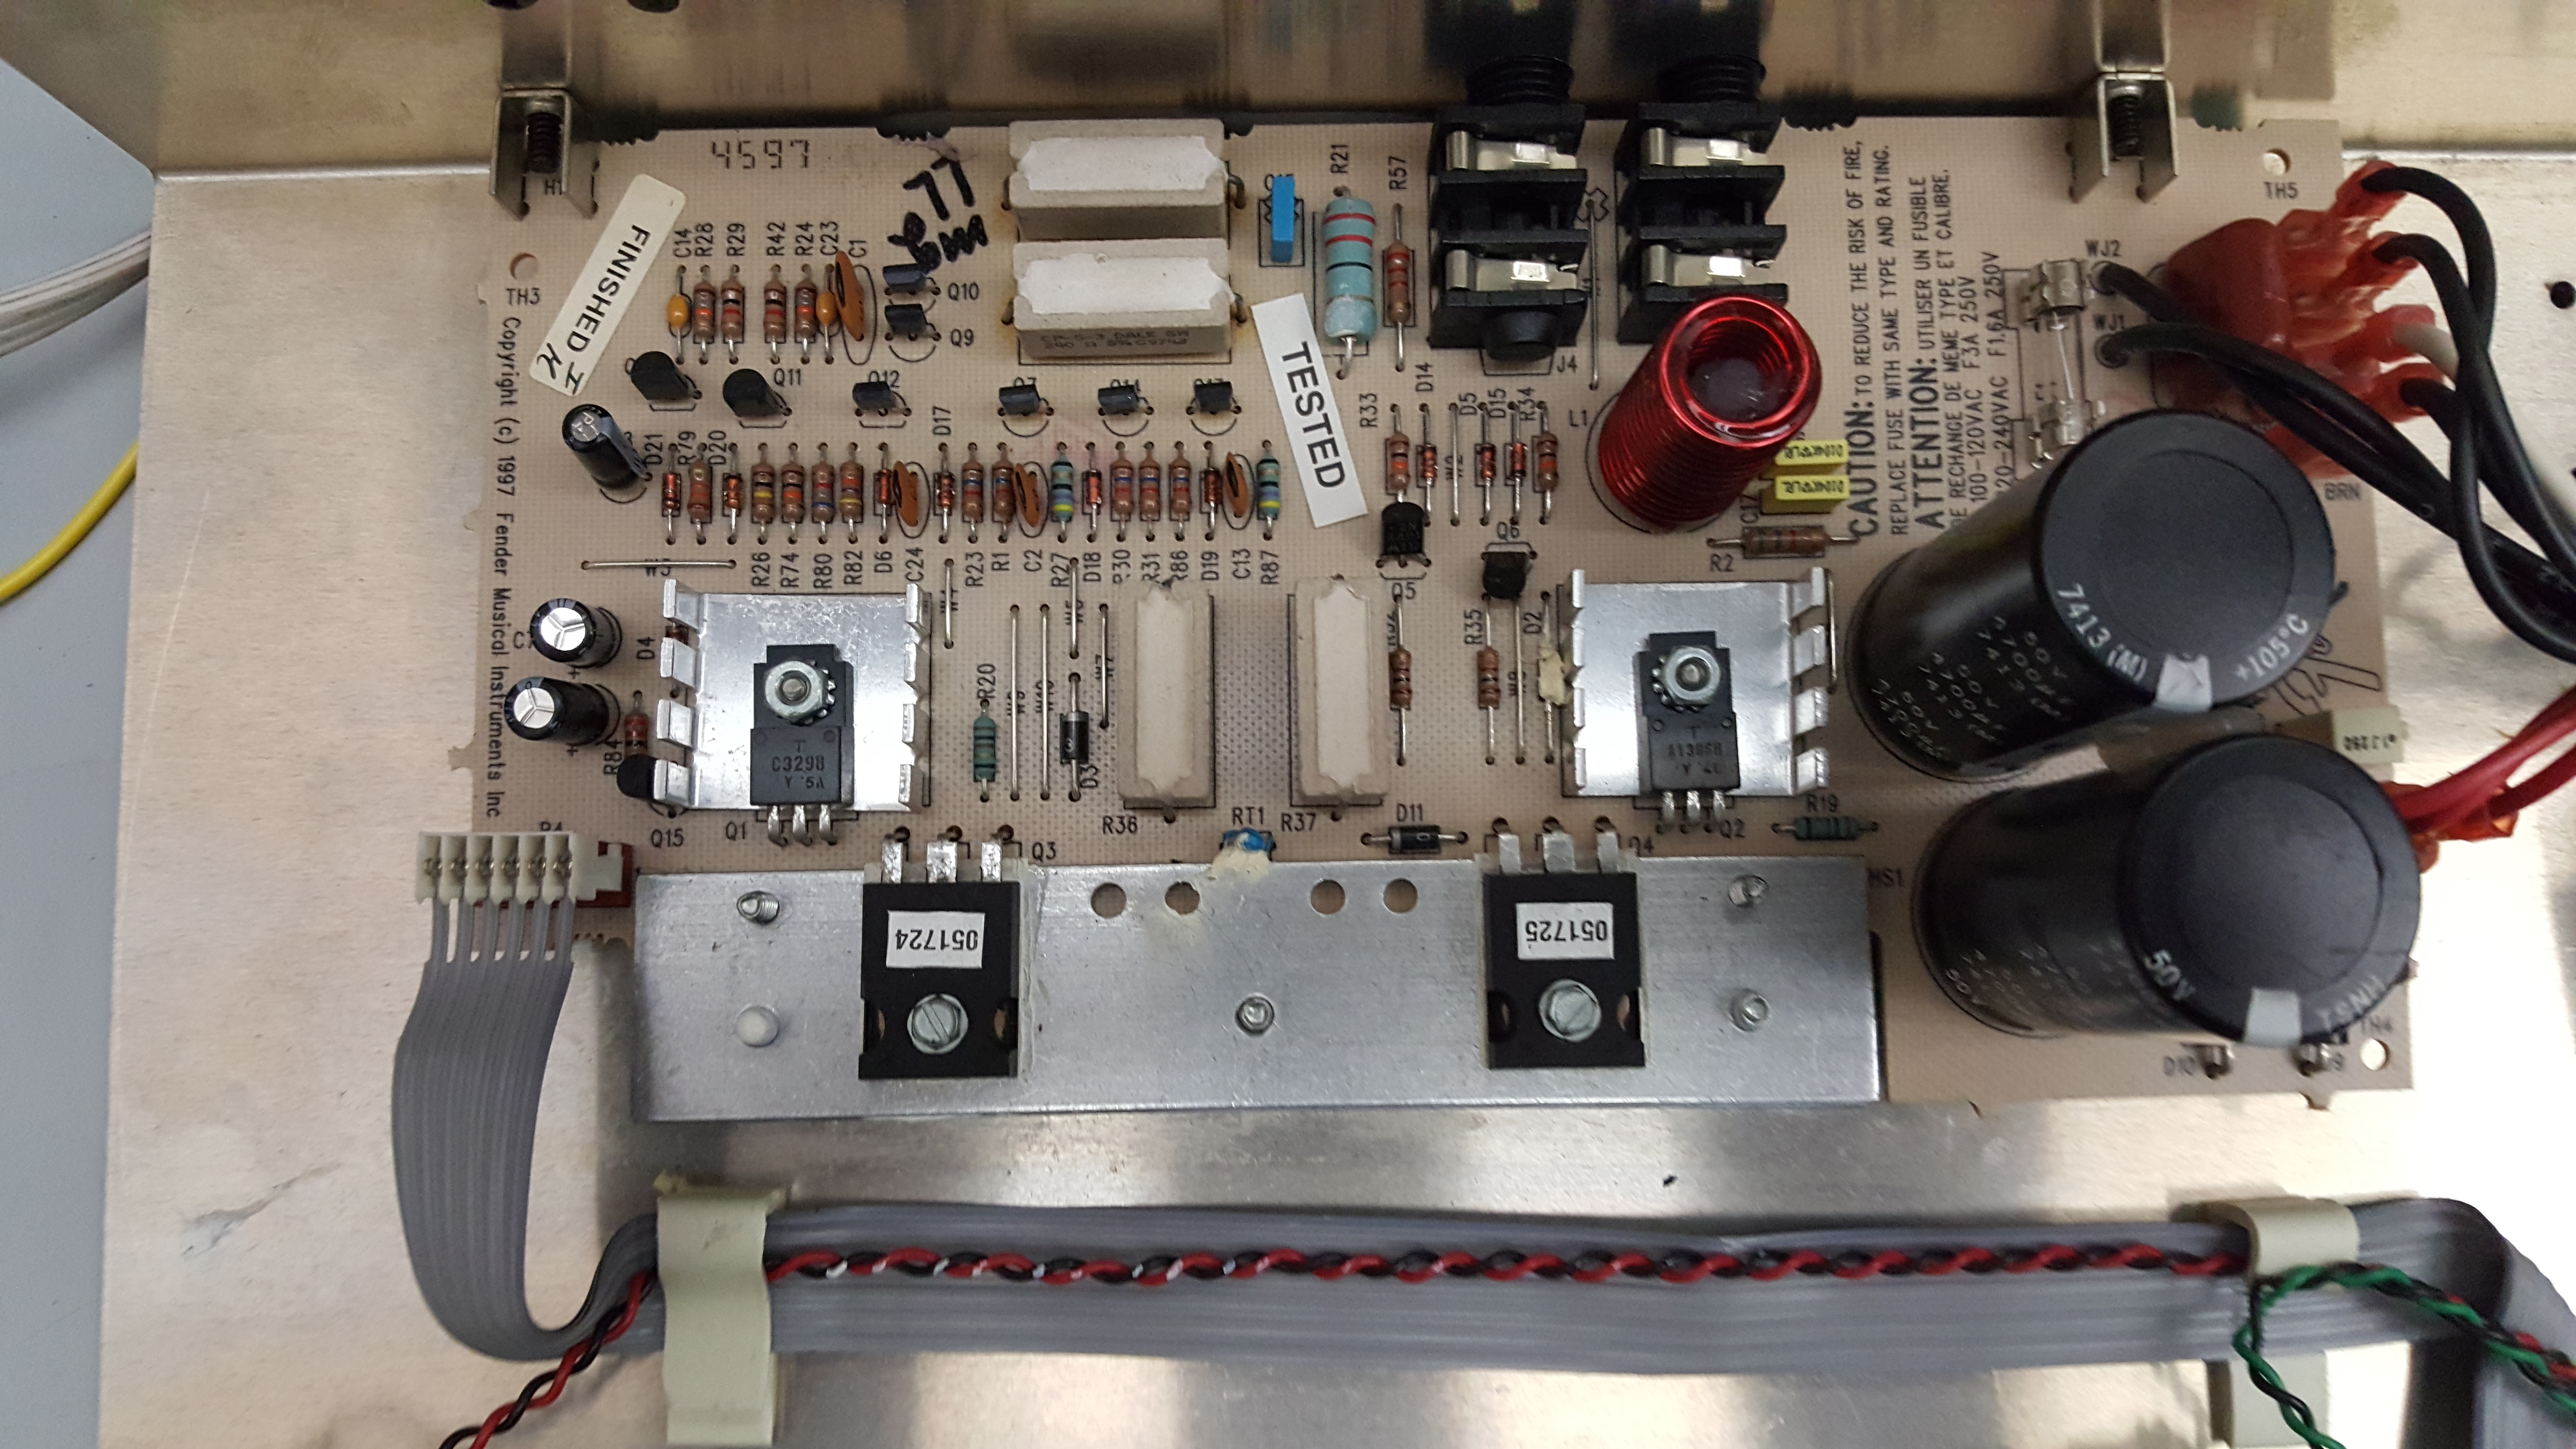
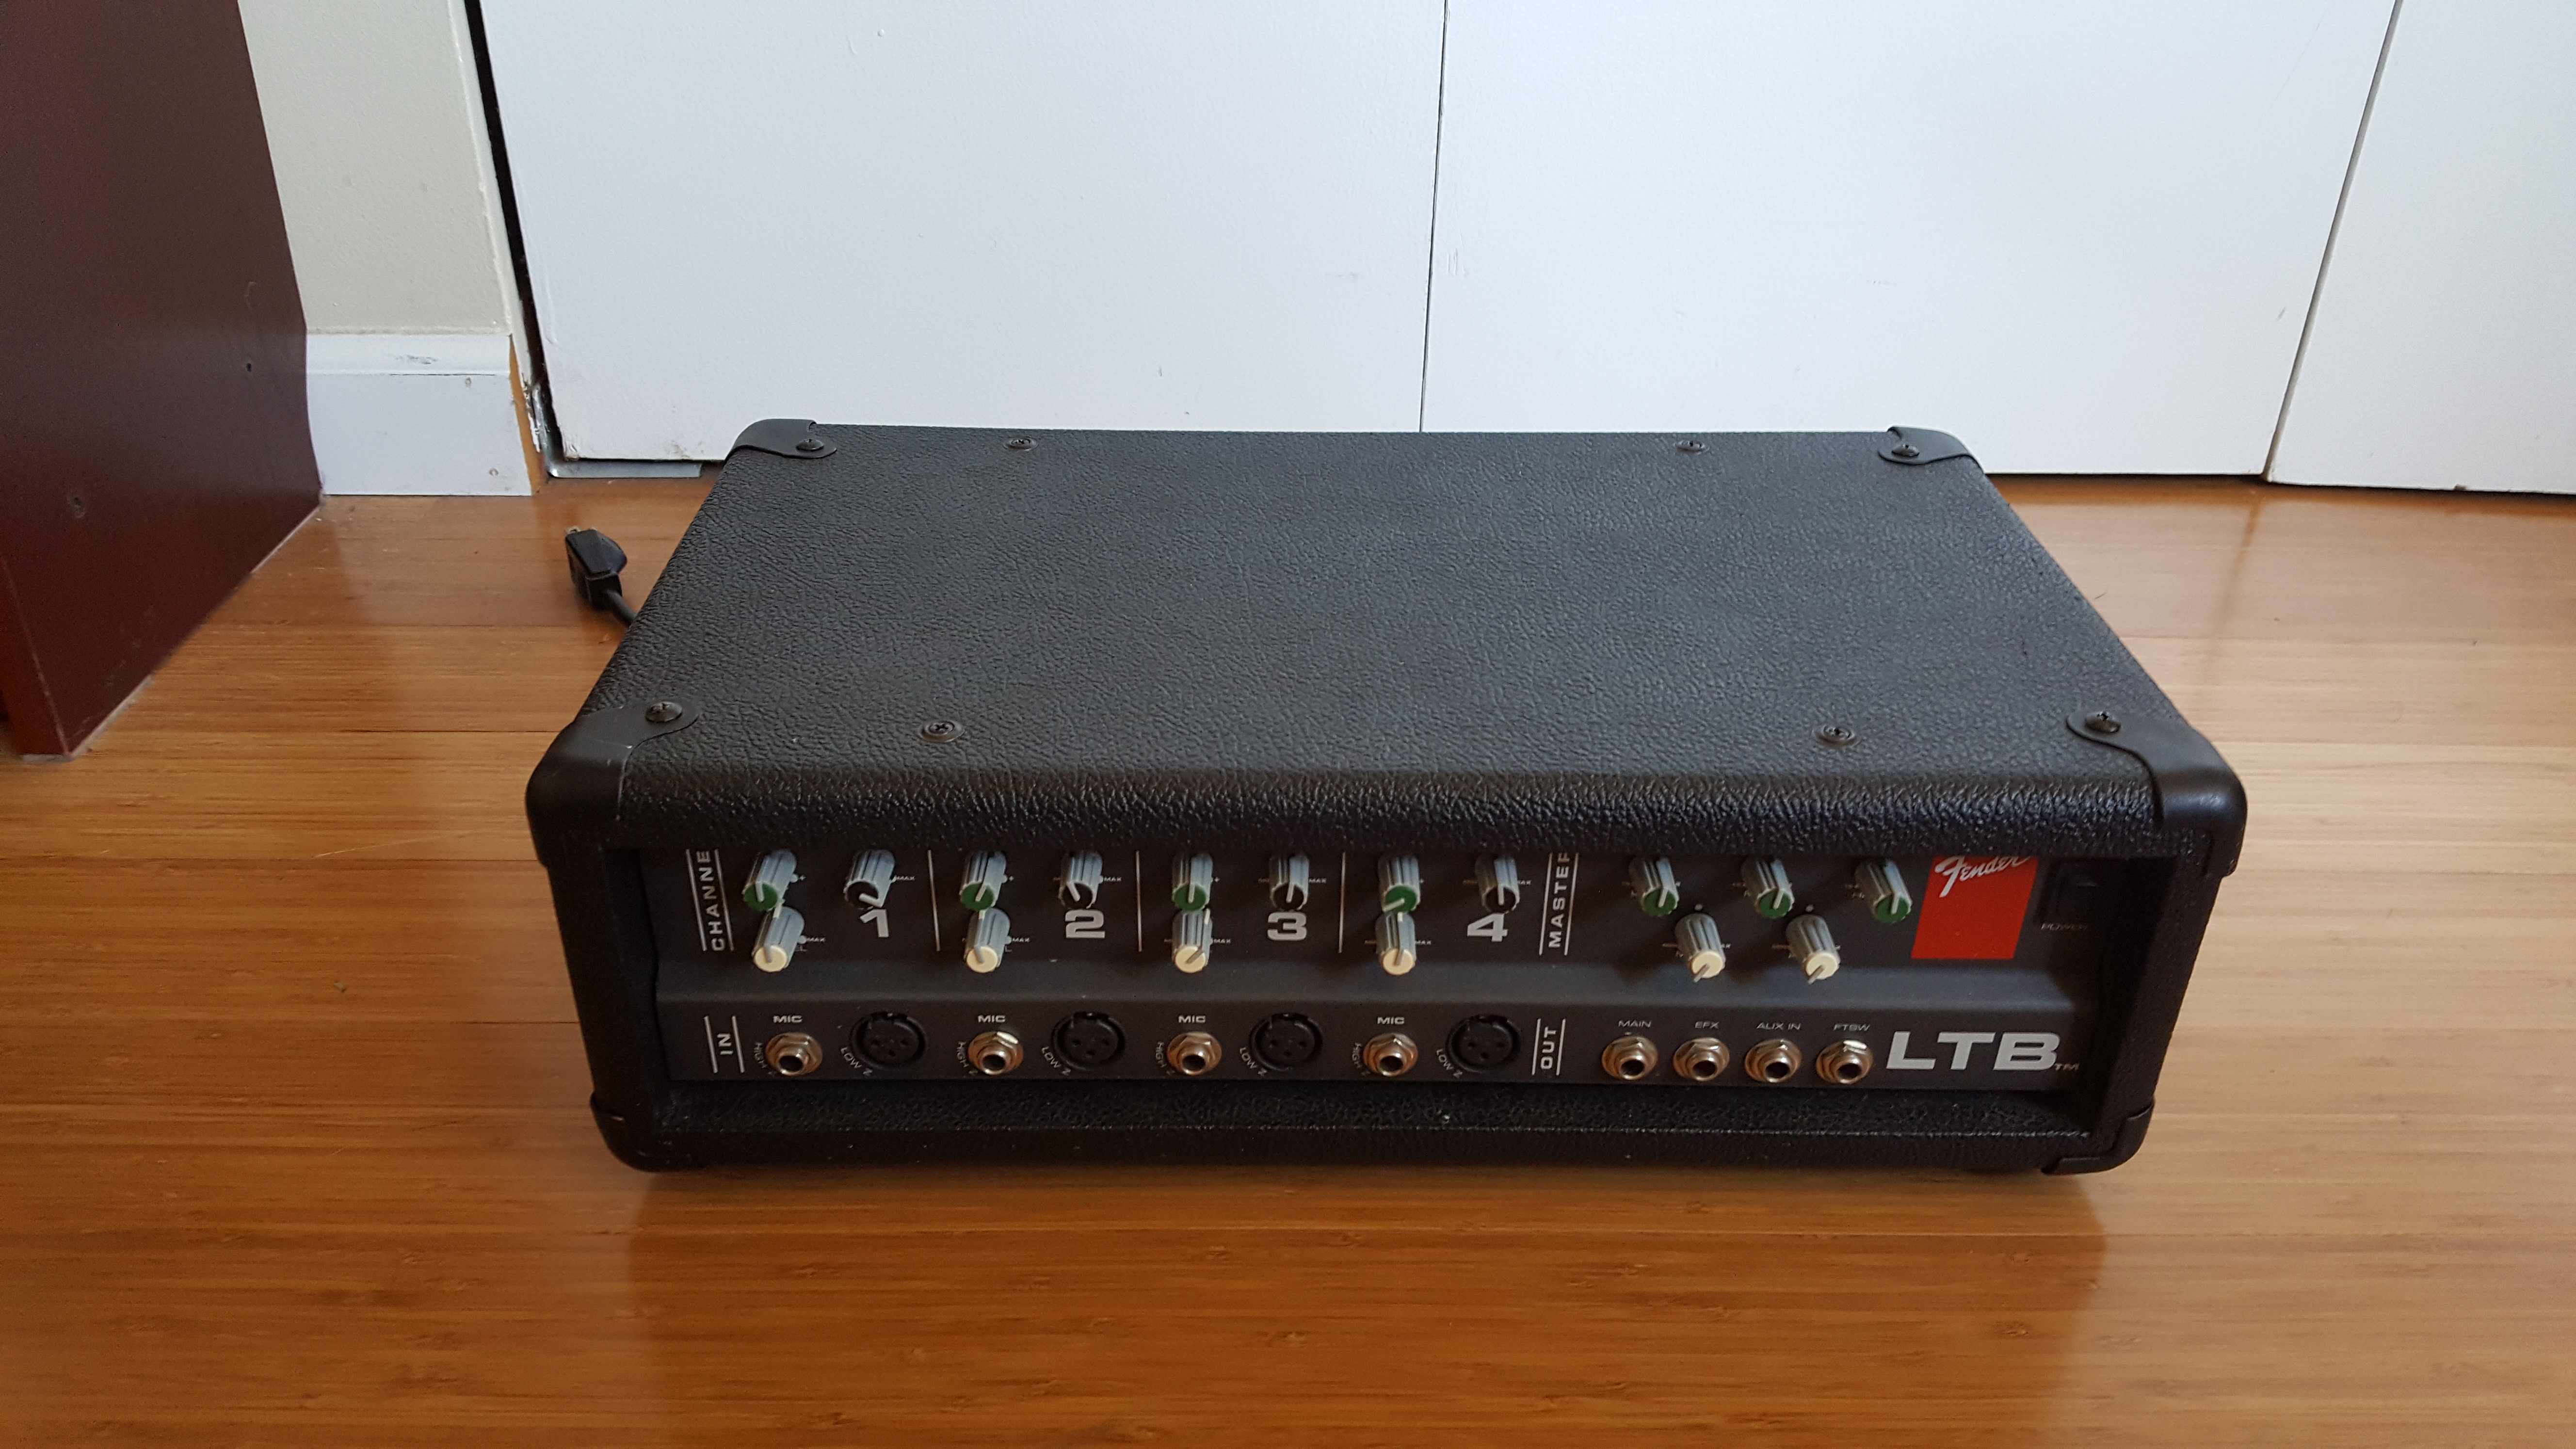
Here is a fender LTB PA amplifier that I fixed and sold, it was a pretty fast fix and sounded good.
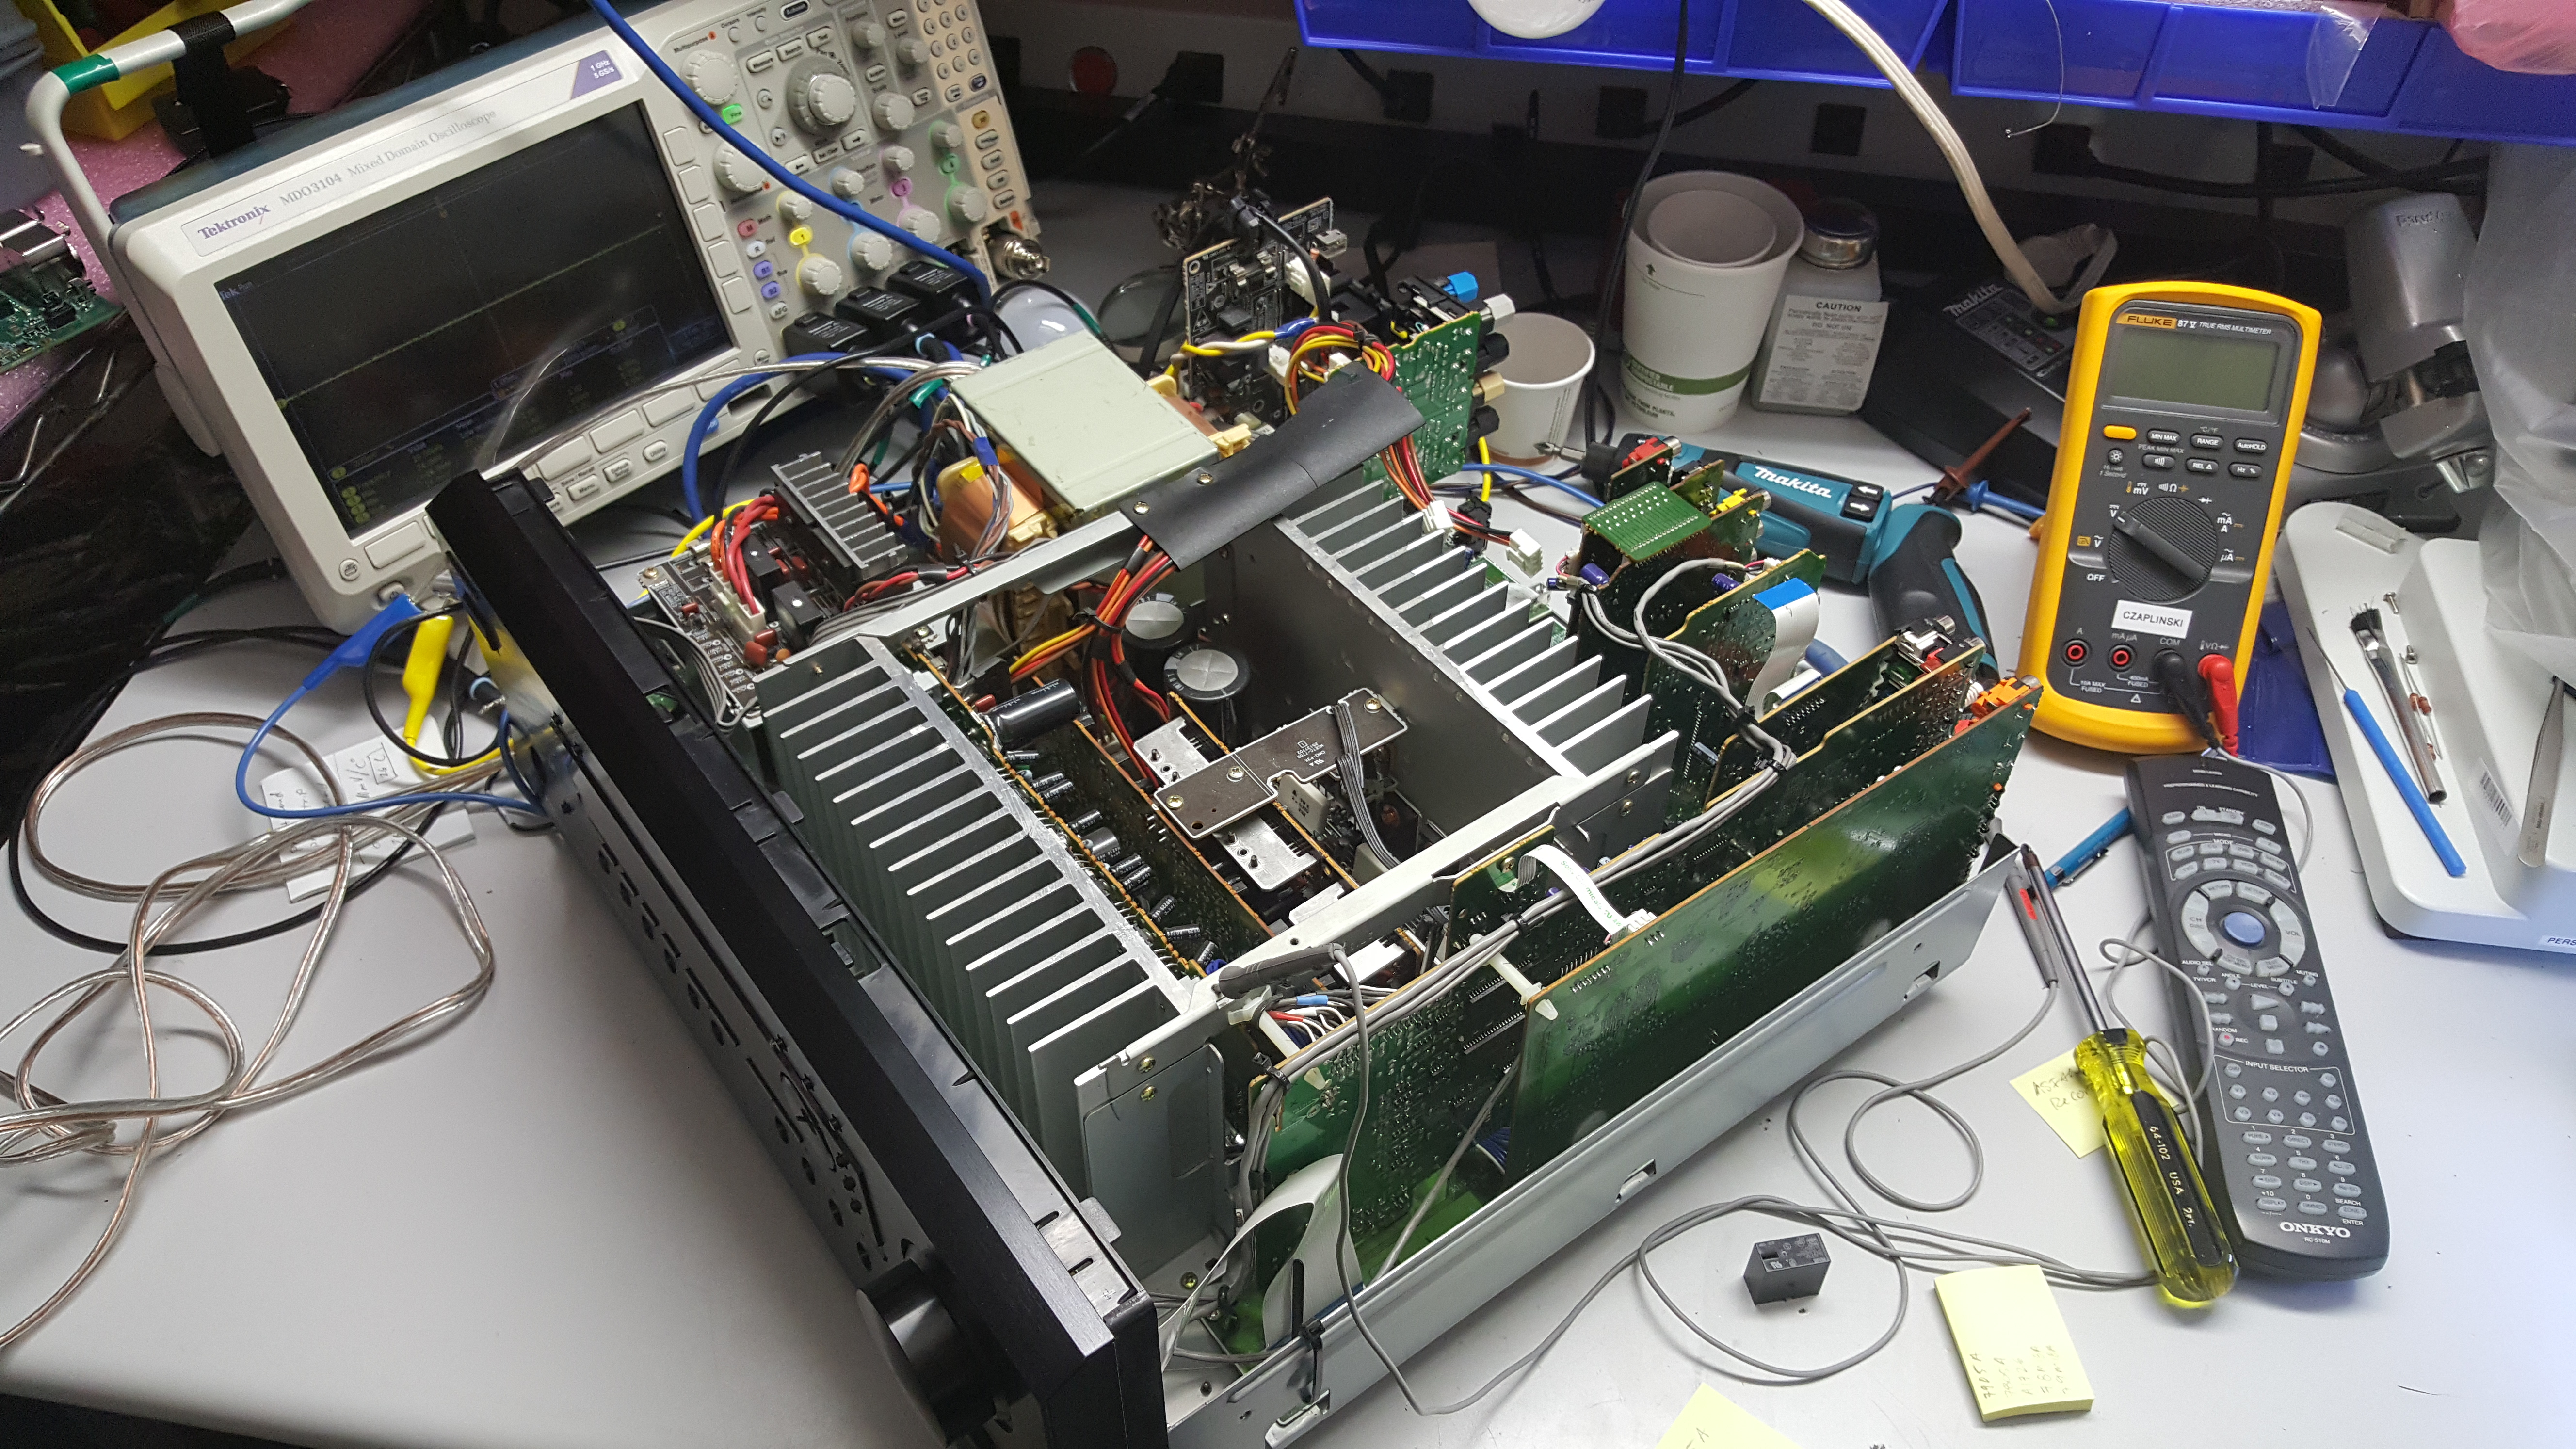
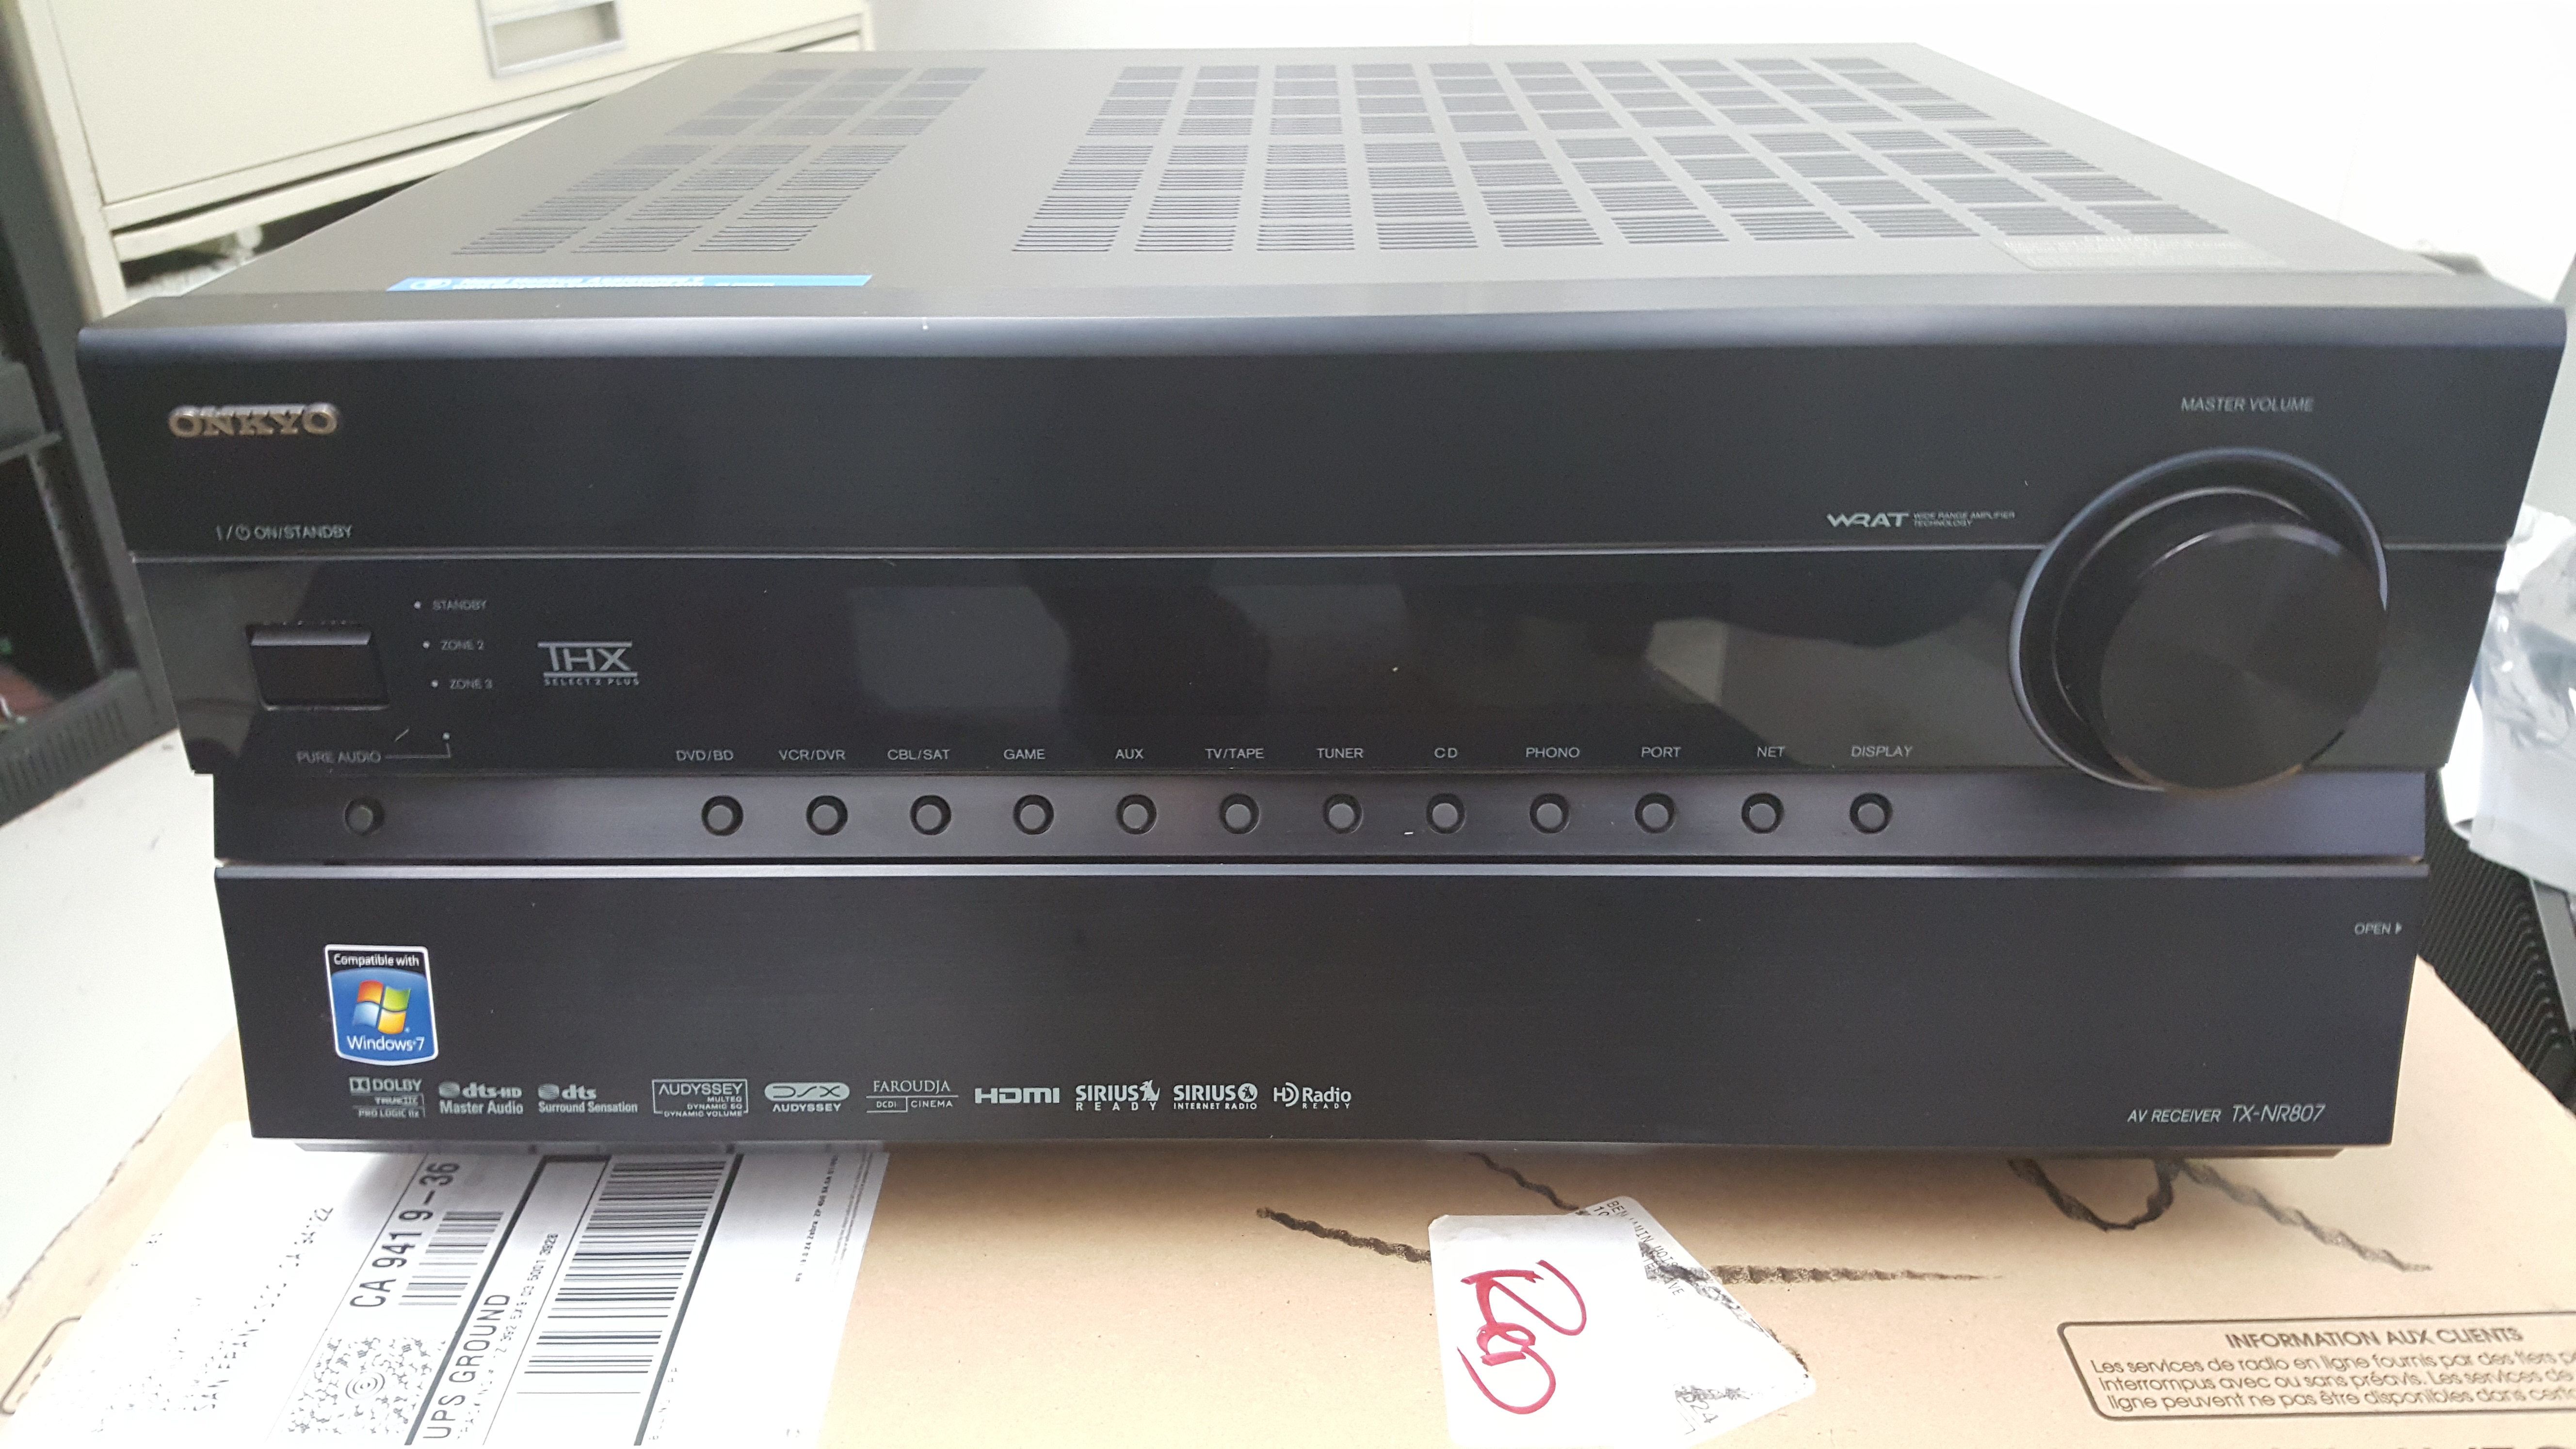
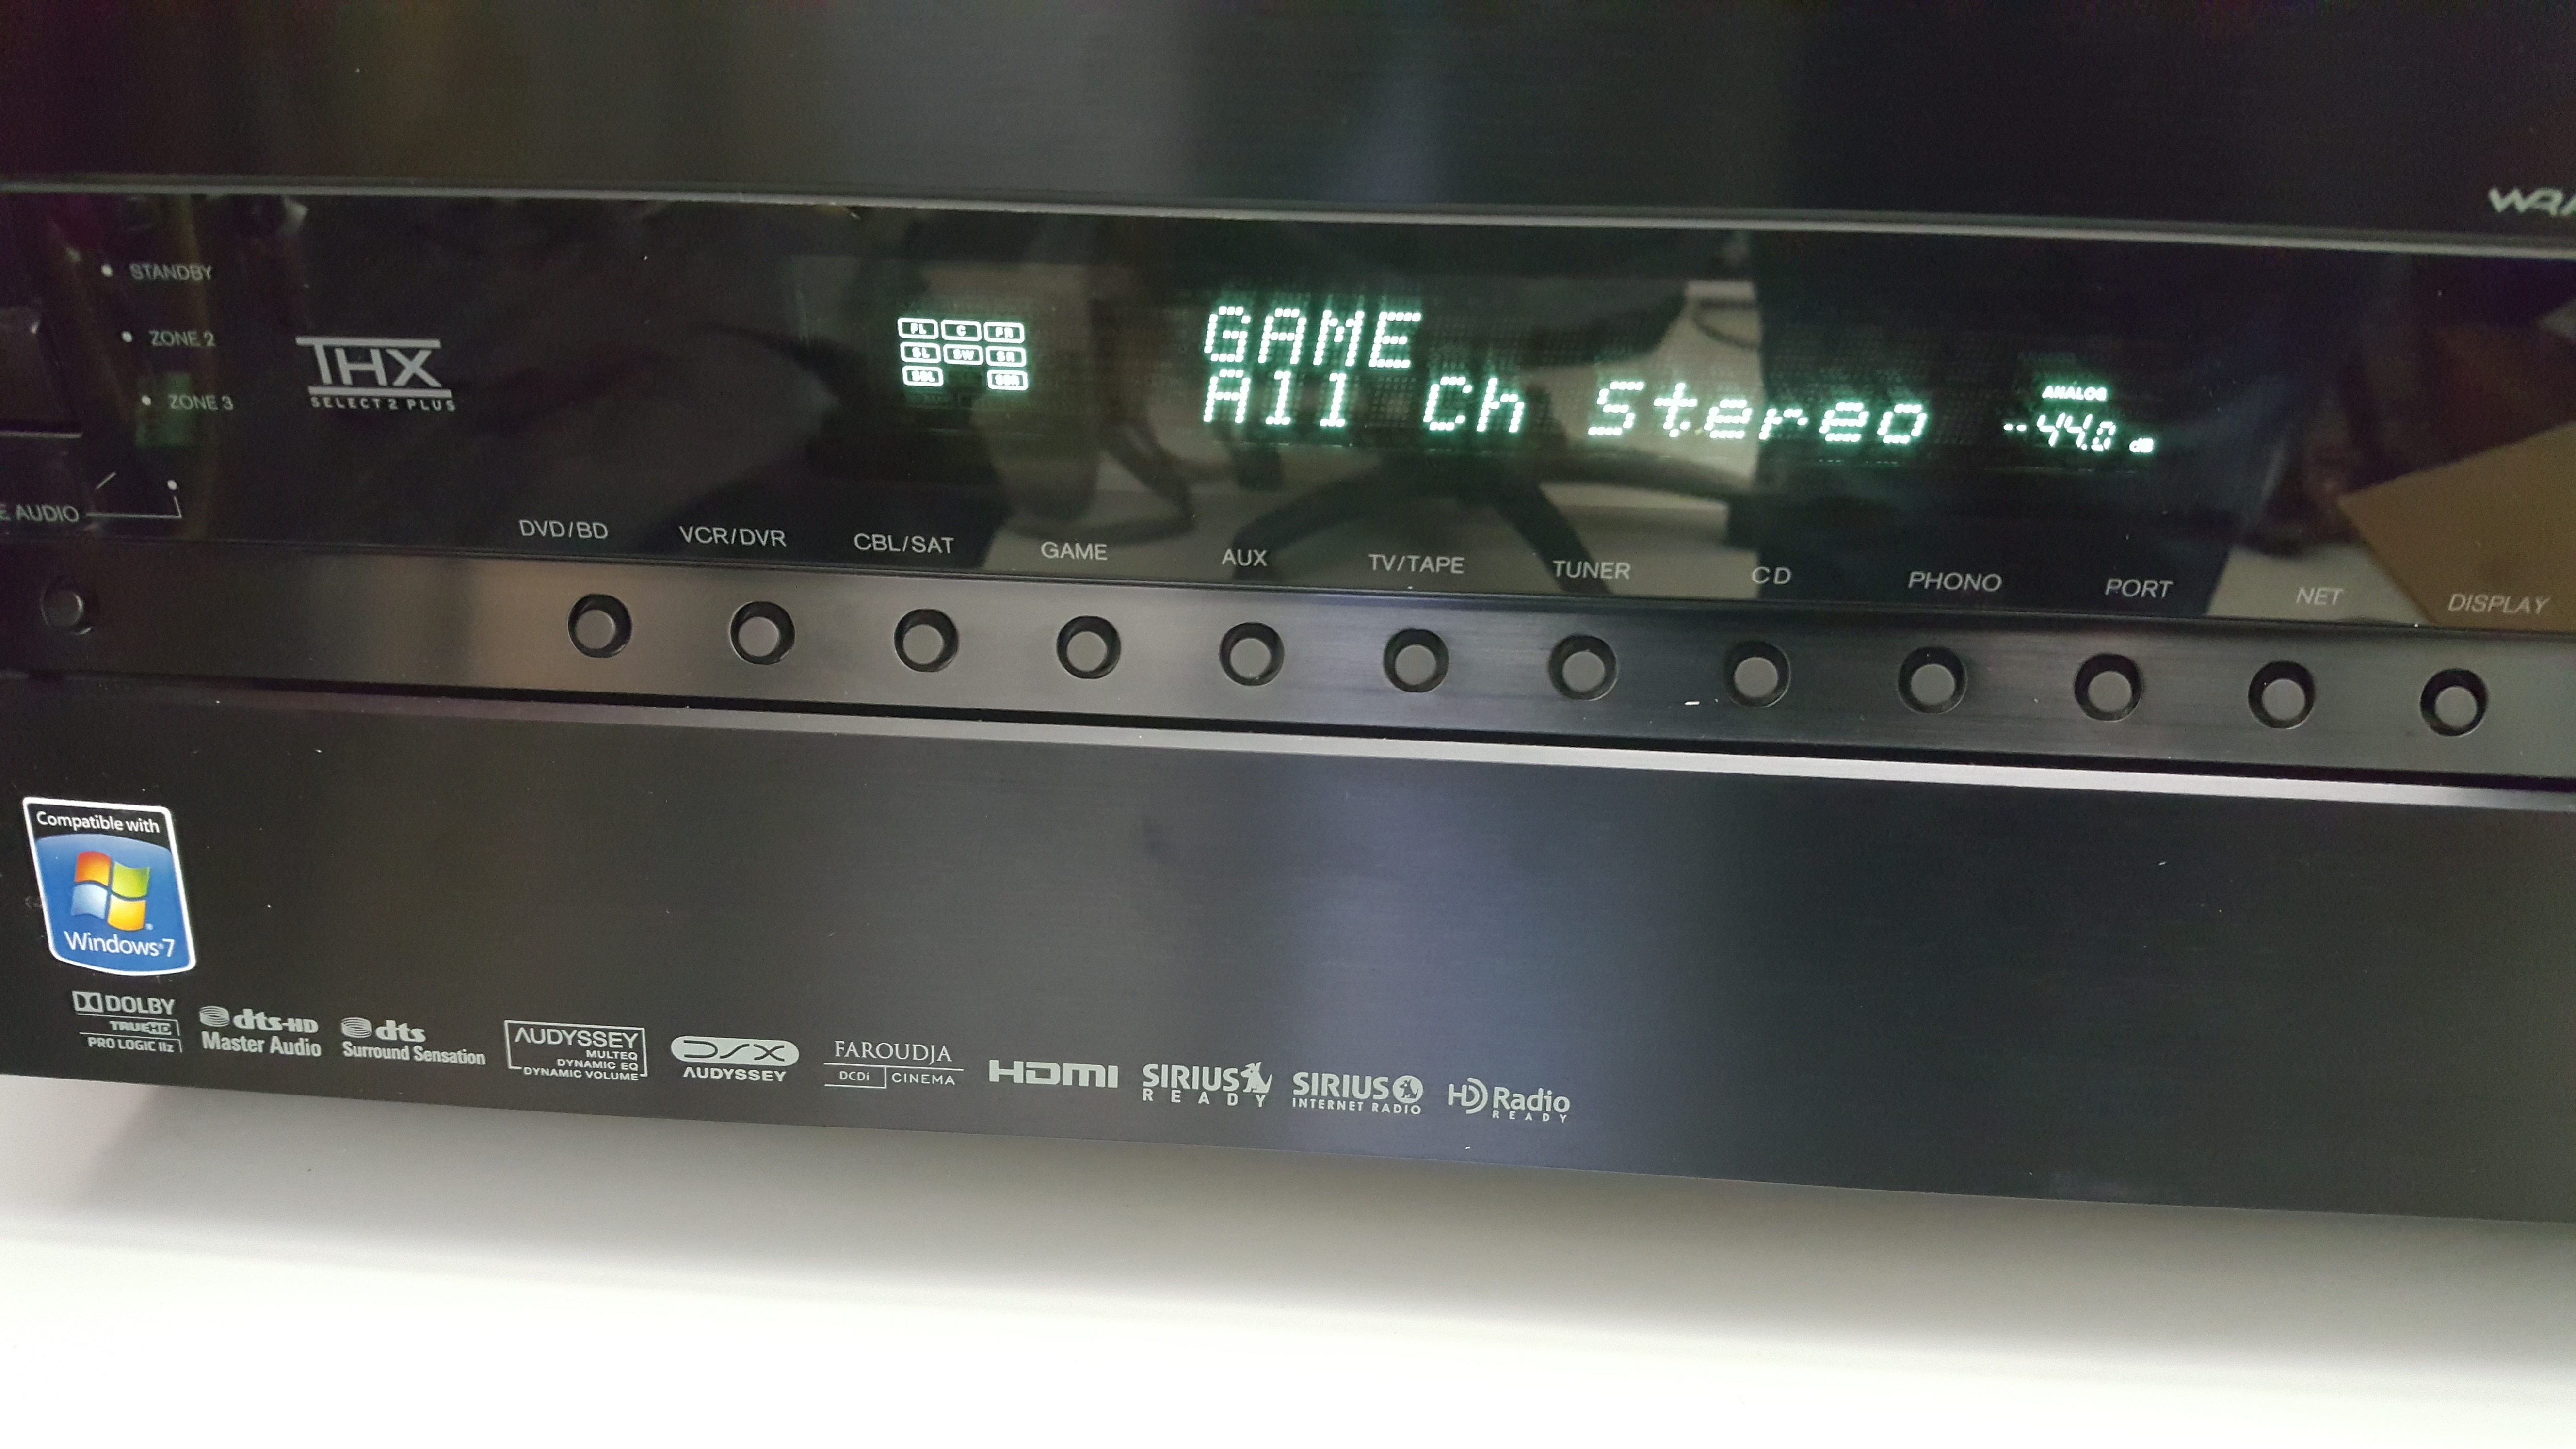
Here is the my Onkyo receiver that used to run my home theater, I actually stopped getting audio. It ended up needing a new relay so I replaced the broken one and replaced the other channels relays as a preventive measure and rebiased. It is currently hooked up to my TV at home providing entertainment again.
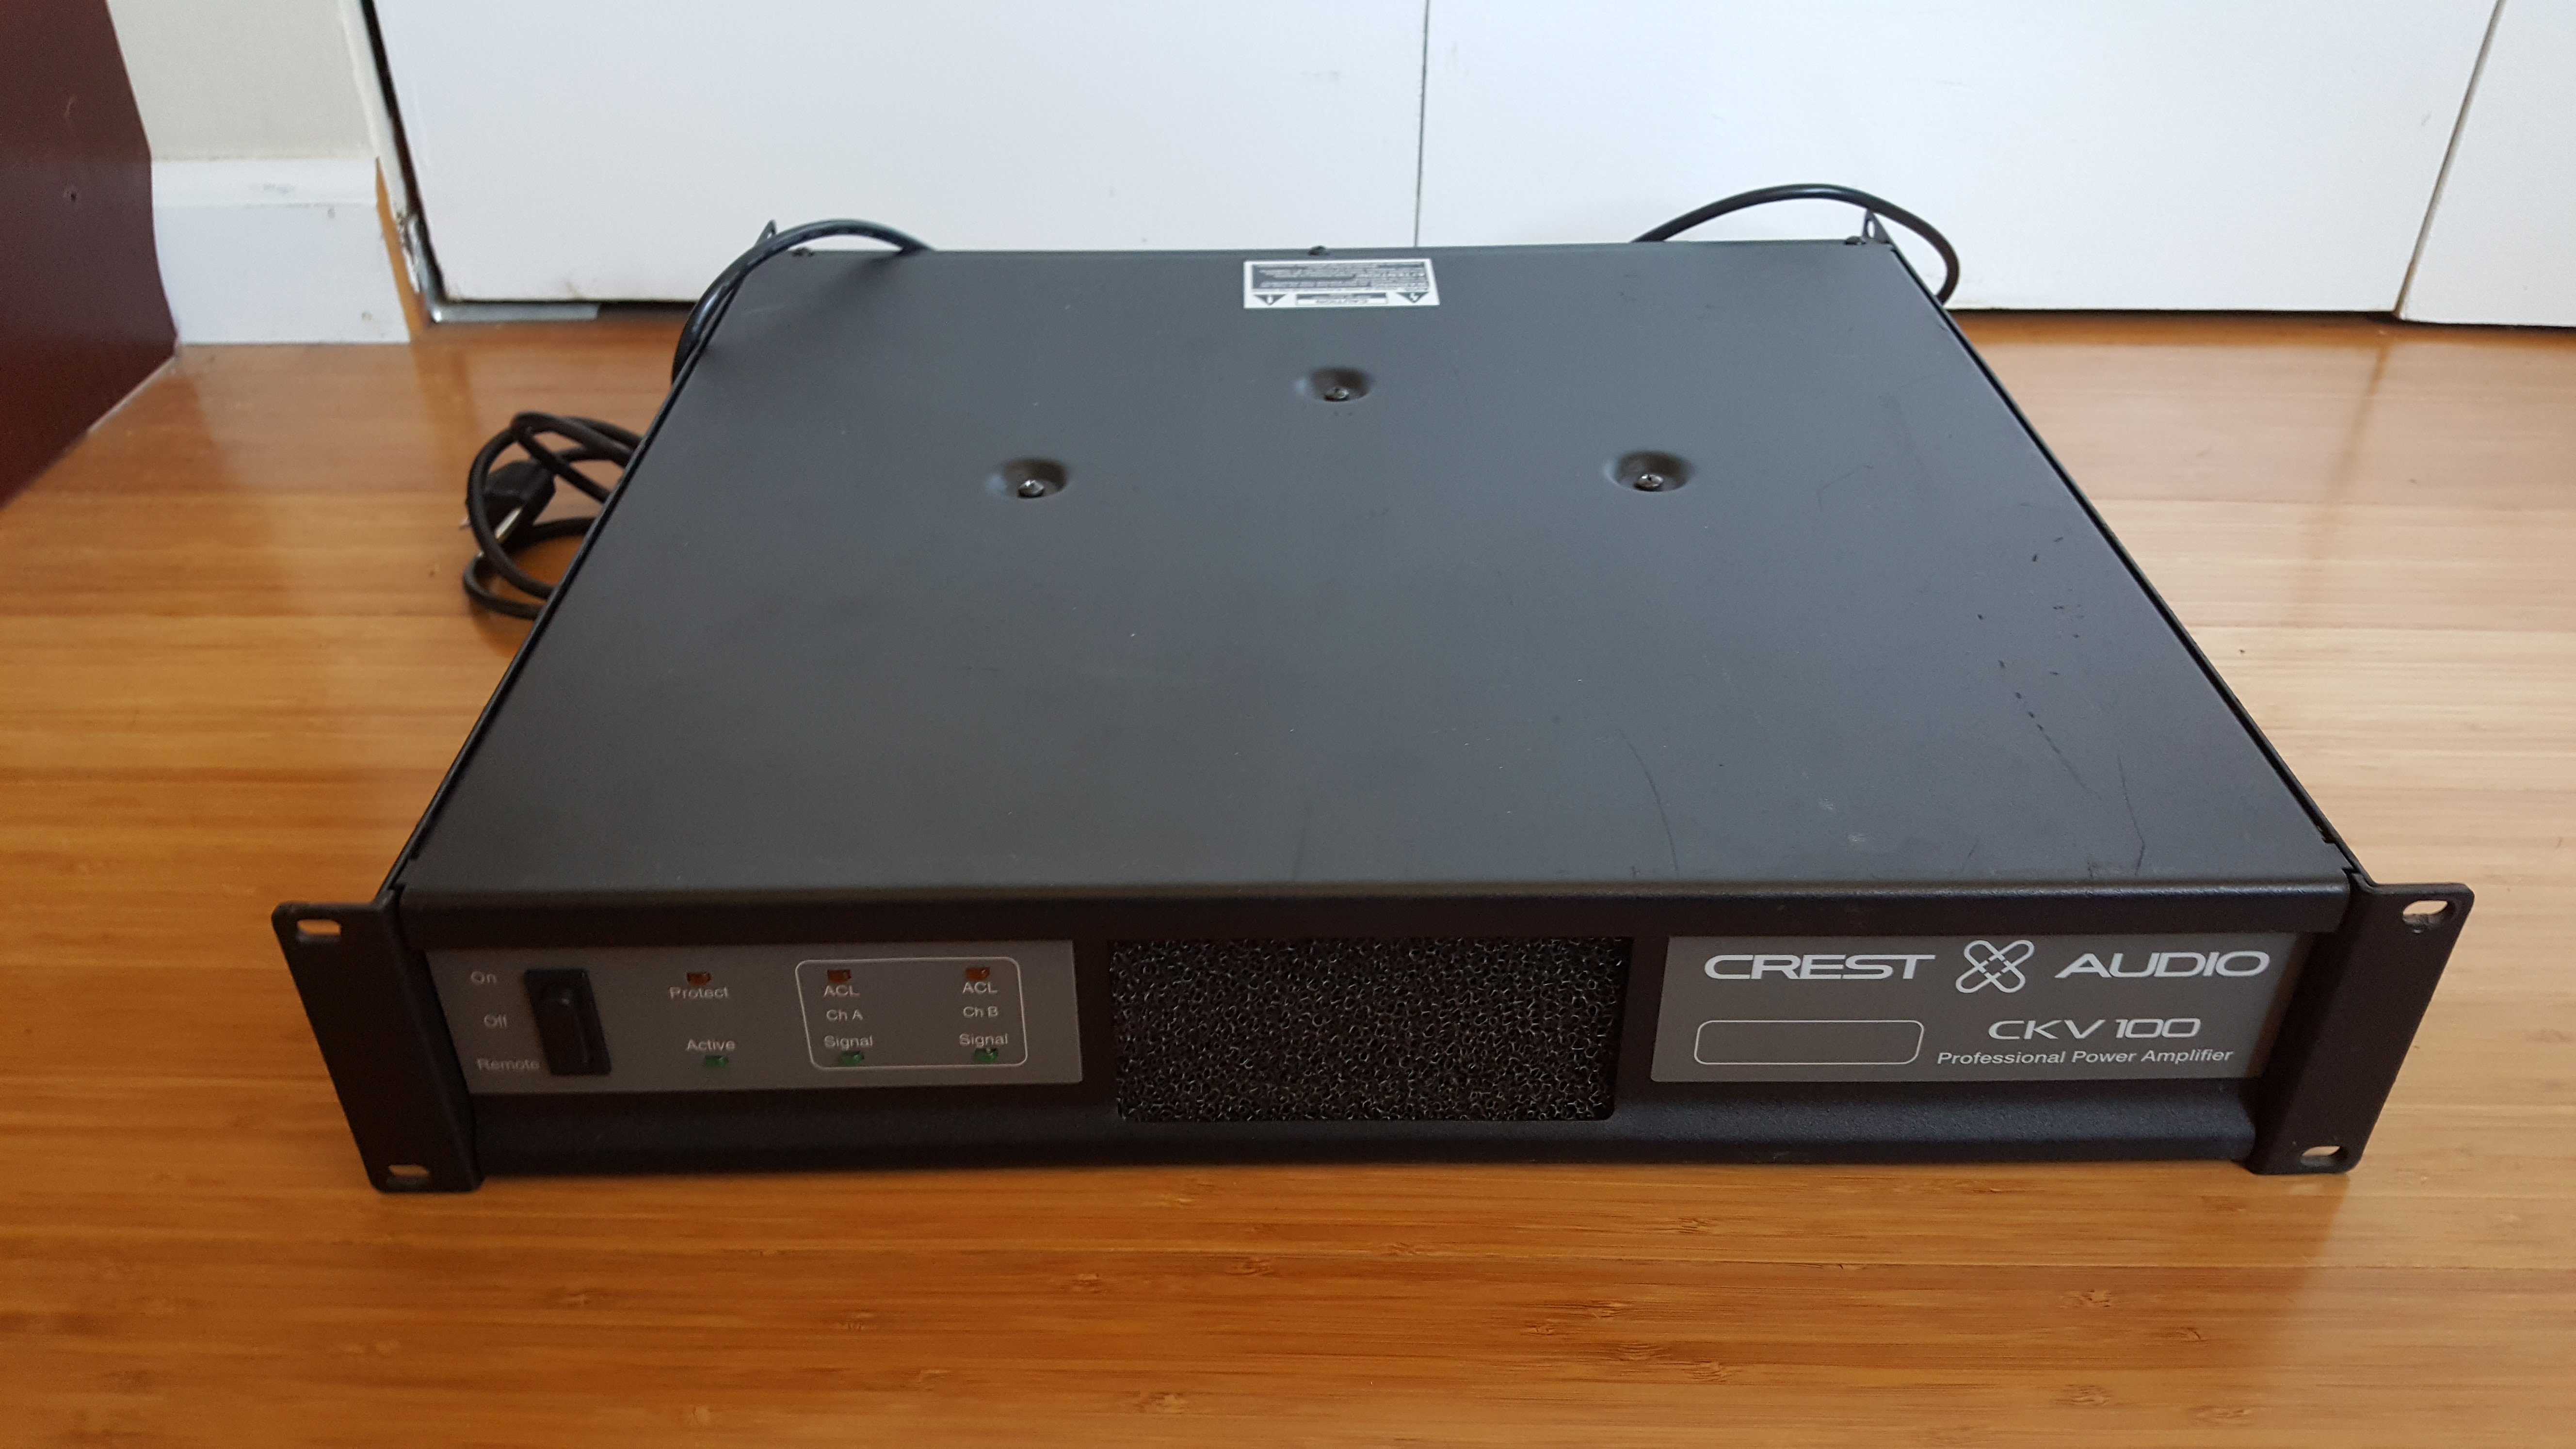
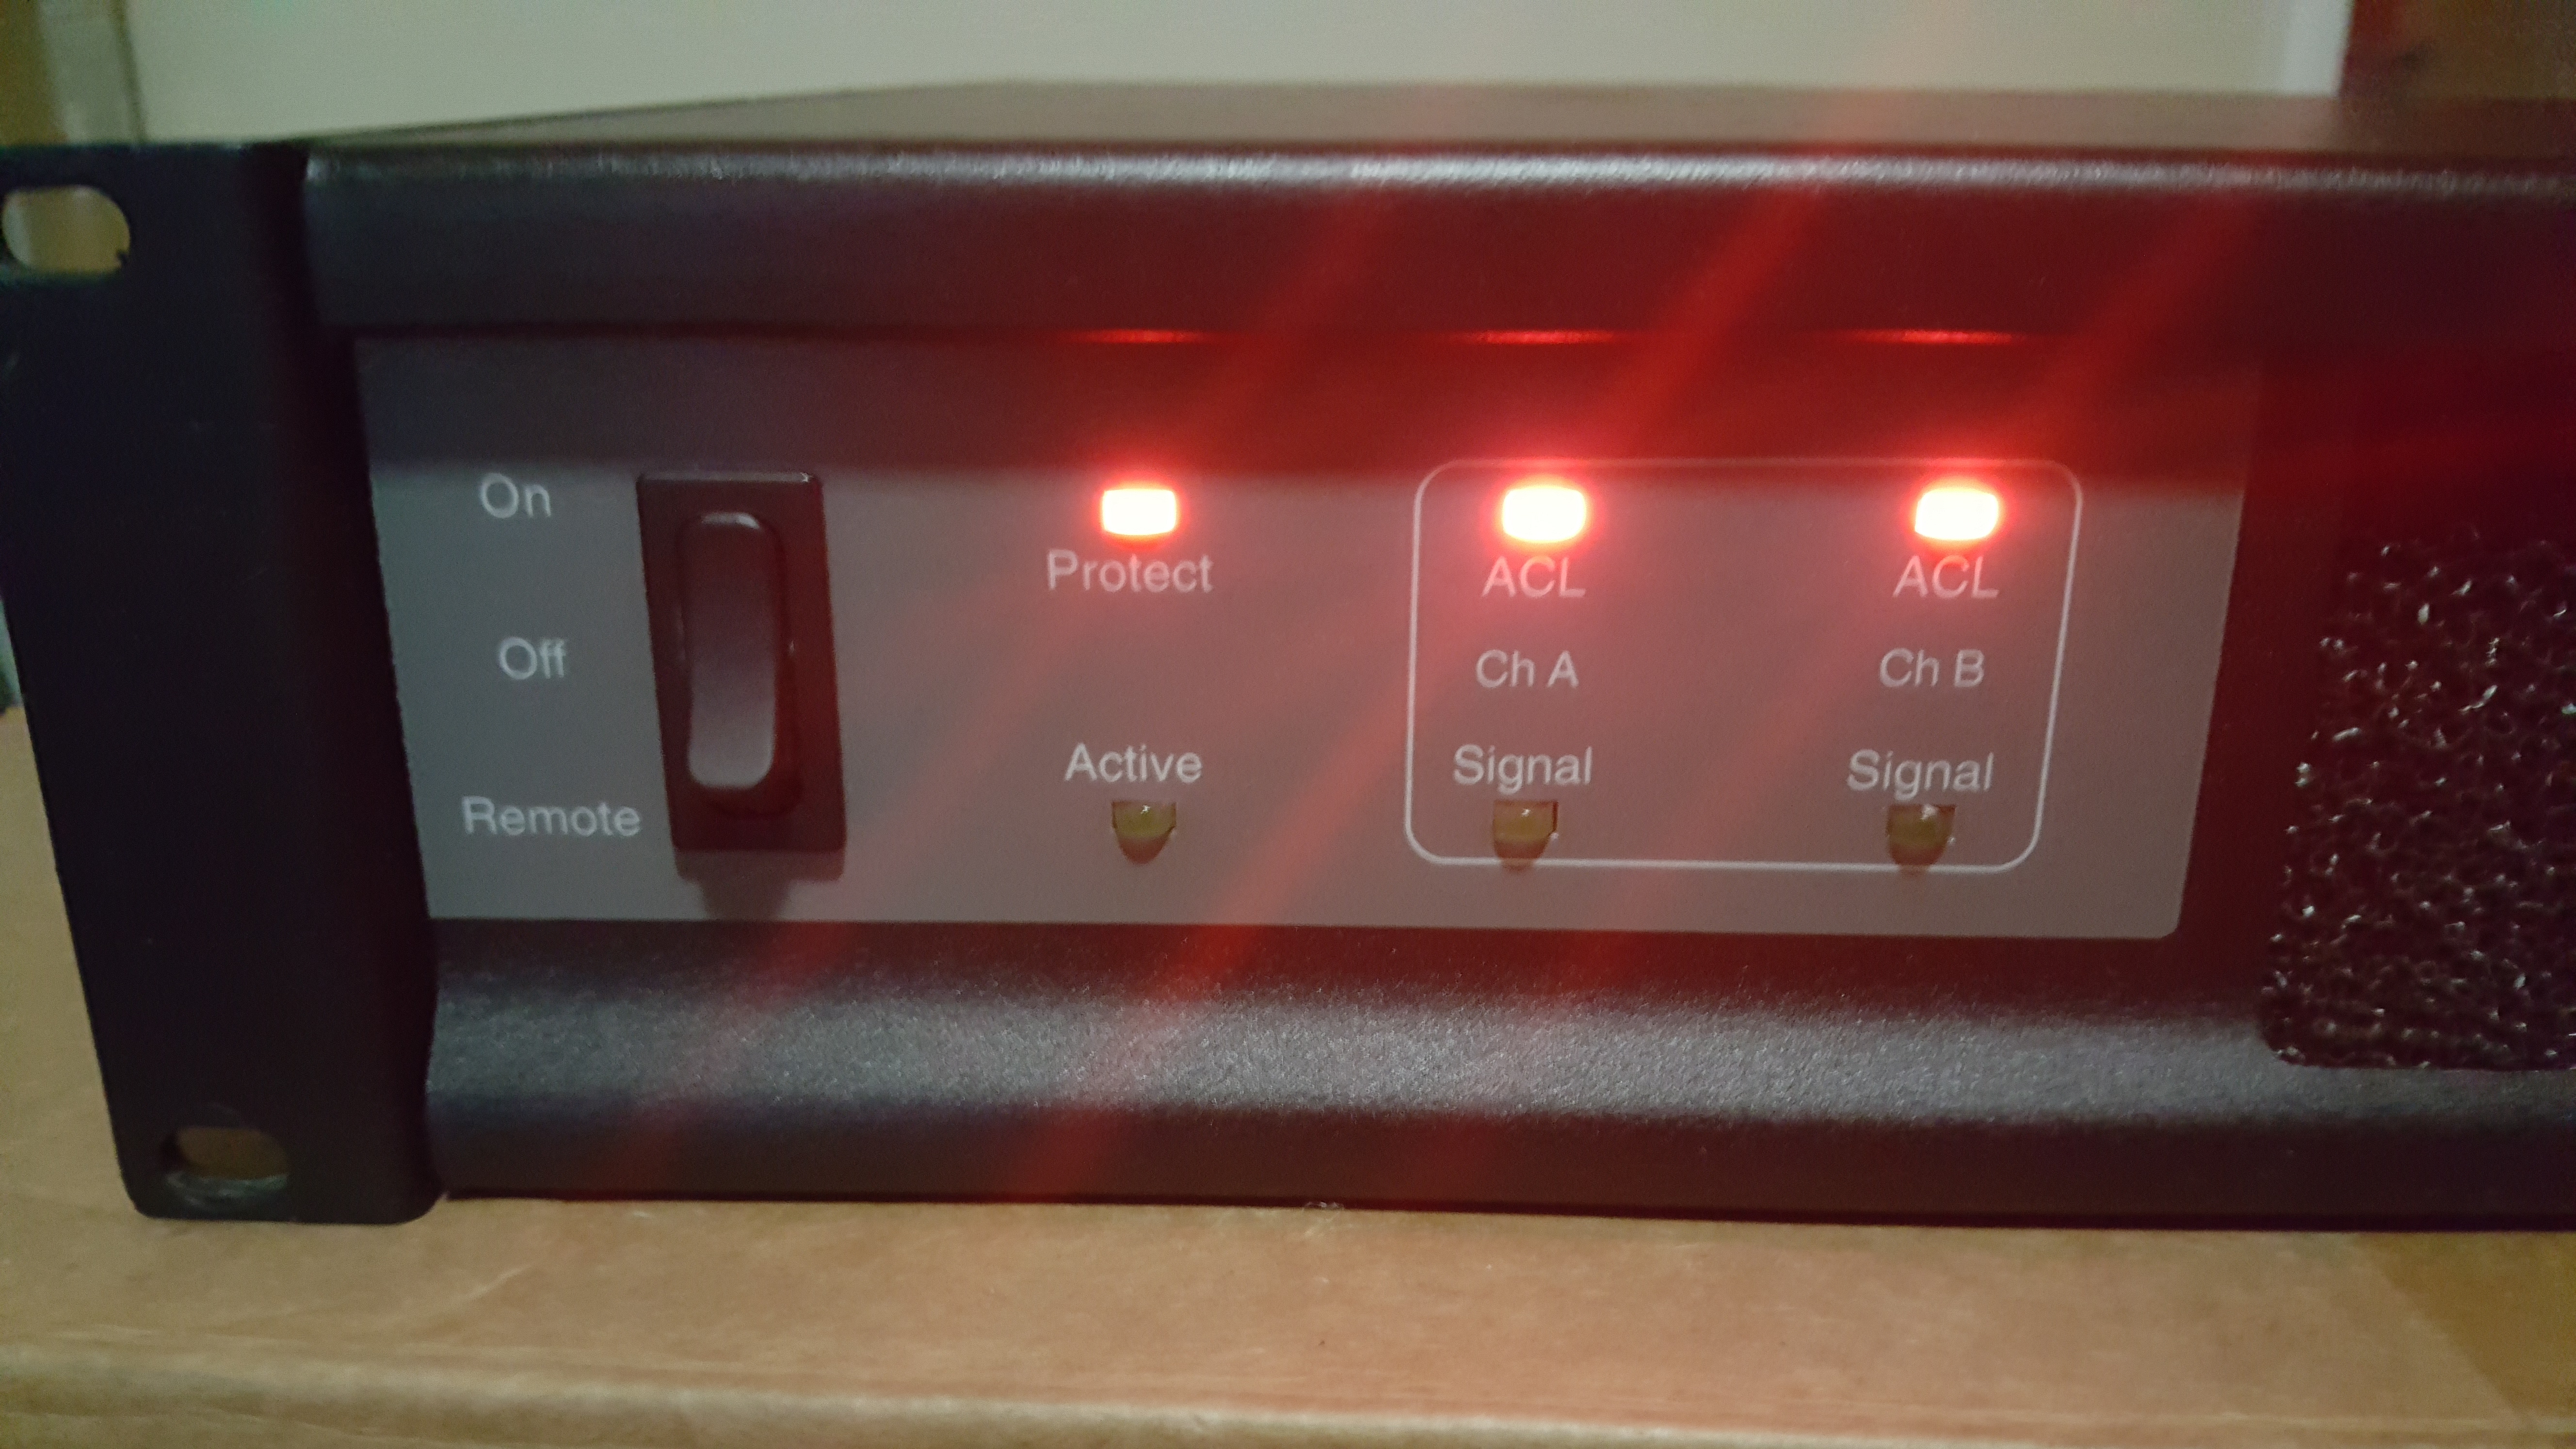
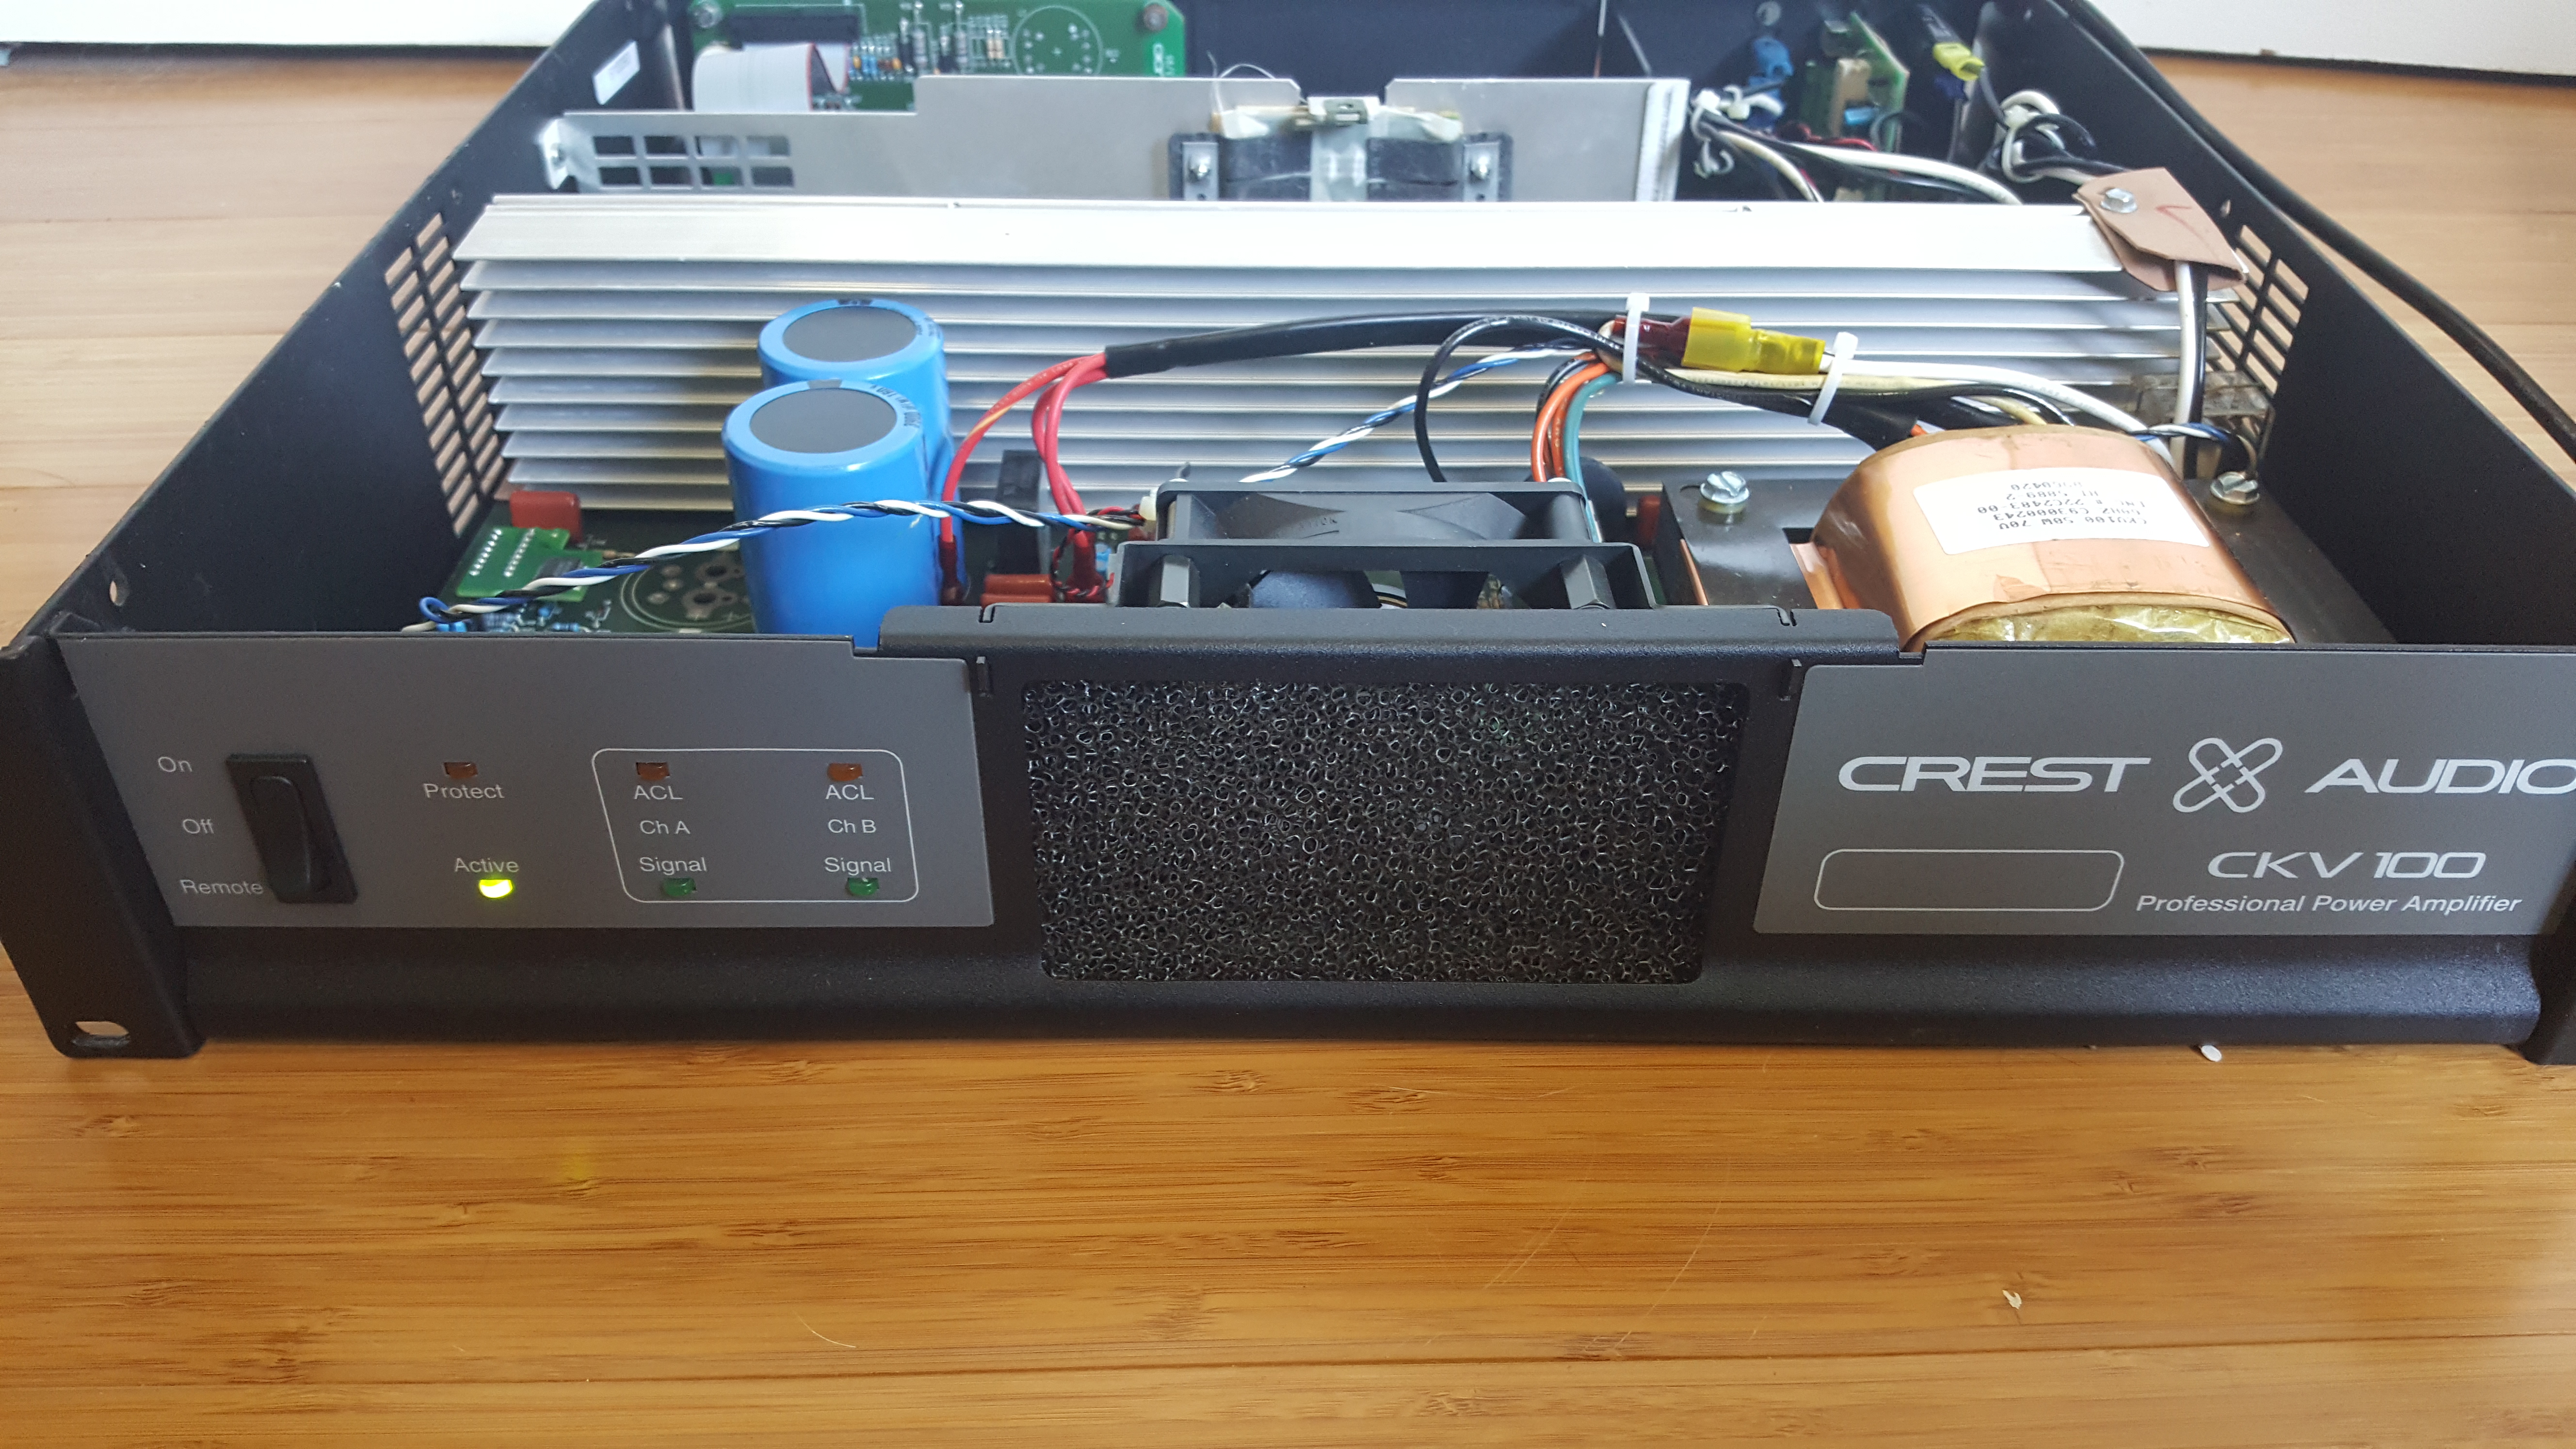
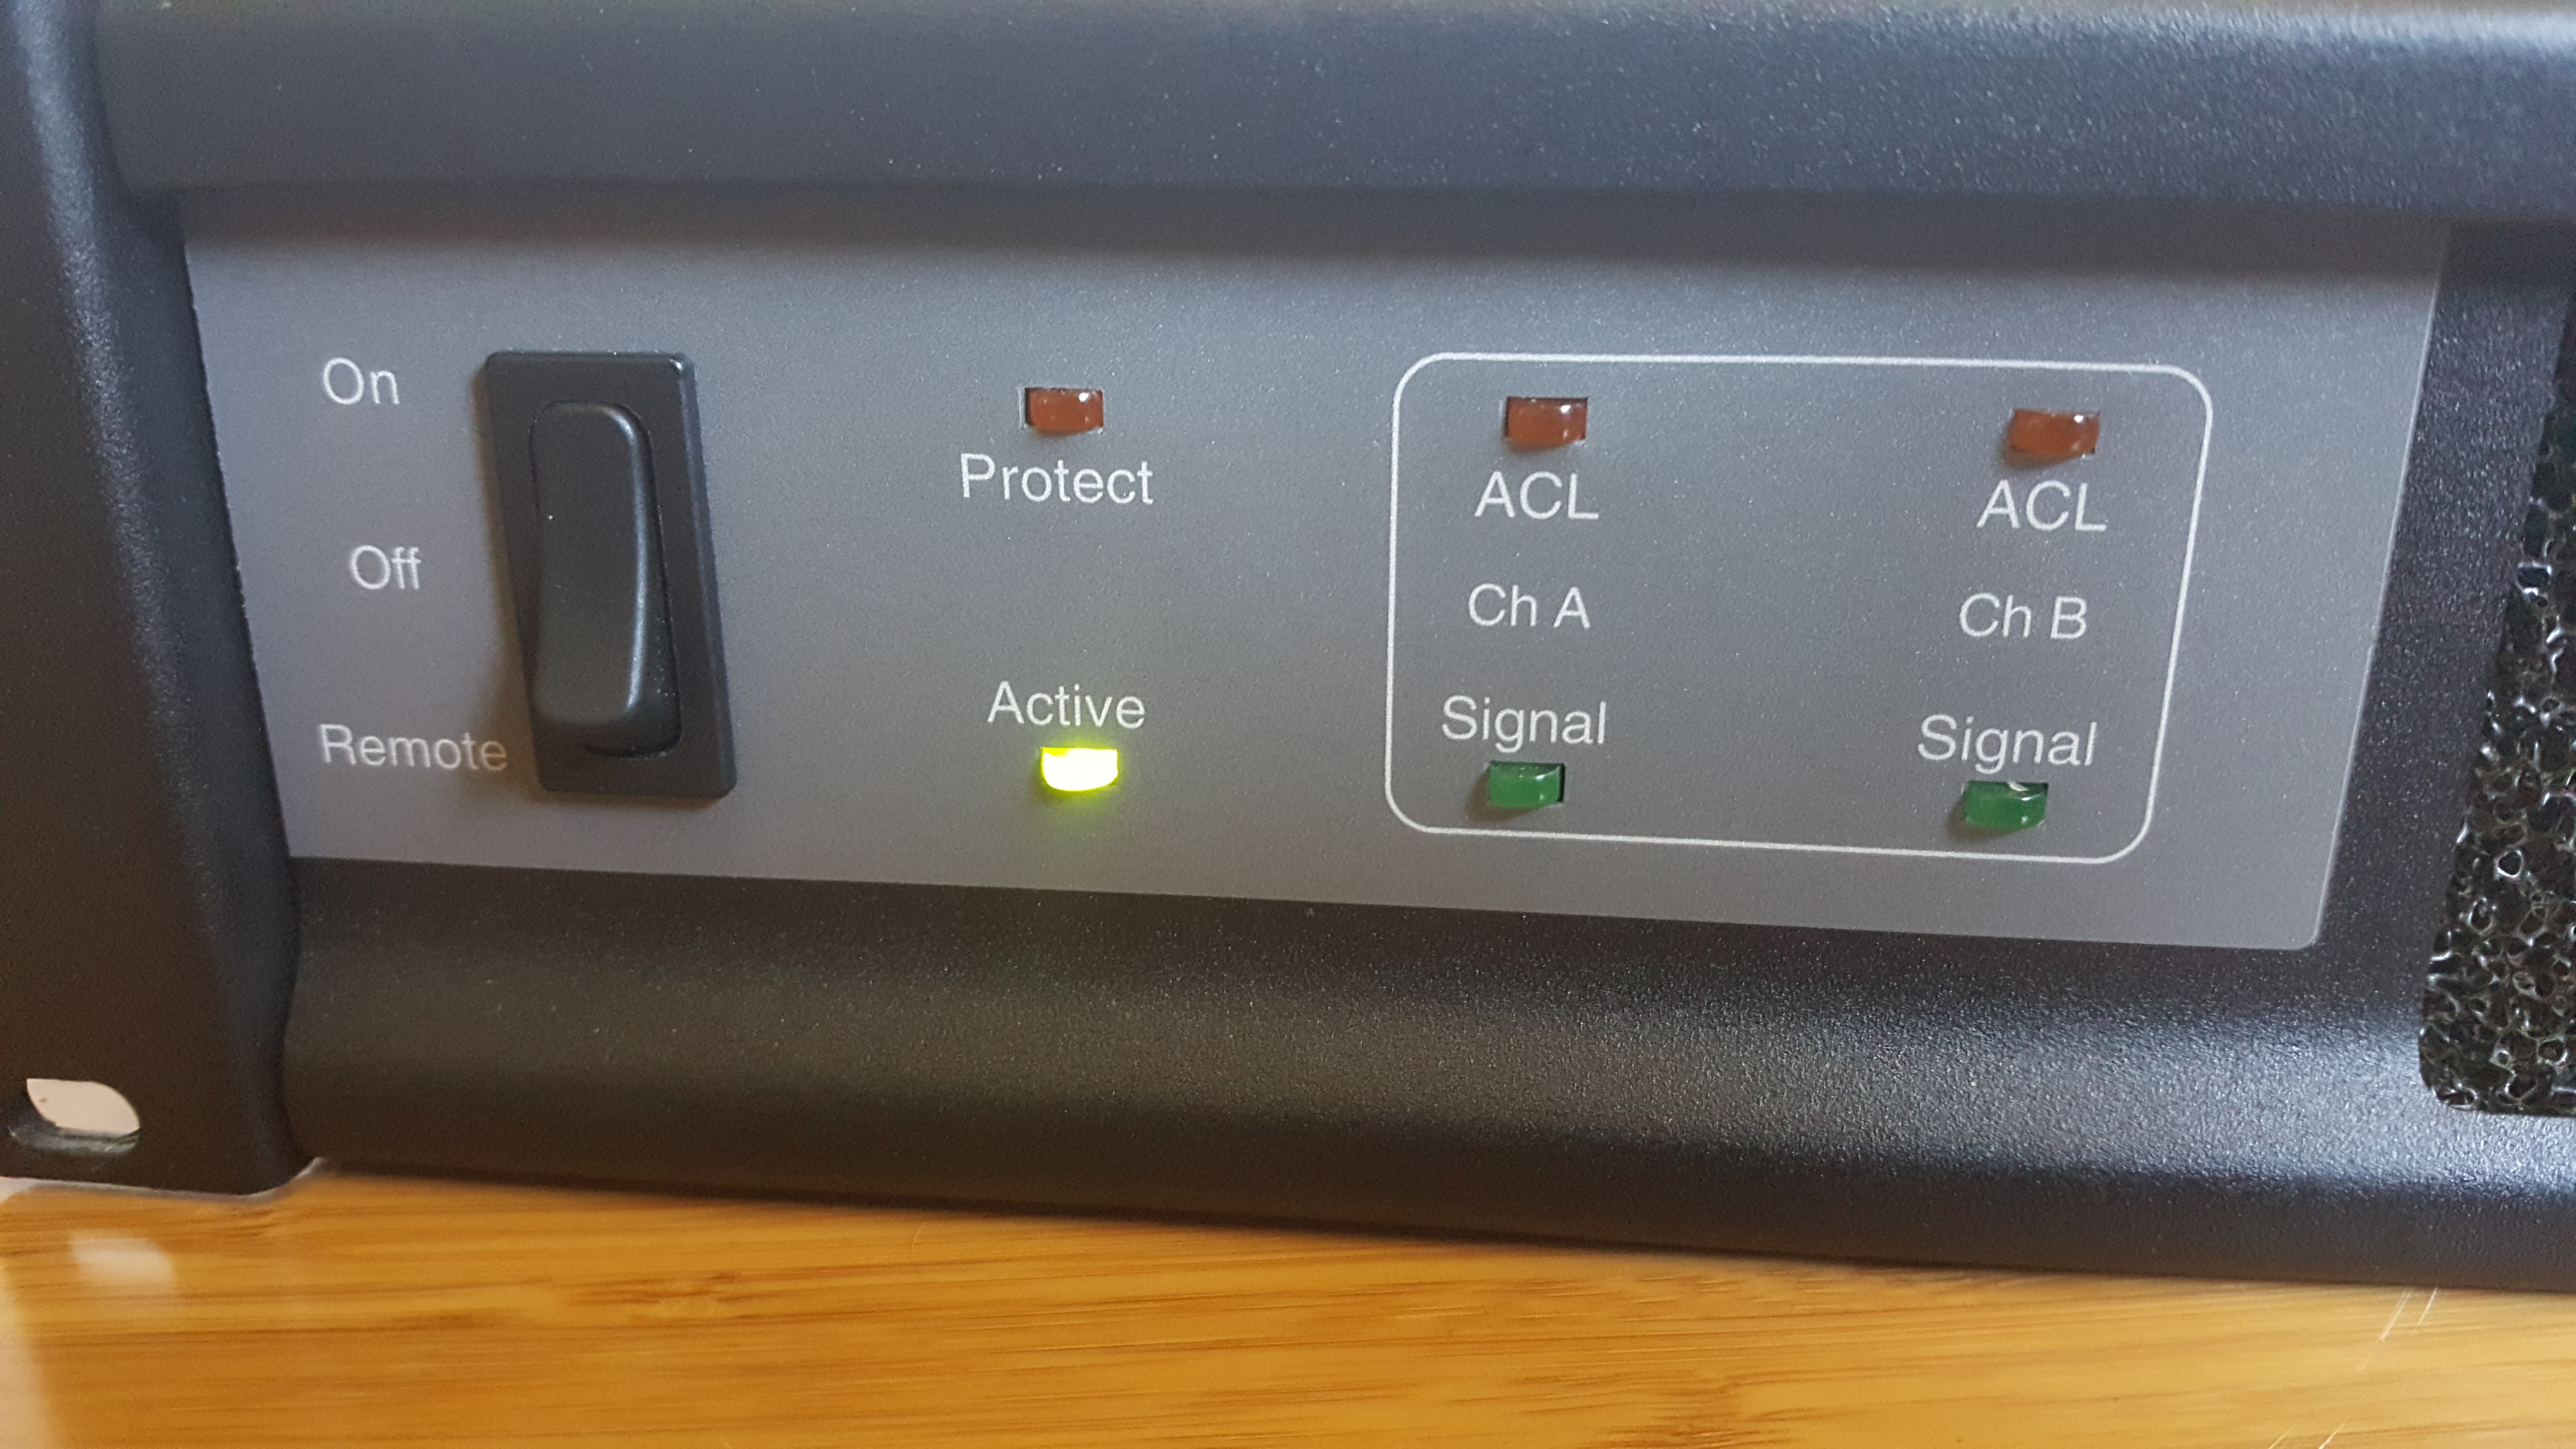
Here is a Crest Audio CKV100 professional PA amplifier. When I got it is was locking up with those beautiful red protect LEDs. I tracked down the problem to a module that is use to detect system state. I fixed that part, and rebiased, sounds great!!
Here was an Onkyo receiver I bought broken on Ebay that wouldn’t even turn on. It turned out to be a few bad output driver FETs. I replaced them and the current resistors, rebiased and was back in business.
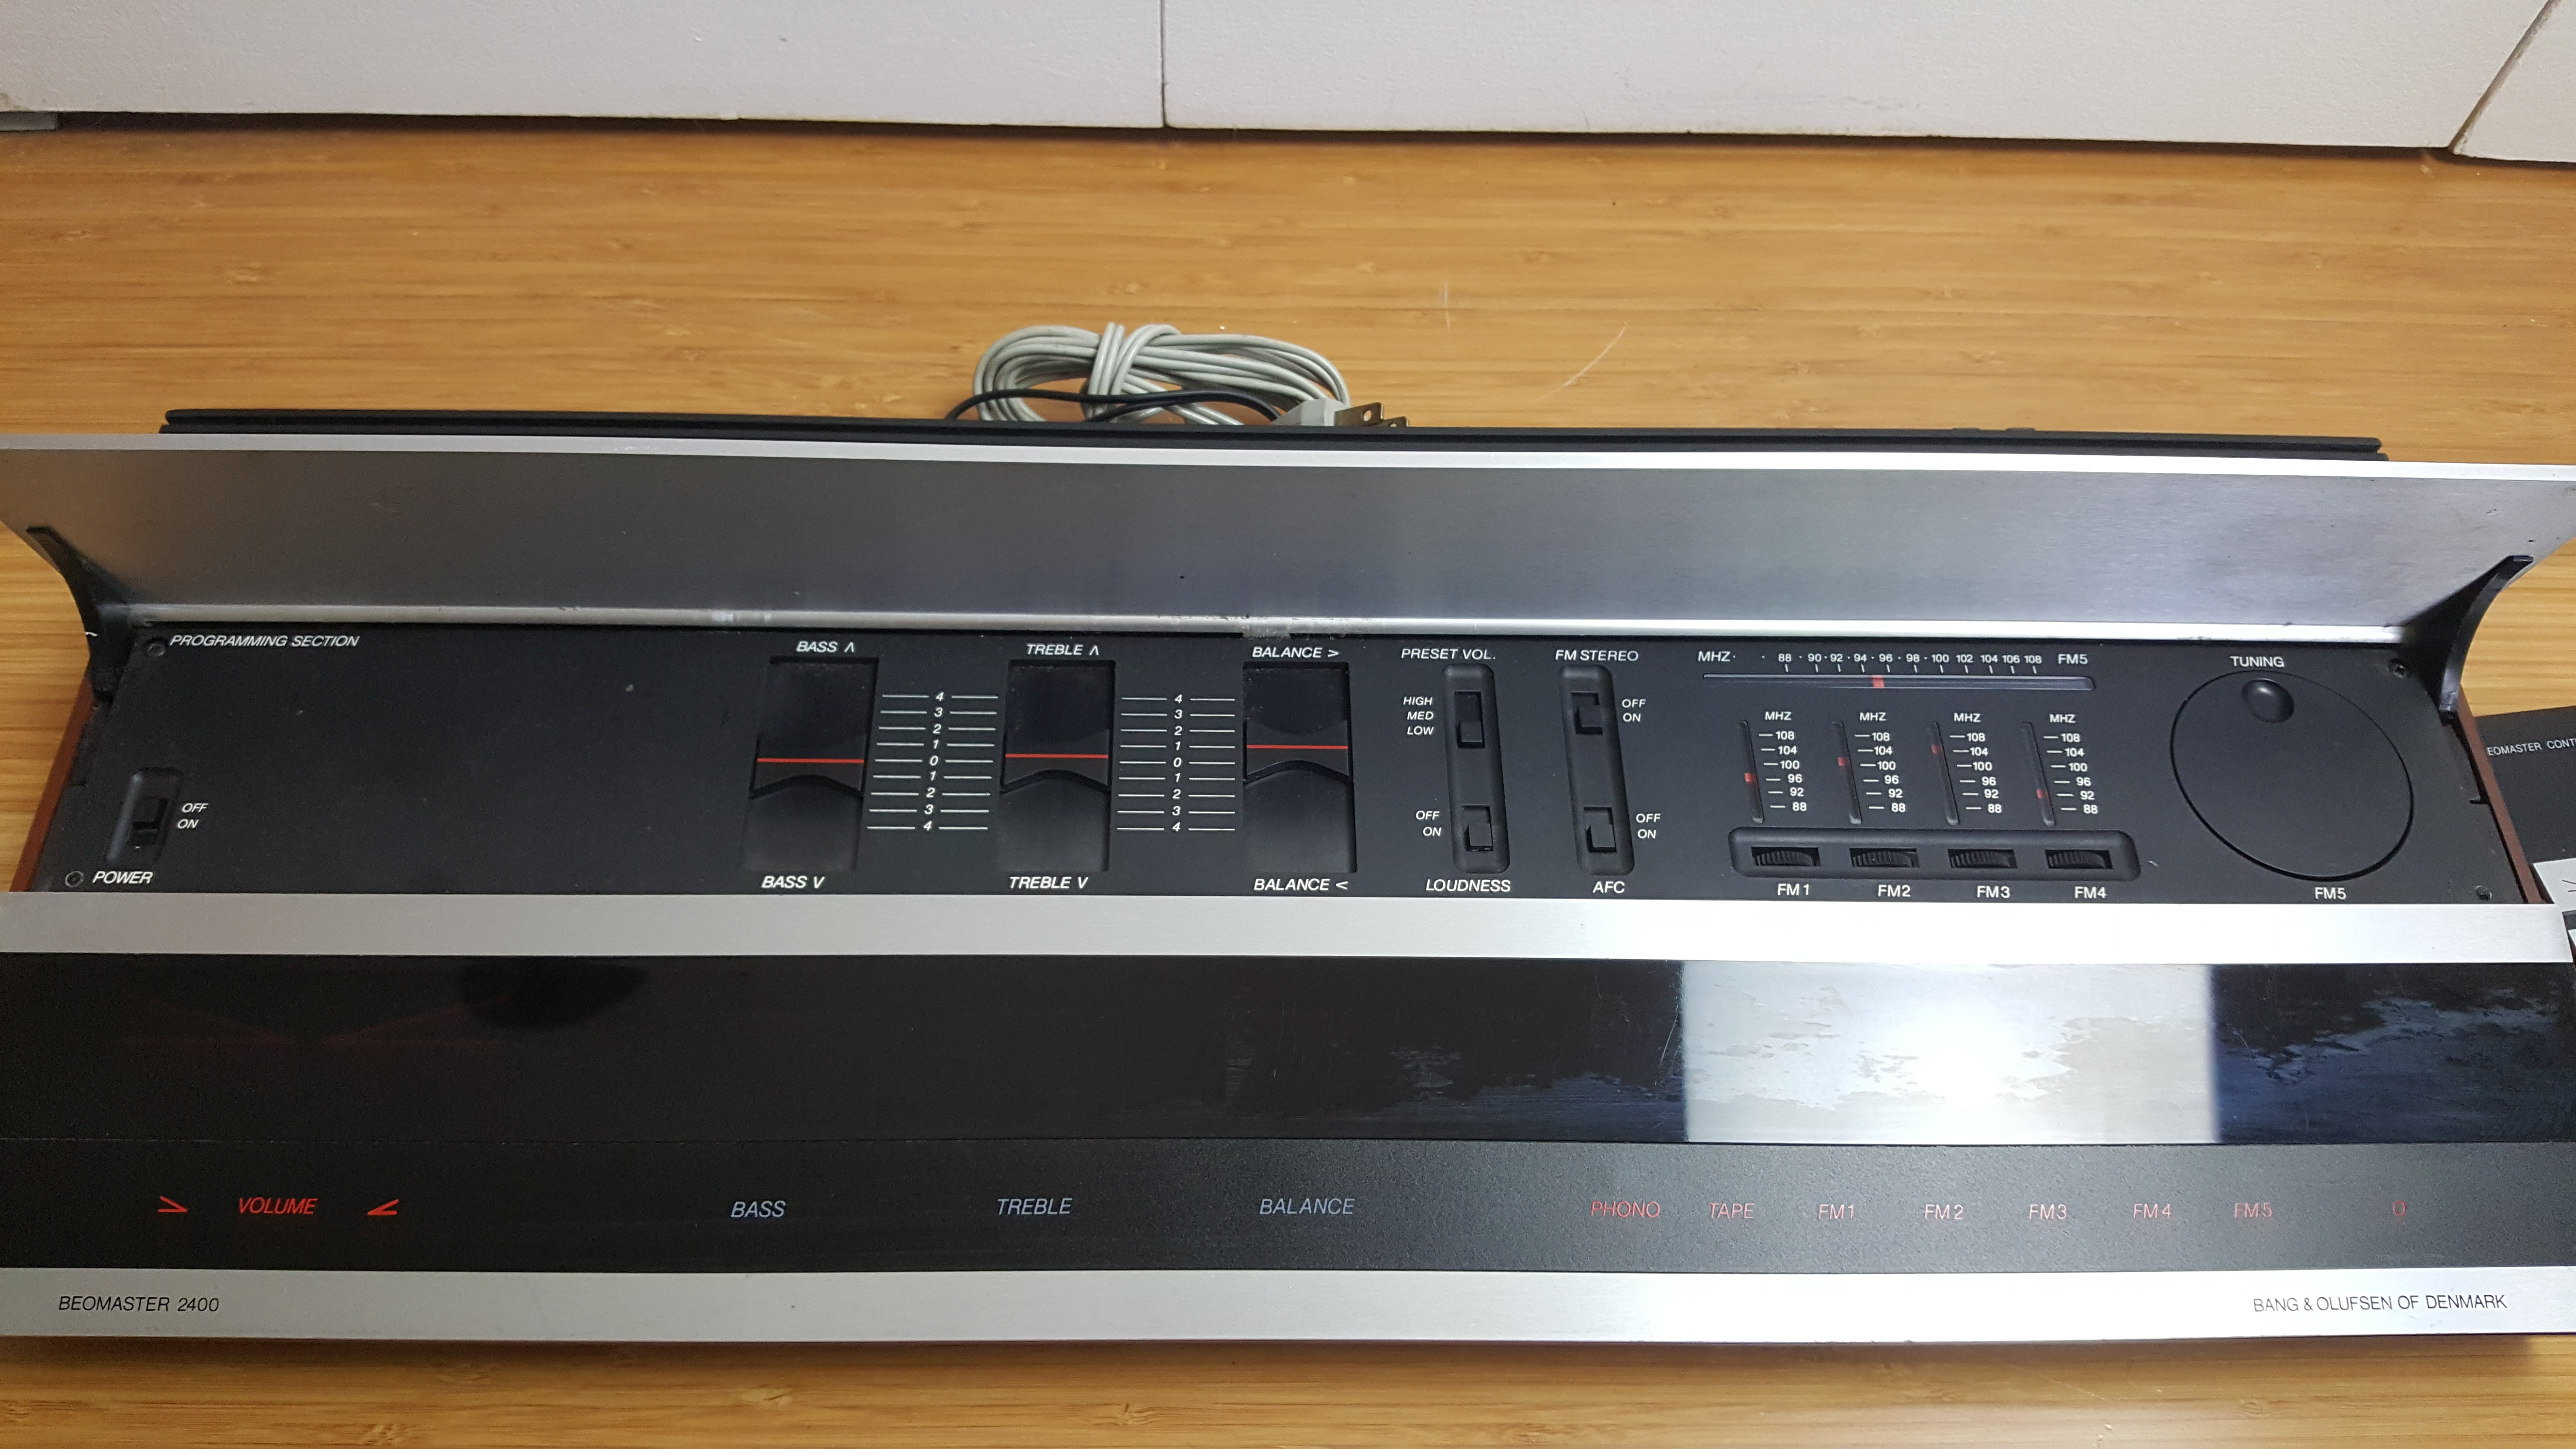
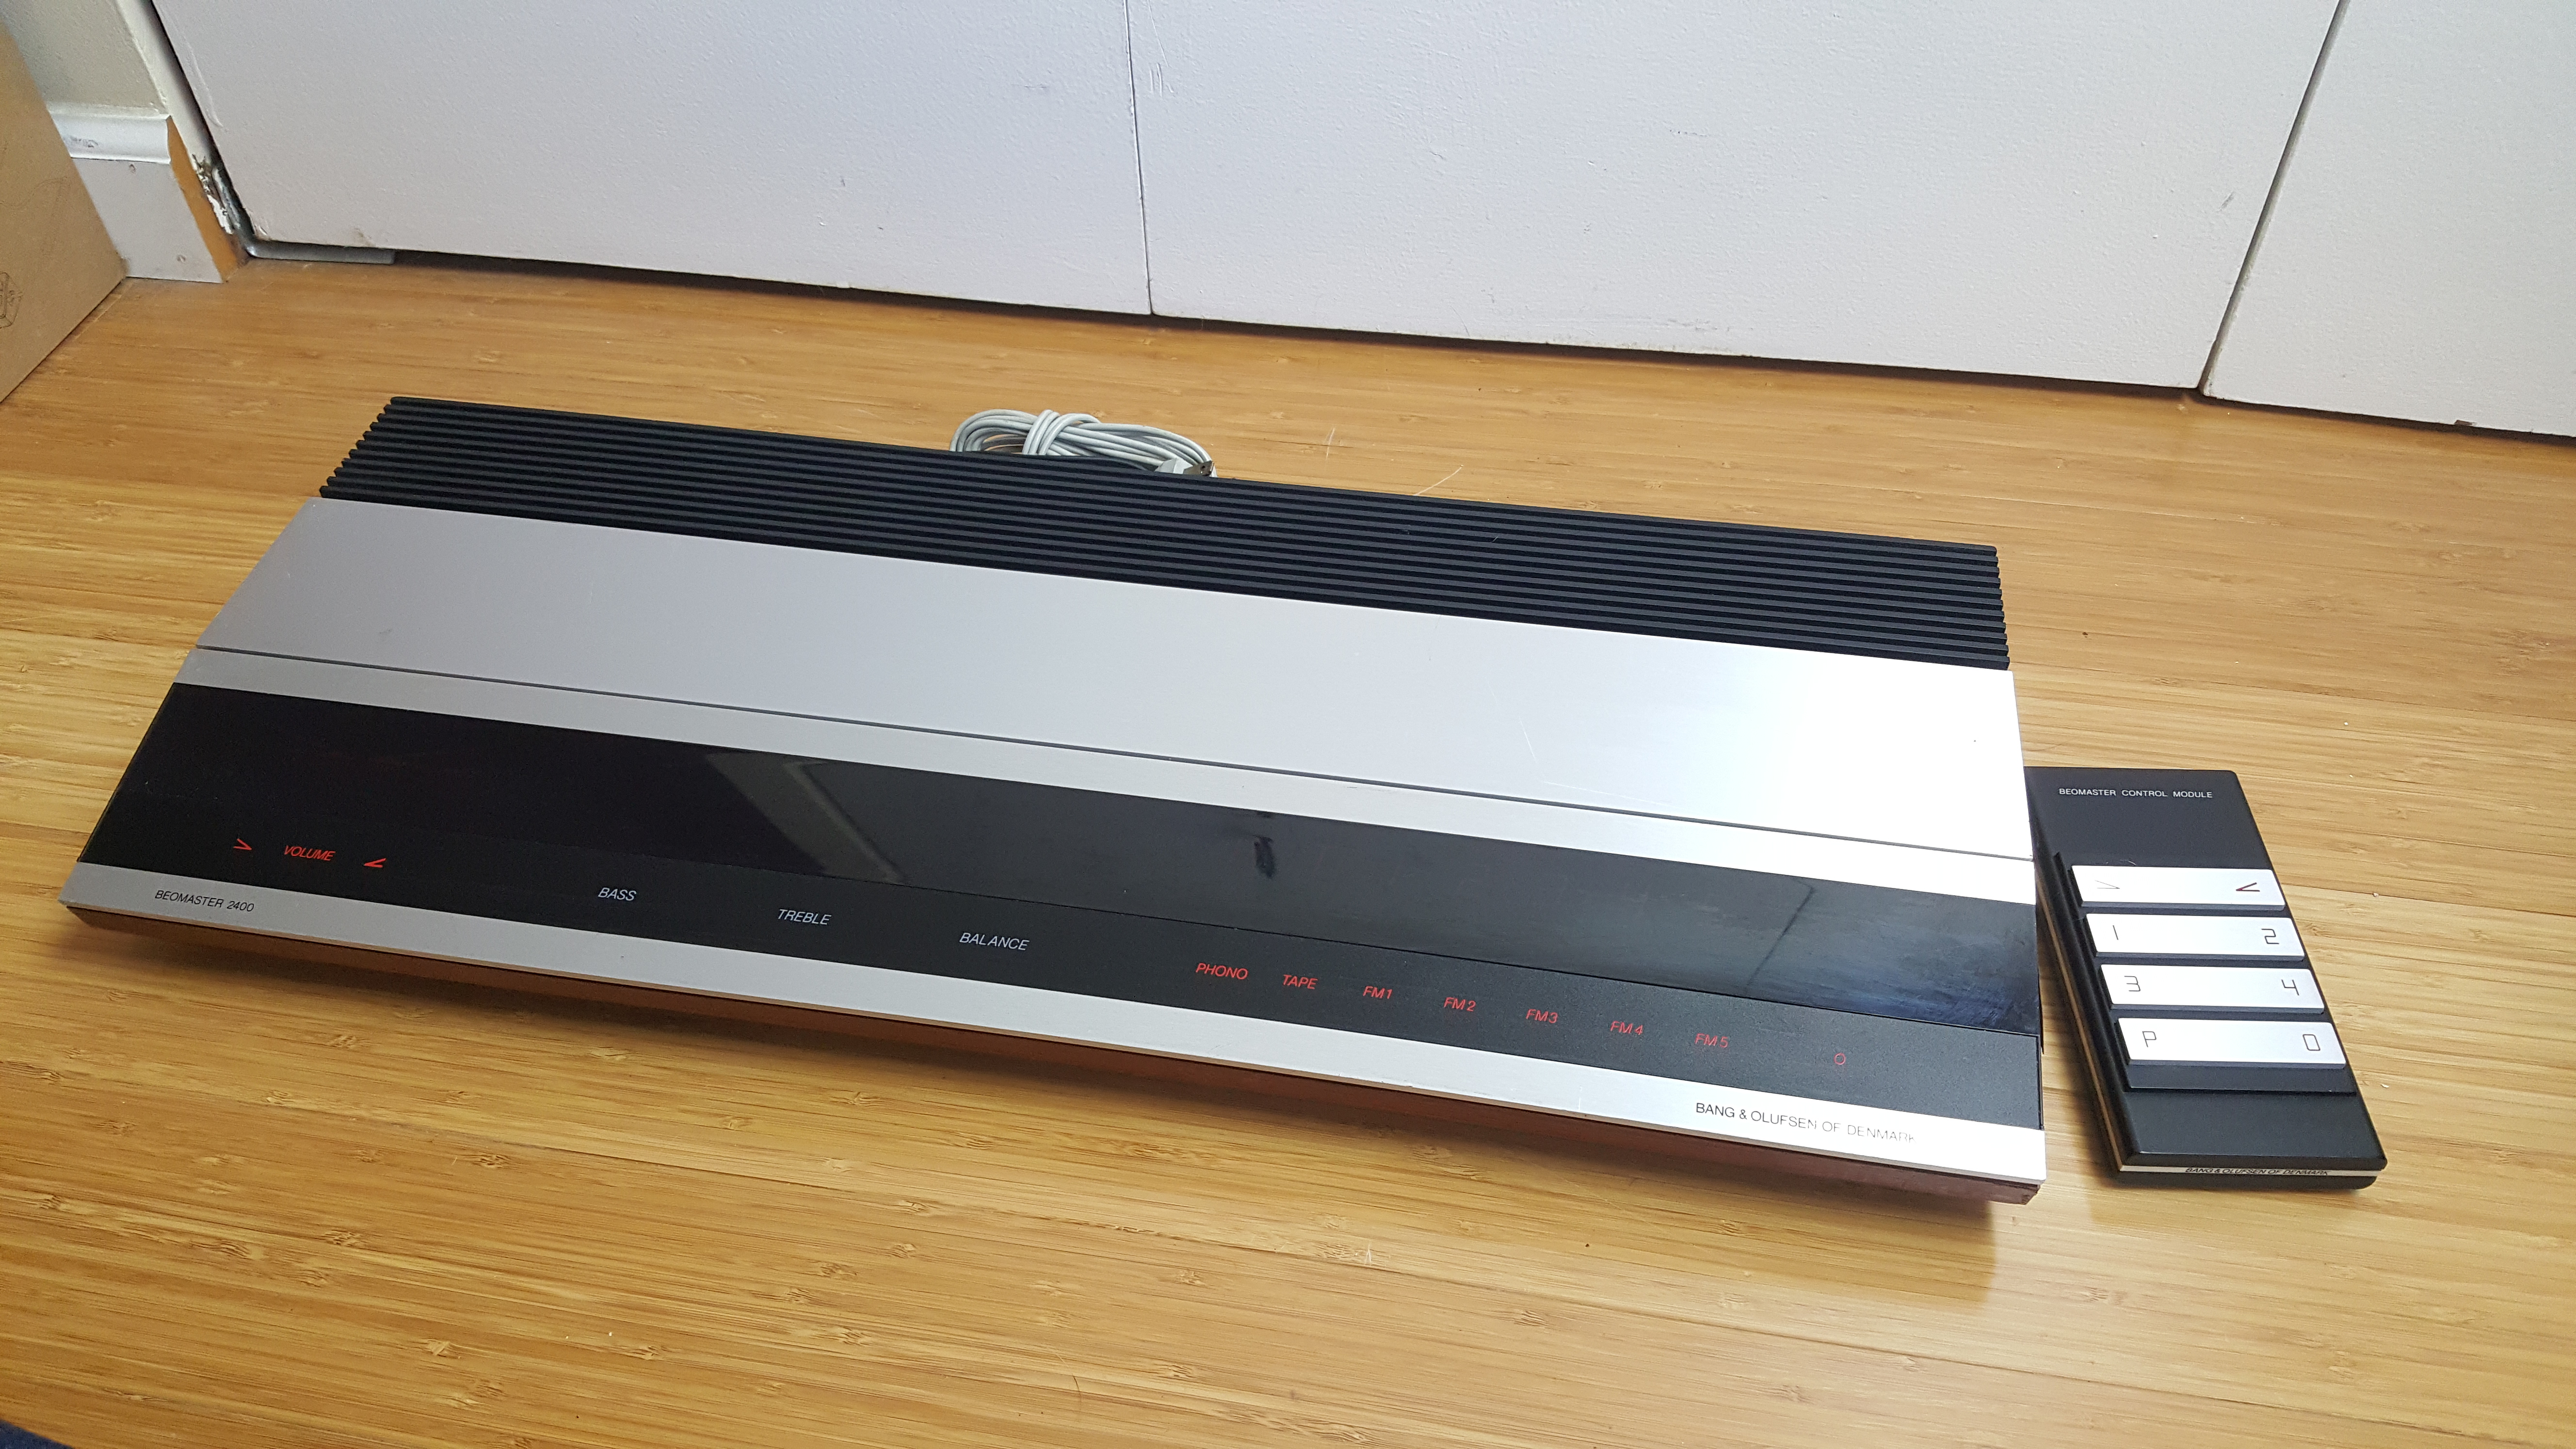
This B&O Beomaster captured my imagination when I found it in a local salvage, I probably did the most to get this working of any amplifier. I replaced all the old electrolytic capacitors, hunted down proper indicator lightbulbs, a new balance slider potentiometer and fully serviced it. I ended up selling this unit on ebay and the person that got it absolutely loves it. It was a lot of fun to bring this one back to life and it sounds really great.
There are more that I fixed that I didn’t take photos of and of course I get to work with audio amps all day in my current position 🙂
So I had this funny idea that you could embed a music player into a wooden box with a song the person absolutely hates and when they open it the music would blast out at them until they closed the box.
Each time they opened it the same thing would happen.
My cousin and I planned on sending this to one of our friends disguised as a commemorative hockey puck to one of our friends with some Phil Collins “Easy Lover”, which I really like did but he couldn’t stand.
I started the process by finding a small MP3 player that had a start on power up feature.
I then went looking for some PC speakers with a built in amp and found one at a local thrift shop.
I removed the amplifier and looked up the datasheet for the supply voltage needed, I found out it could definitely run off a 9V battery so I sketched out a circuit that would control the amp power, detect the open box, and turn on the mp3 player and start playing.
After I sketched it up, I built the prototype circuit.
Here is a video of it working, forgive the sound, for some reason it came out really quiet on my old phone.
After testing, I packed it carefully into the false bottom of a box and disguised it.
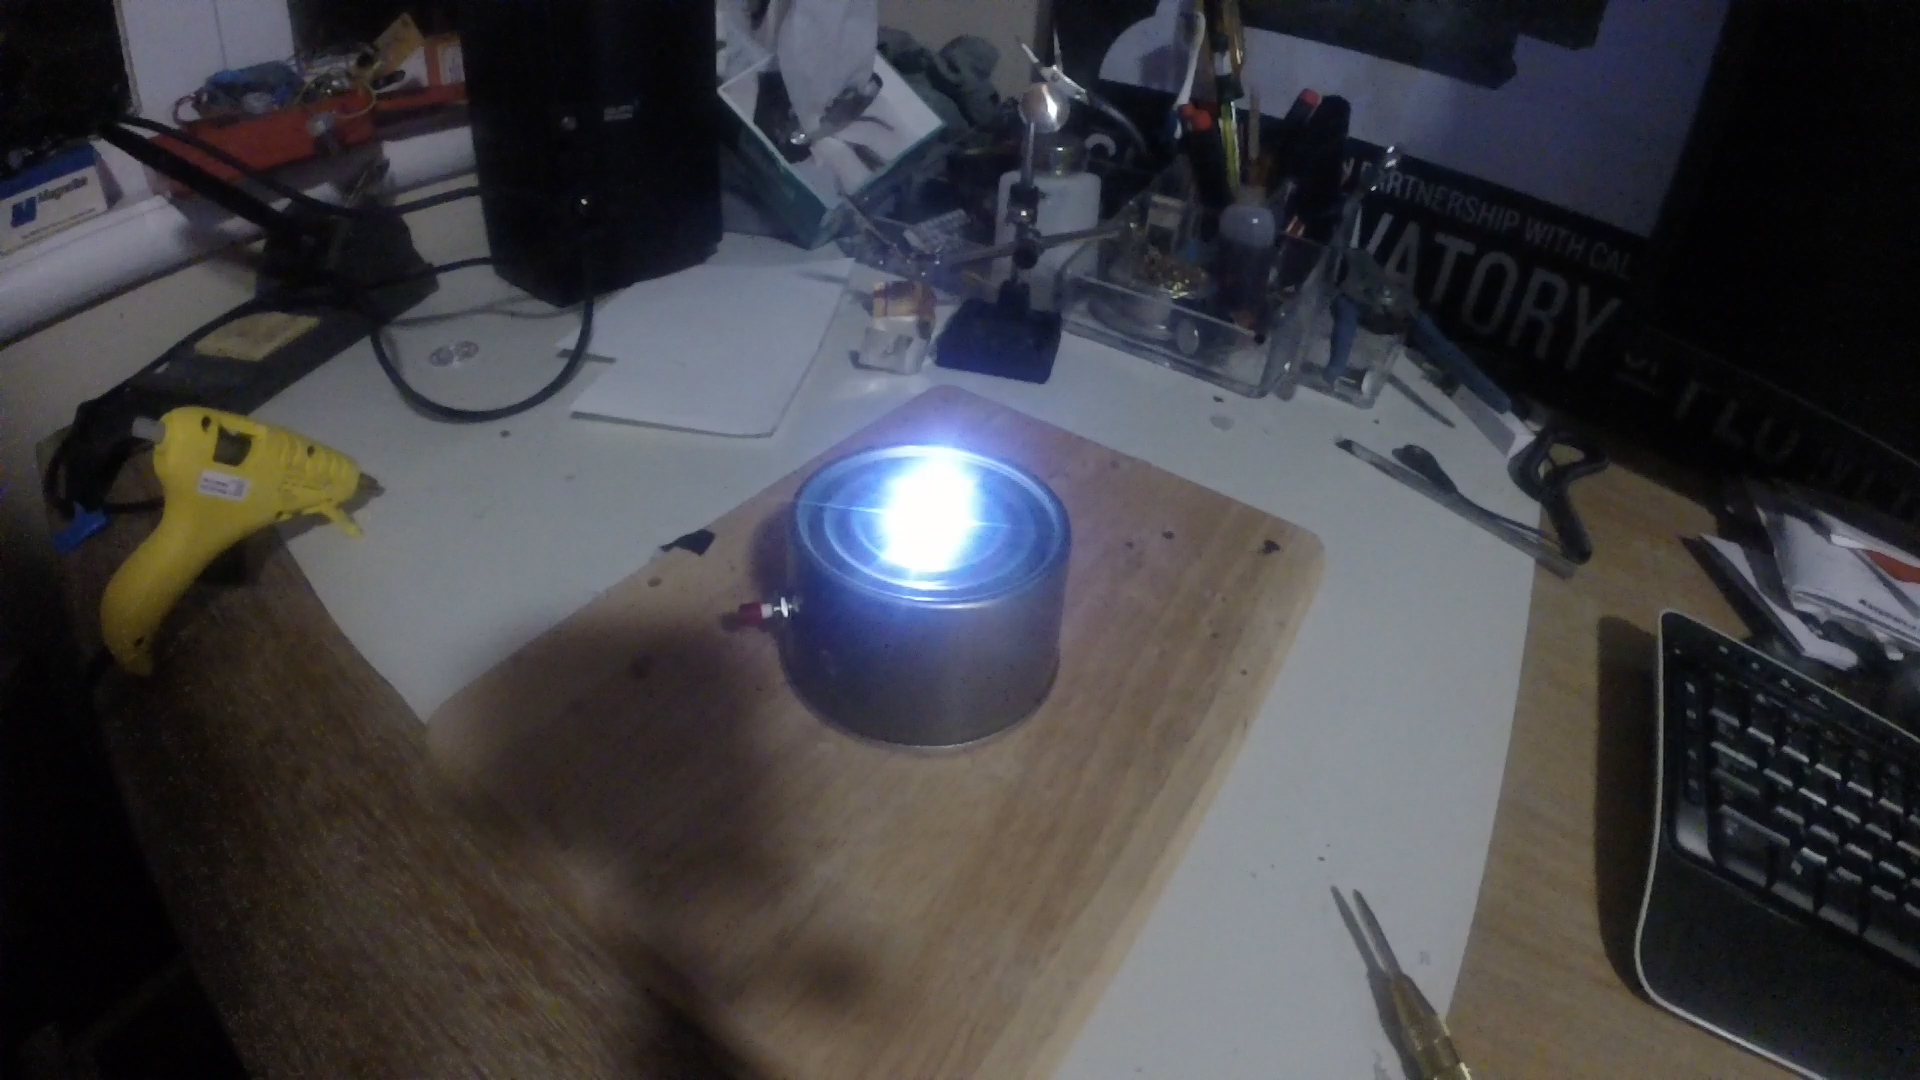
So this project started off as a light that I could push a button and last one minute.
I originally made this to solve the problem of the hallway to my flat always being dark and the time I needed to get my shoes off and open the door was about one minute worst case.
Eventually I would move this into its current place in the bathroom for a late night light.
I made a video of the process of design from doing the circuit design to working prototype.
If you notice in the video, I timed the light and it was less than a minute.
That is because the LED will only light when it has enough voltage for forward conduction and to make this light last long enough we would have to actually calculate the time until that cutoff point to nail the 60sec.
I took a really fun class on theme park design and for one of my assignments I came up with a dark ride/roller coaster combination that would take you through a haunted mine with a skeleton miner to guide you throughout the ride. He would pop out periodically to help you navigate the and would even ride along side on a second track at points. It was a cute idea, so I sketched up what the skeleton miner would look like introducing himself complete with a skeleton canary! Its not too surprising that I went with a haunted mine given the town I lived in was an old mining town.
When I was 5 or 6 years old our teacher took us on a field trip to a neighborhood that was directly across from the elementary school to a house that a guy had built a garage haunted house in. We all lined up and everyone started to go in but for some unknown reason I chickened out and didn’t go in. When I went trick or treating I was lucky enough to live near some people who put a lot of fantastic effort into their decorations with lights and sounds (heart beats would freak me out) and skeletons galore. This was long before you could get things from the store like animatronic figures (I use that term very loosely) and people generally had to make their decorations. I distinctly remember a person who had an upturned jeep in there front yard with a rotating axel and lights to simulate fire in it along with an injured someone inside. Another person had great lighting and sound and had strung fishing wire just right to open the front gate and it looked amazing. There was also someone who made a talking skeleton that totally blew my mind, I still remember the green lighting.
At the local high school and elementary schools they would put on haunted houses there and I absolutely loved it and went through as many times as I could. But the one haunted house that would completely capture my imagination came when later in elementary when my parents took us to the most elaborate haunted house I had ever seen. The haunted house was in Des Moines WA at the marina. They had full sets like from a stage production, I recall walking up to a house.. a house inside a building and walking into it at one point. The amount of sets and detail in it completely caught me by surprise and the bar had been raised so high I absolutely feel in love with wanting to create something like this.
If I thought that haunted house was amazing nothing could have prepared me for my 6th grade year when my parents took the family to Disneyland and Universal Studios. Disneyland showed me that the show can go on inside the building and continue outside, Universal showed me that people built these things and the illusions one can create with carefully crafted sets.
If I wasn’t building small haunted house effects at home before, I sure was now and continued to do so well into high school and beyond.
After I stopped trick or treating, which I pushed a bit too far to be honest.. hey..free candy. I began to add my own touches to my parents house.
My first toe dip into the world of haunting was the classic “Get your Dad’s clothes and stuff them with newspaper and put on a mask” complete with a sign asking people to not touch the dummy.
It was a lot of fun scaring people and more fun when they poked the dummy.
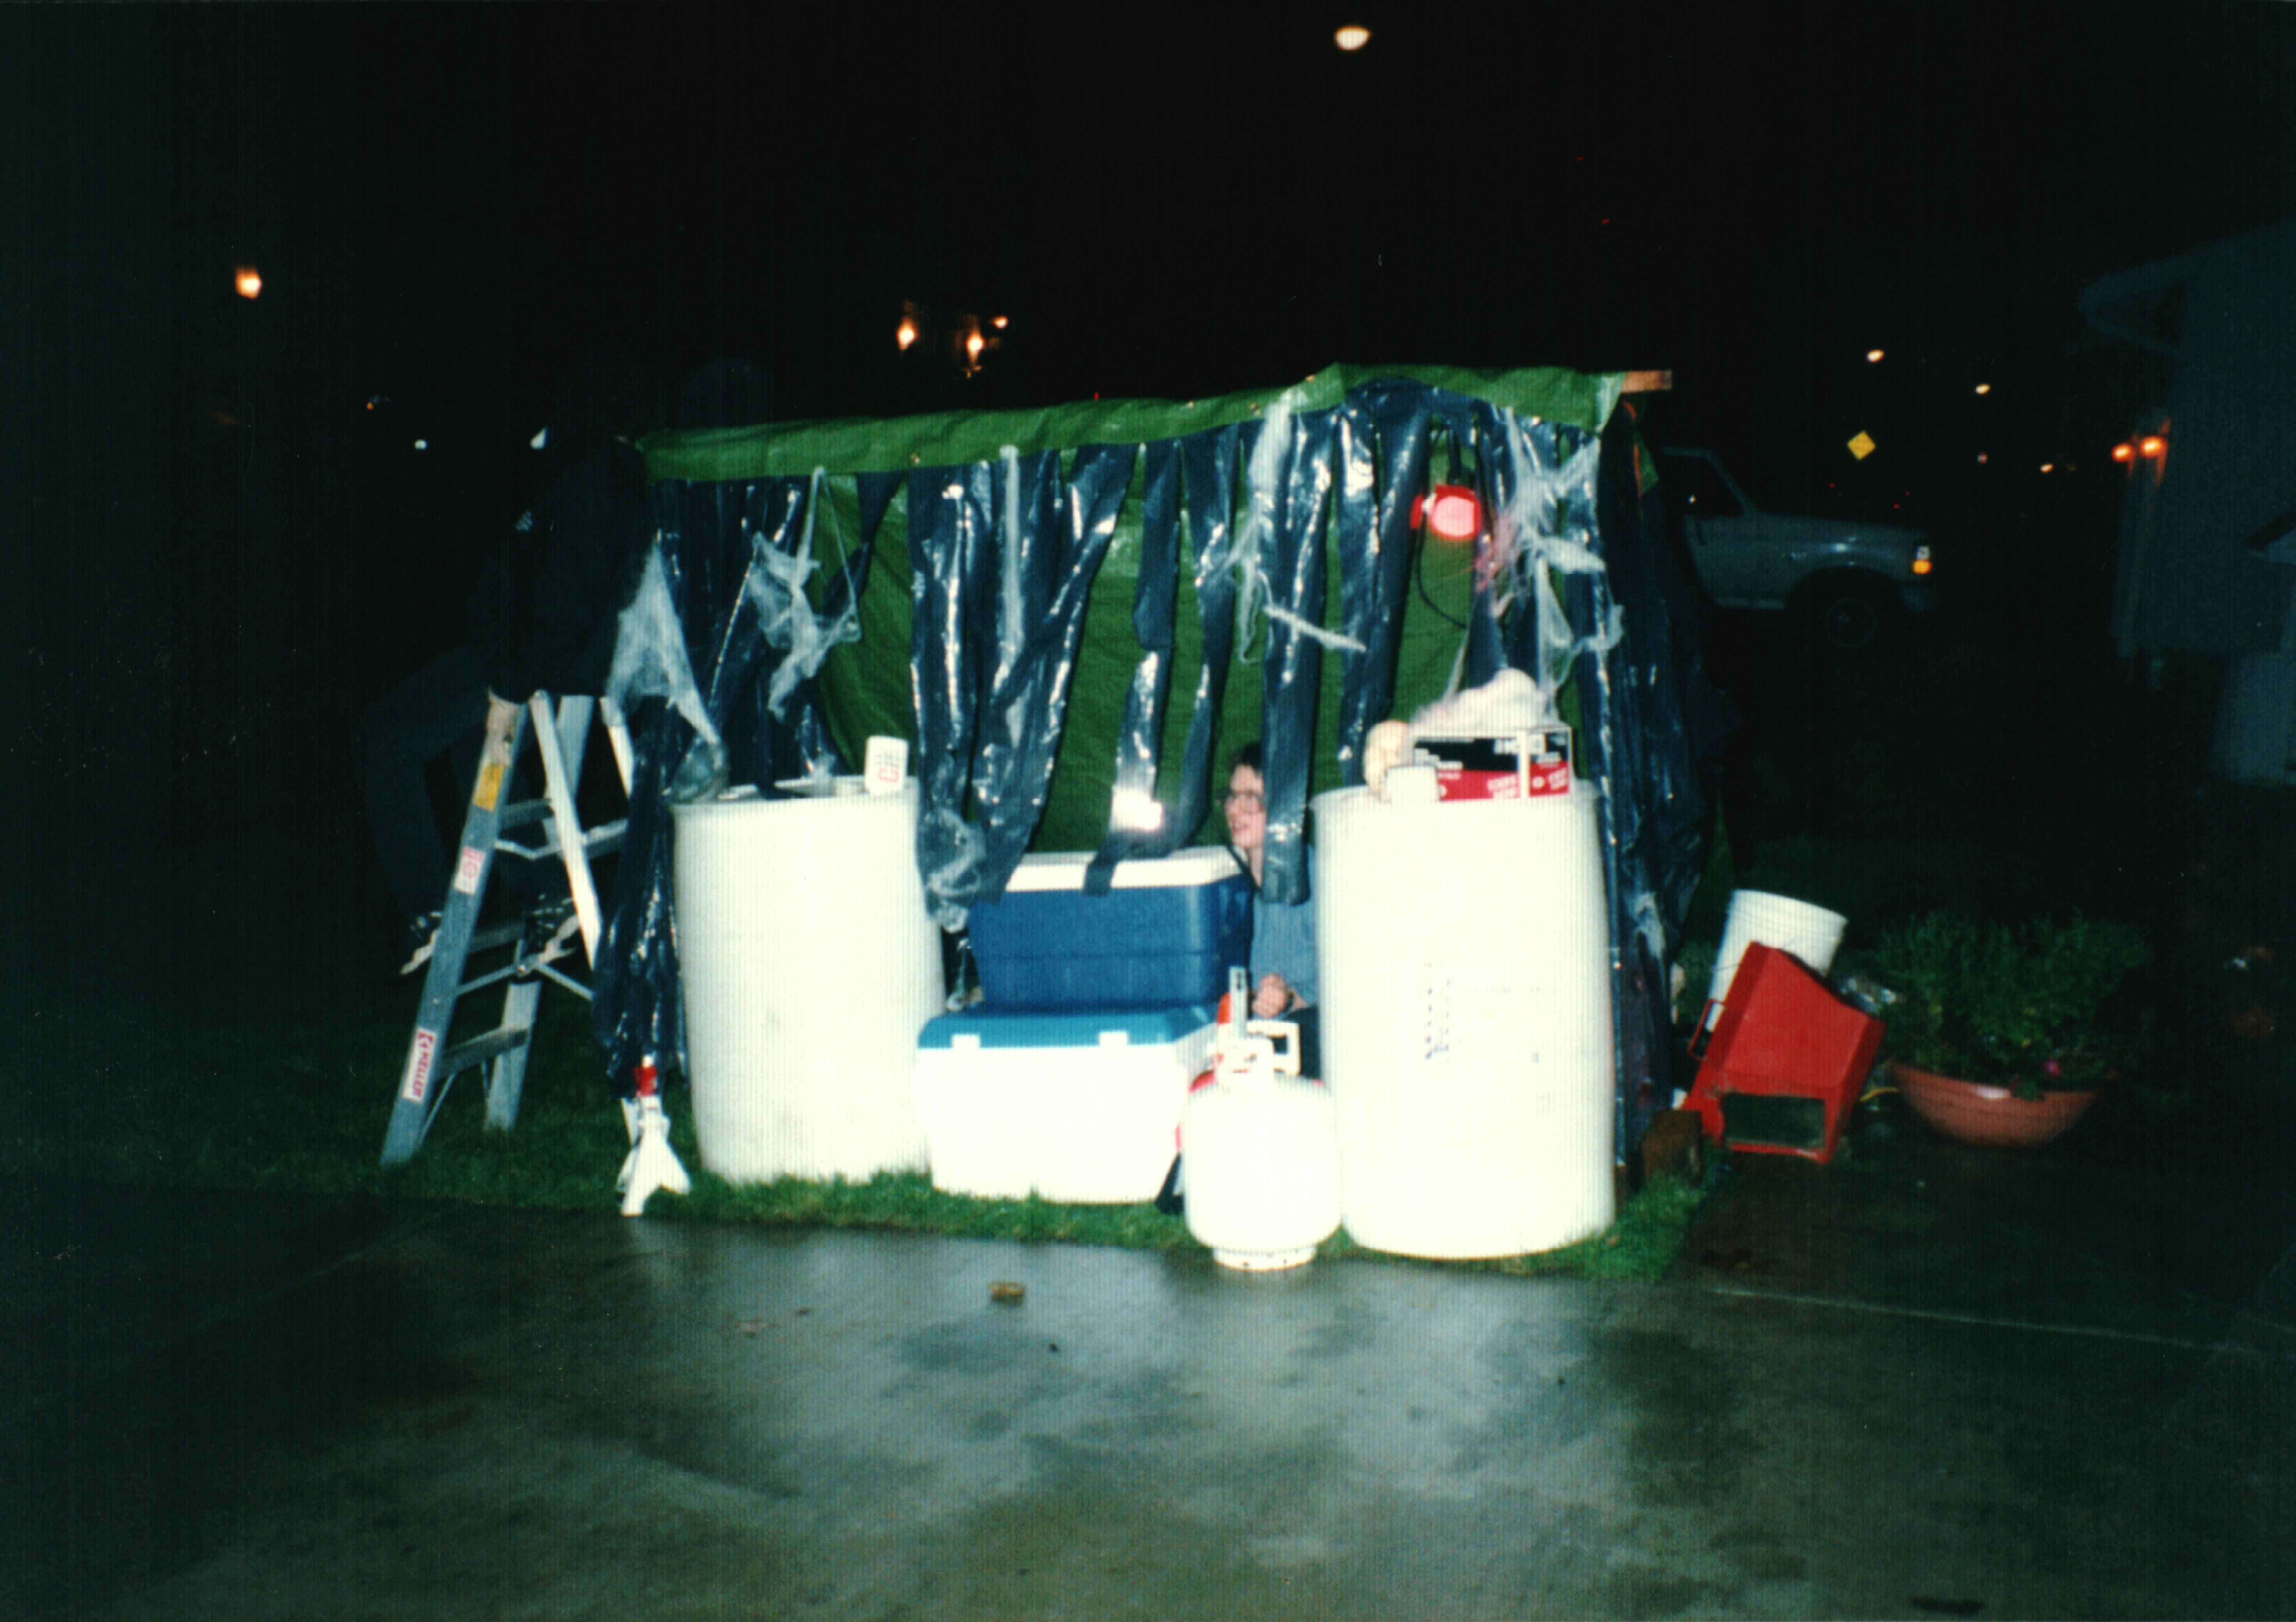
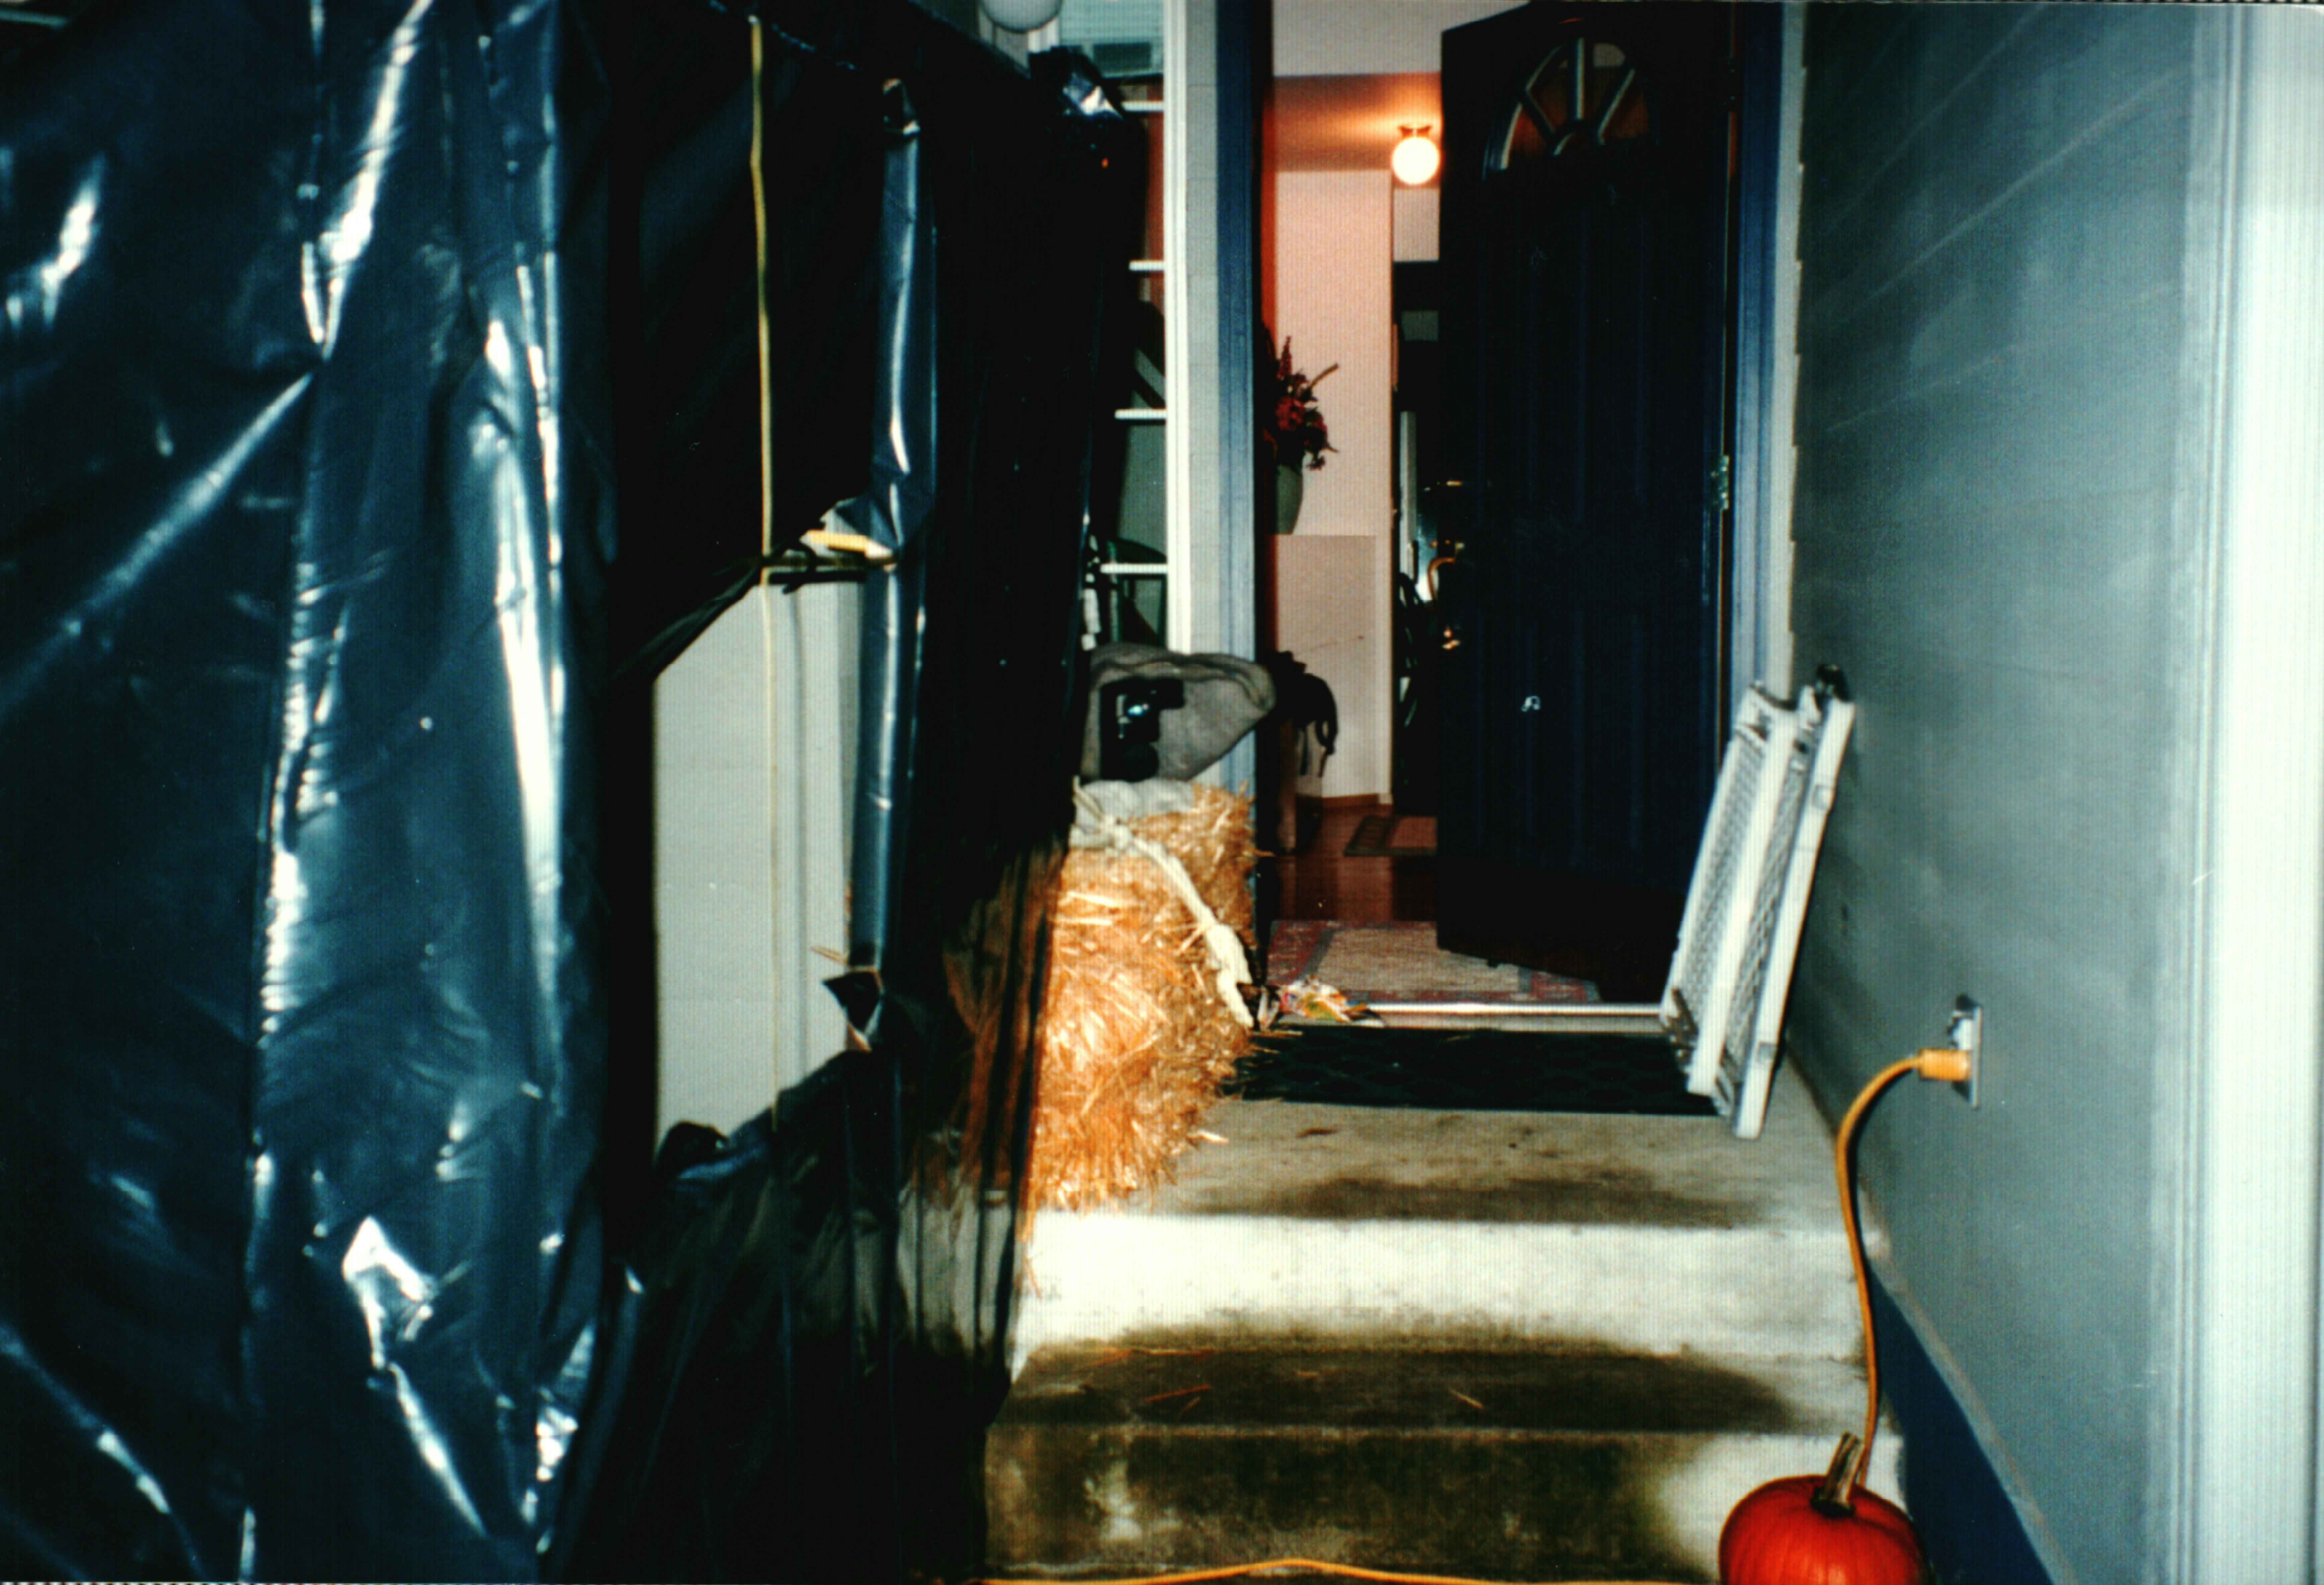
The following year, I upped the design and went with a weird junk tarp structure thing with me and my friend hiding inside while a strobe light obscured us. When the timing was right we would make some very loud noises and yell Happy Halloween!
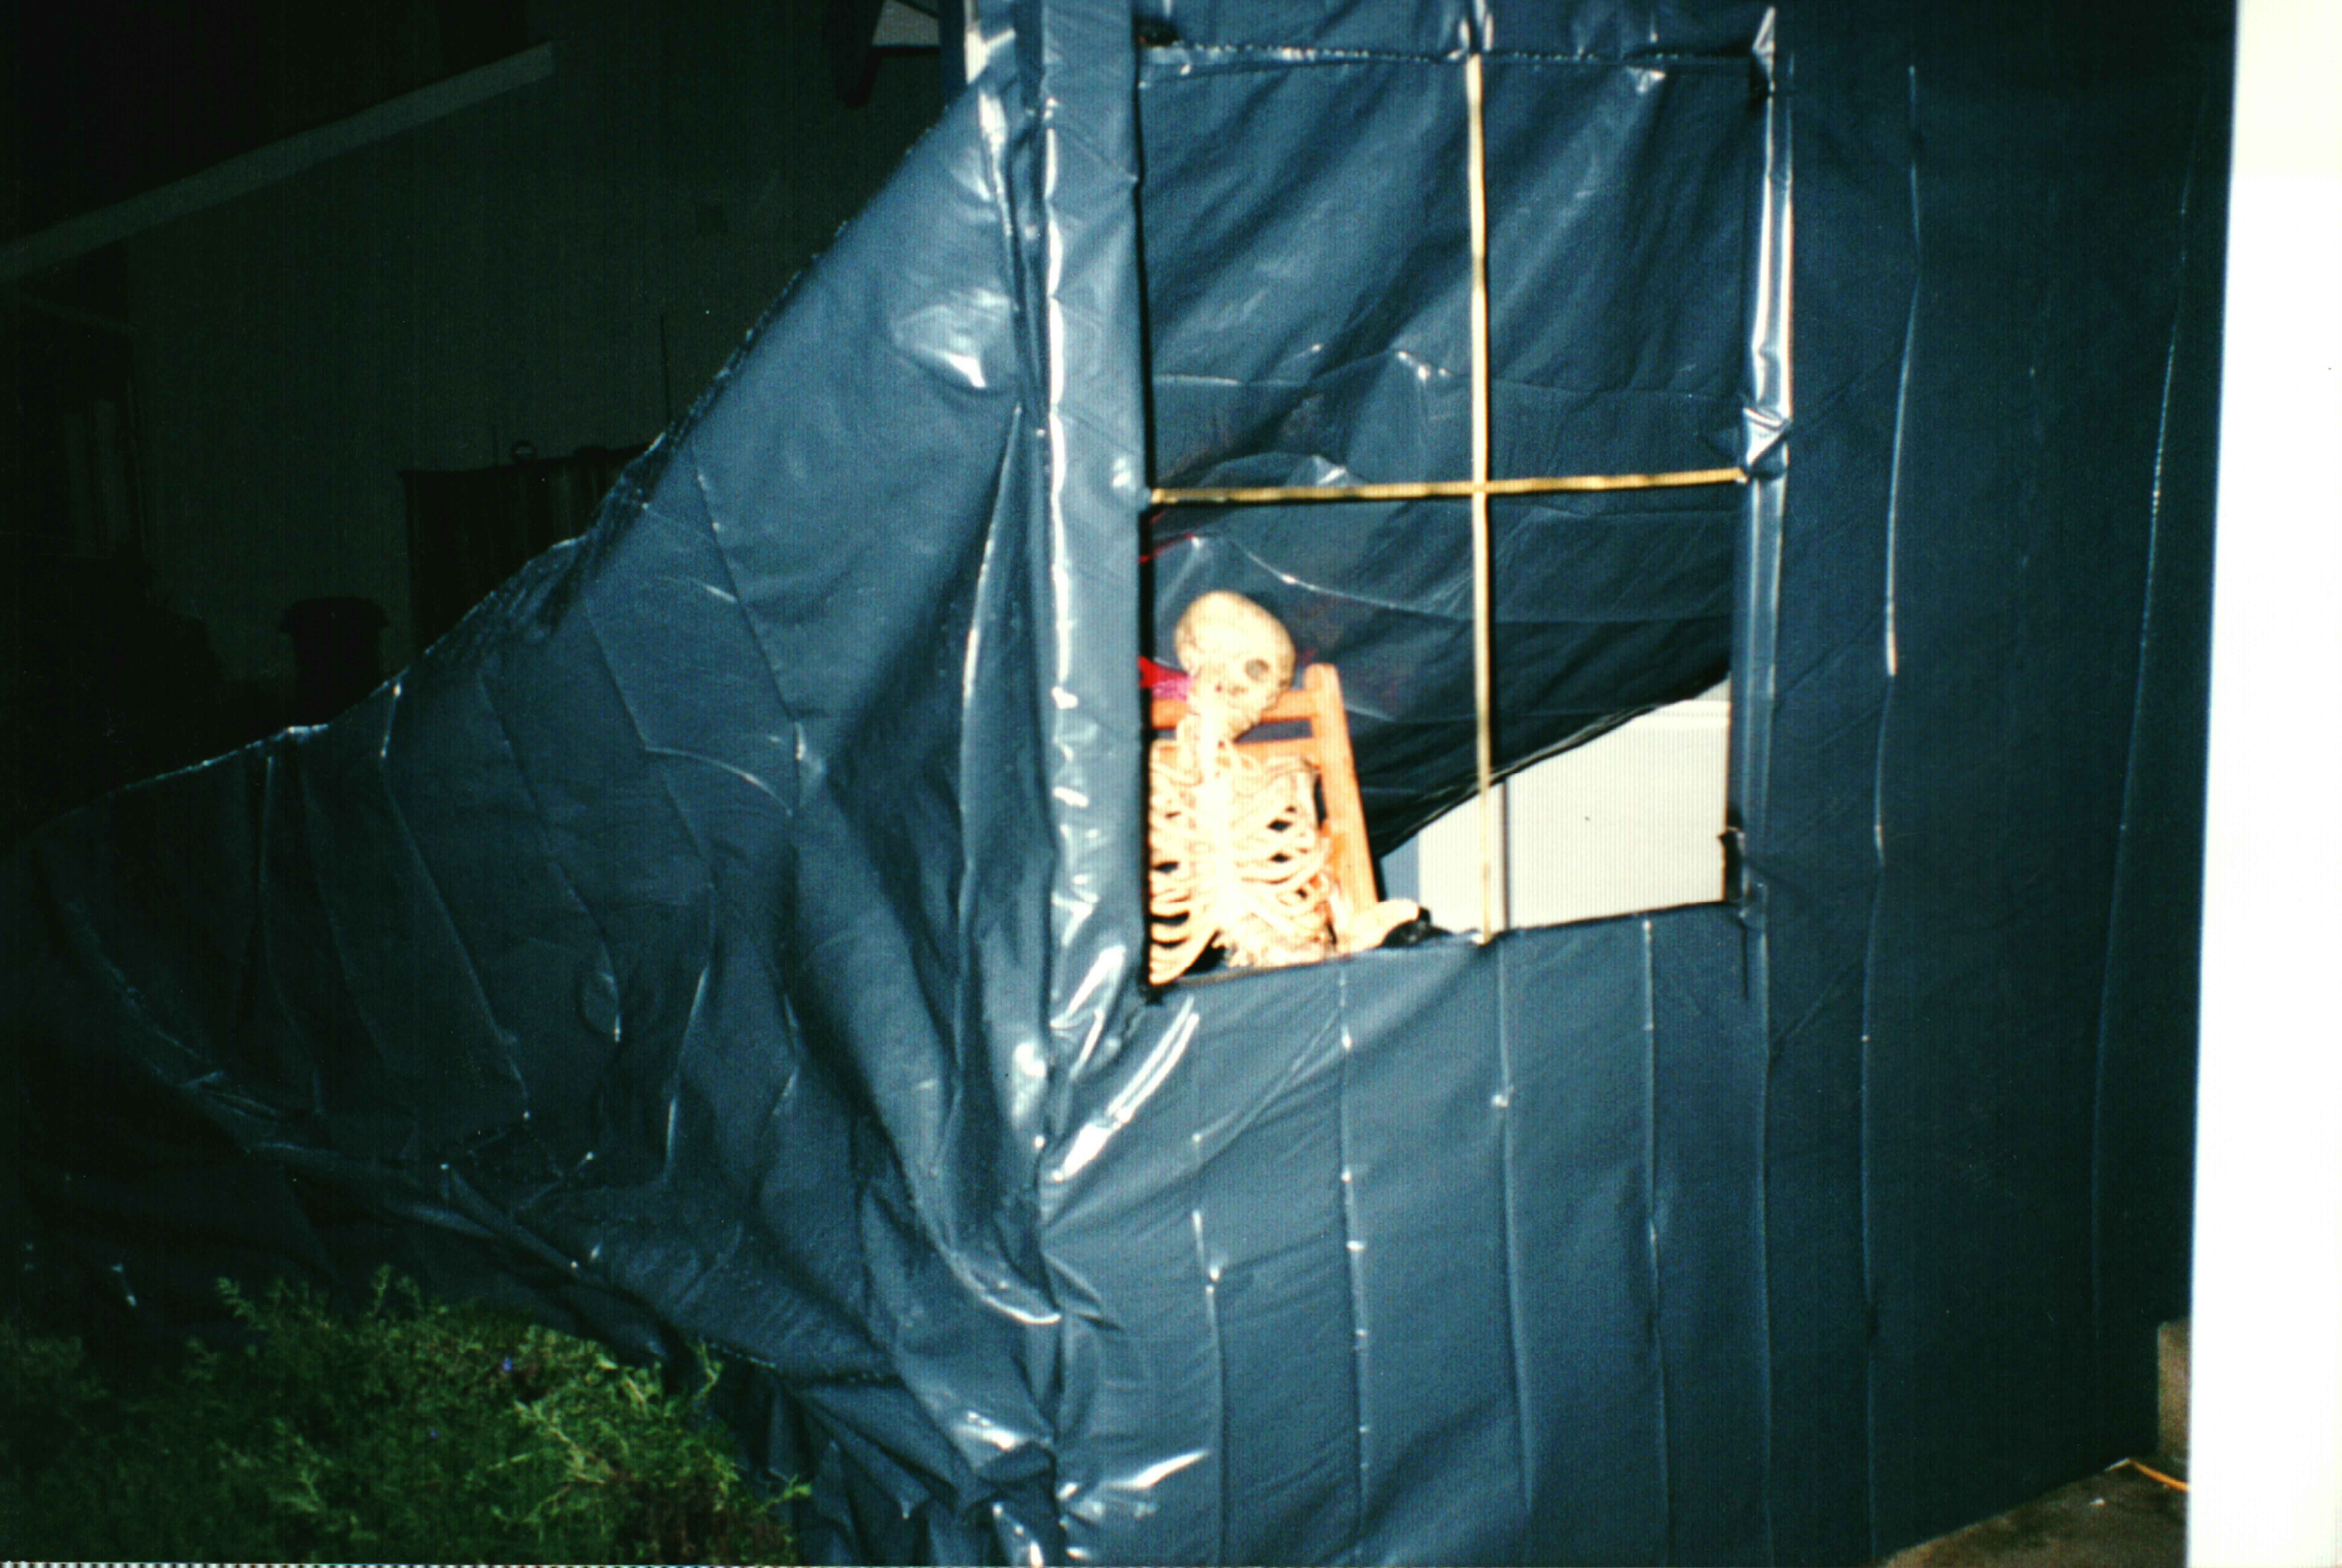
The next year I wanted to add a bit of technology but keep the structure level. This was a awesome rubber skeleton in a chair, with cool lighting and a remote activated fire alarm bell. I also added a camera to the whole thing so I could see when to ring the bell from the front room.
Now the next year was after I did two things. First I took a stagecraft class during the production of a play in highschool and learned how to build set pieces and had a story drive the whole thing.
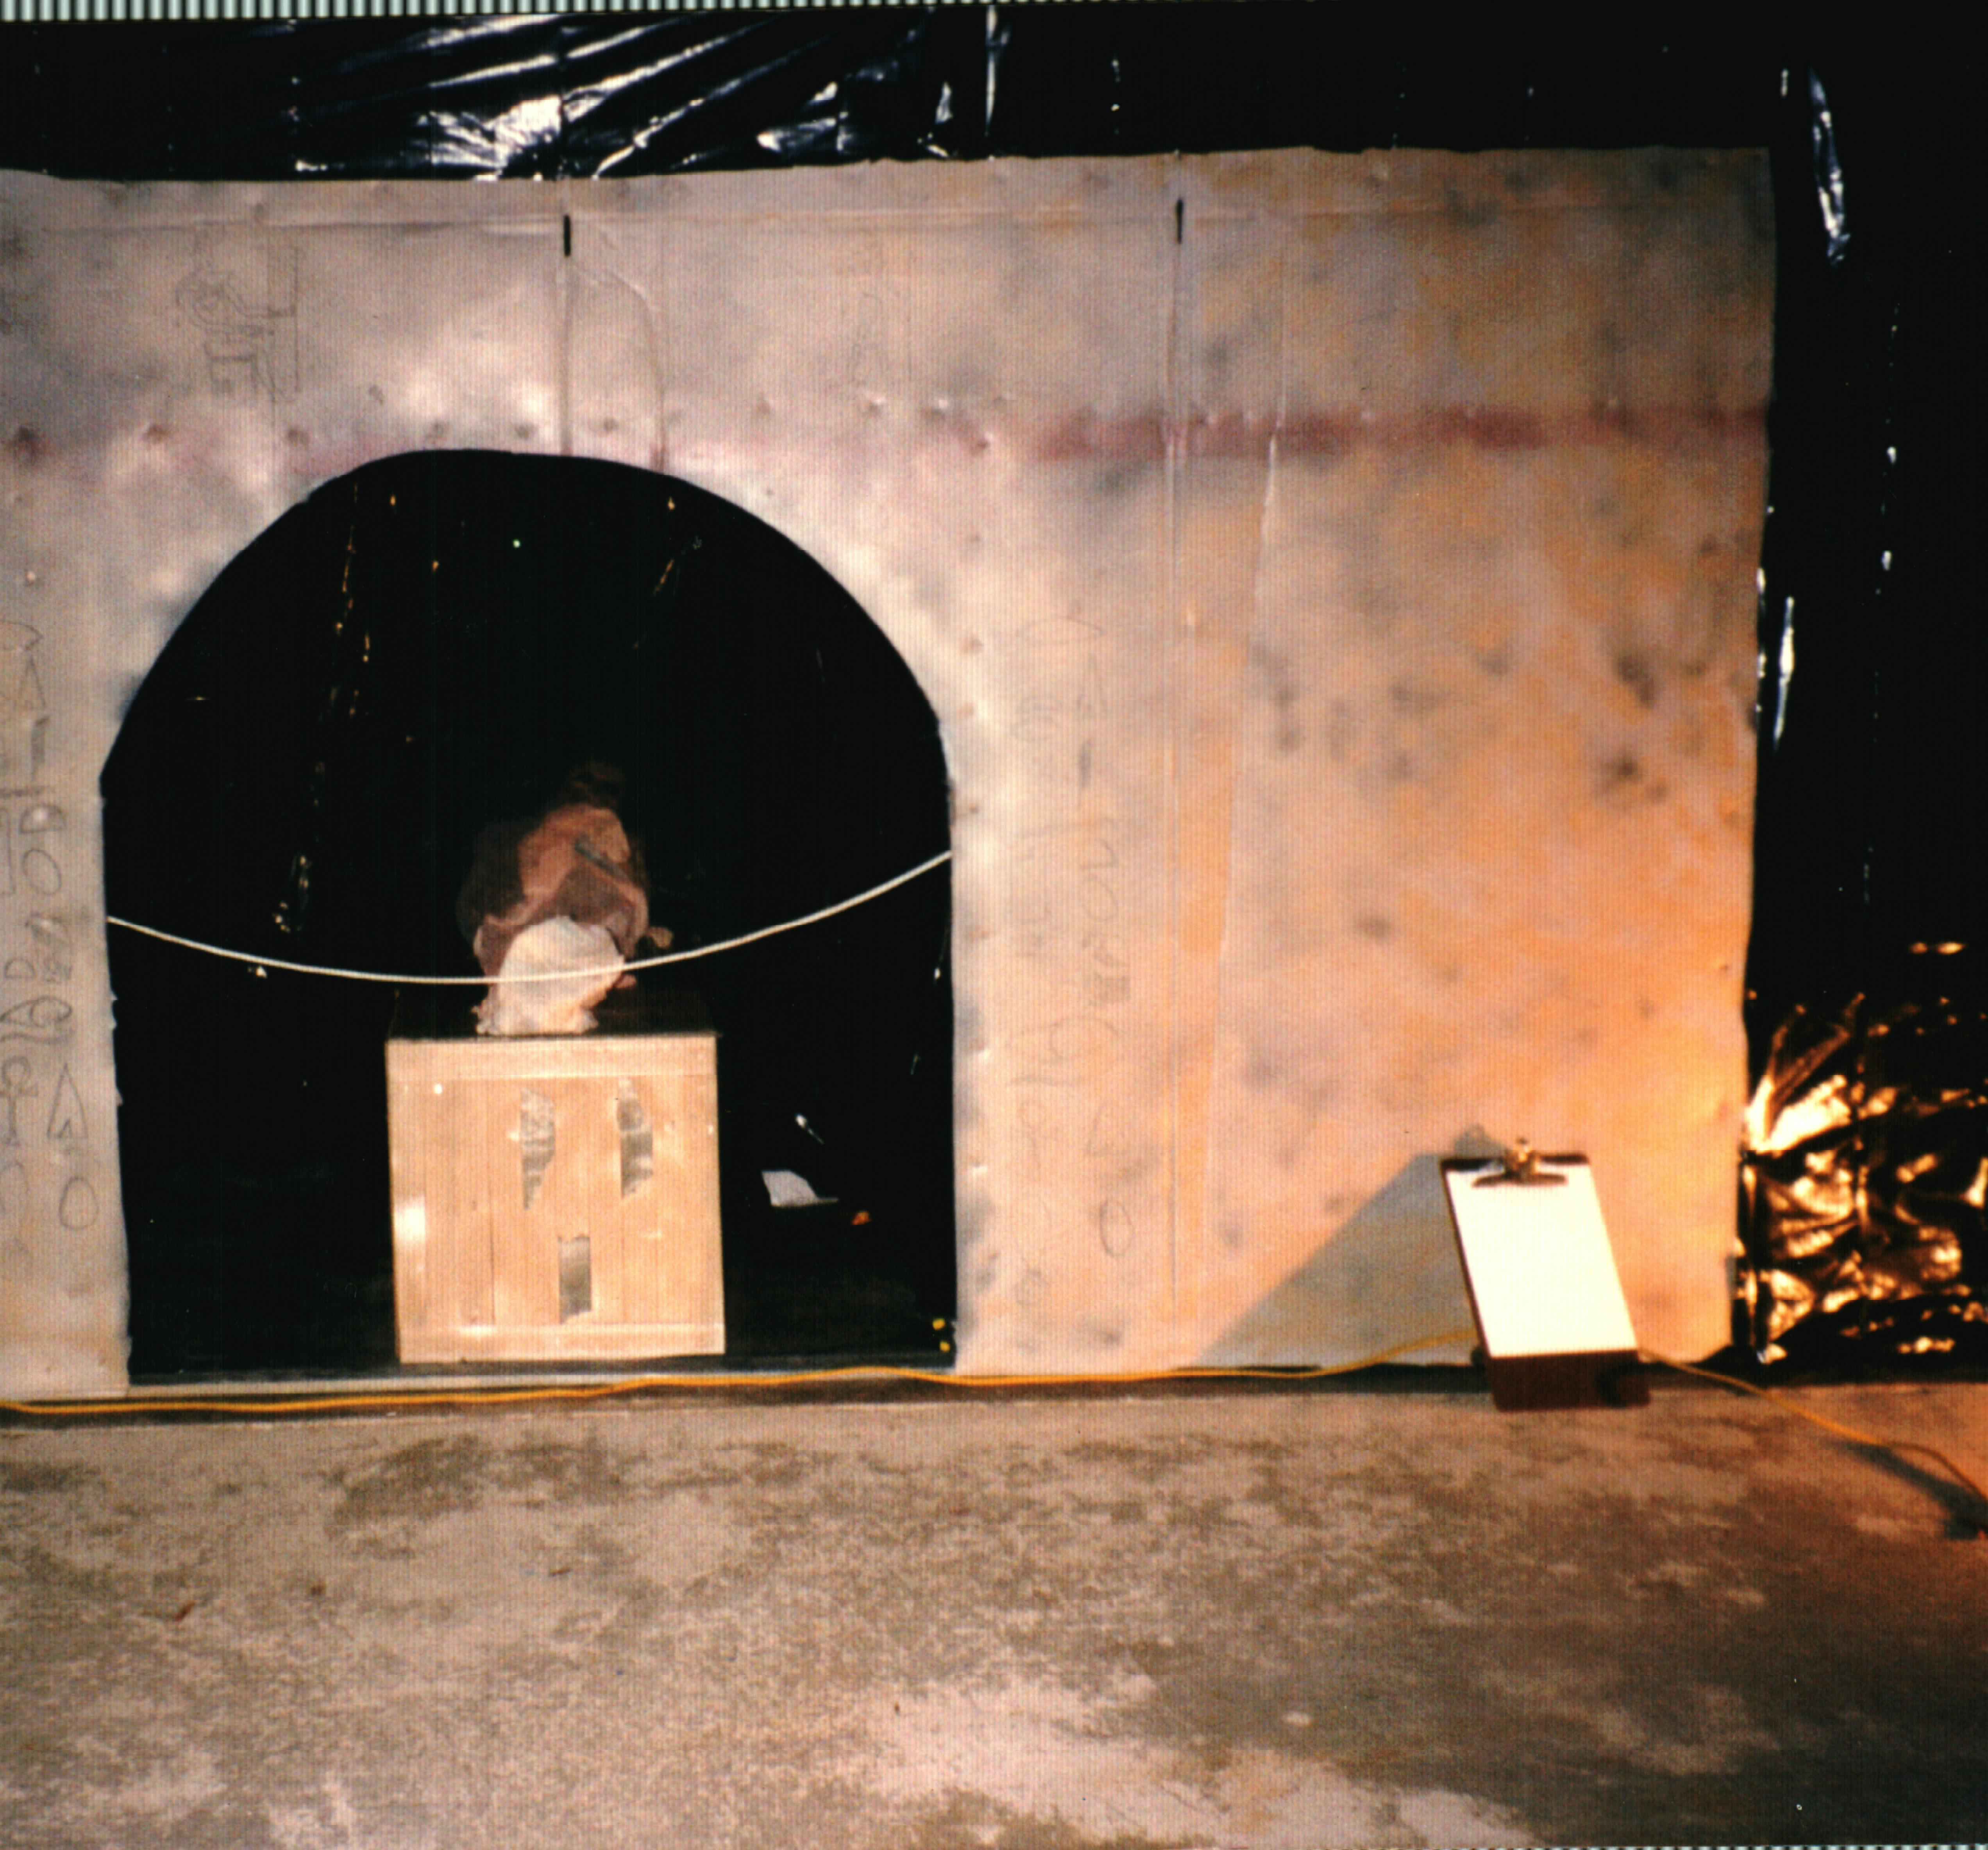
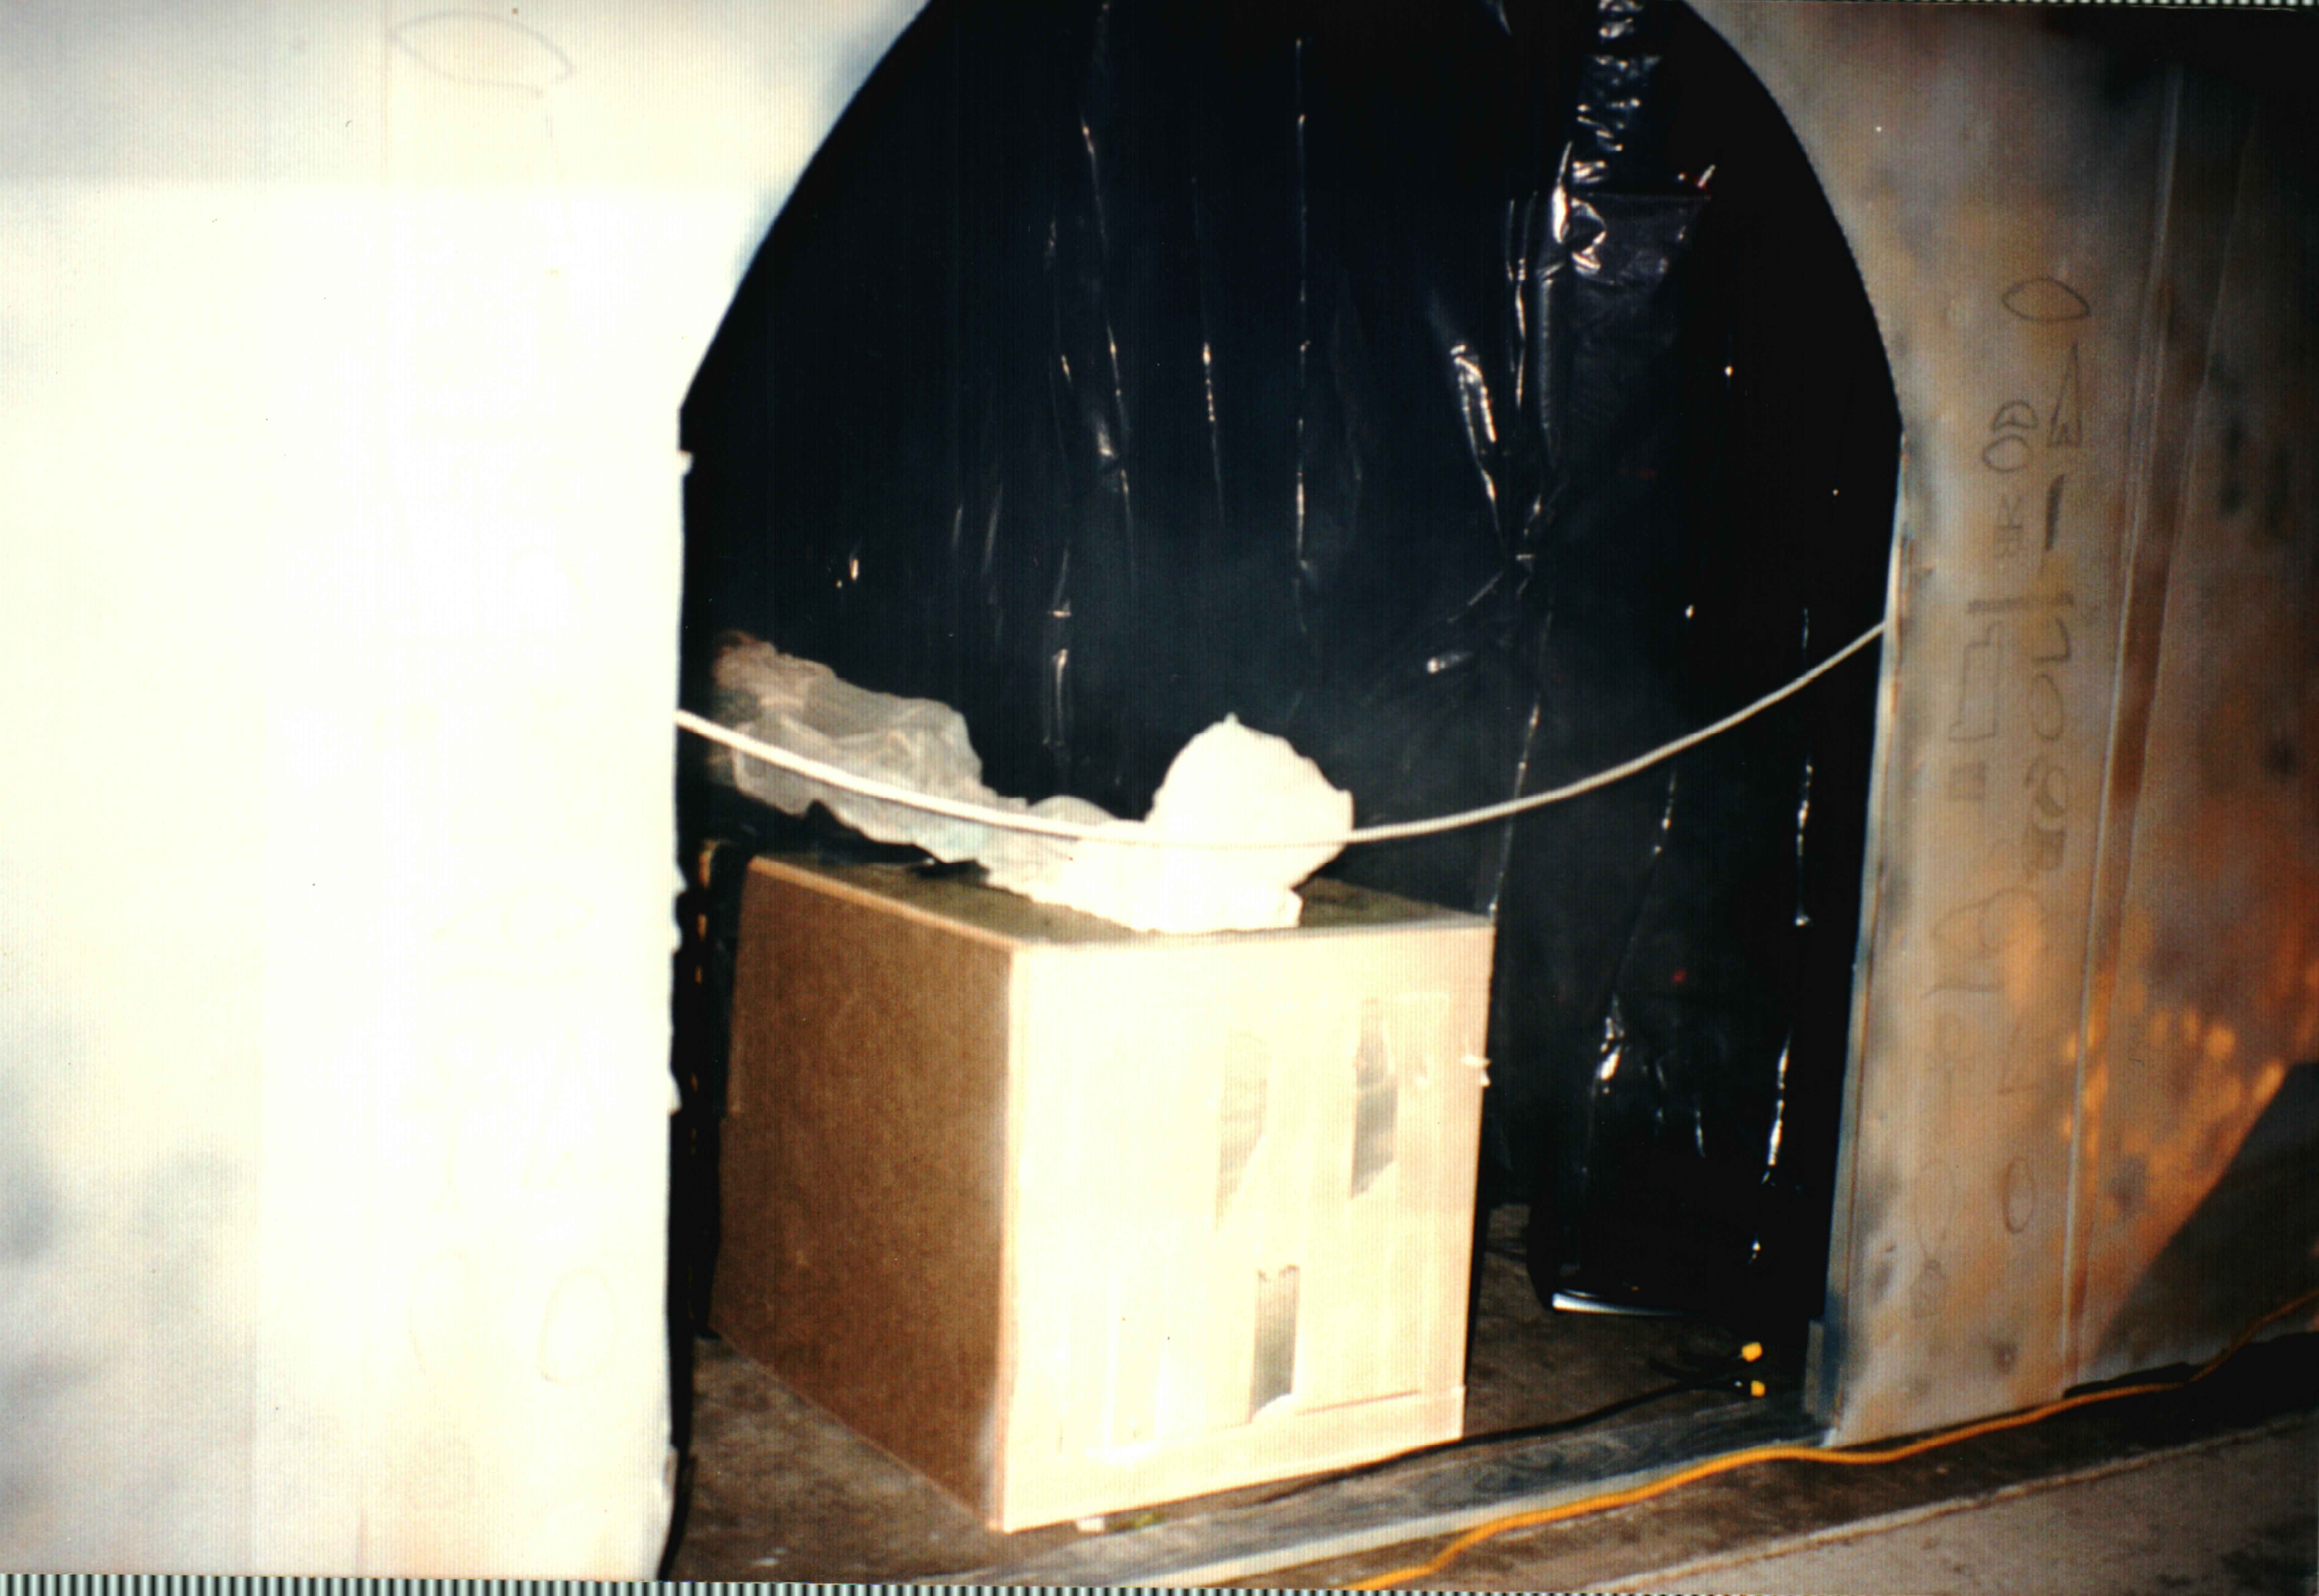
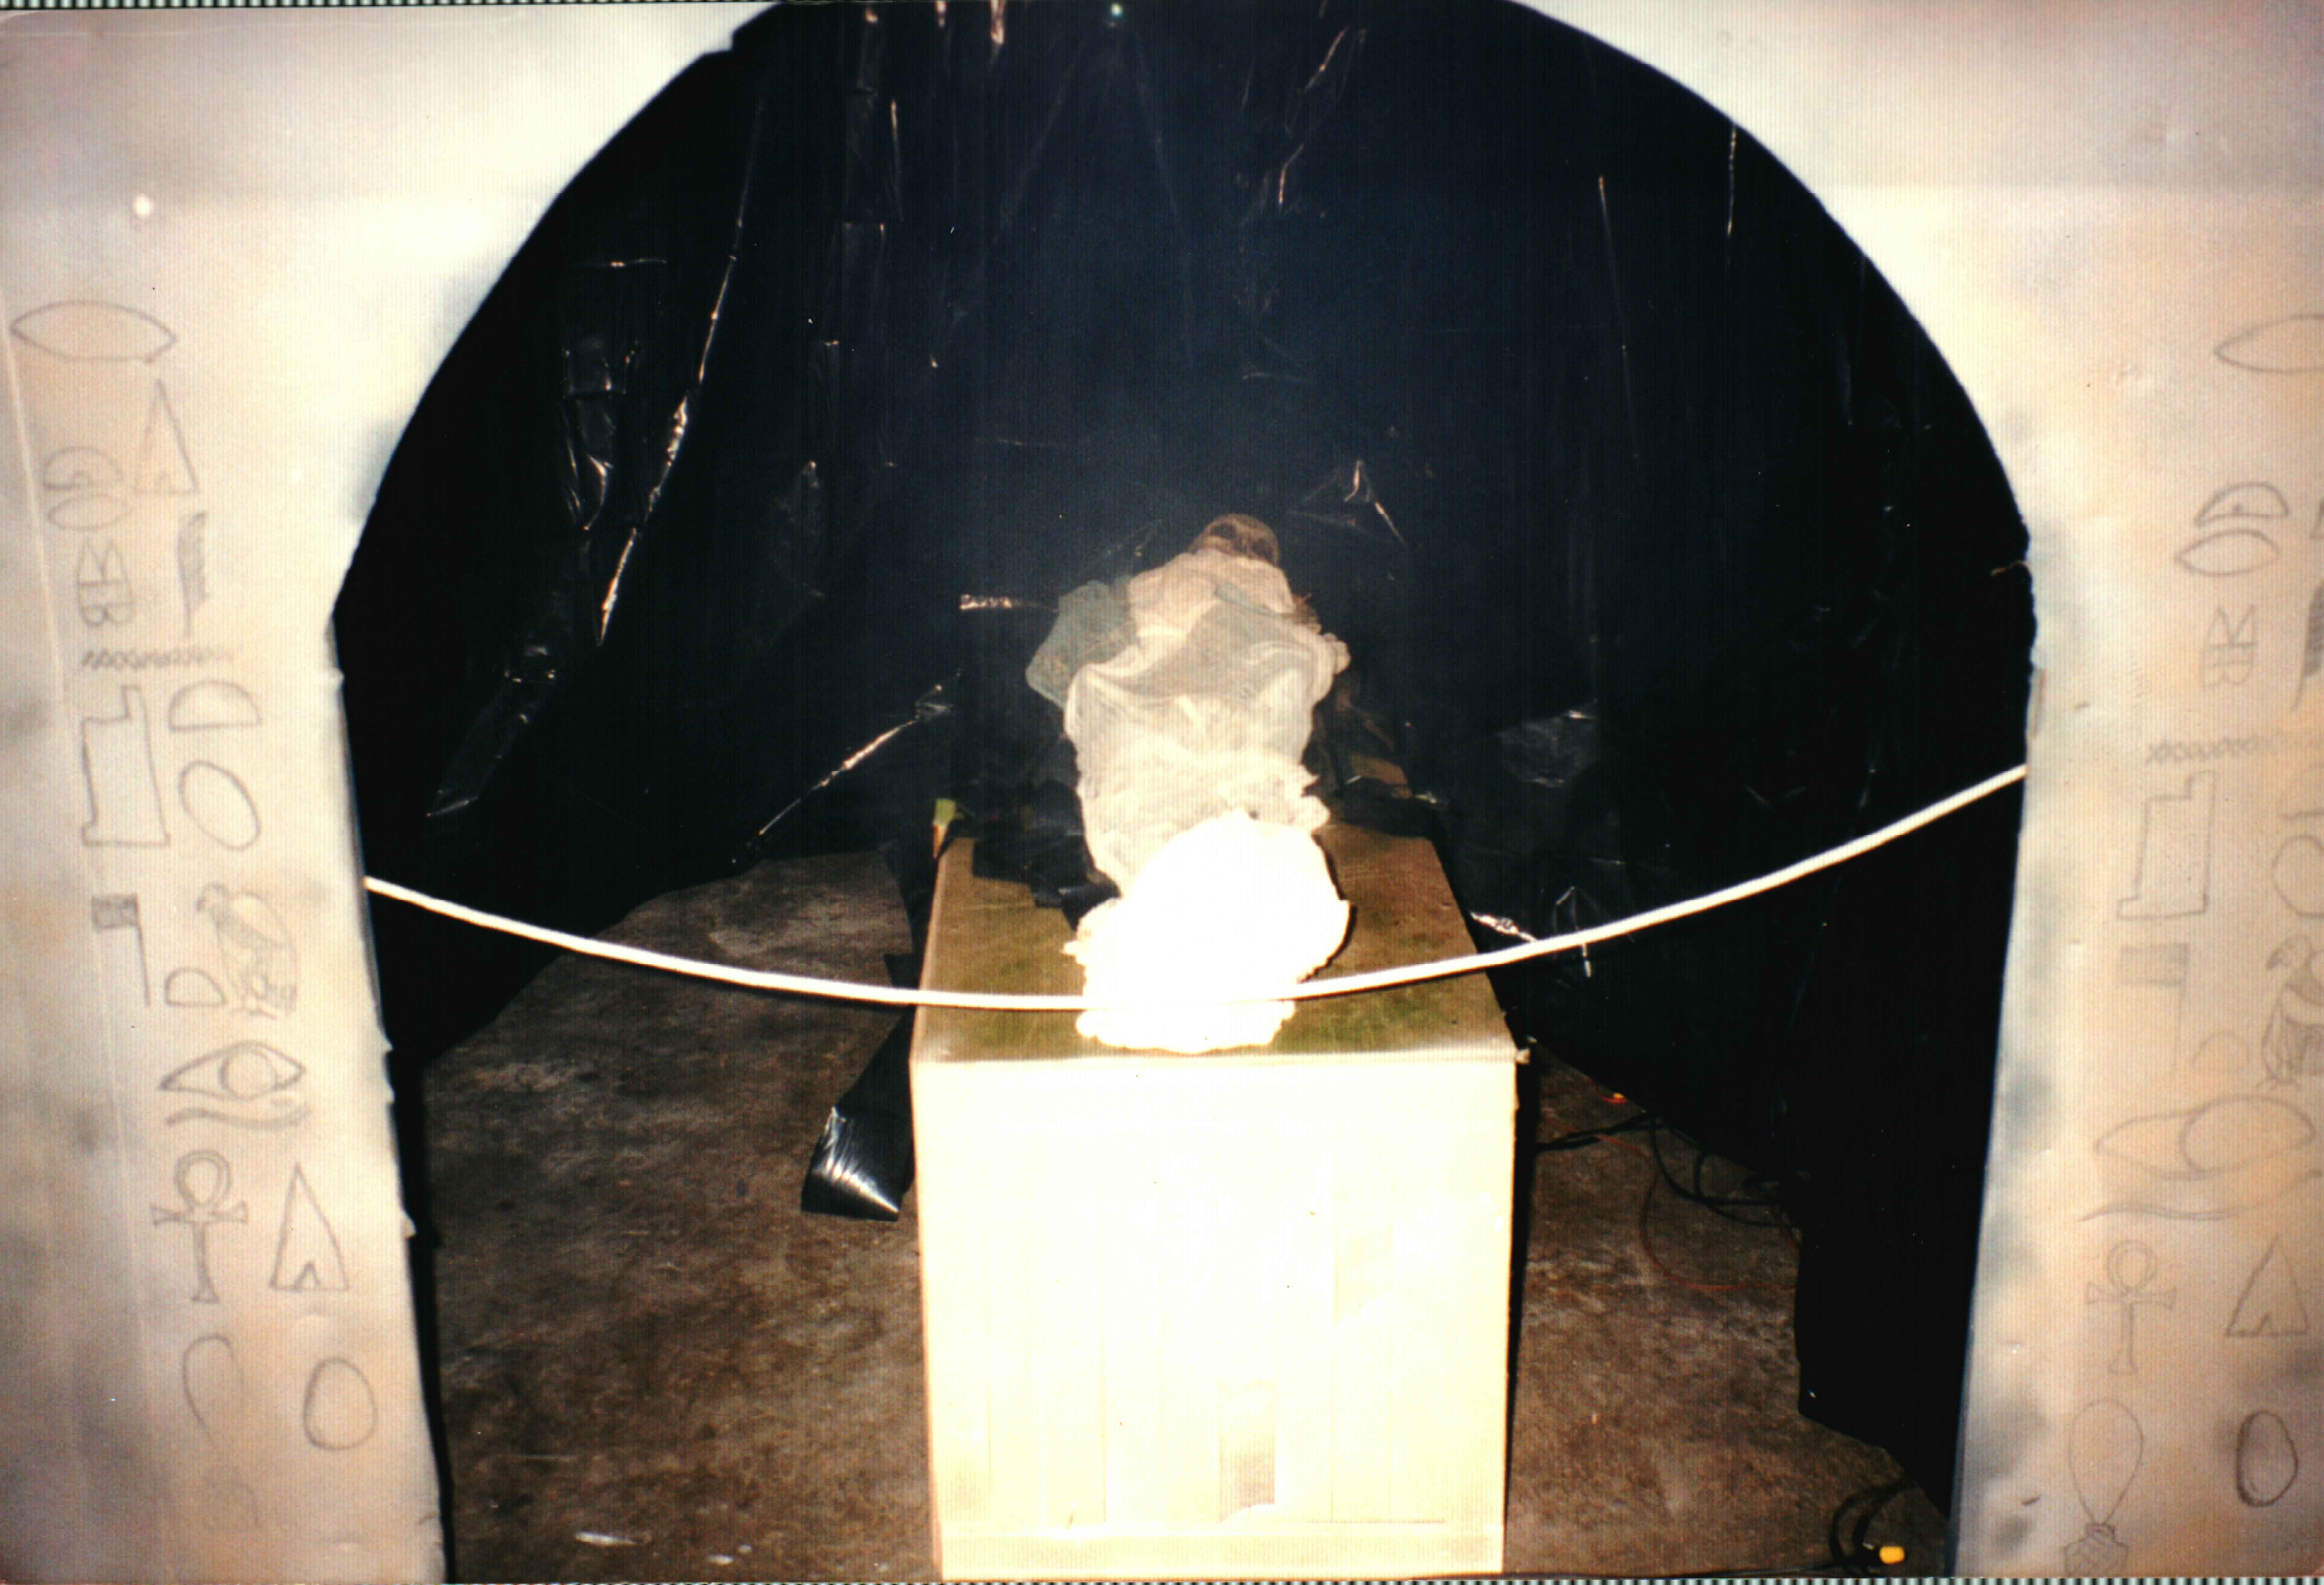
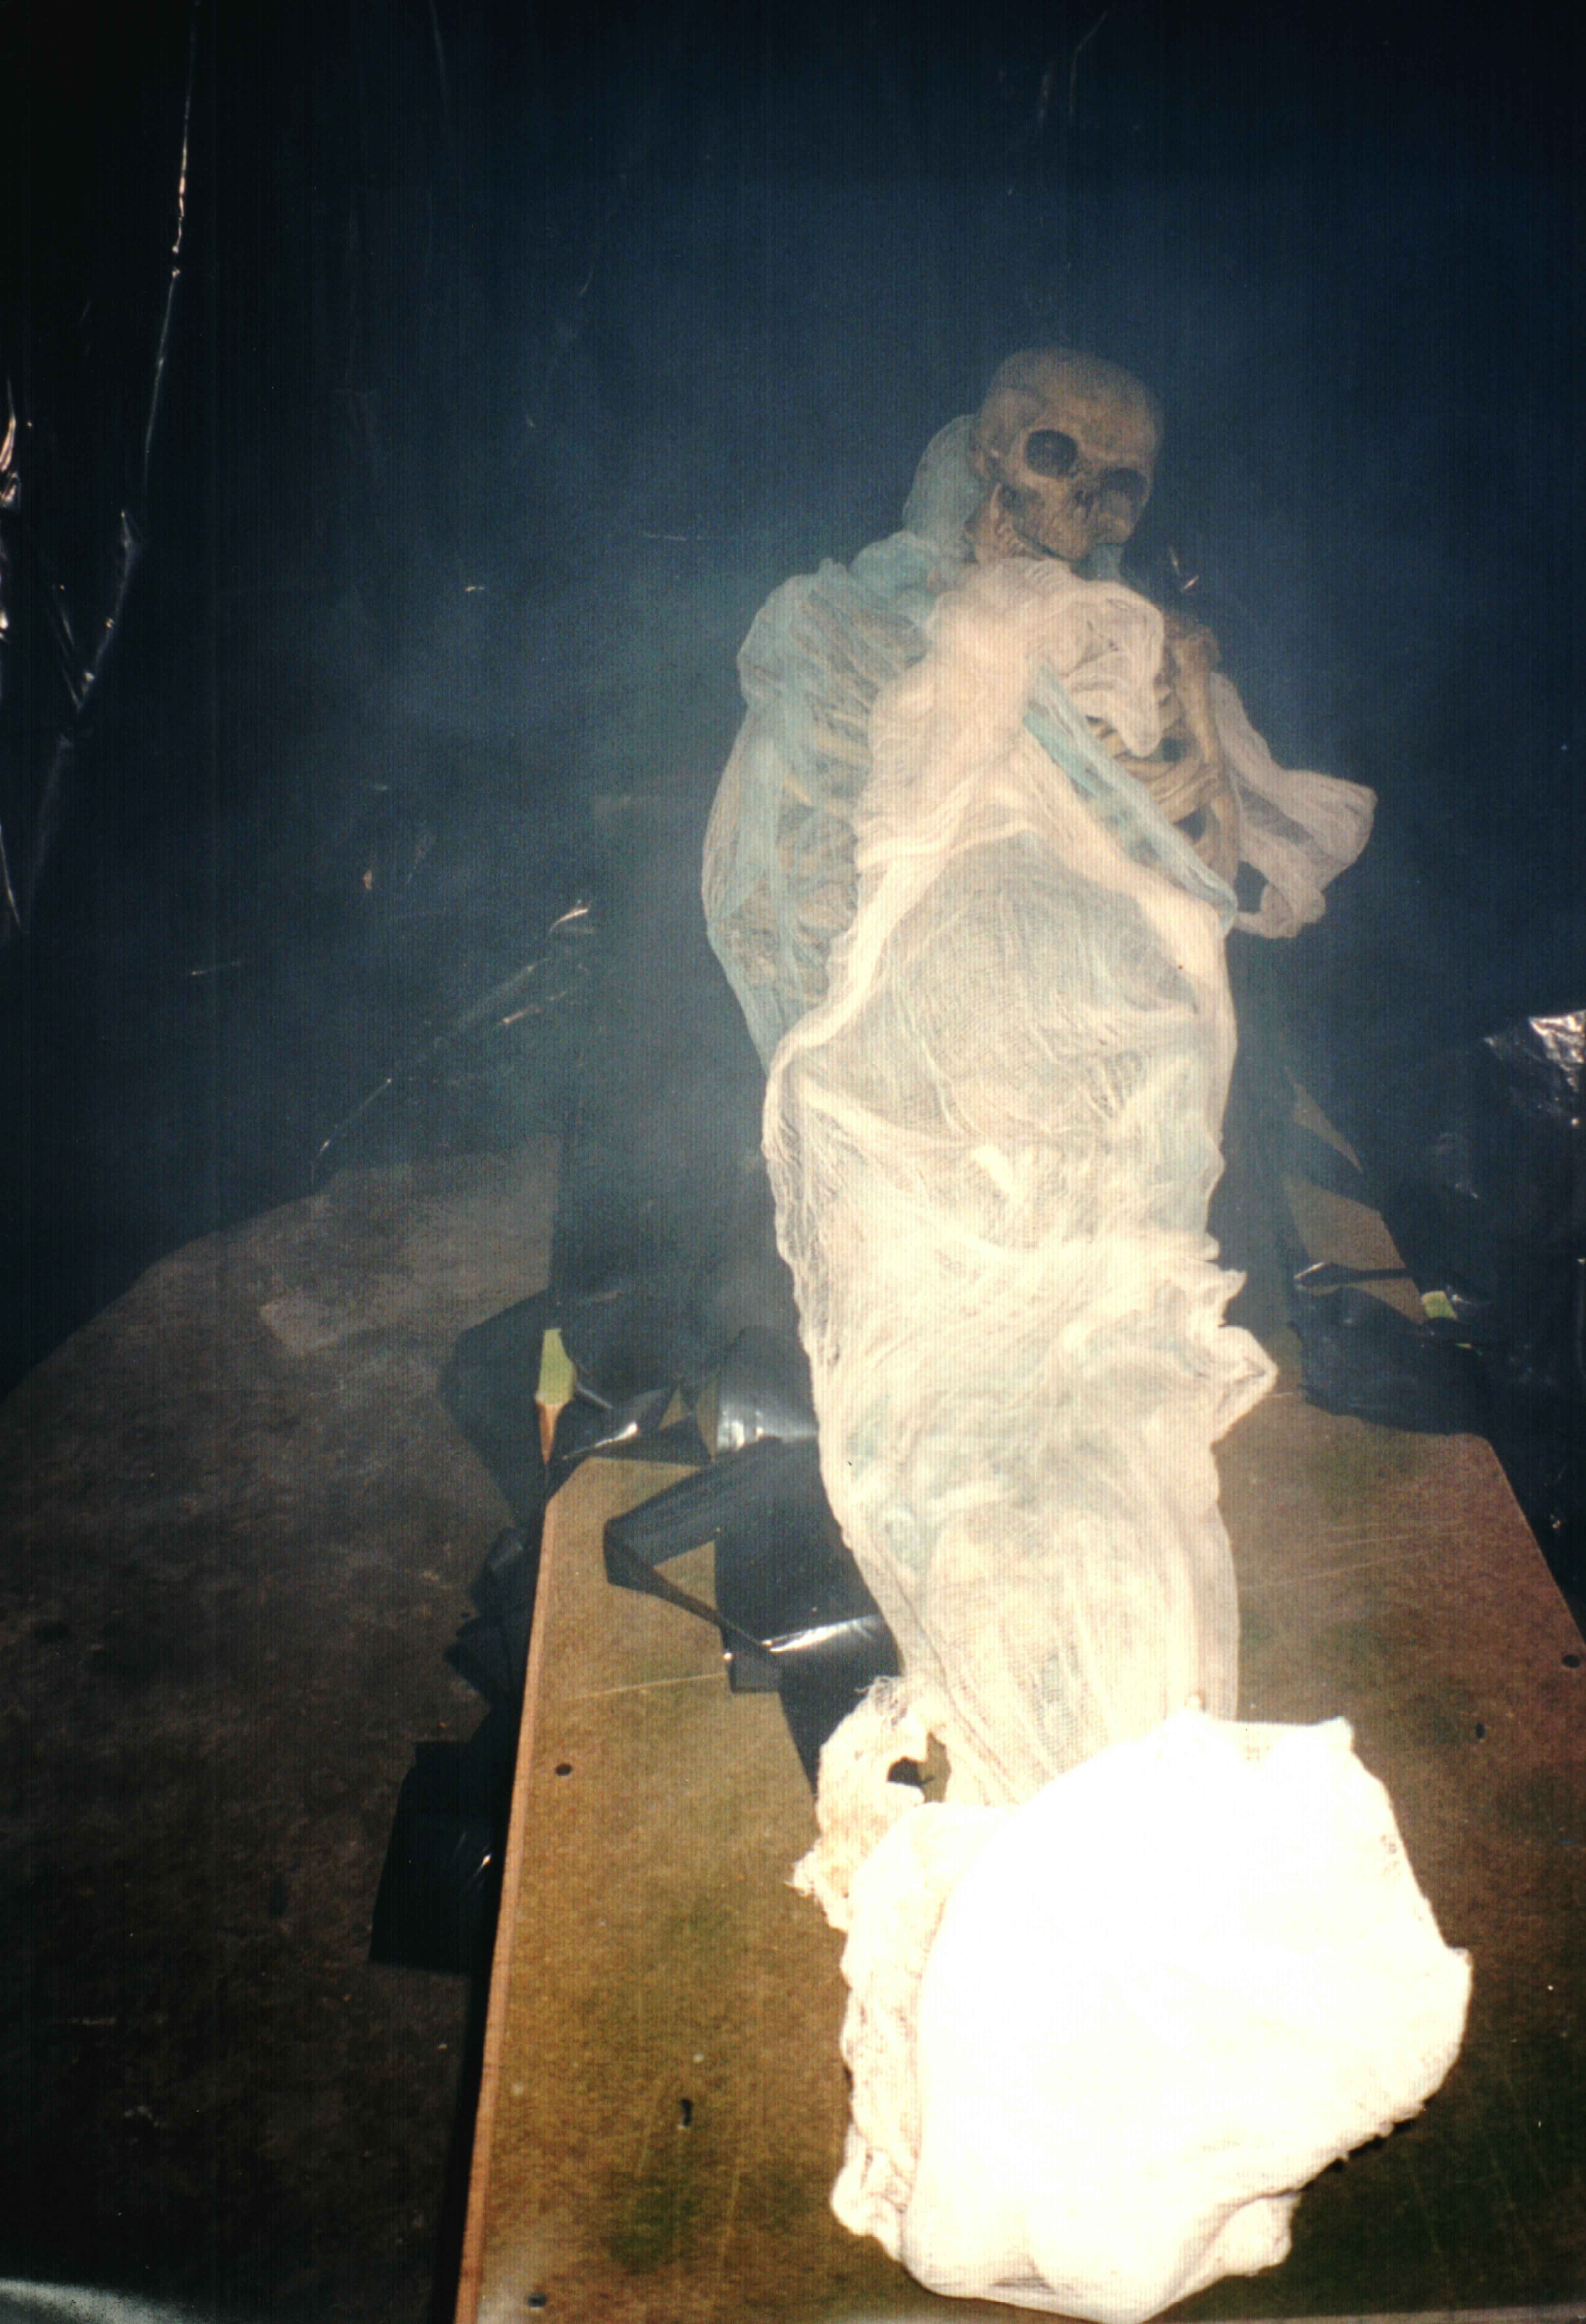
Also I sketched the whole thing out and planned much better than I had ever done before, even going as far as to research hieroglyphics and watch some awesome old mummy movies
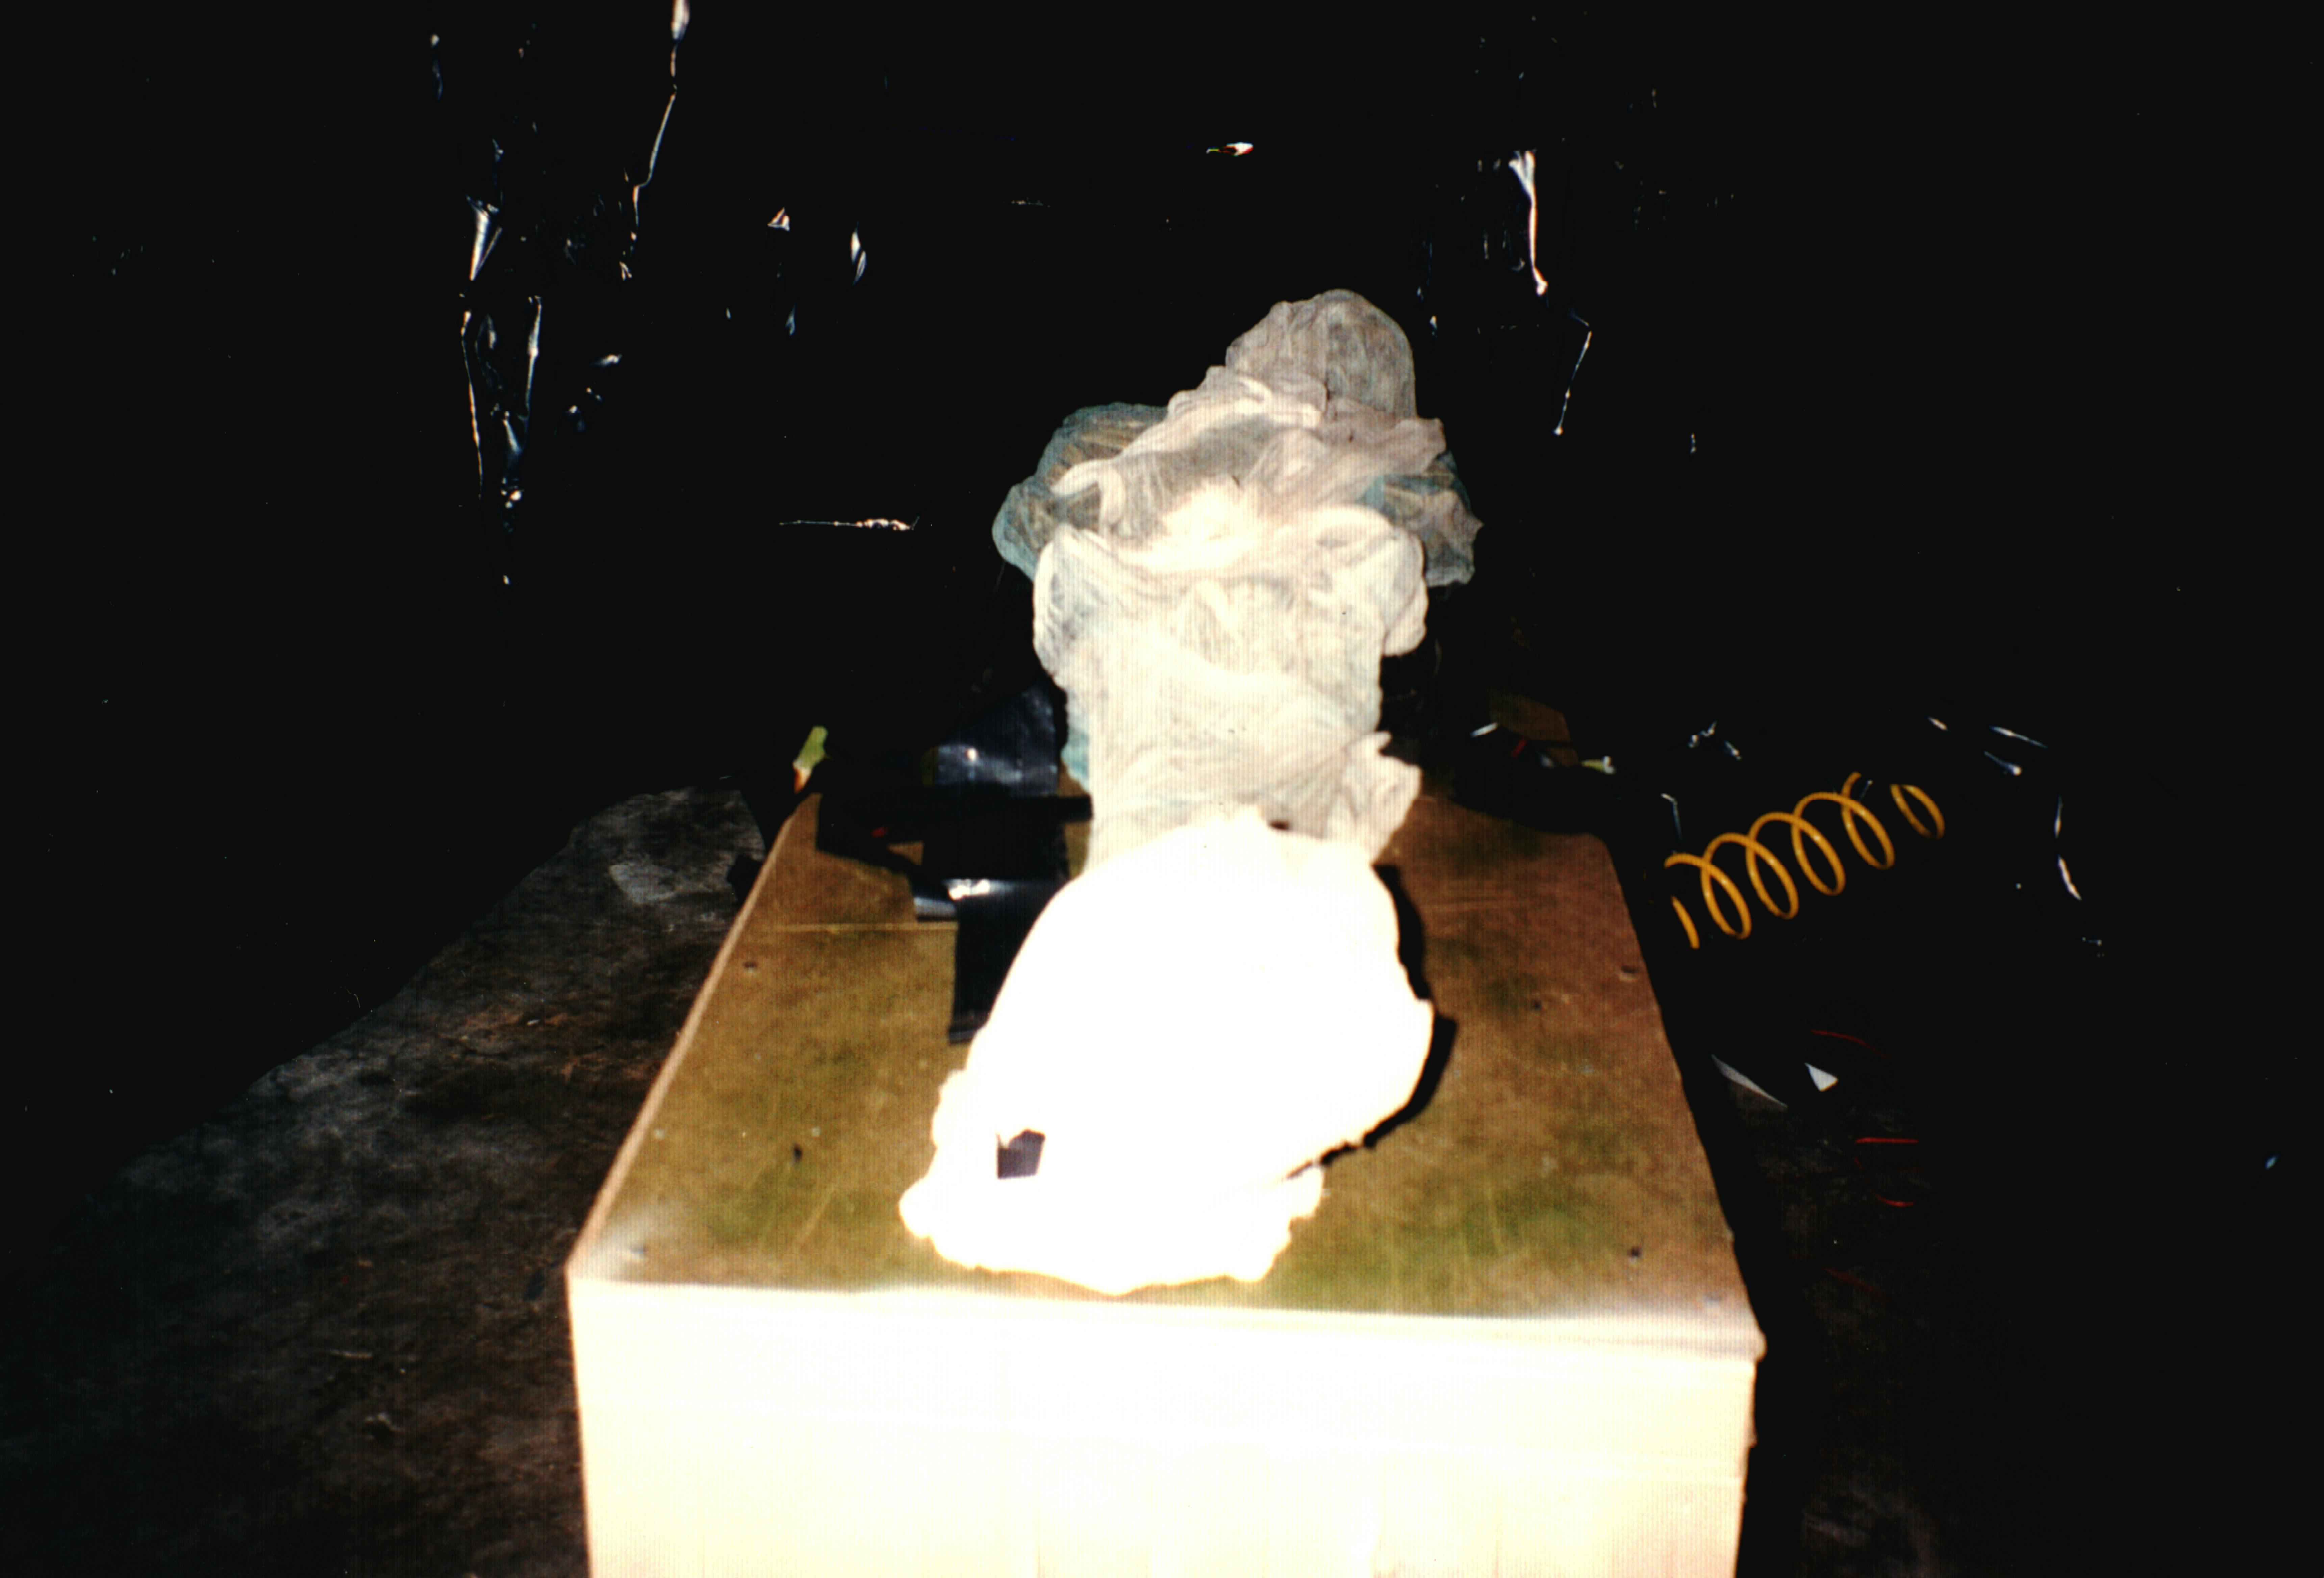
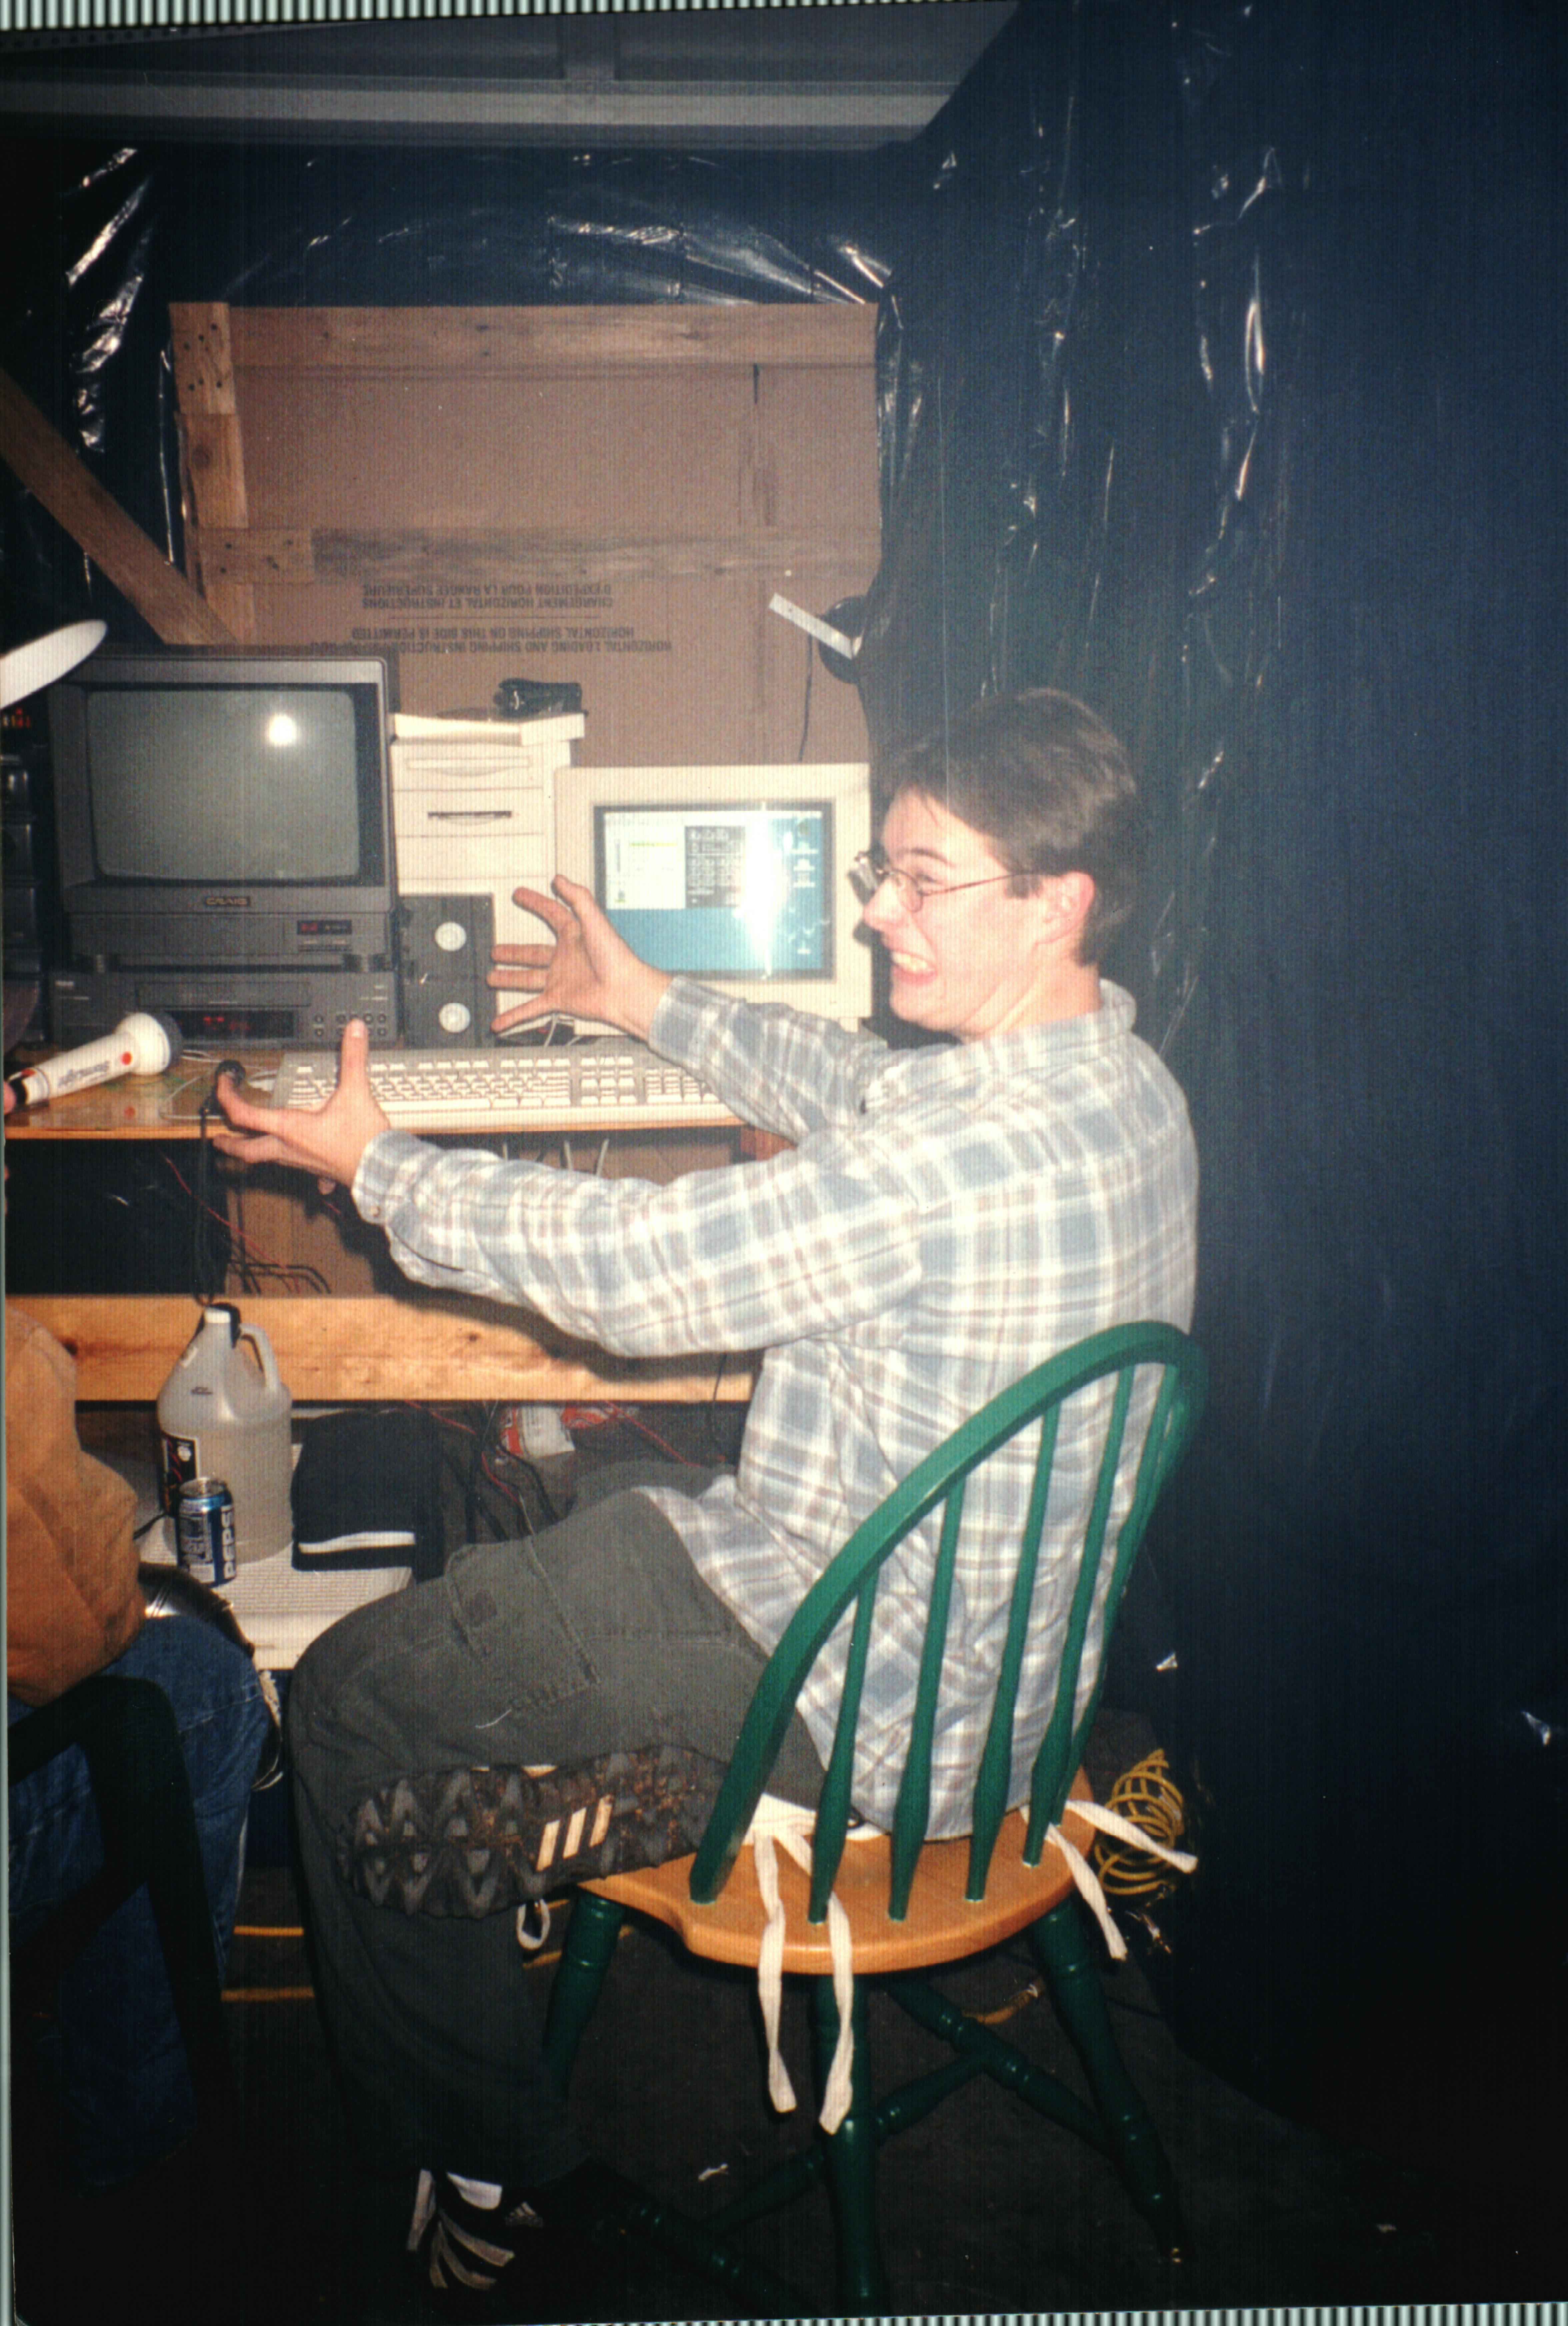
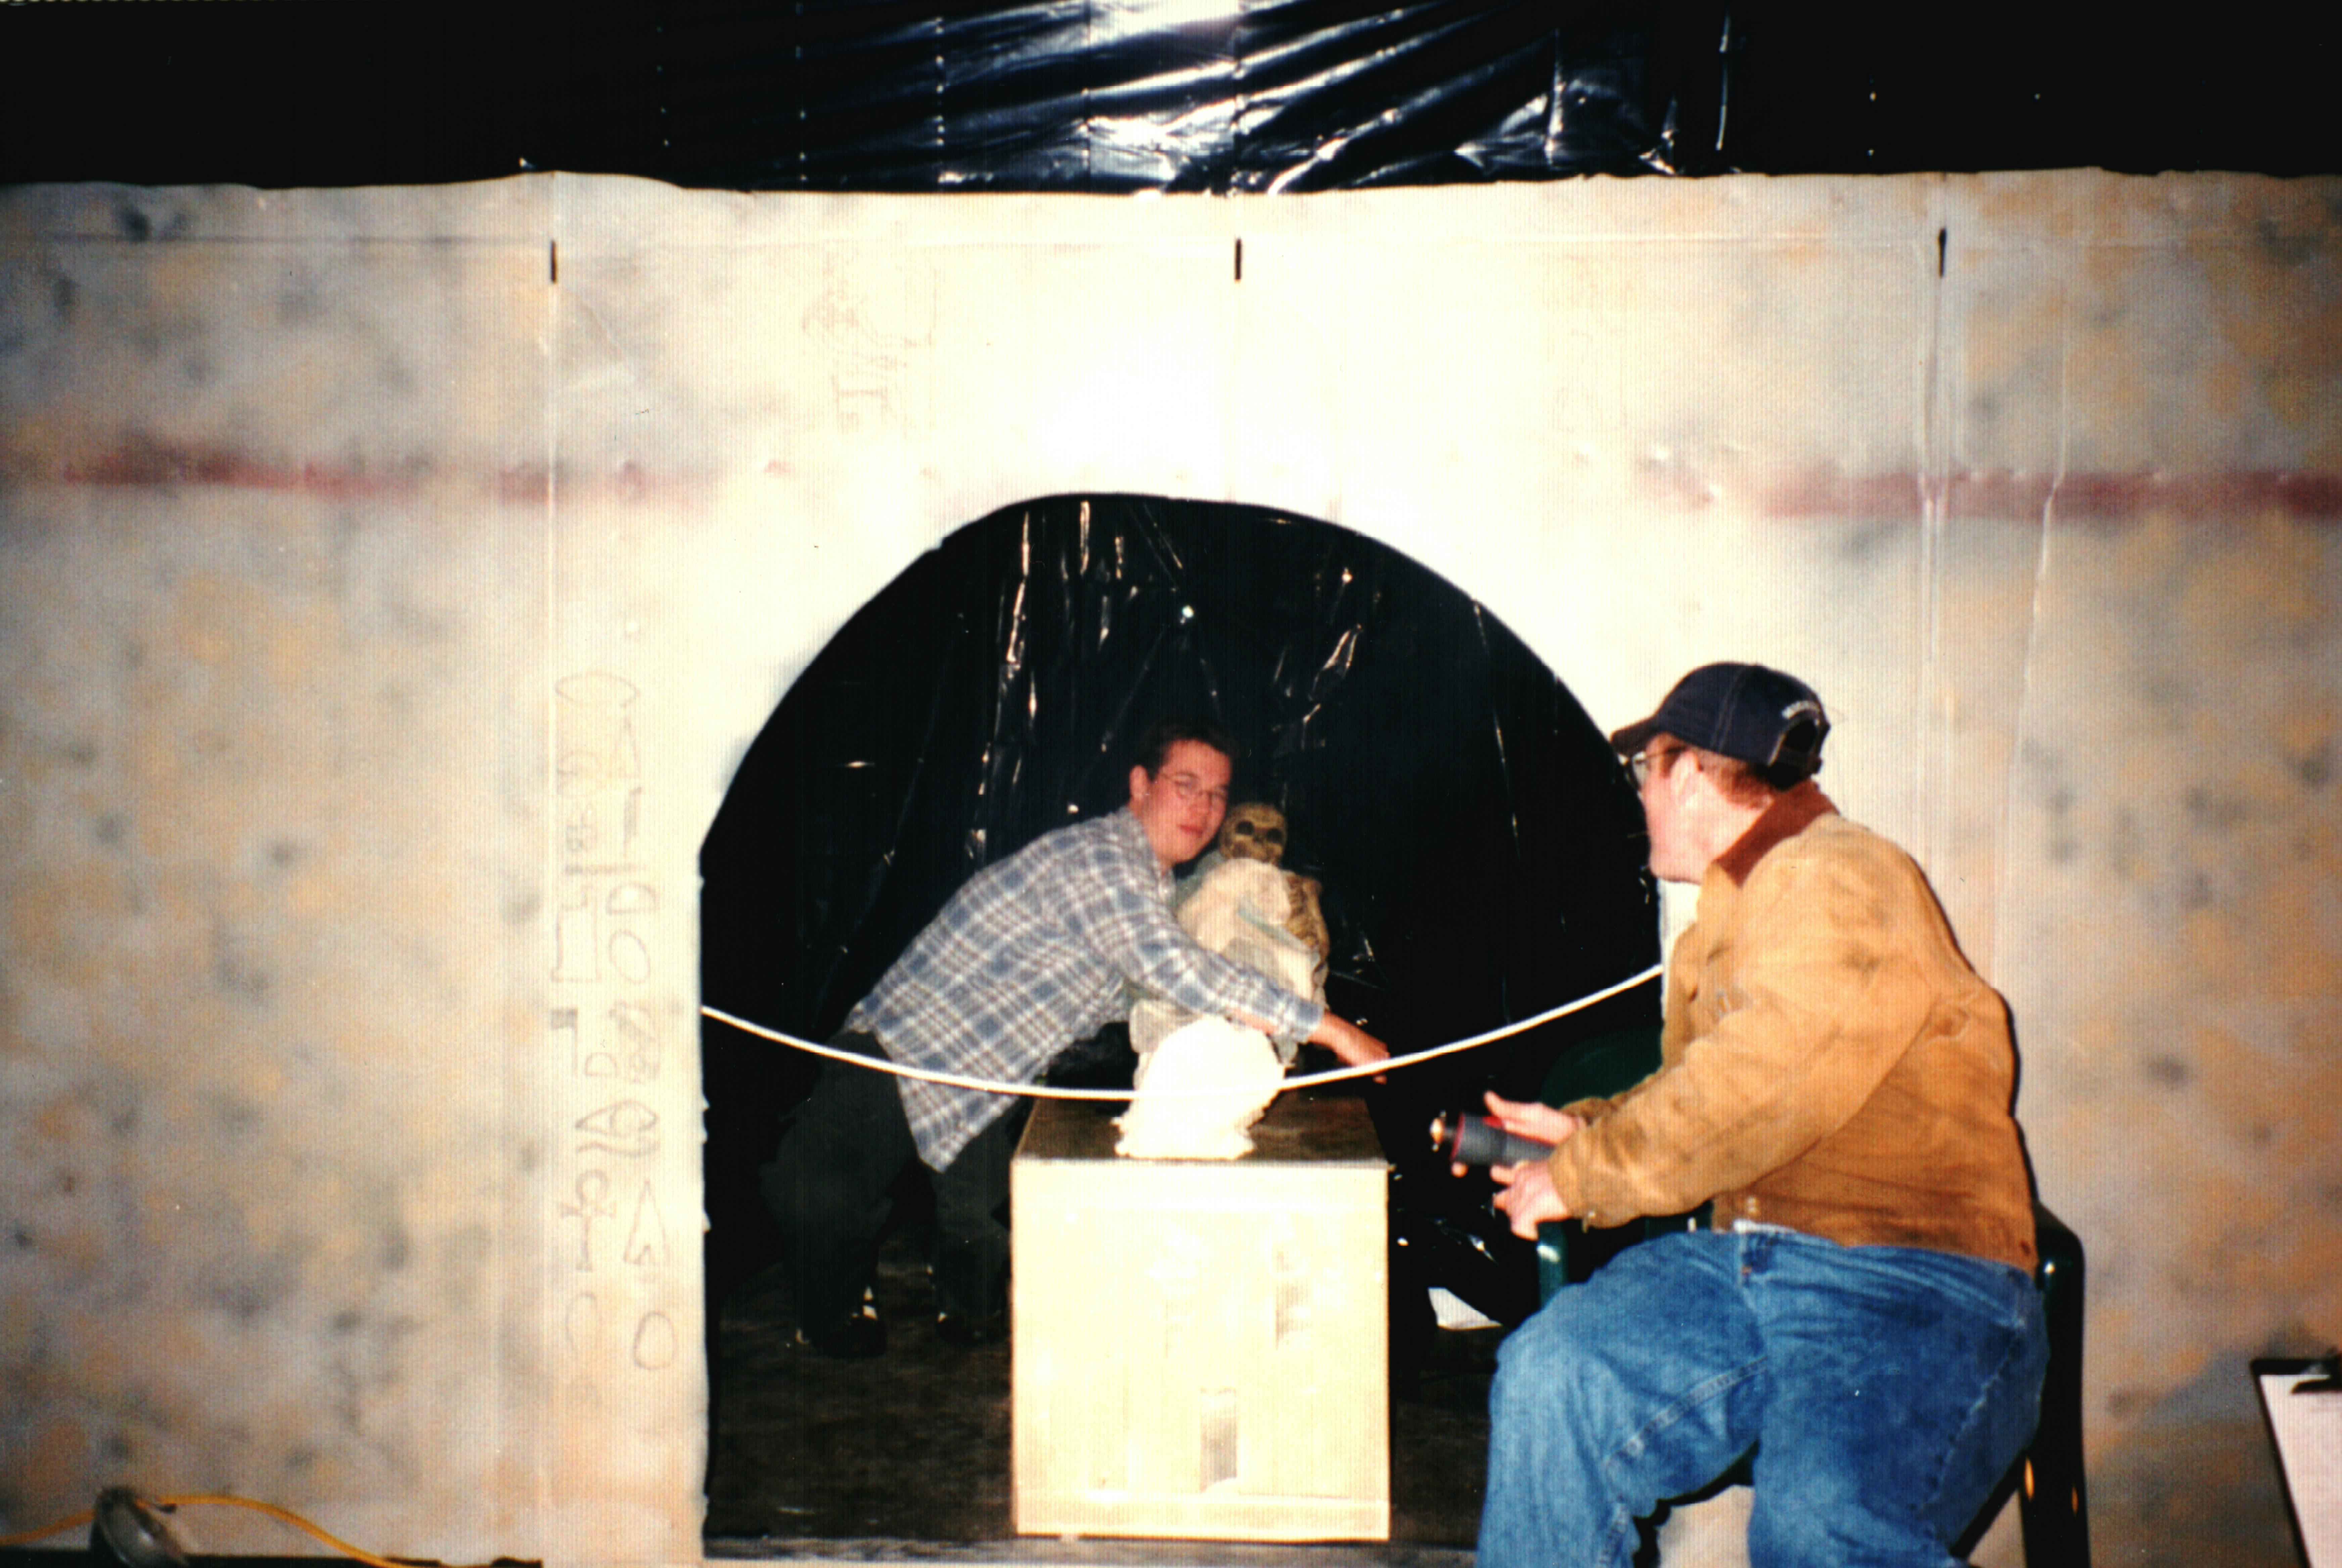
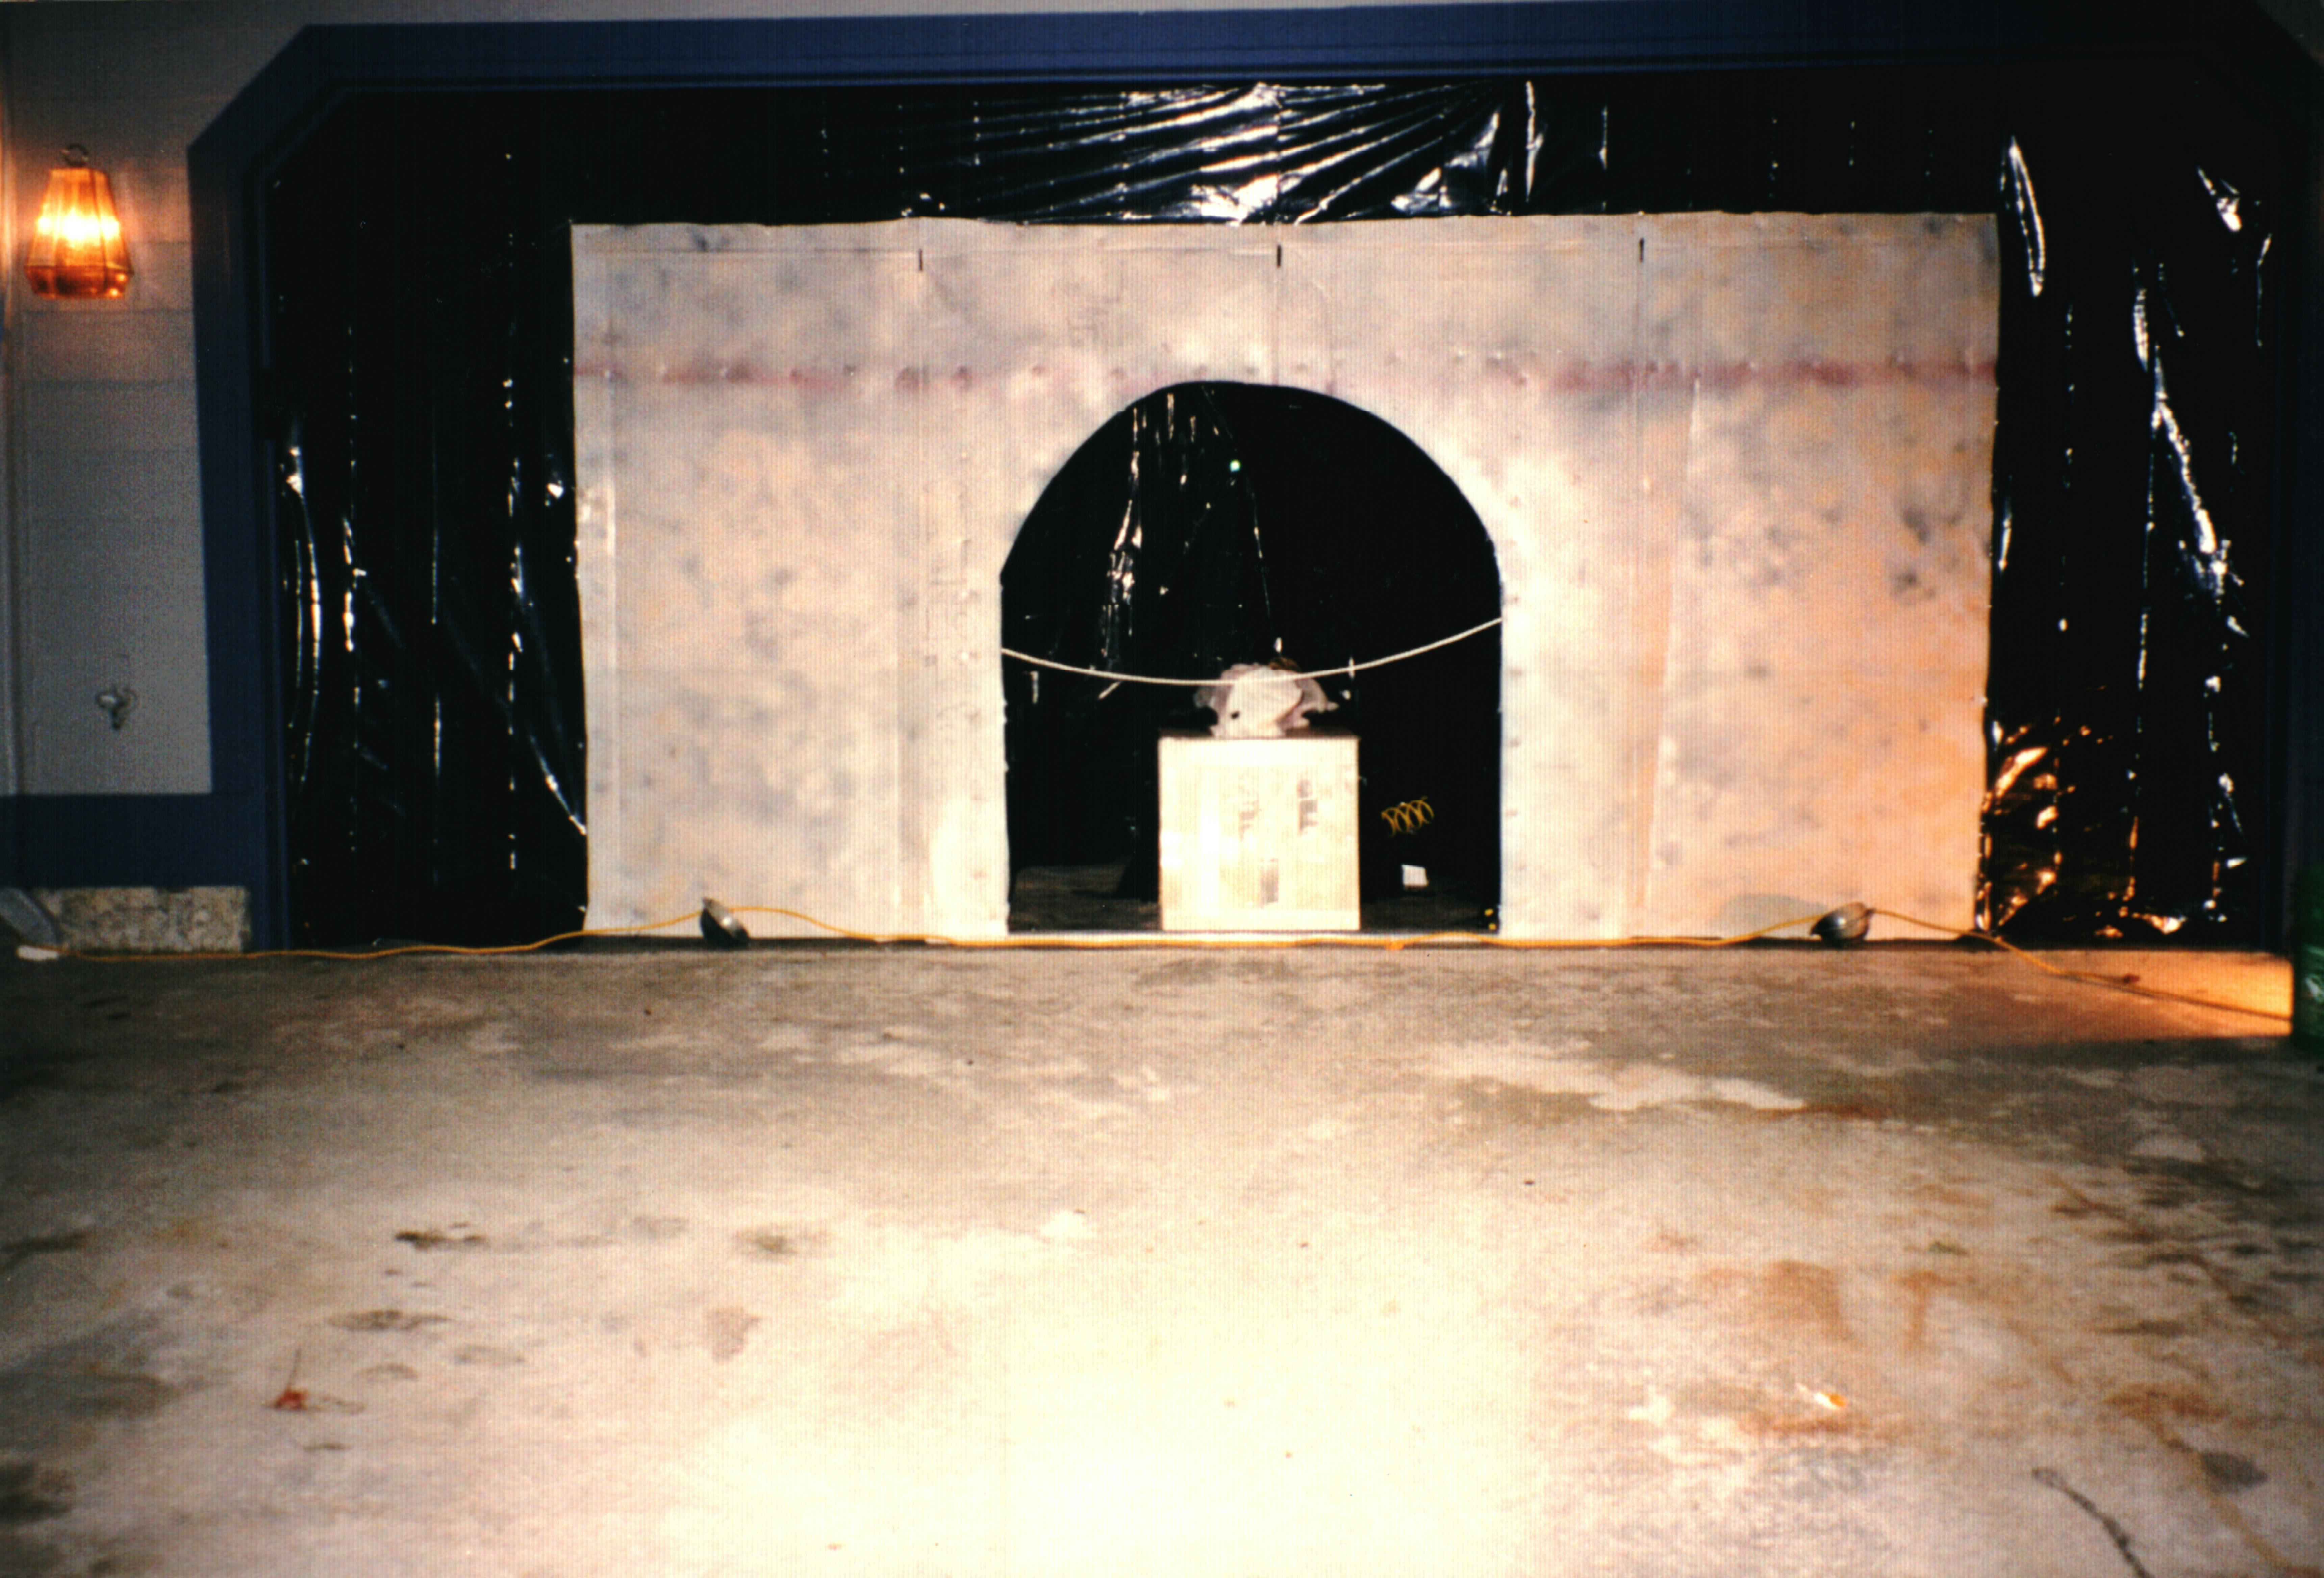
I created a pneumatic mummy that would sit up and make some awful sounds.
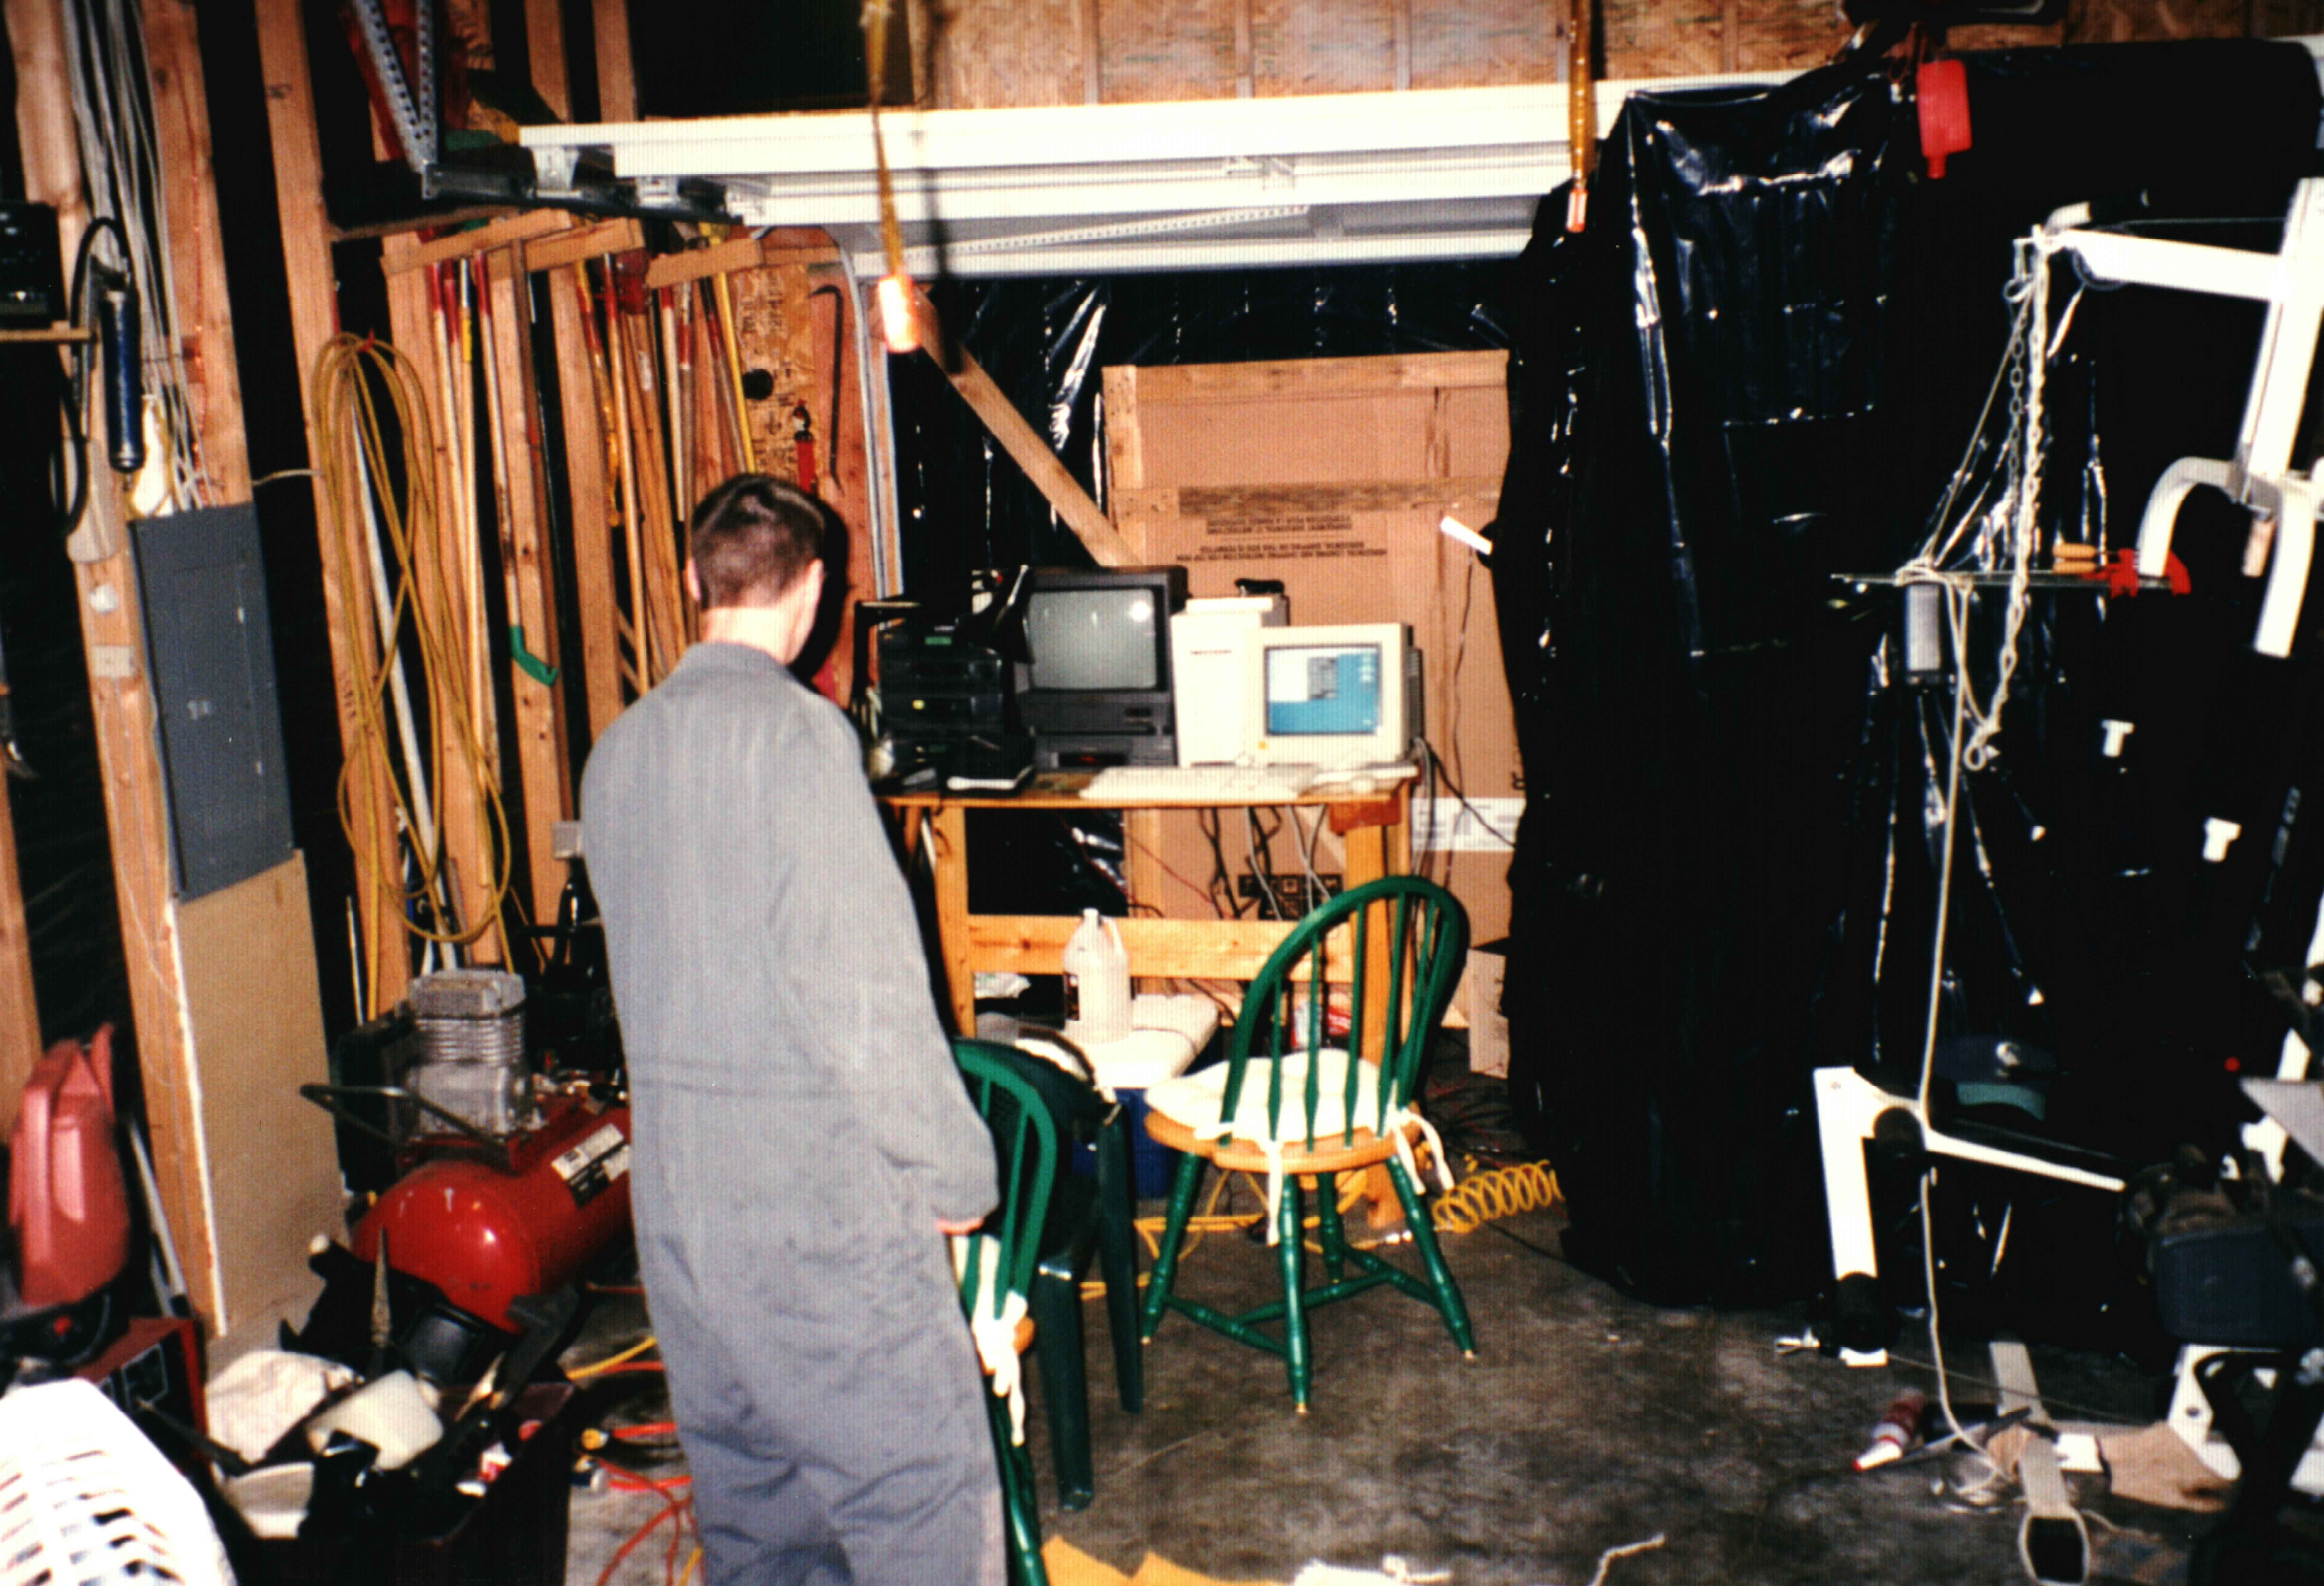
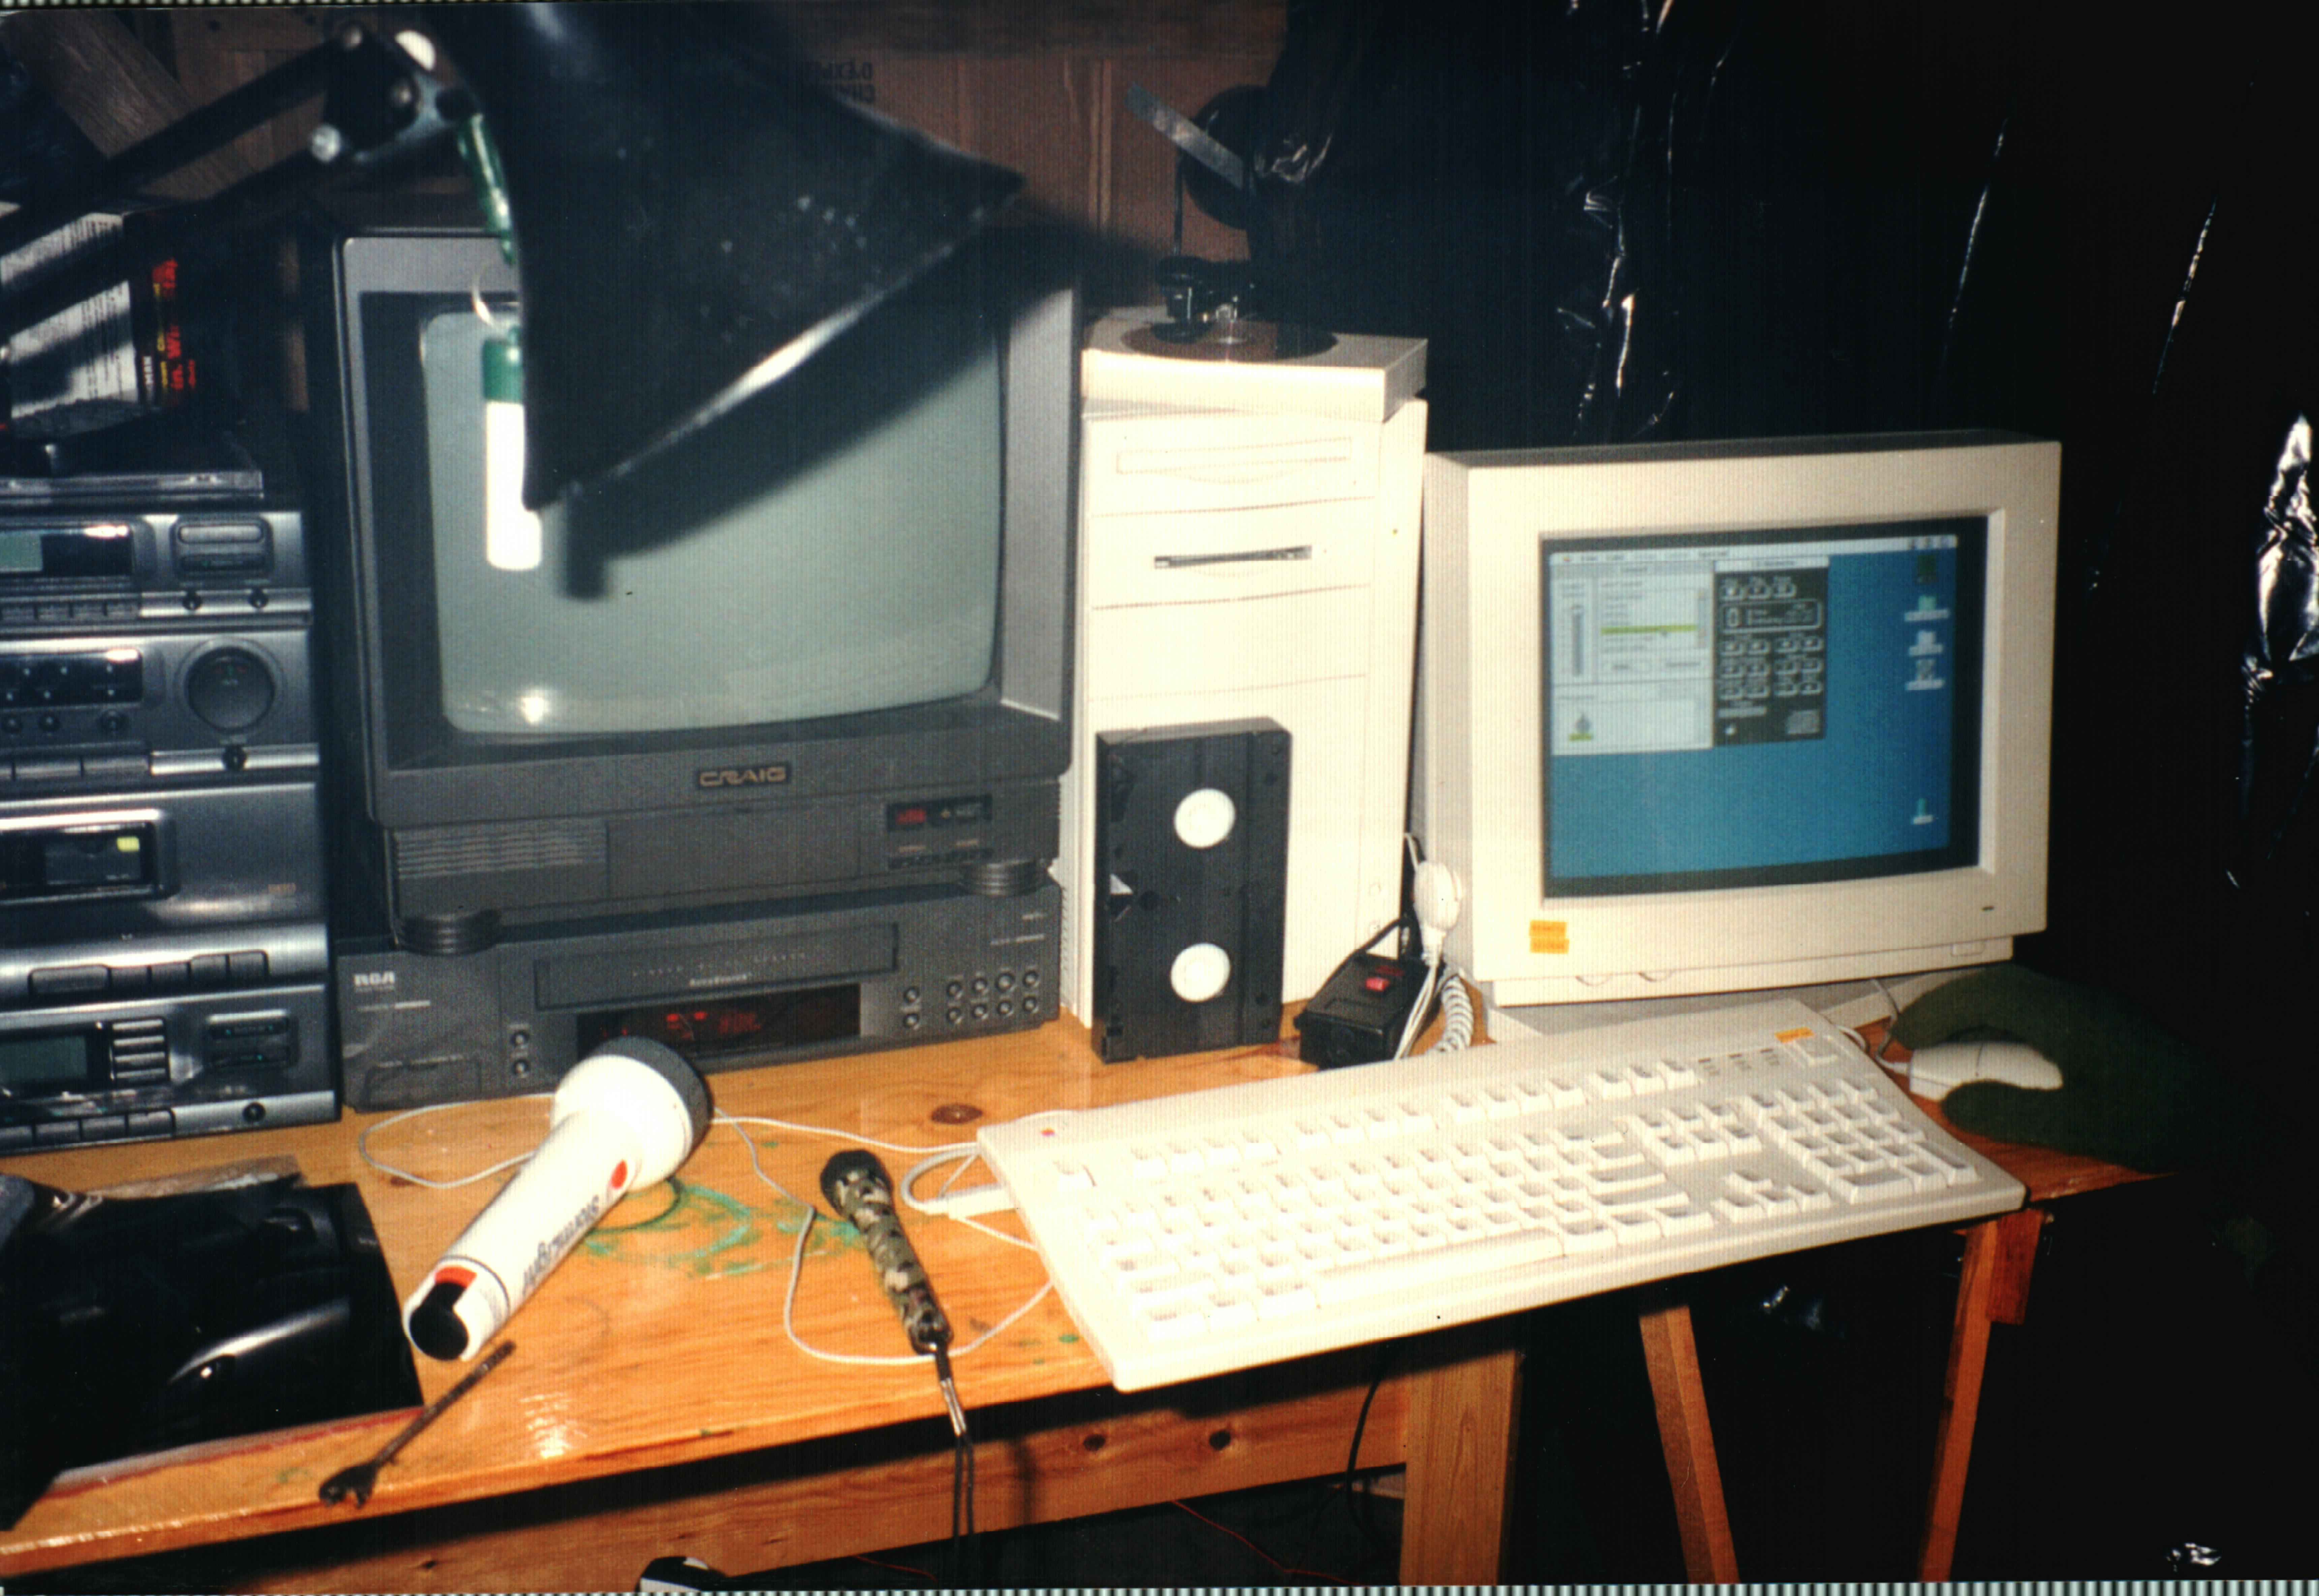
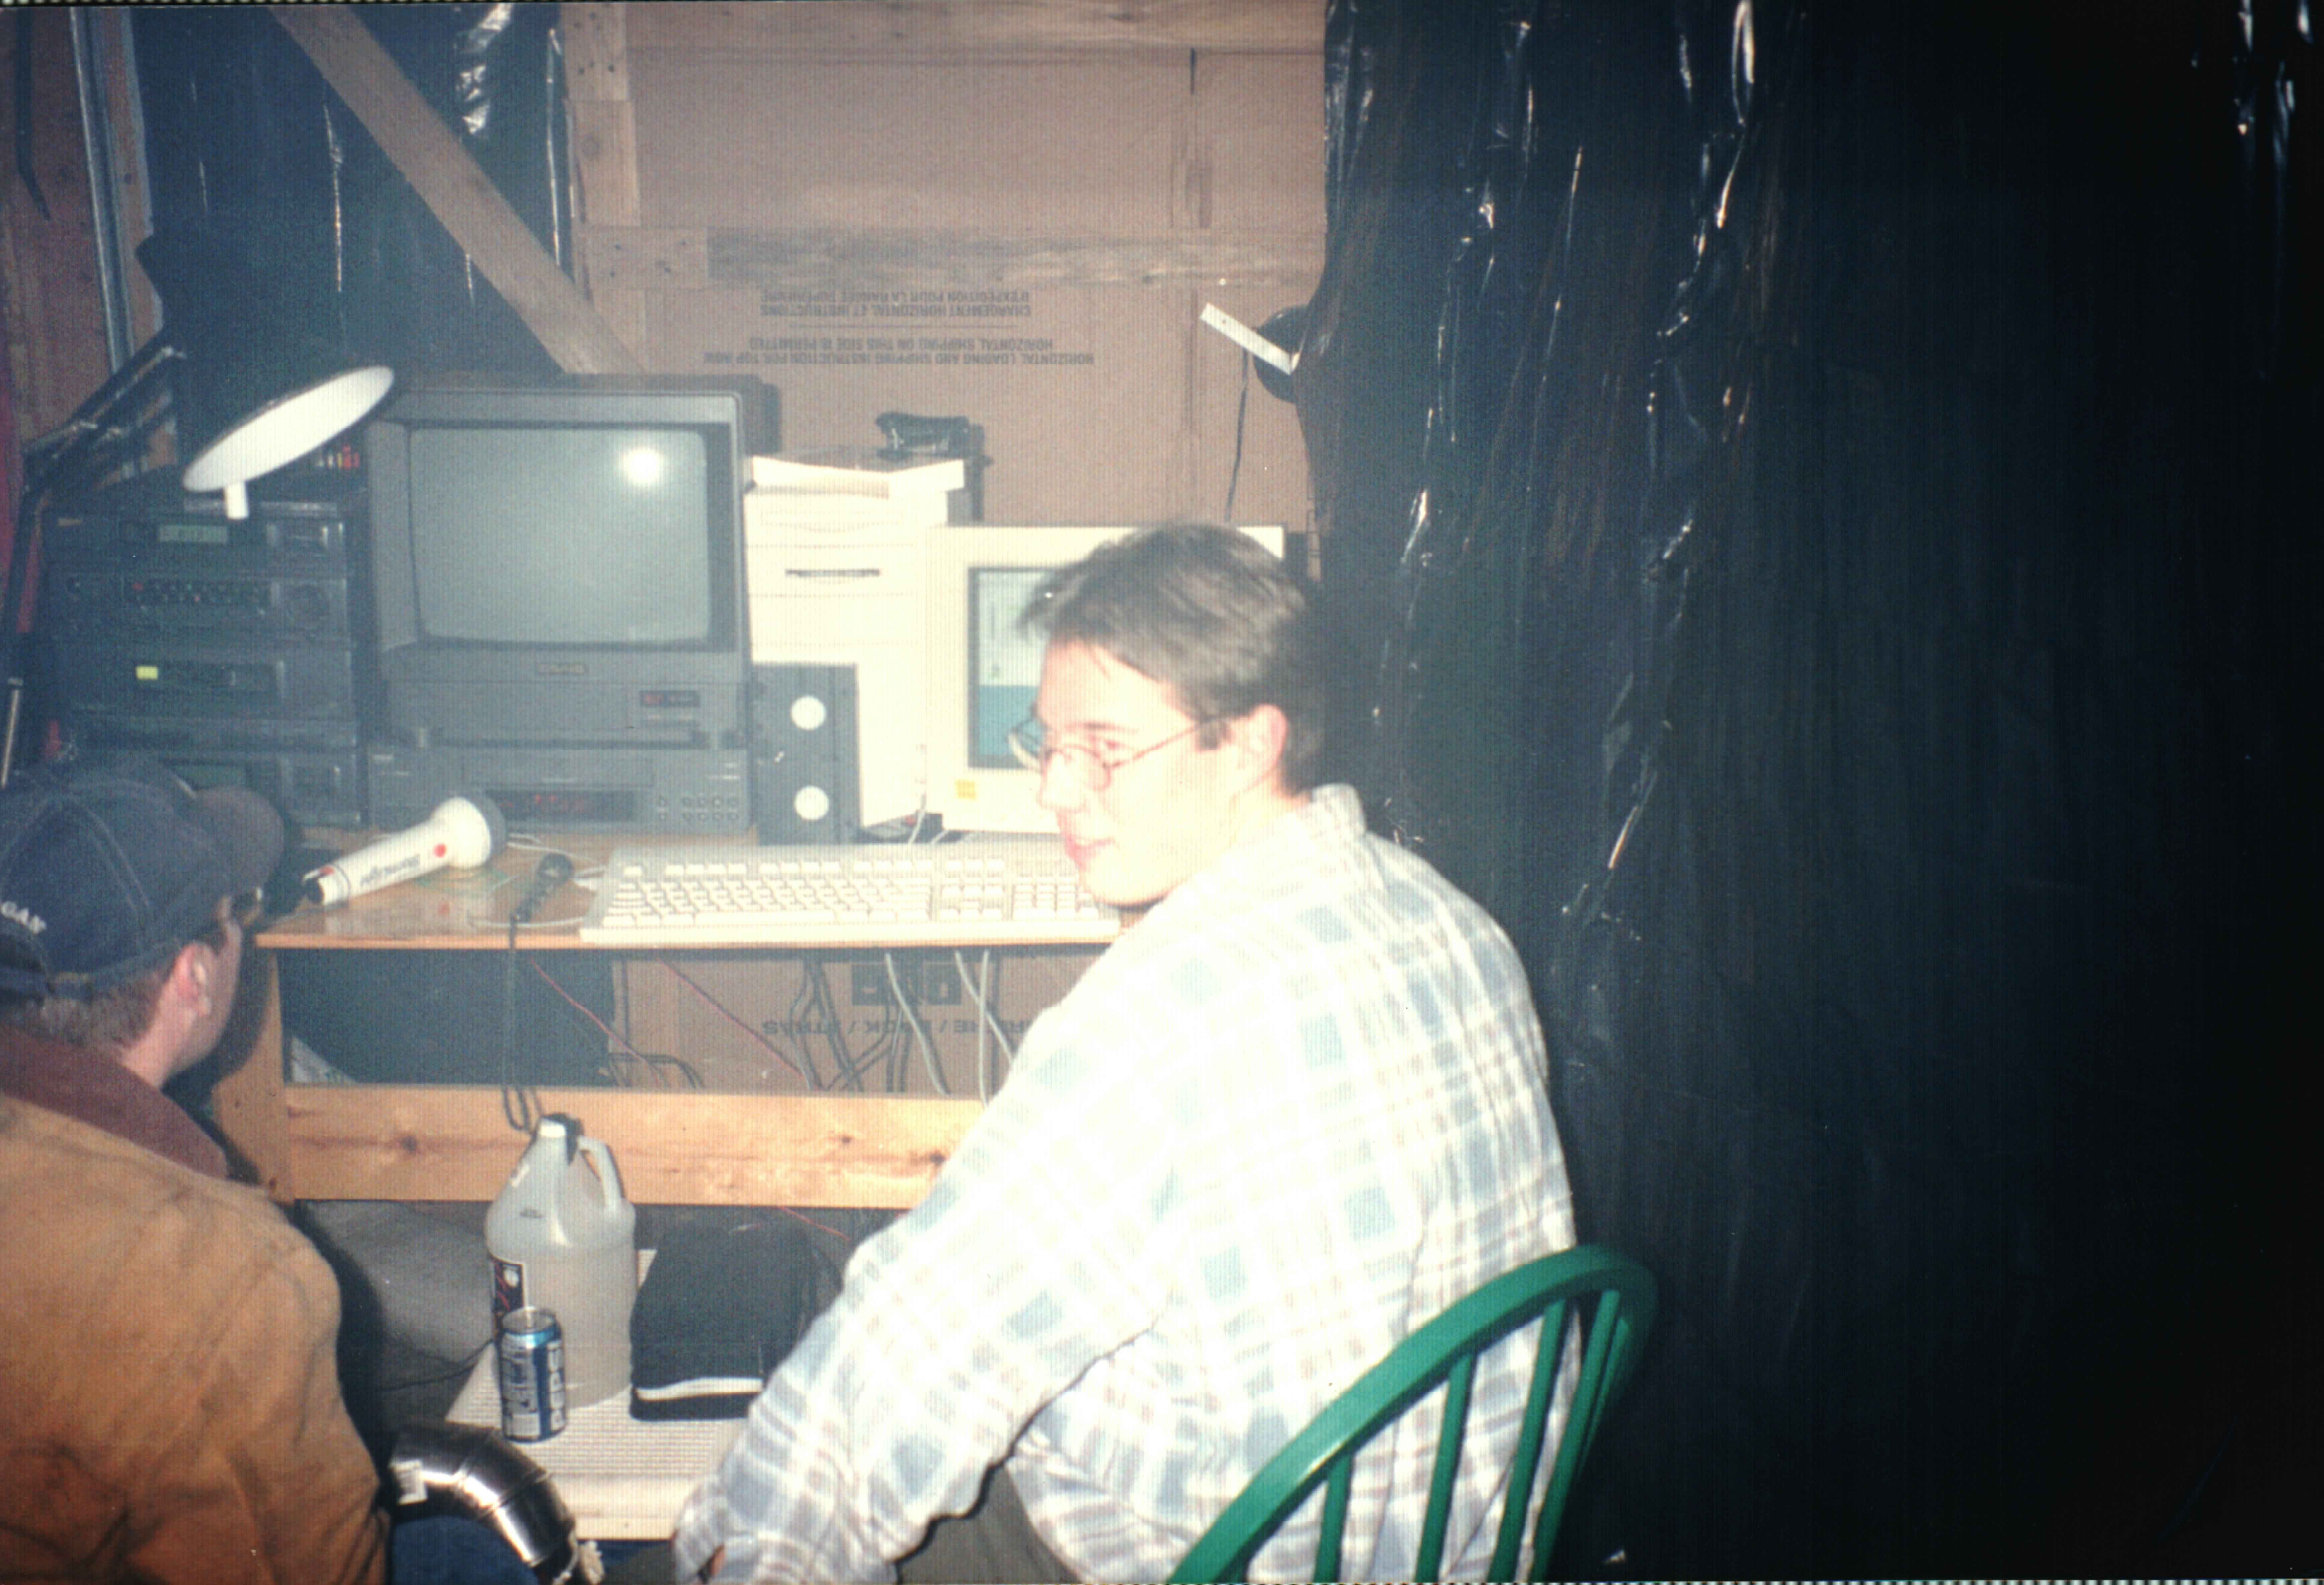
I controlled the whole thing from behind the scenes using a video monitor and camera, I stereo for amplifying the audio I was running from my computer.
The pneumatic mummy was controlled by hand with a valve and a bleed that I built. I wish I could show you the sketch as it is pretty much identical to what I ended up doing.
Though this was the most elaborate year yet it triggered something in me, I was able to build all this cool stuff but the dance it took for me to operate was kind of ridiculous.
At the end of the day I thought it really turned out great and despite how you see the set with the camera and flash the lighting I had really made it look great.
I knew deep down that I needed to learn electronics because if I had both mechanical and electrical skills I could have either completely automated this mummy or at the least just have been able to press a button. If you notice, there is a clipboard in one of the photos, this was to get peoples feedback, seriously.. that’s how much I cared.
At this point I went back to college for computer engineering/electronics engineering.
When I came back from that I had bought a house in a neighborhood that I was sure would get a great Halloween crowd.
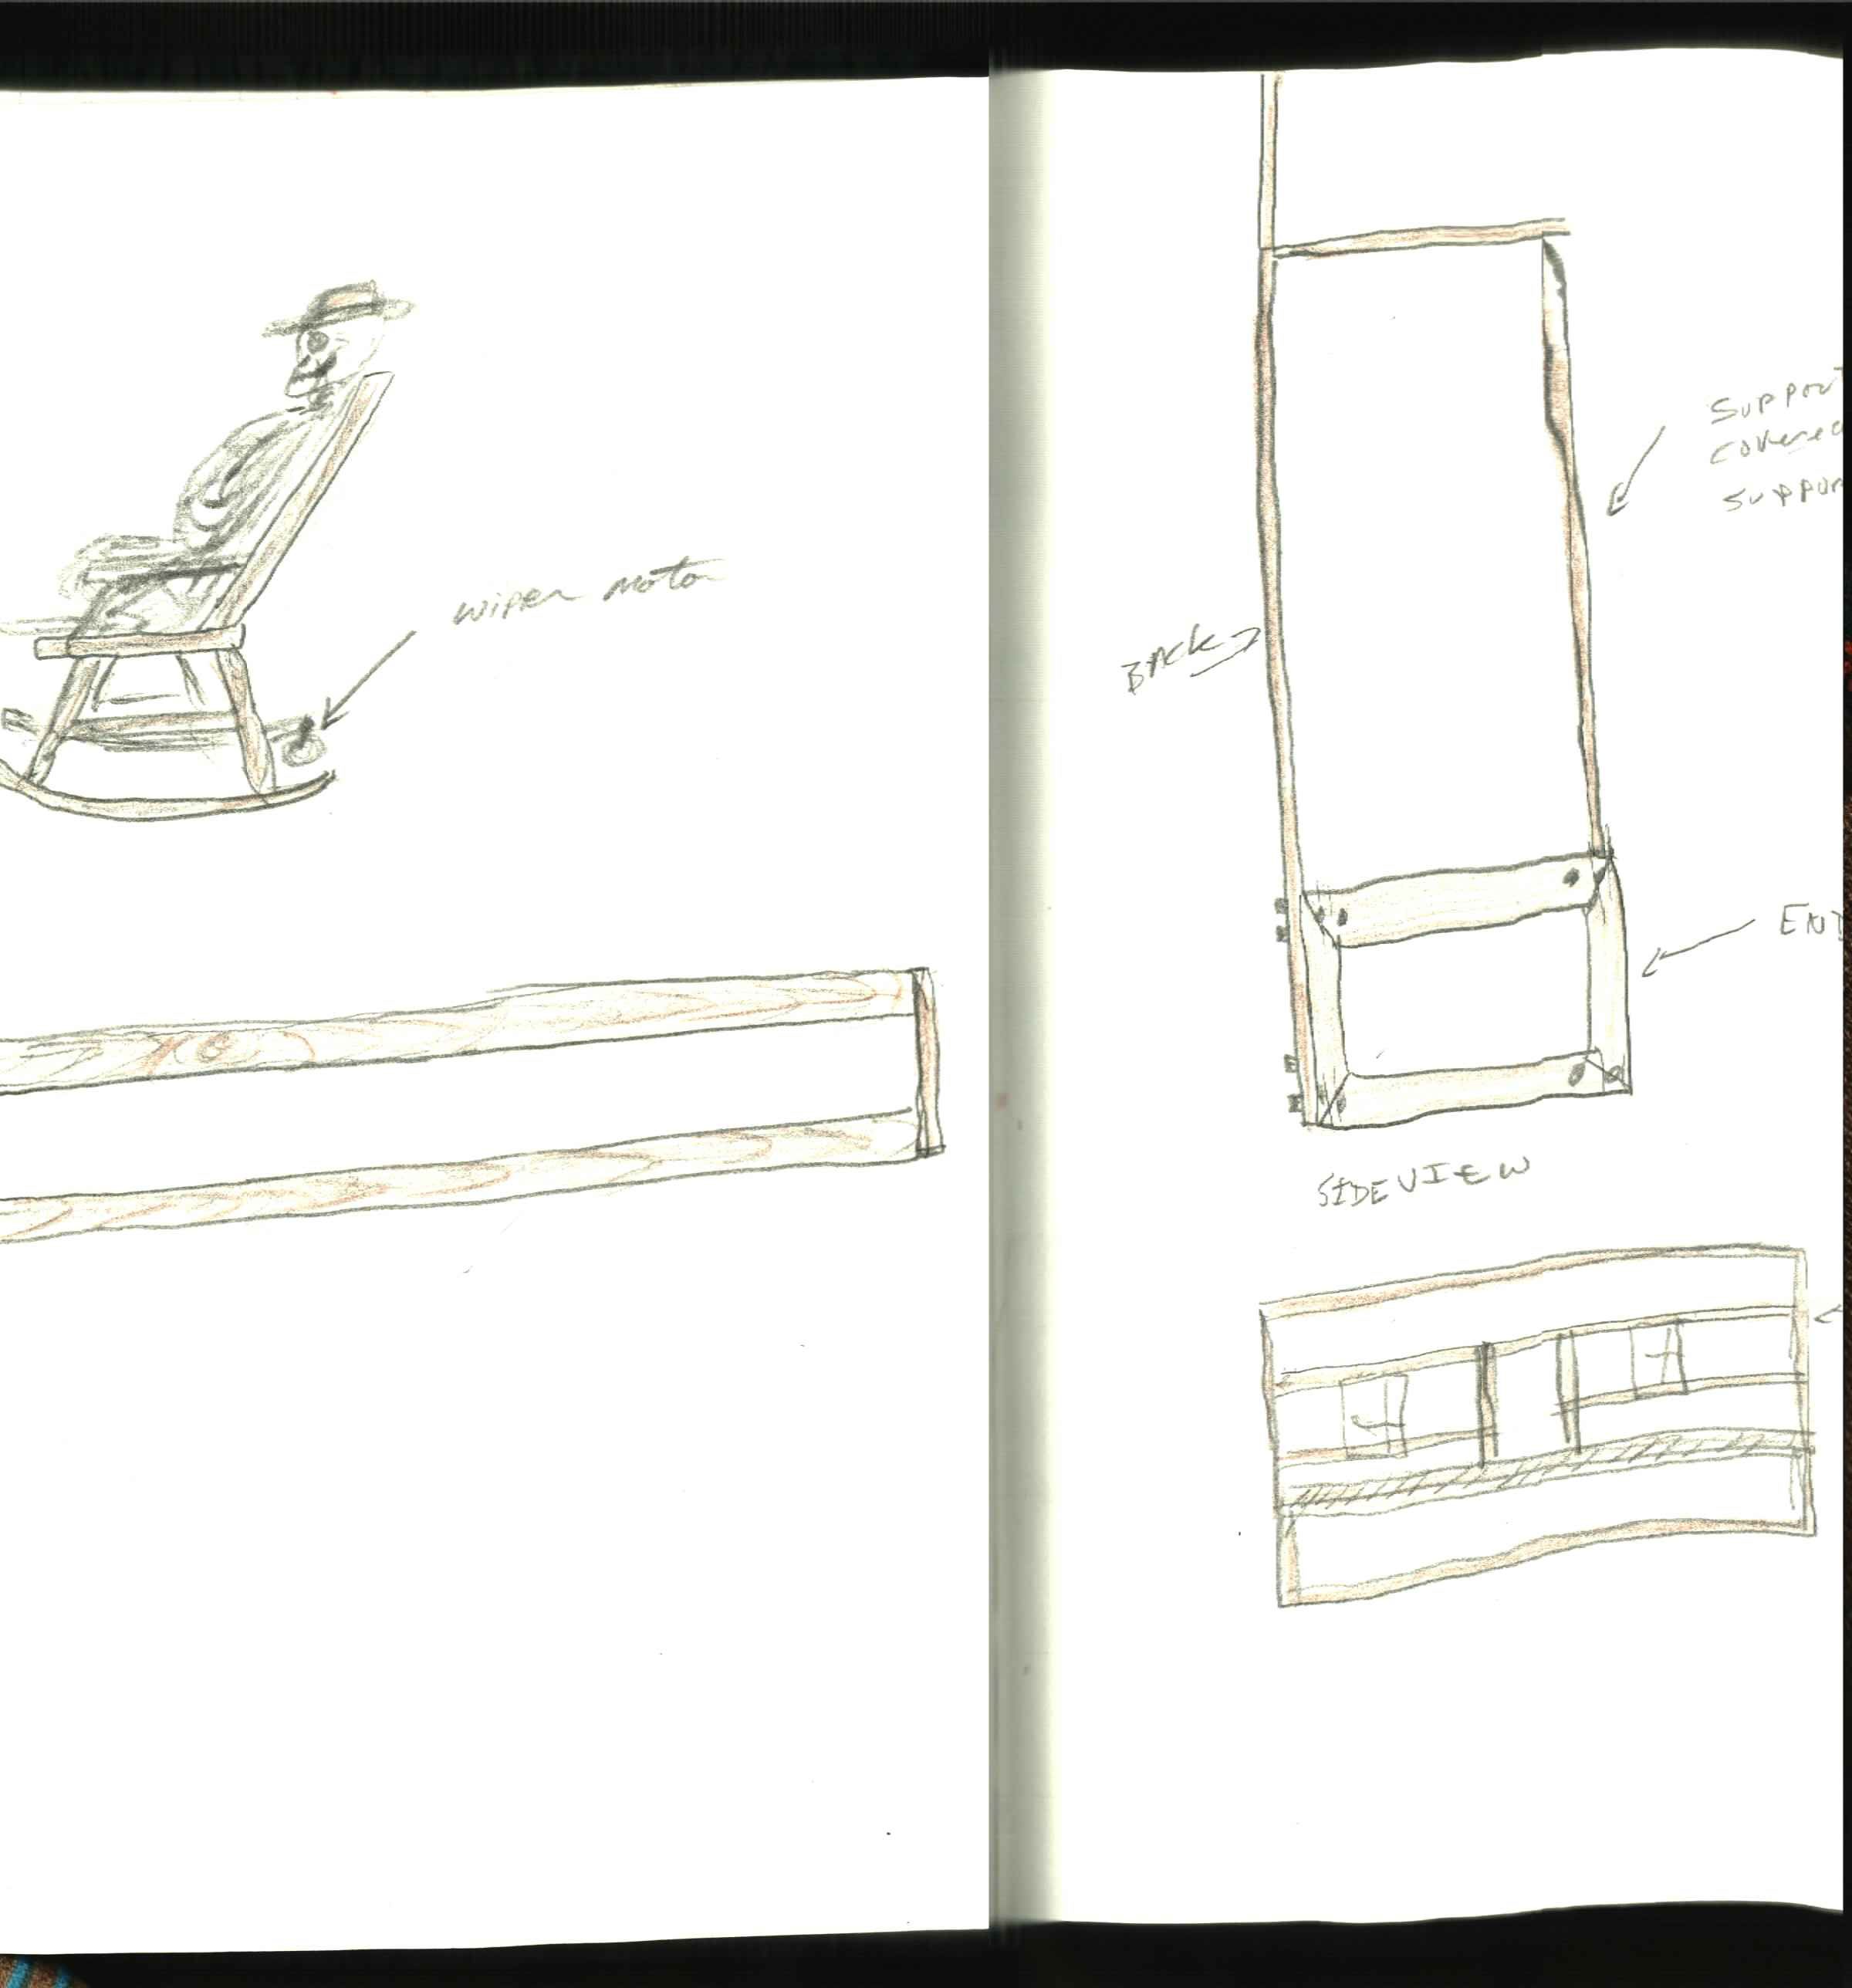
Here are the sketches I would create on my way to the final design.
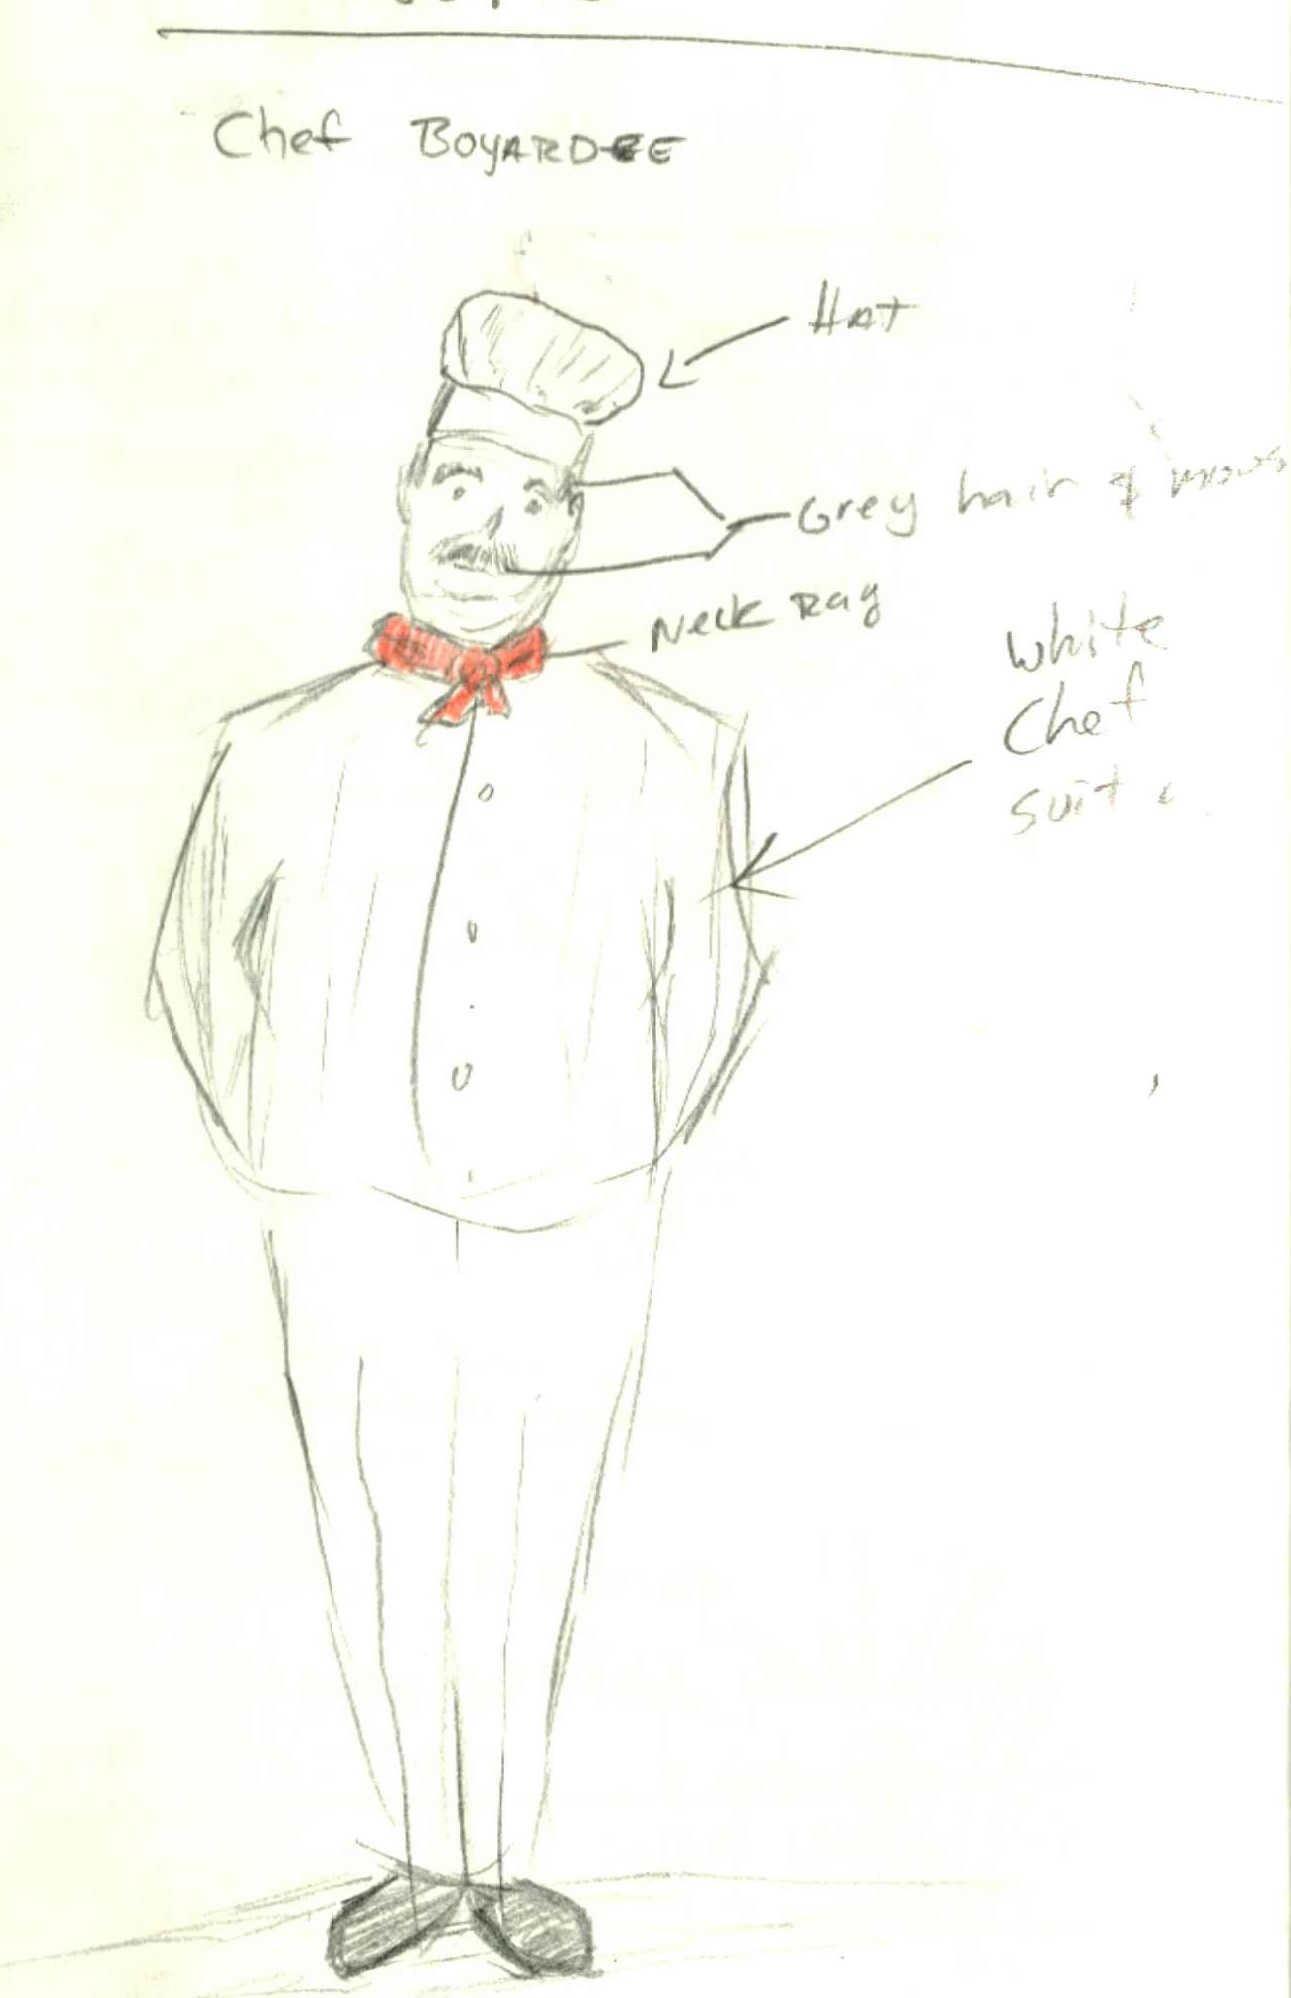
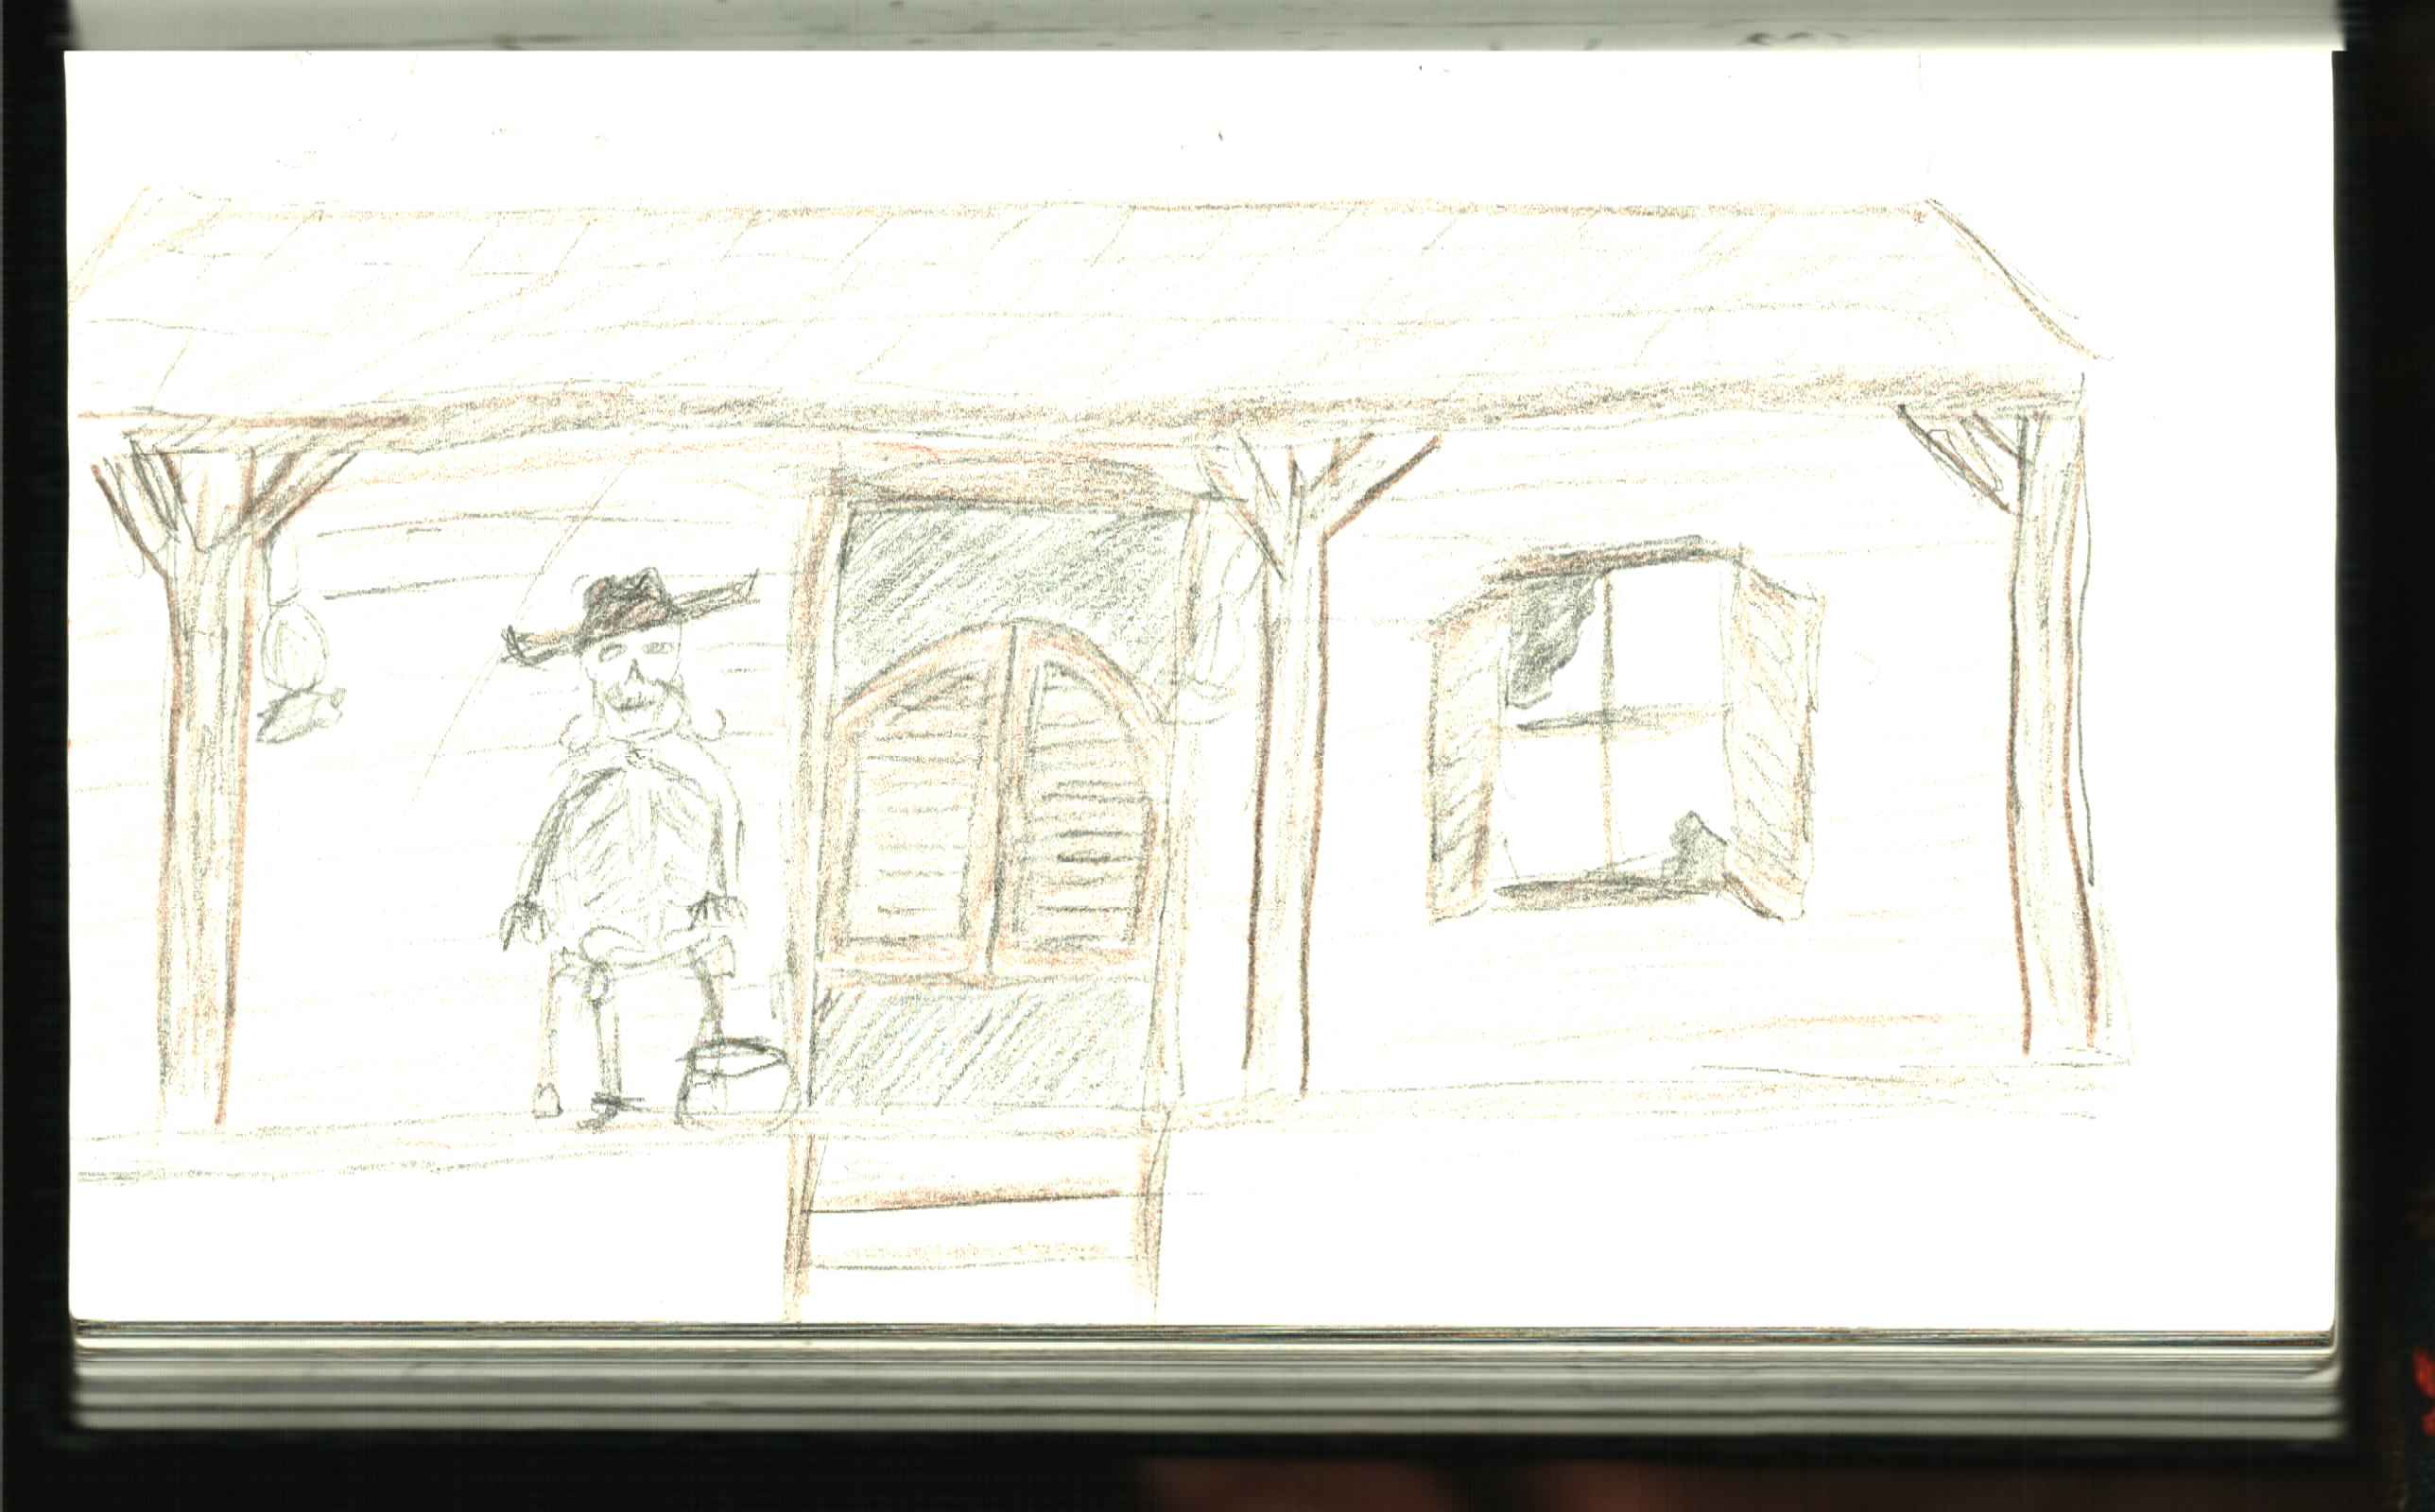
The story I wanted to tell is that there was an old cowboy that was just kind of a slow, down to earth story teller. He got caught up in a fire in a saloon and died but since he is an easy going fellow, he stuck around as an animated skeleton in order to do what he does best, spin yarns of days gone by to anyone who will listen.
My first concept was a story telling old cowboy in front of an old saloon. He would chat with guests and I could even create some cool lighting and effects inside the saloon.
I looked into my bank account and noticed that given the time and the money I had I might need to scale back on the saloon a bit and my critical element I wanted to build was the talking skeleton cowboy.
I still designed the structure of the set and sketched out how I could get the skeleton to rock.
Then I had an idea to scale down the set with a good story, what if the saloon burned down and only a small portion of it was left. So it was part of a wall, the skeleton cowboy and the fireplace that caused the whole thing warming his bones.
From this first design, I did one more revision.
That is exactly how it ended up looking, I had material draped over an empty window with a fan blowing it, multicolored lighting, fog emulating smoke and fire effects.
The skeleton would tell a story then fall asleep for a while then wake up and tell the story again.
Unfortunately I don’t have the photos of the set and for the life of me cannot find it anywhere but I will keep looking.
The skeleton was animated using a microcontroller servo driver and some really great animation software that is floating out there on the web that allows you to sync the audio file with servo commands.
I spent hours just getting the mouth movements just right and it was one of my best ones yet.
The sad thing is, the neighborhood ended up begin terrible on the amount of trick or treaters we got and nobody would venture to the area I was in except a few of the surrounding kids. This was horribly depressing as a show without an audience just isn’t much of a show so when I went back to school for my masters degree I went to full size candy and some very basic creepy garage stuff. Lets say you can get away with a lot when you have a strobe light, colored lights, a fog machine and spooky sounds coming out of a cracked garage door. Hey it worked on me as a kid. Sometimes the unseen is far scarier that anything you could create for people to see.
Since this time I have been living in a flat without an accessible garage and no kids walking the block so I moved my haunting supplies into my office at work and showed my skills there.
Eventually I will get a house again and will resurrect the haunt or just volunteer at a local haunt to help really take there sets and tech to the next level, until then I am hibernating and gaining a whole new arsenal of skills.
During my time researching show and ride control as well as chatting with some nice folks at places that do show control, I found out that there were a few ways they control the show.
One is with premade show specific controllers, like those made by my good friends at Alcorn Mcbride, and the other being Programmable Logic Controllers (PLCs).
I found PLCs to be incredibly fascinating as they seemed like a hybrid of microcontrollers with a programming language that is widely used that is unique to them called “ladder logic”.
Ladder logic was basically a visual digital logic like I had used in my undergrad studies in college but instead of basic logic gates you created your own using these visual relays, it is a lot of fun.
One of the coolest things I really loved about PLC programming was working with timing, it made it super easy and the various types of sensors and configurations you could setup with them was mind boggling.
I found some pretty great software to test myself on writing ladder logic programs and it woke up my digital logic brain really fast and I was off solving working puzzles in a shot.
I found out there are quite a few PLCs out there in active use in theme parks and decided I would start off with Allen Bradley Controllogix compatible controllers, mostly due to there abundance on ebay and easy to find programming software.
The project I wanted to do following solving all these fun logic control puzzles was to take a PLC and use it to control show elements.
I had an idea for a little diorama with a small projector that would loop a video of someone writing at a desk, when someone approached the desk it would detect that someone was close and then play a separate video where the person looks up and notices the person looking at the diorama. Then begins talking to them “oh hi, I didn’t see you there, would you mind if you held still so I could sketch a picture of you?” The person would sit back down at the desk and begin sketching. What would happen at that moment is that a hidden camera on the front of the diorama would take a photo of the person. The image would be run through a image manipulation filter that the camera is controlled by and produce an image that looks like a painting. Then after the sketch was processed the person would pull away a curtain and show you a finished picture of yourself. Then say “Here you go, I hope you like it! ” the person would return to there desk and then go back to the original video loop where it looks like they are just sketching.
I decided that since I didn’t have a computer to do video editing at the time I would at least complete the PLC portion with the sensors and using indicator lights as well as a video signage/kiosk player displaying images in place of video.
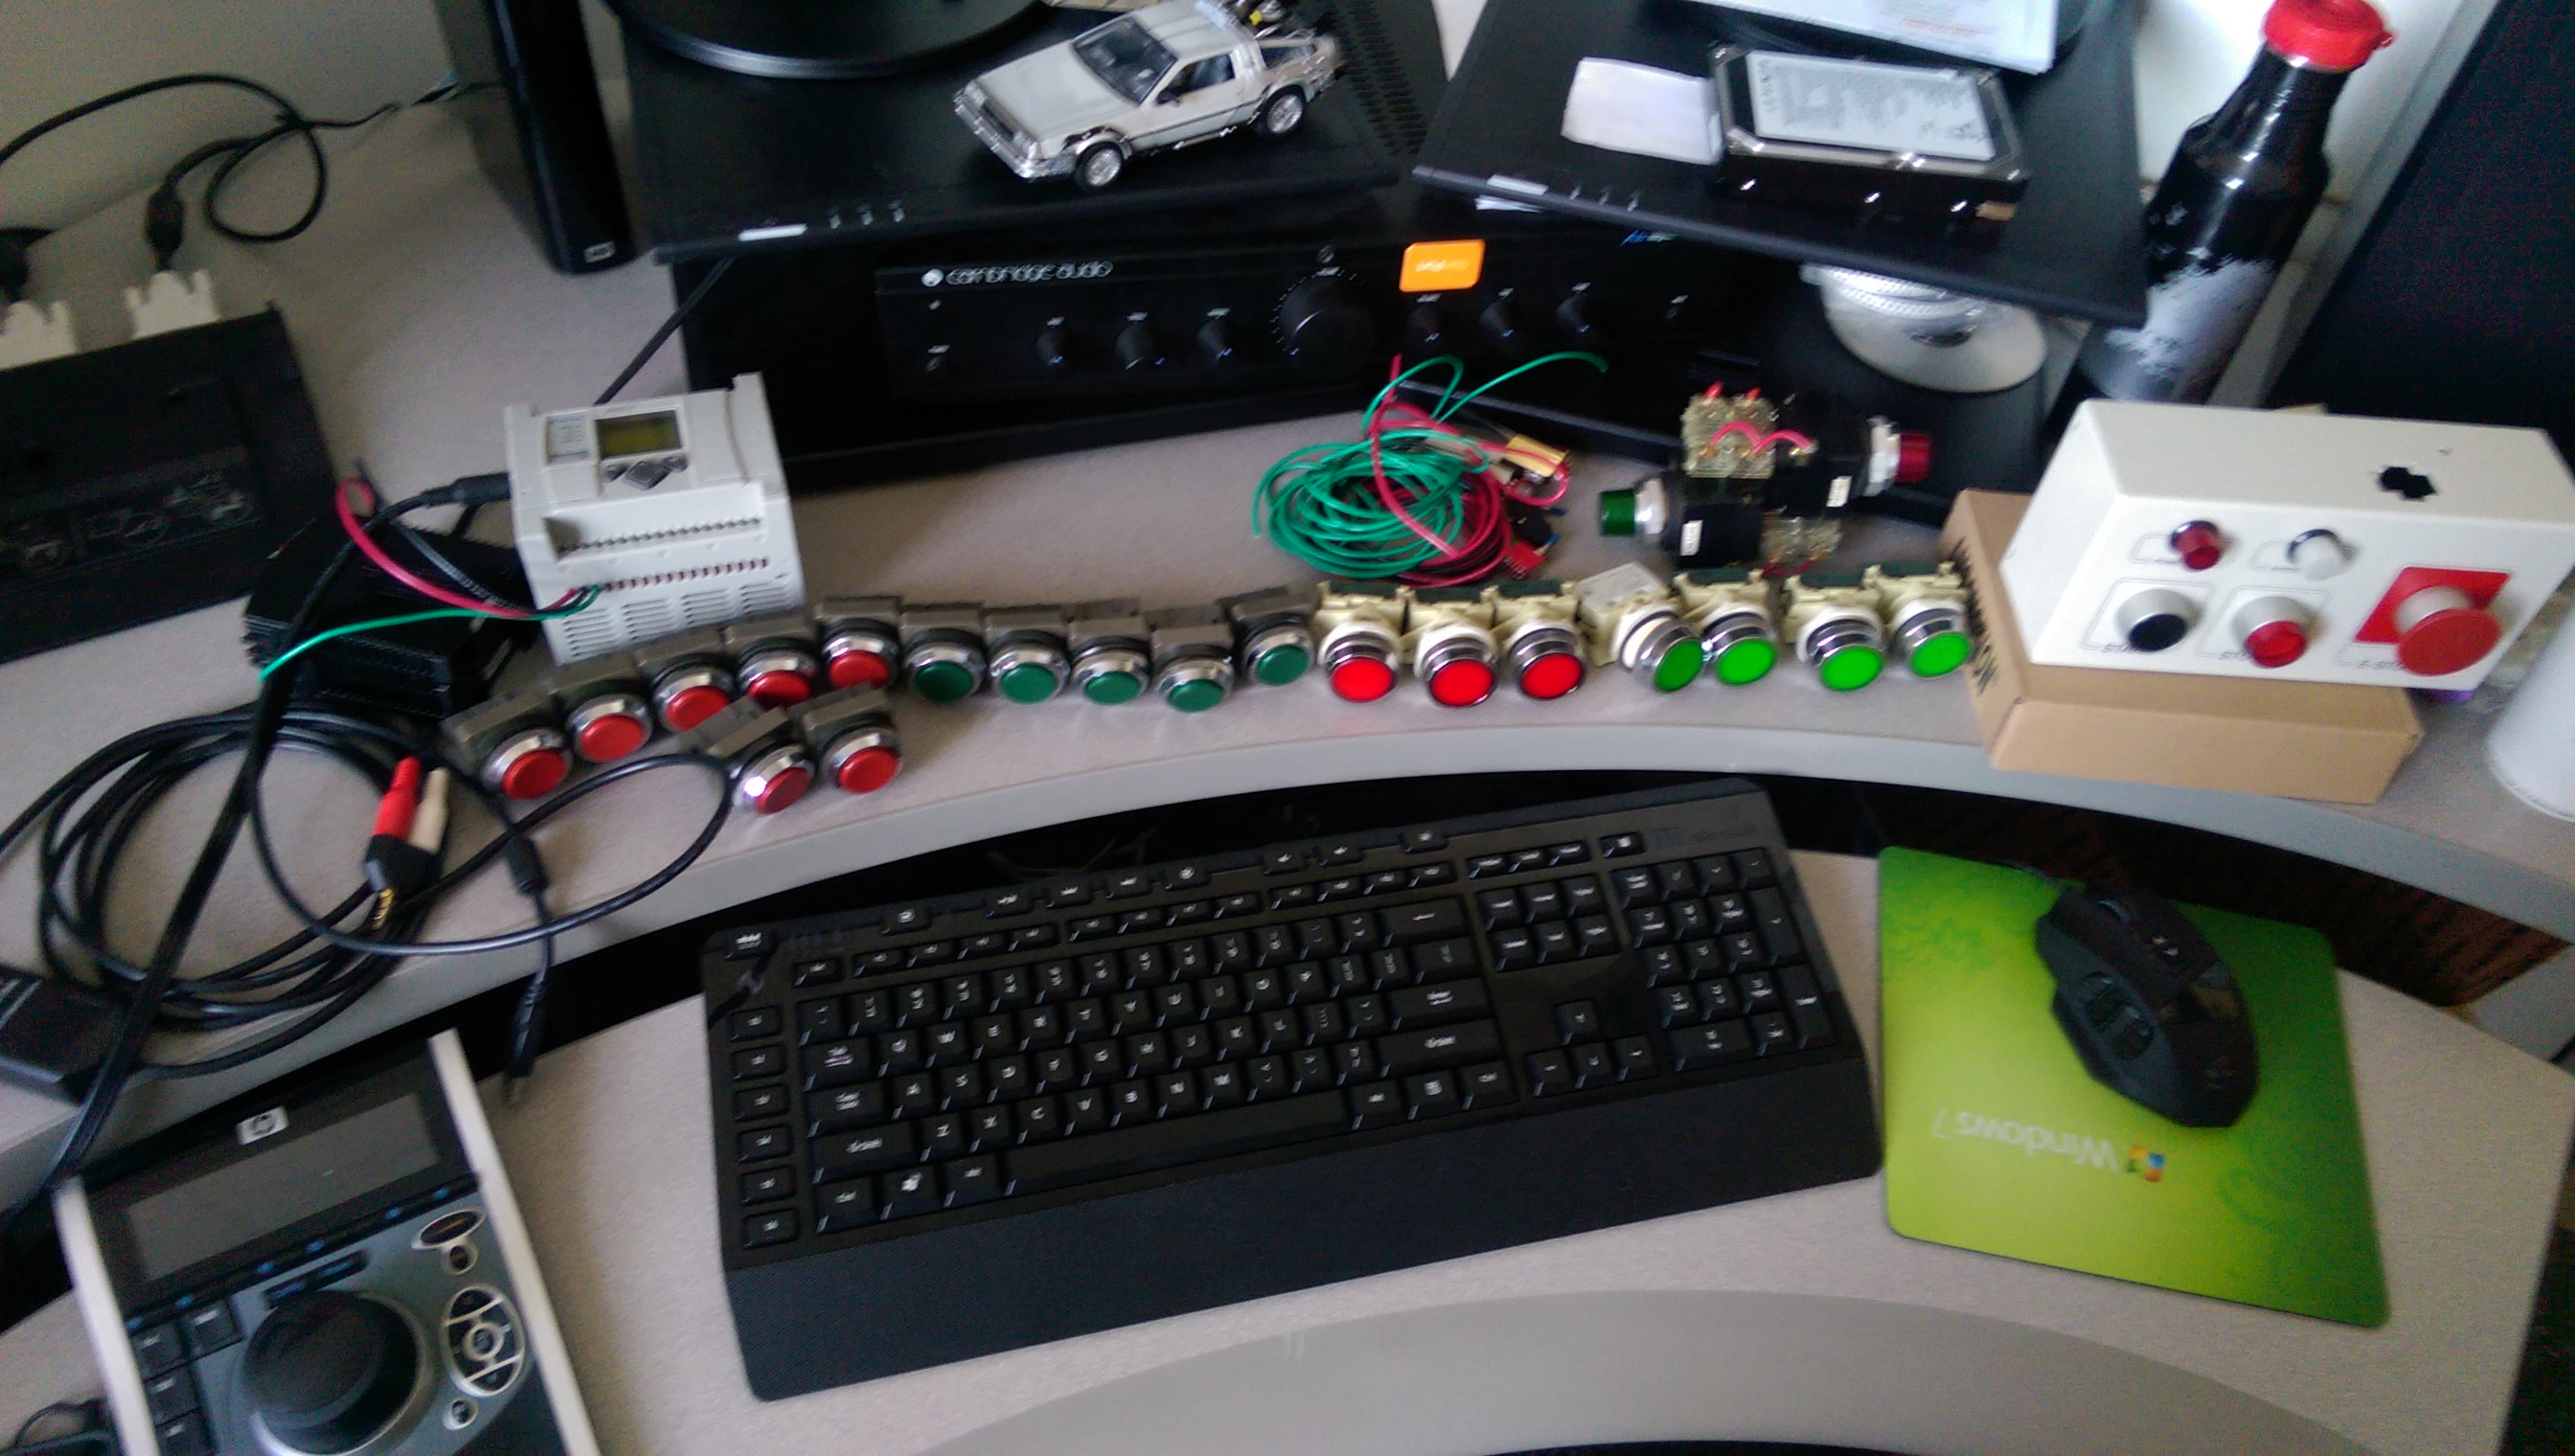
I found an Allen Bradley Micrologix 1100 controller with a questionable display, fixed it, and found a few lots of buttons and indicator lights and a power supply to power the whole lot.
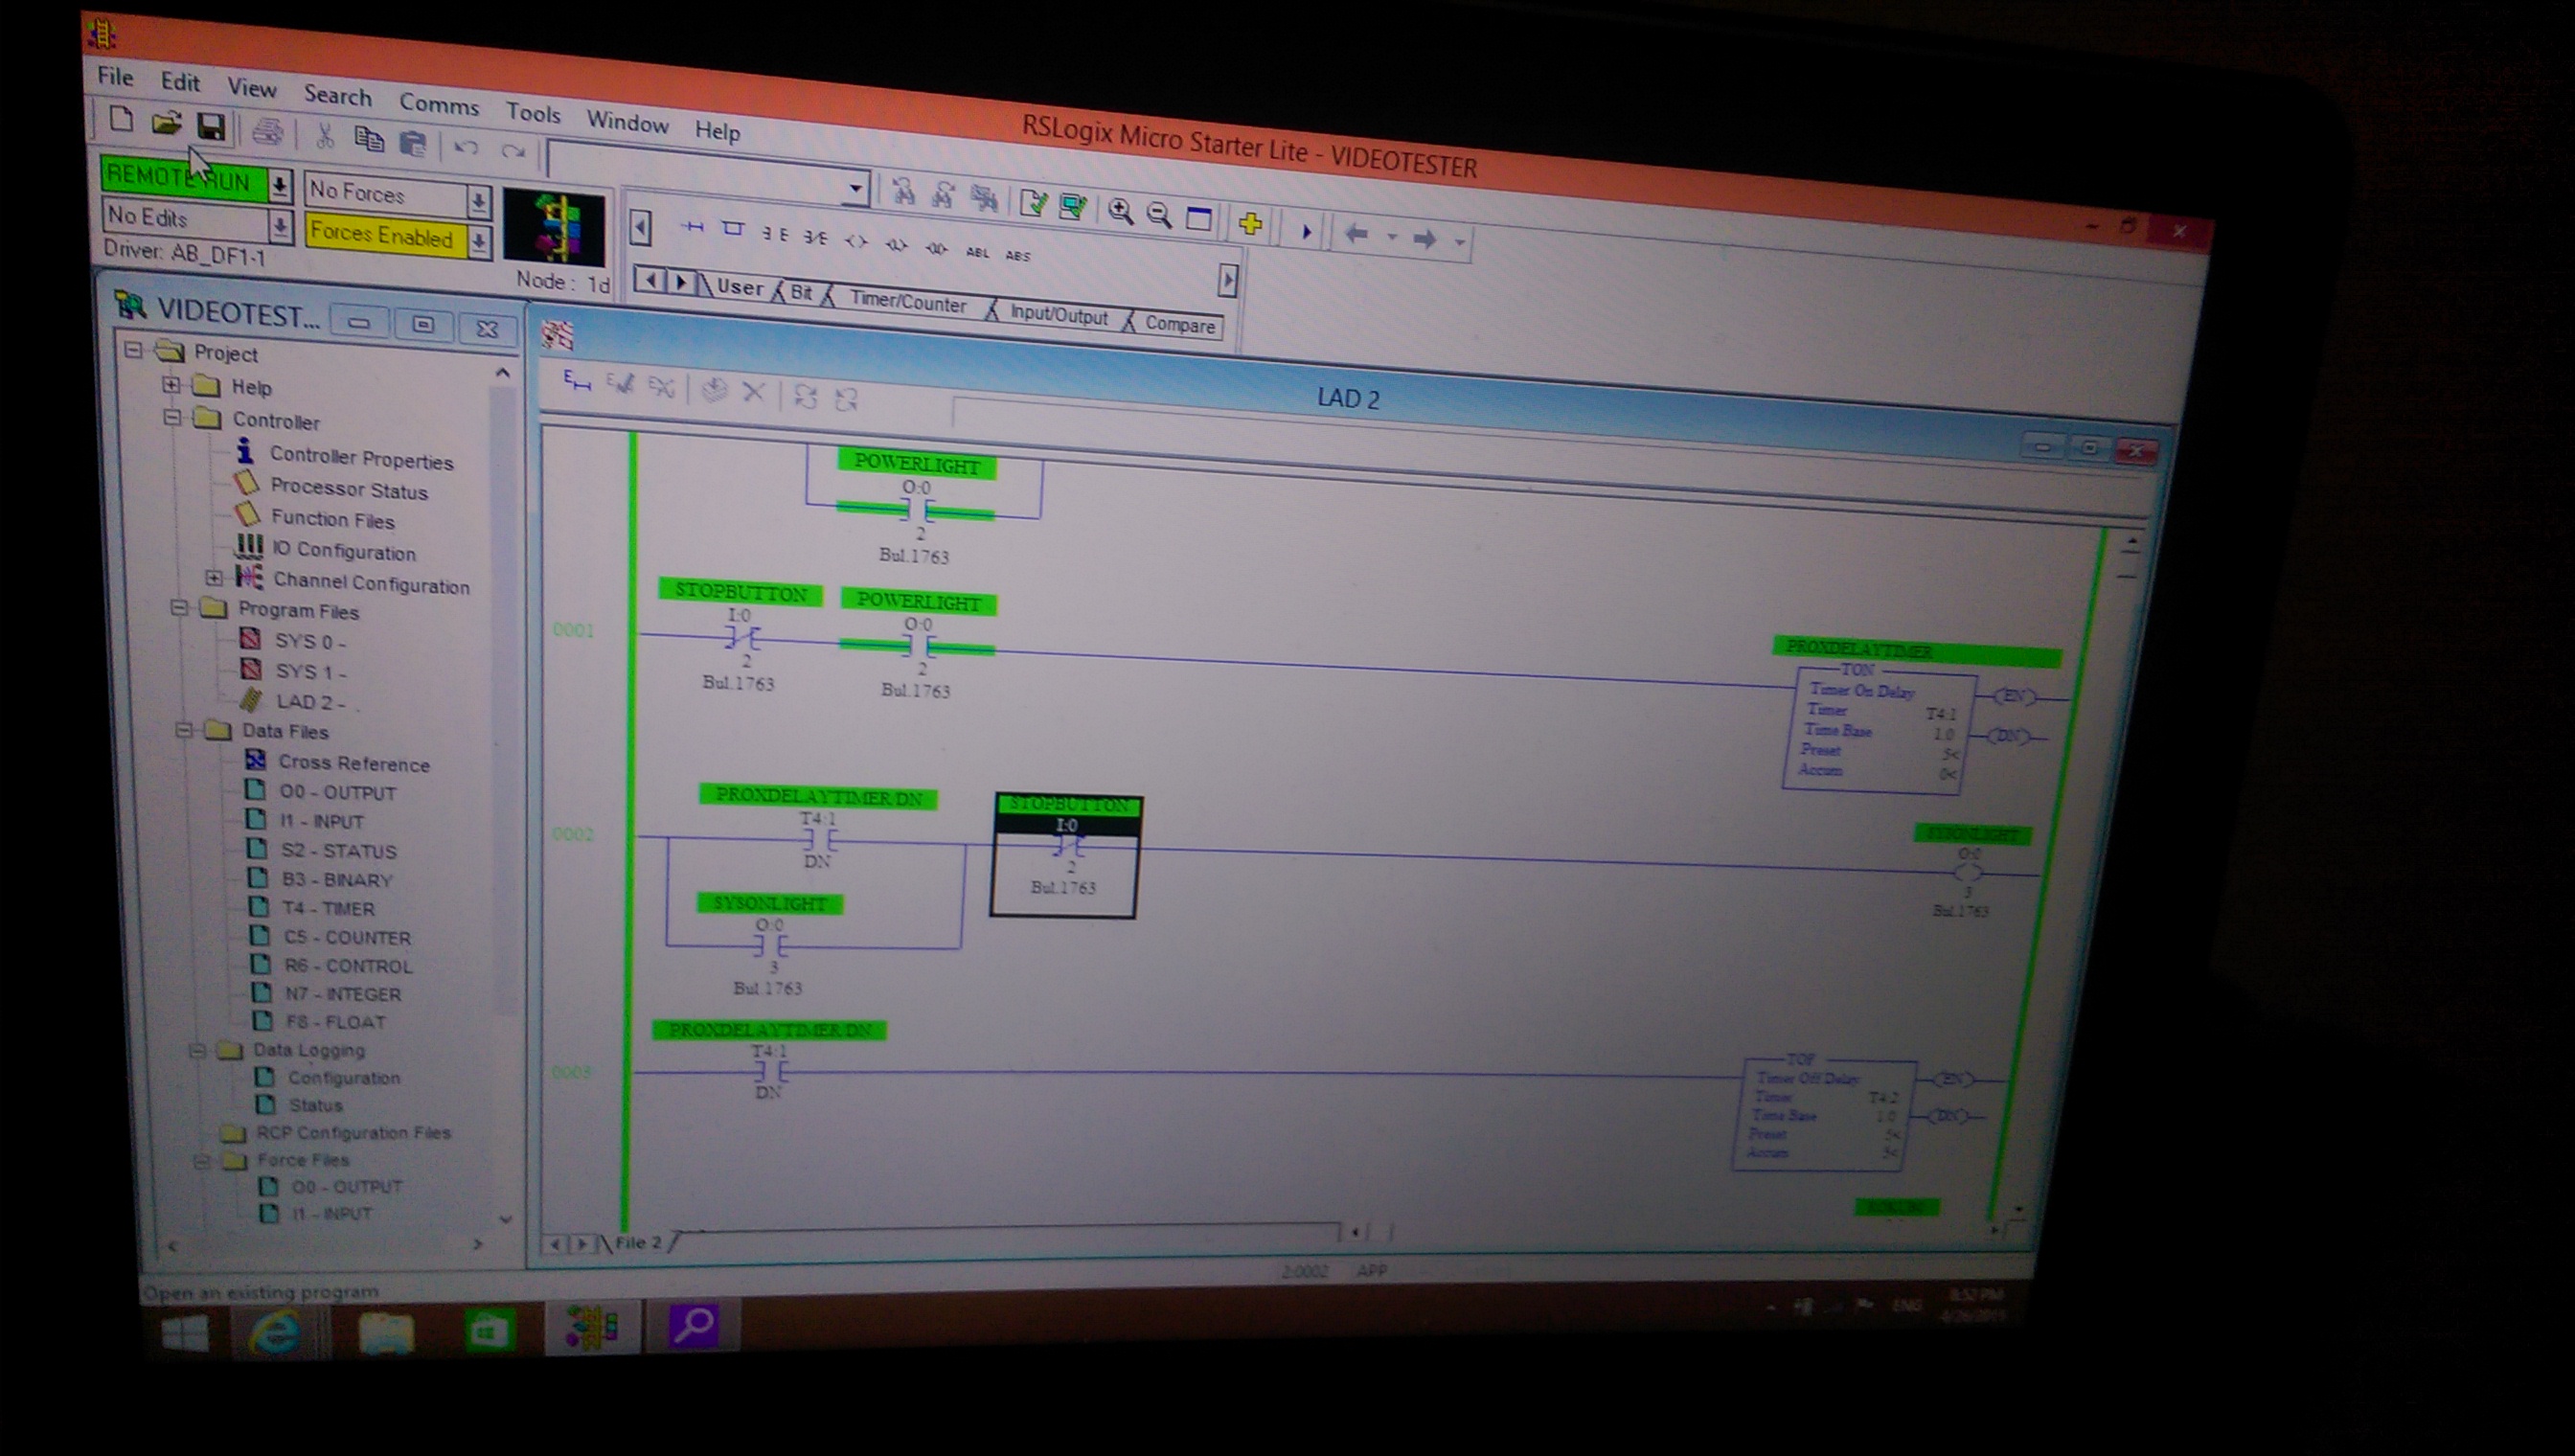
The Roku video and image player that is used for Kiosks and signage would be my triggerable video output. I read the manual of the Roku player carefully and sketched out my circuit and made sure all my control voltages were compatible with both my PLC as well as the Roku. I then began the process of writing the ladder logic code for the sensor, the video output trigger, and the timing. When I was finished I had a program that worked exactly how I wanted it to. Granted I didn’t have cool videos to show or a diorama built but functionally all I would have to do is replace the images with videos and I would have a completely working version! This was pretty awesome! These controls were so incredibly useful and amount of things you could do with them makes my brain lock up with infinite possibilities.
Here is some of the ladder logic I used for the timing and sensors and output.
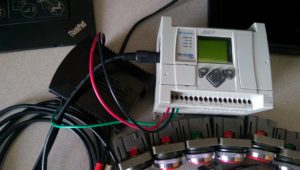
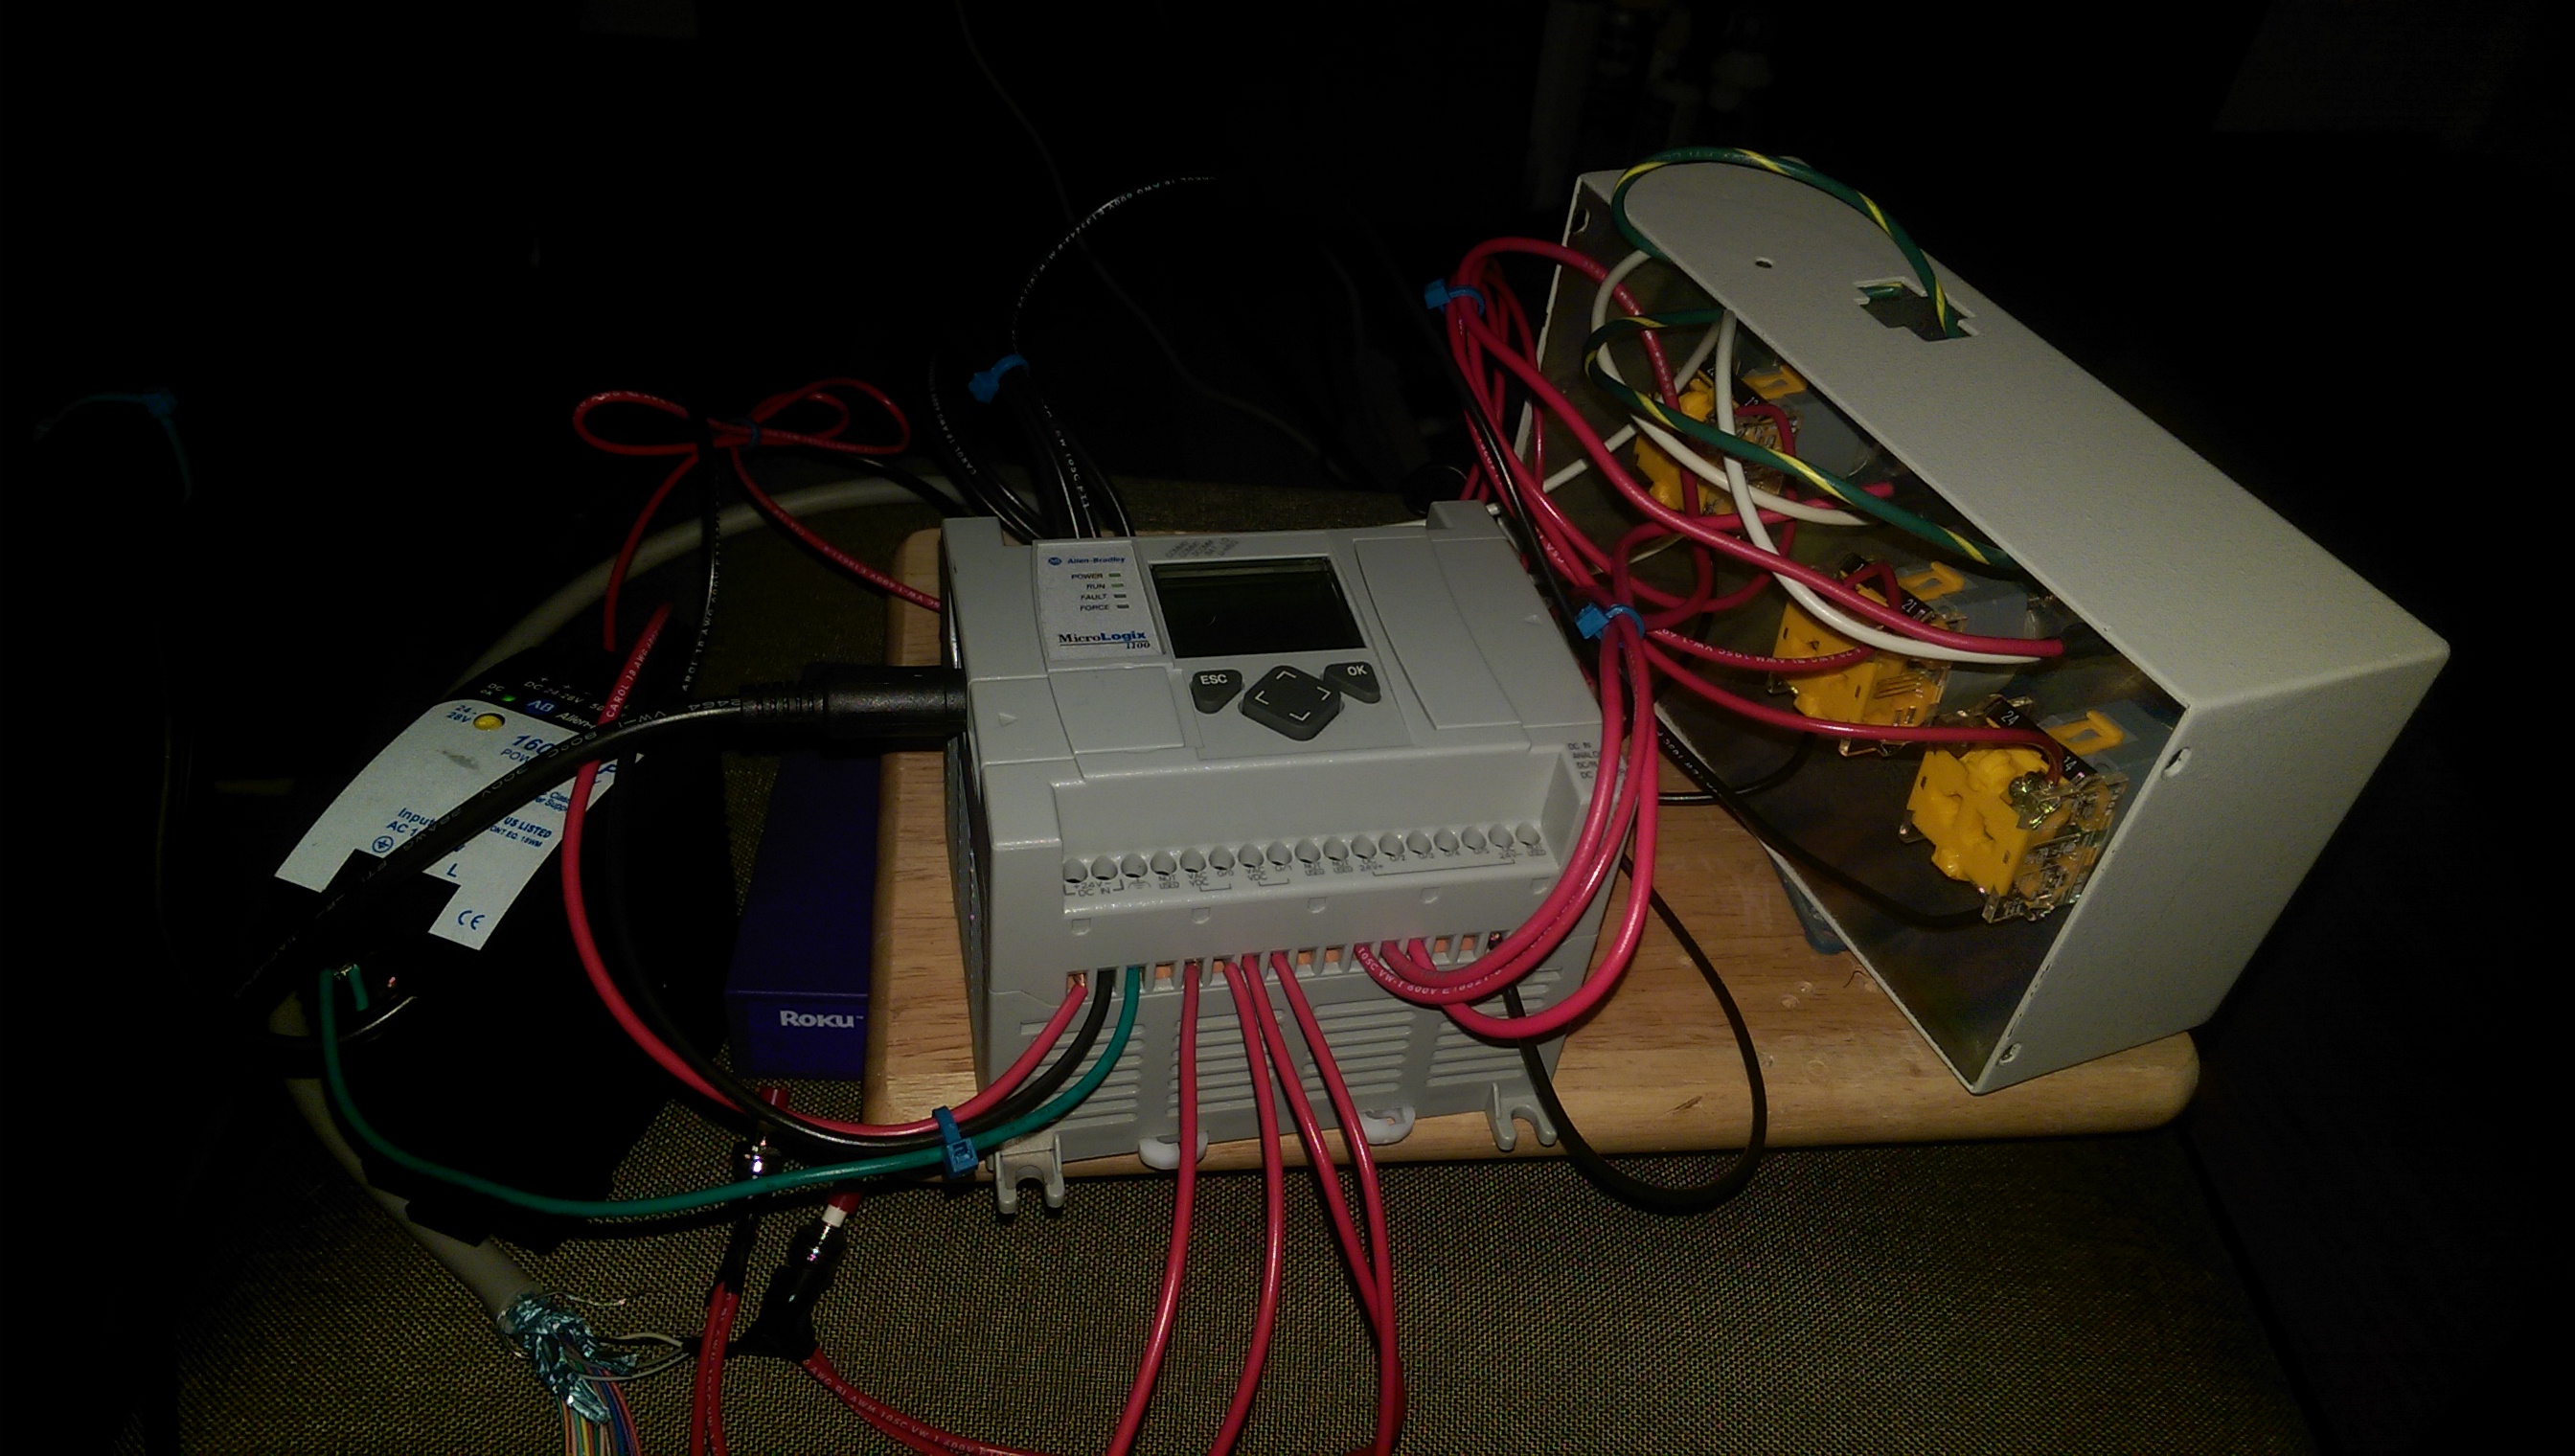
Here is the micrologix 1100 I used.
Wiring up the controller to the control panel
Running the program and displaying the images.
I have a video of it working but I am still searching for it!
Here is the original conceptual sketch I did of this idea.
The flow chart of how program would work and where the video would play which loop.
This is my PLC wiring diagram for the sensors and buttons and my video looper triggers.
Here is the video looper CSV file I made for the different states I wanted it to react to and what videos it should play.
Since tearing down my home theater and parting ways with my beautiful CRT projector when I moved out of state. I began to think about projectors and though to myself, hey I only really dug deep into CRT projectors, I wonder what else is out there.
So I did what I do best and that is find every single book I could find on projectors and begin to read about all the different types of projectors and how they function both optically and electrically as well as blending multiple projectors. I read about the latest laser projection technologies and tracked down a theater to see it in person. Personally I am excited about laser projection because it brings us back towards what CRT did best and that was a great film quality and fantastic contrast ratio. If I build another theater I am so on board to find a broken laser projector from a theater and fix it.
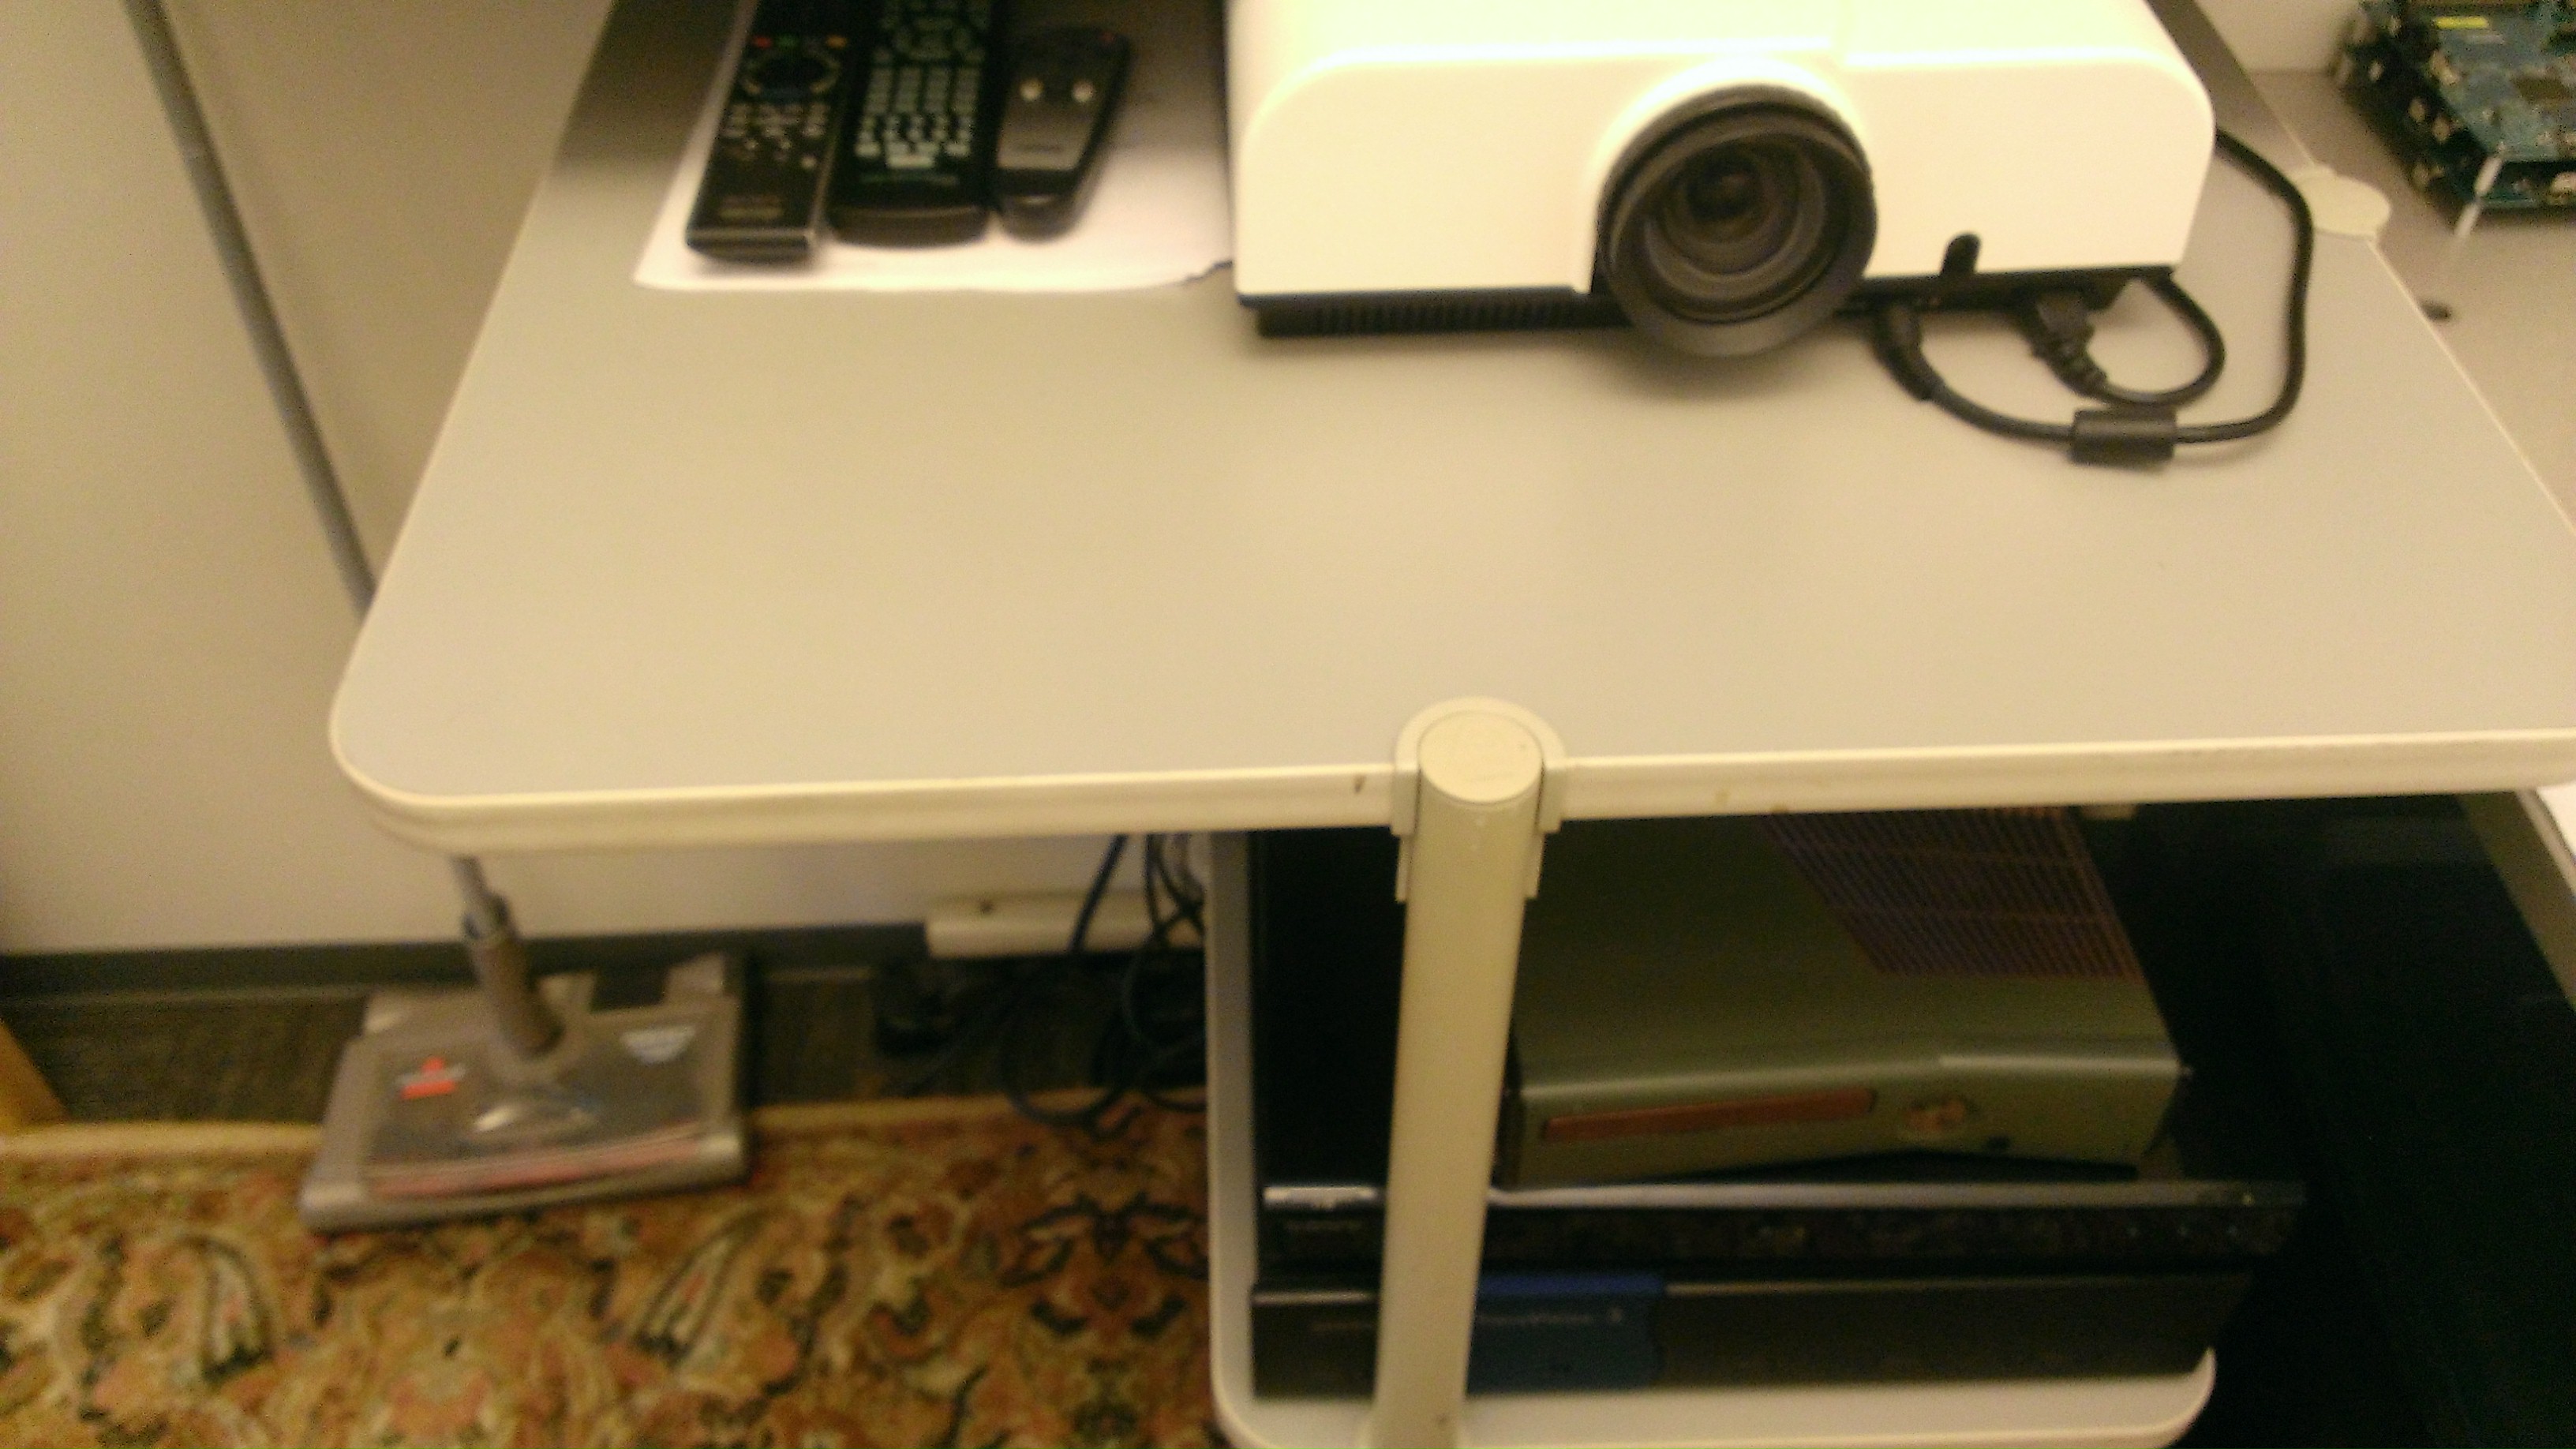
During this time I also found a few projectors to tear into and ended up fixing several and either selling or giving them away.
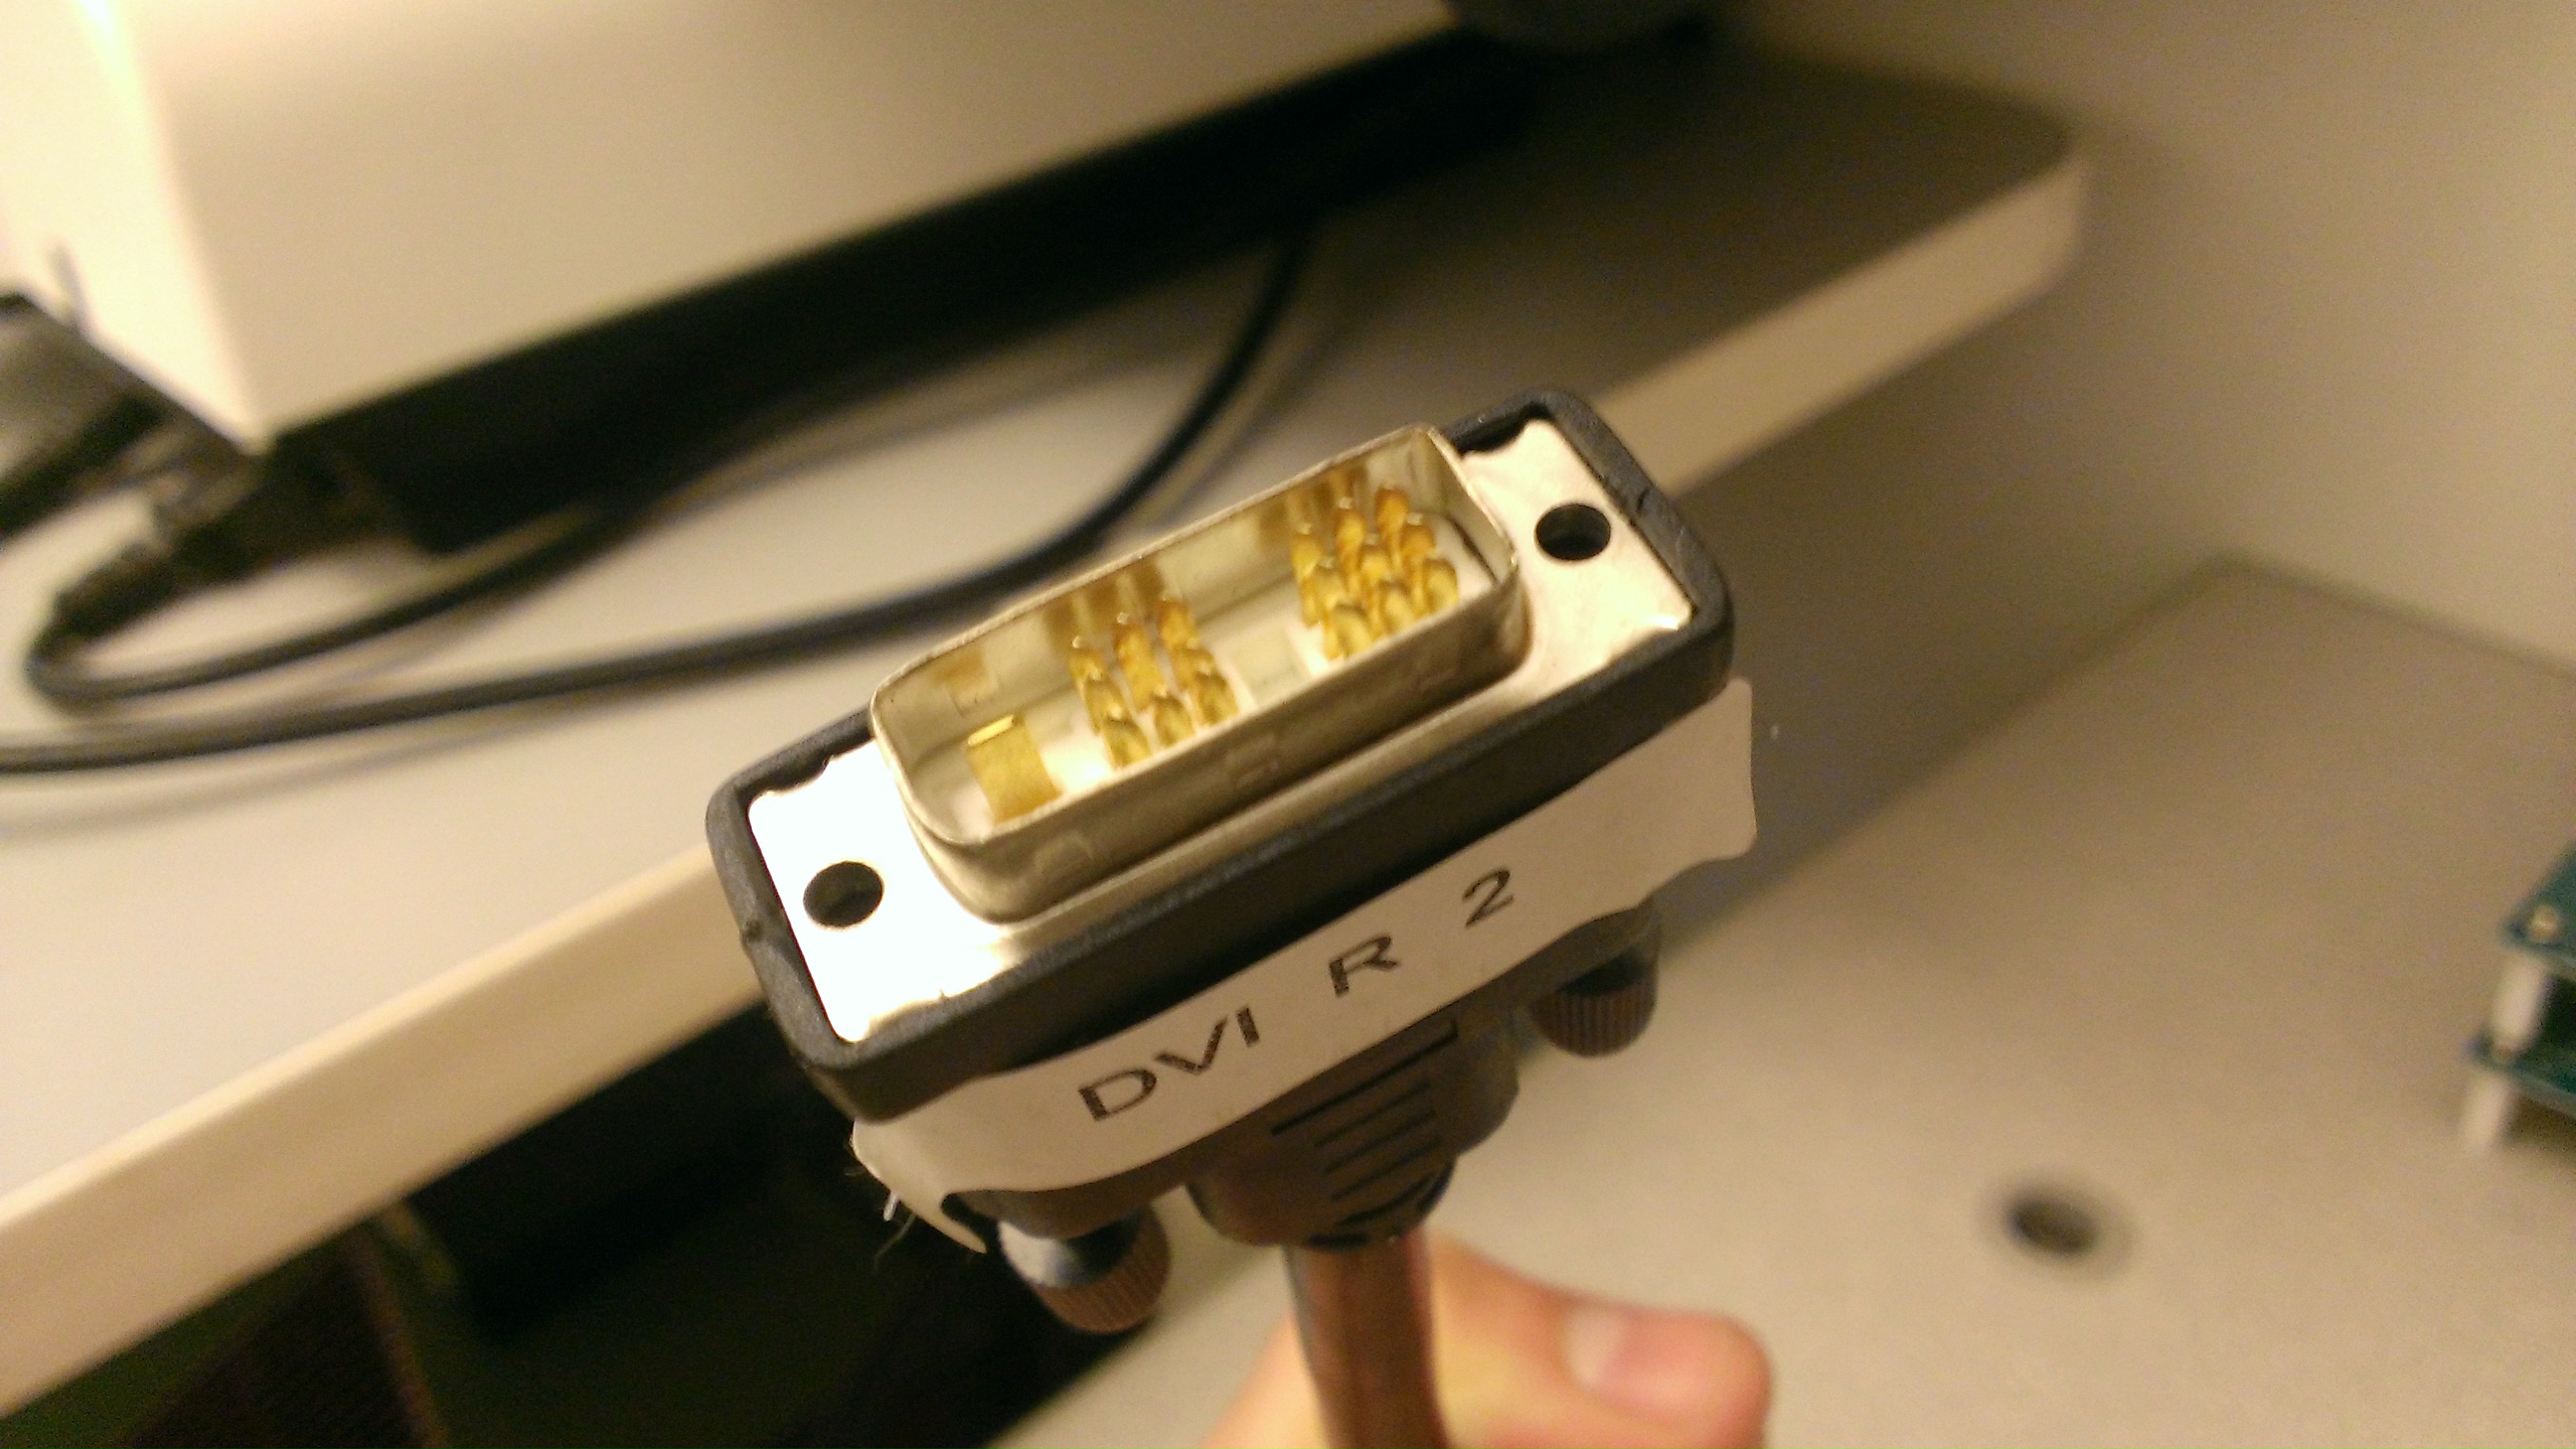
One of the projectors I had to fix was a Dwin DLP projector to fix because I had a CRT projector made by them that I just could never fix, no matter how hard I tried.
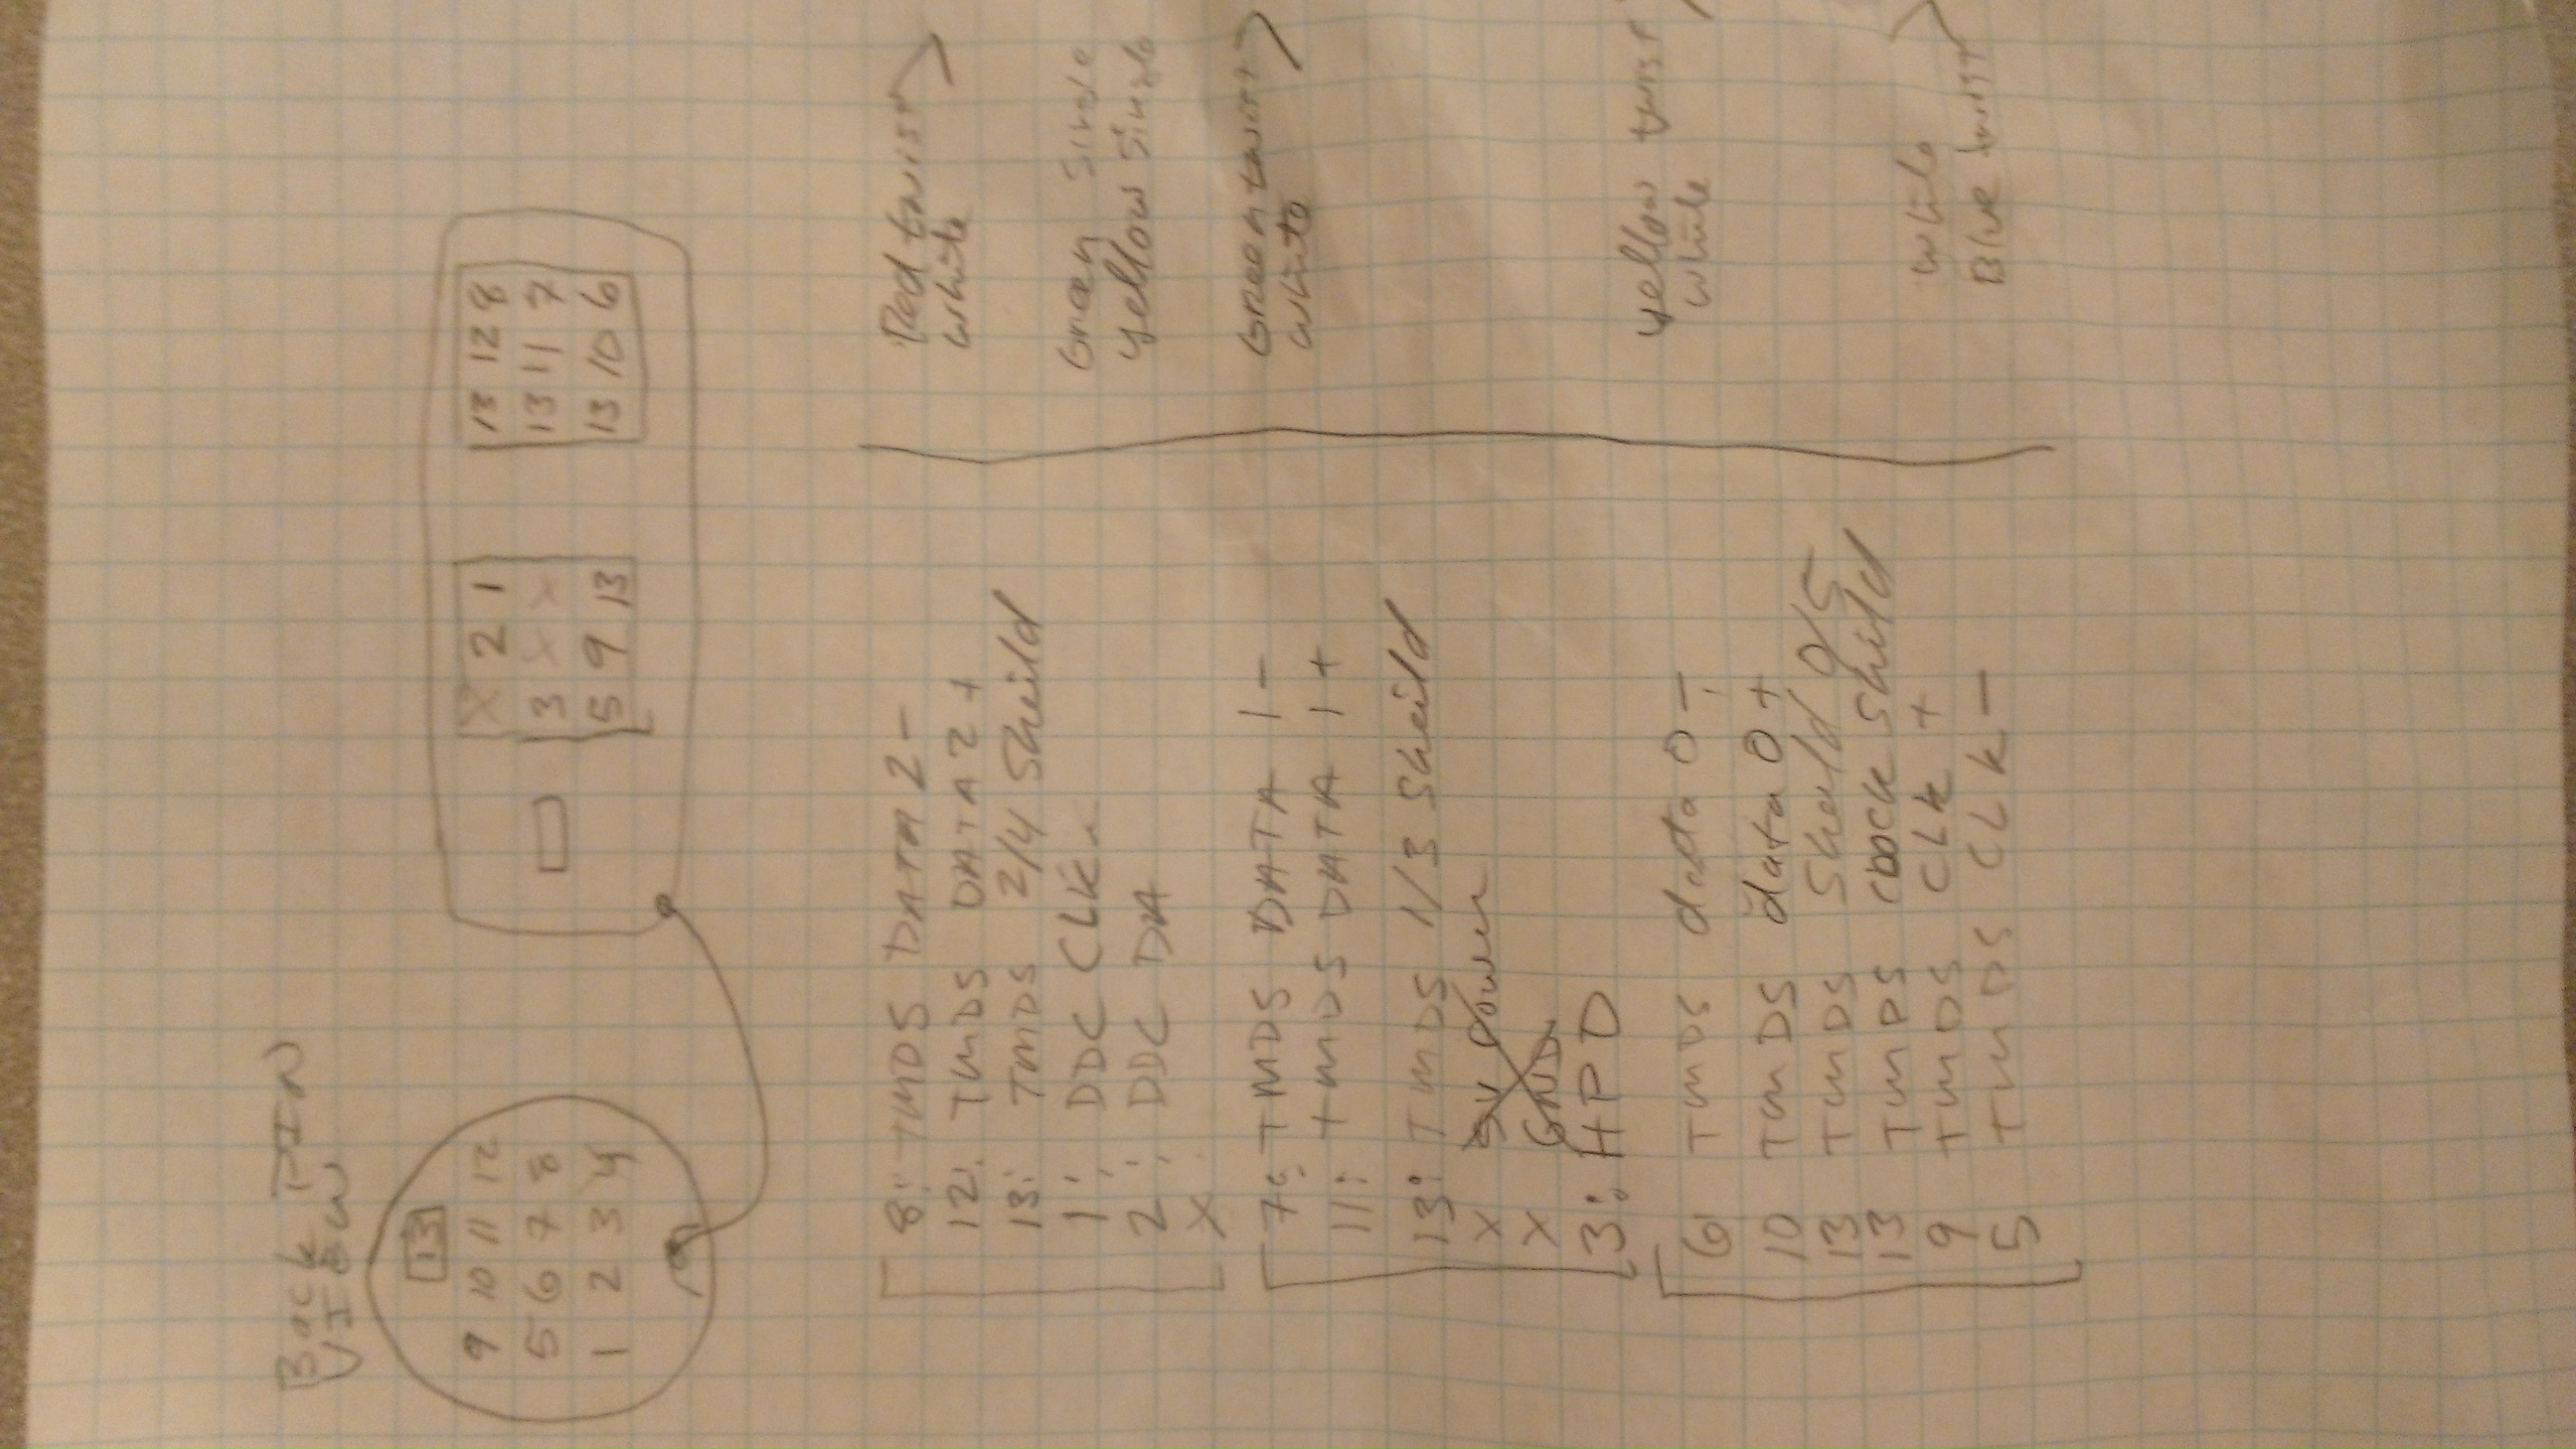
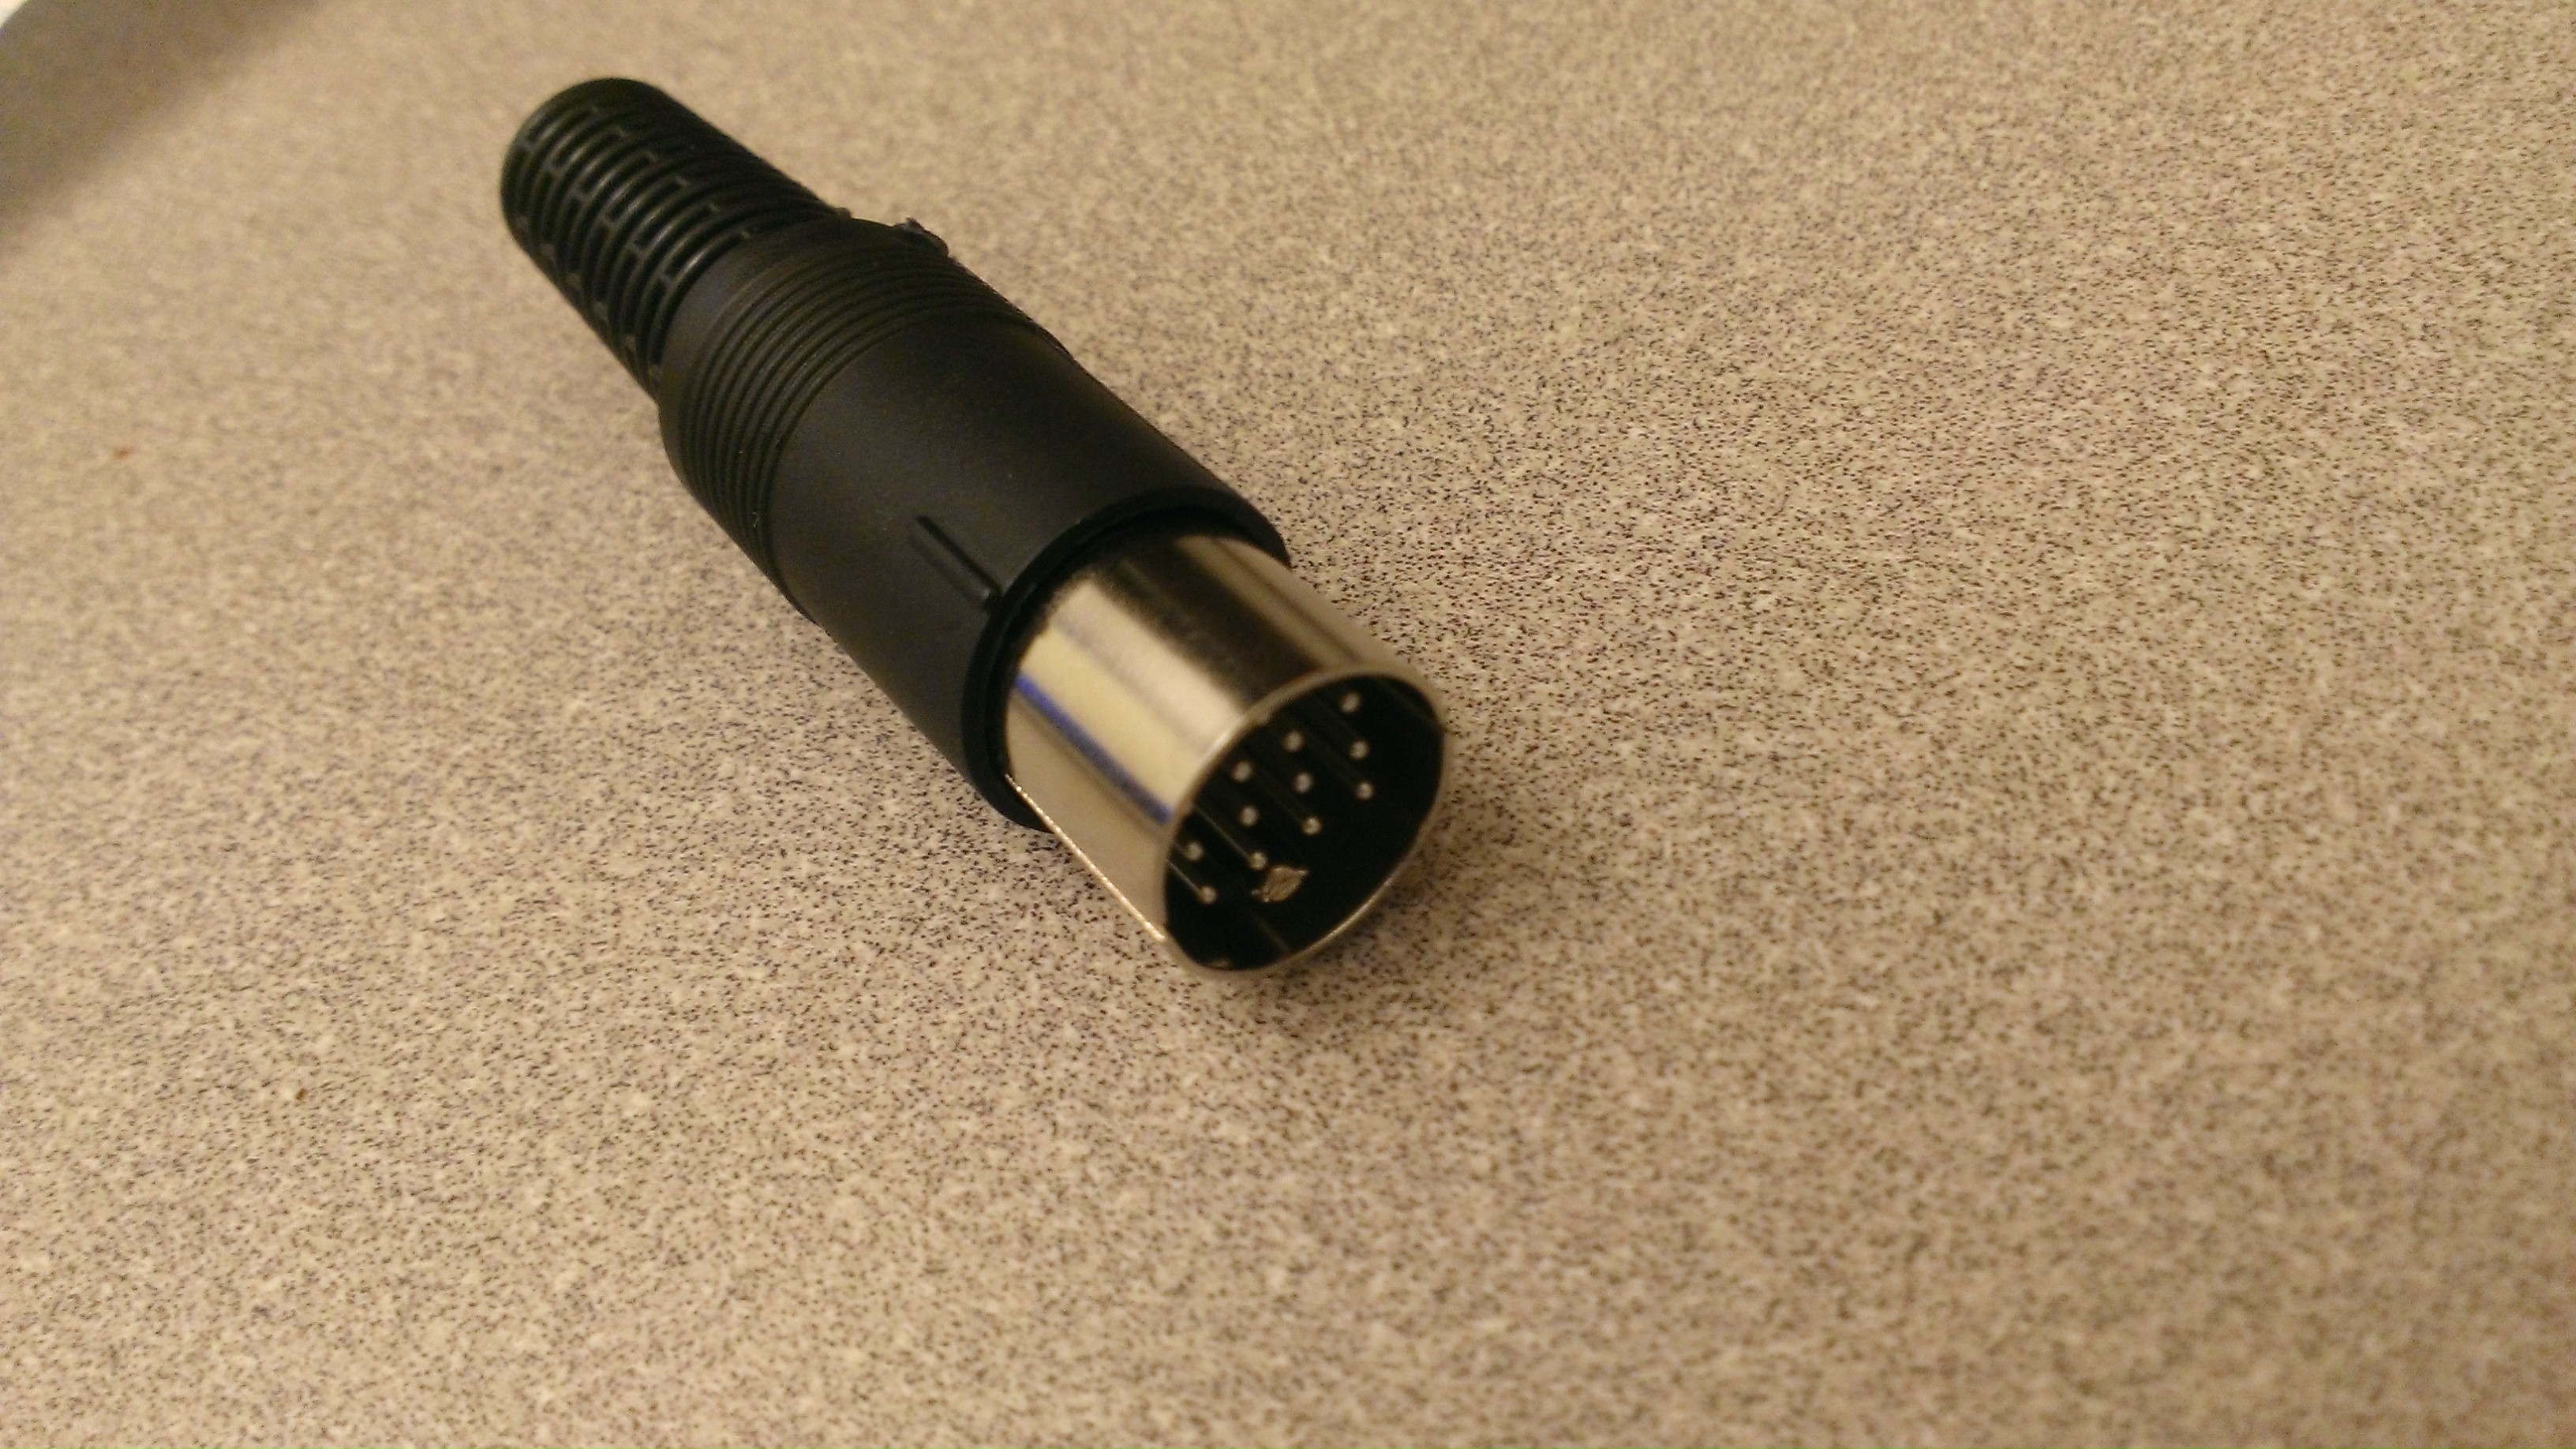
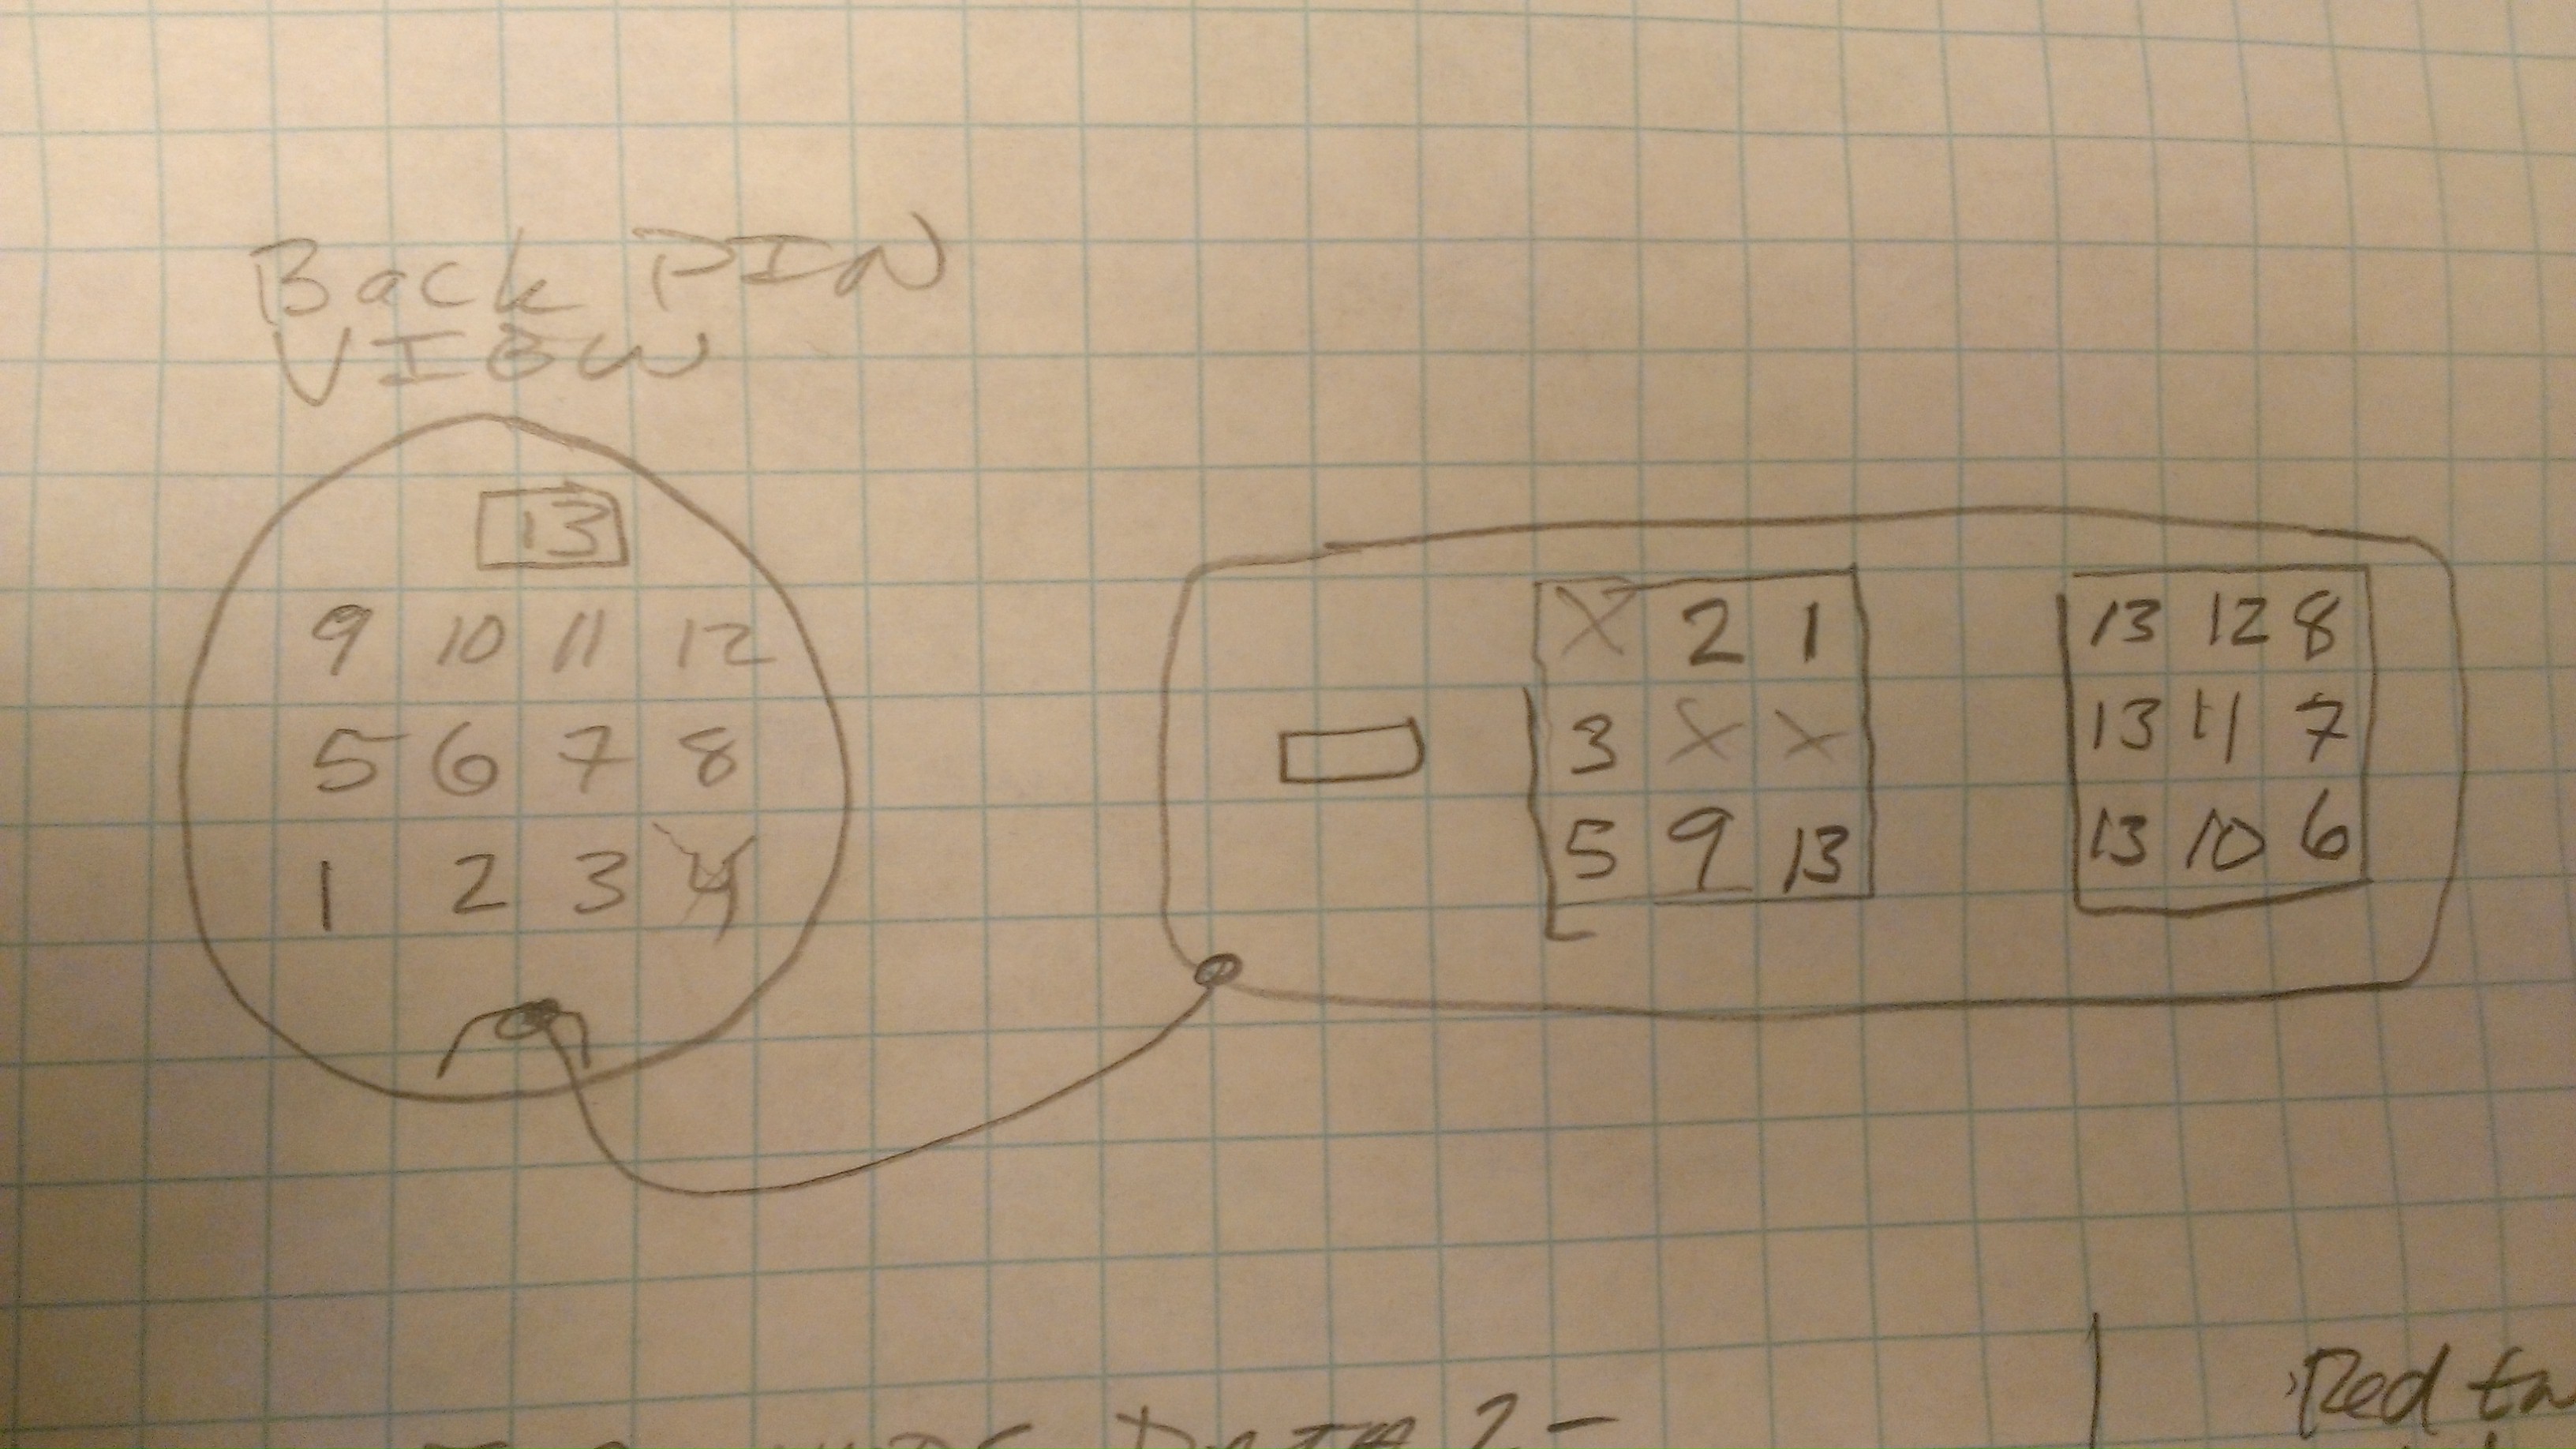
This time I did not fail and even had to make a custom cable to get it working.
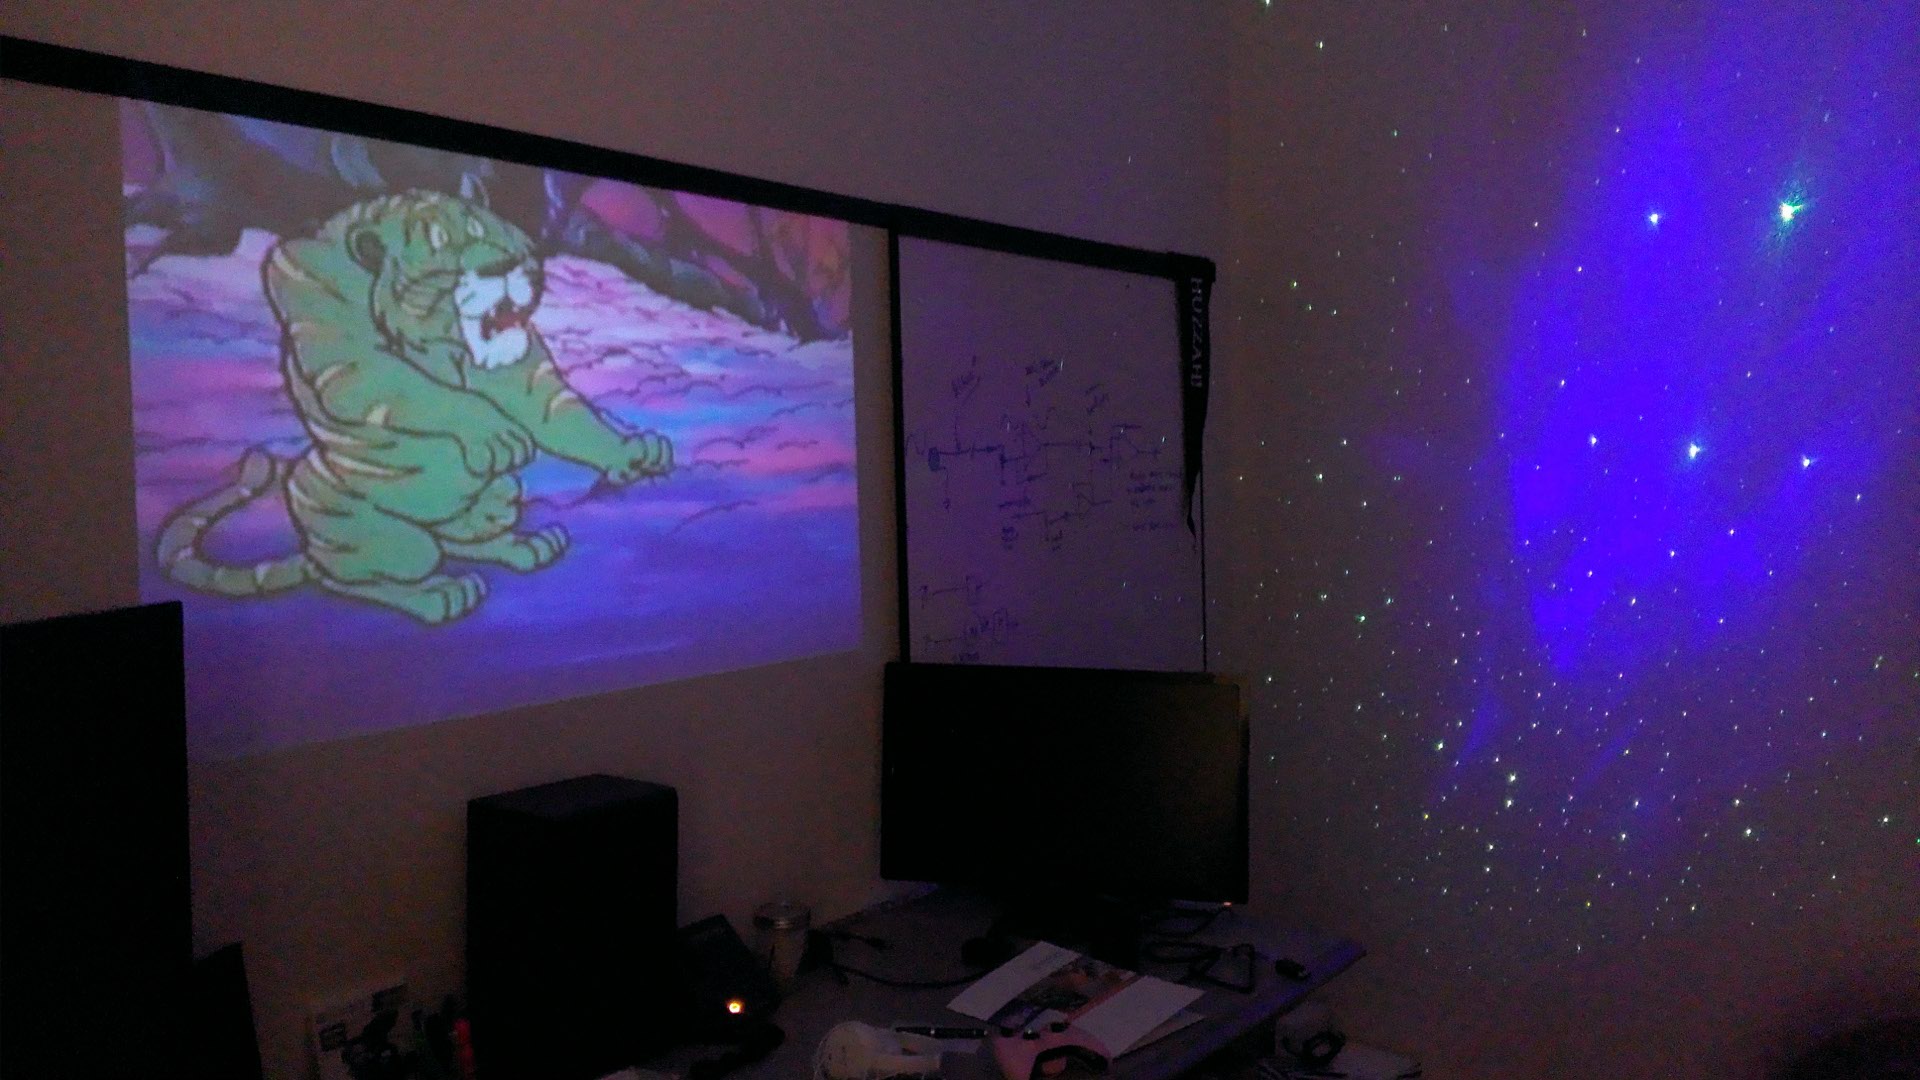
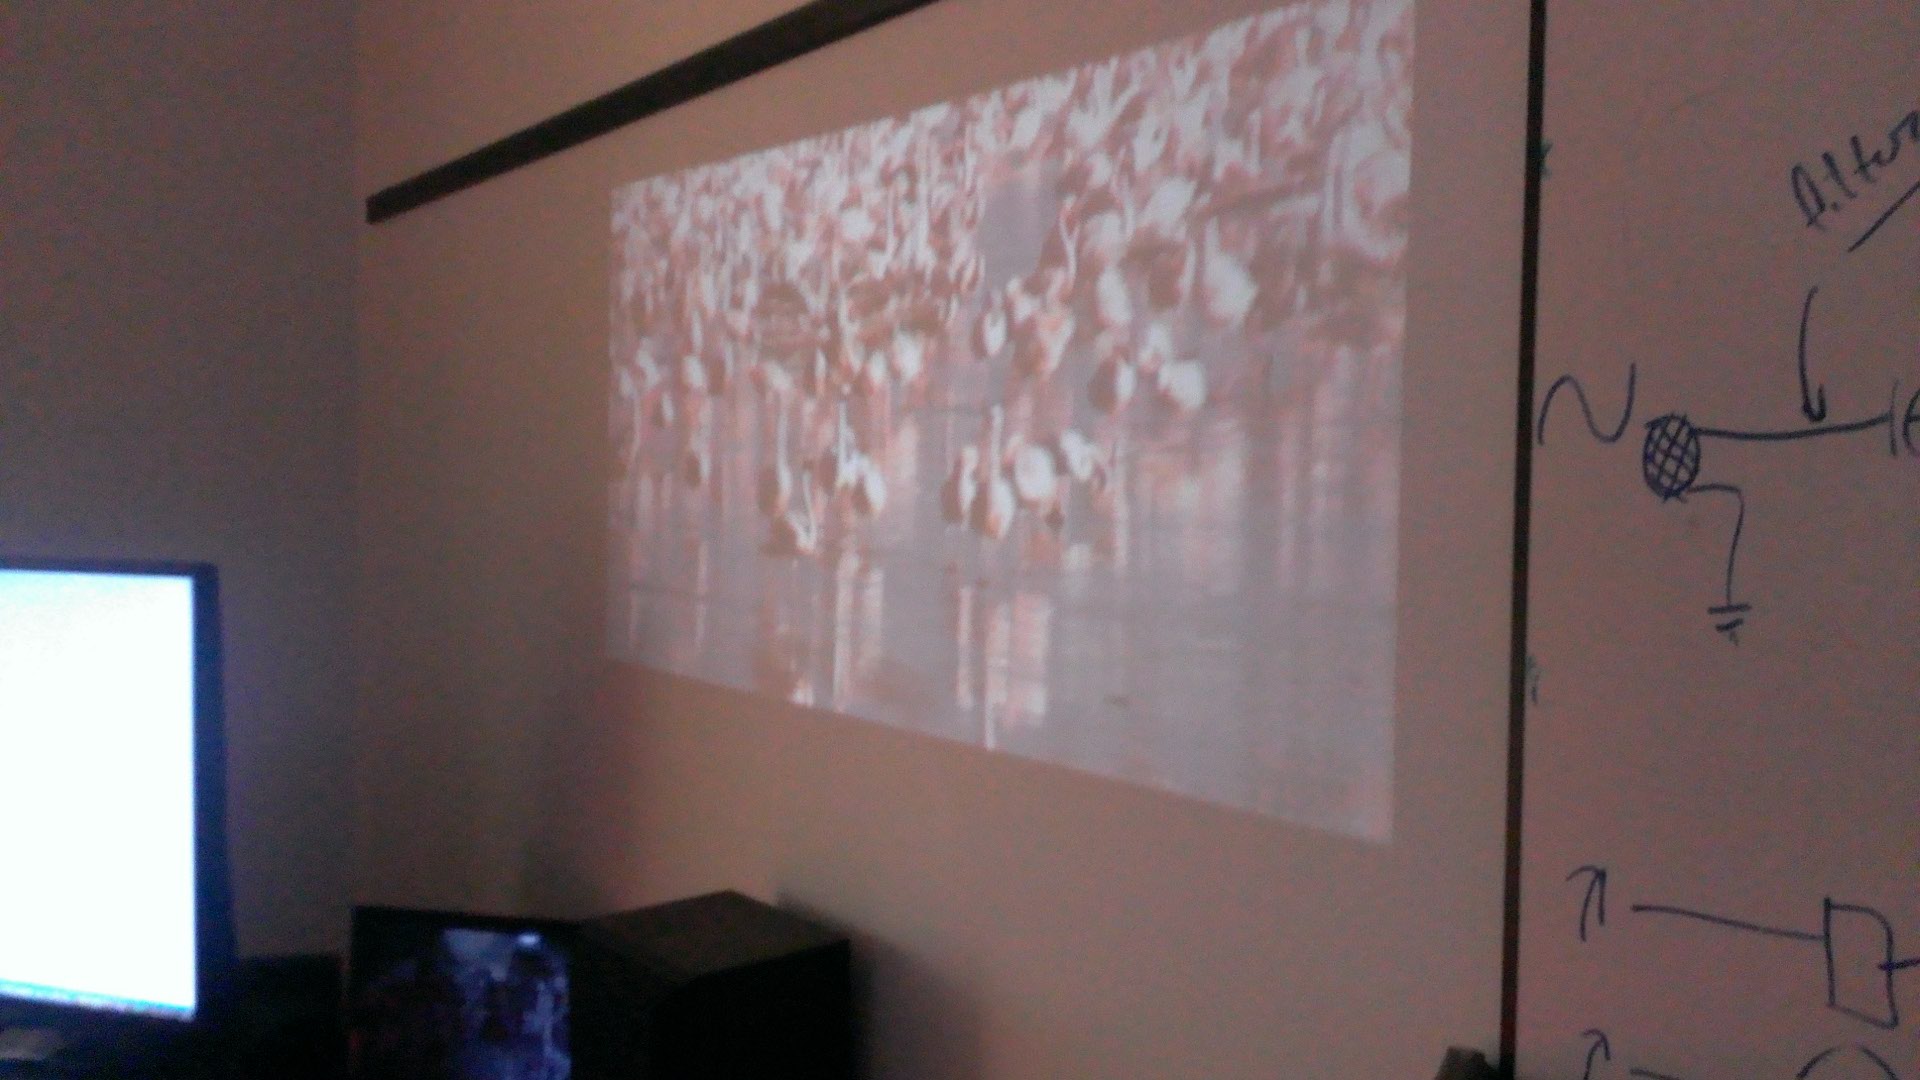
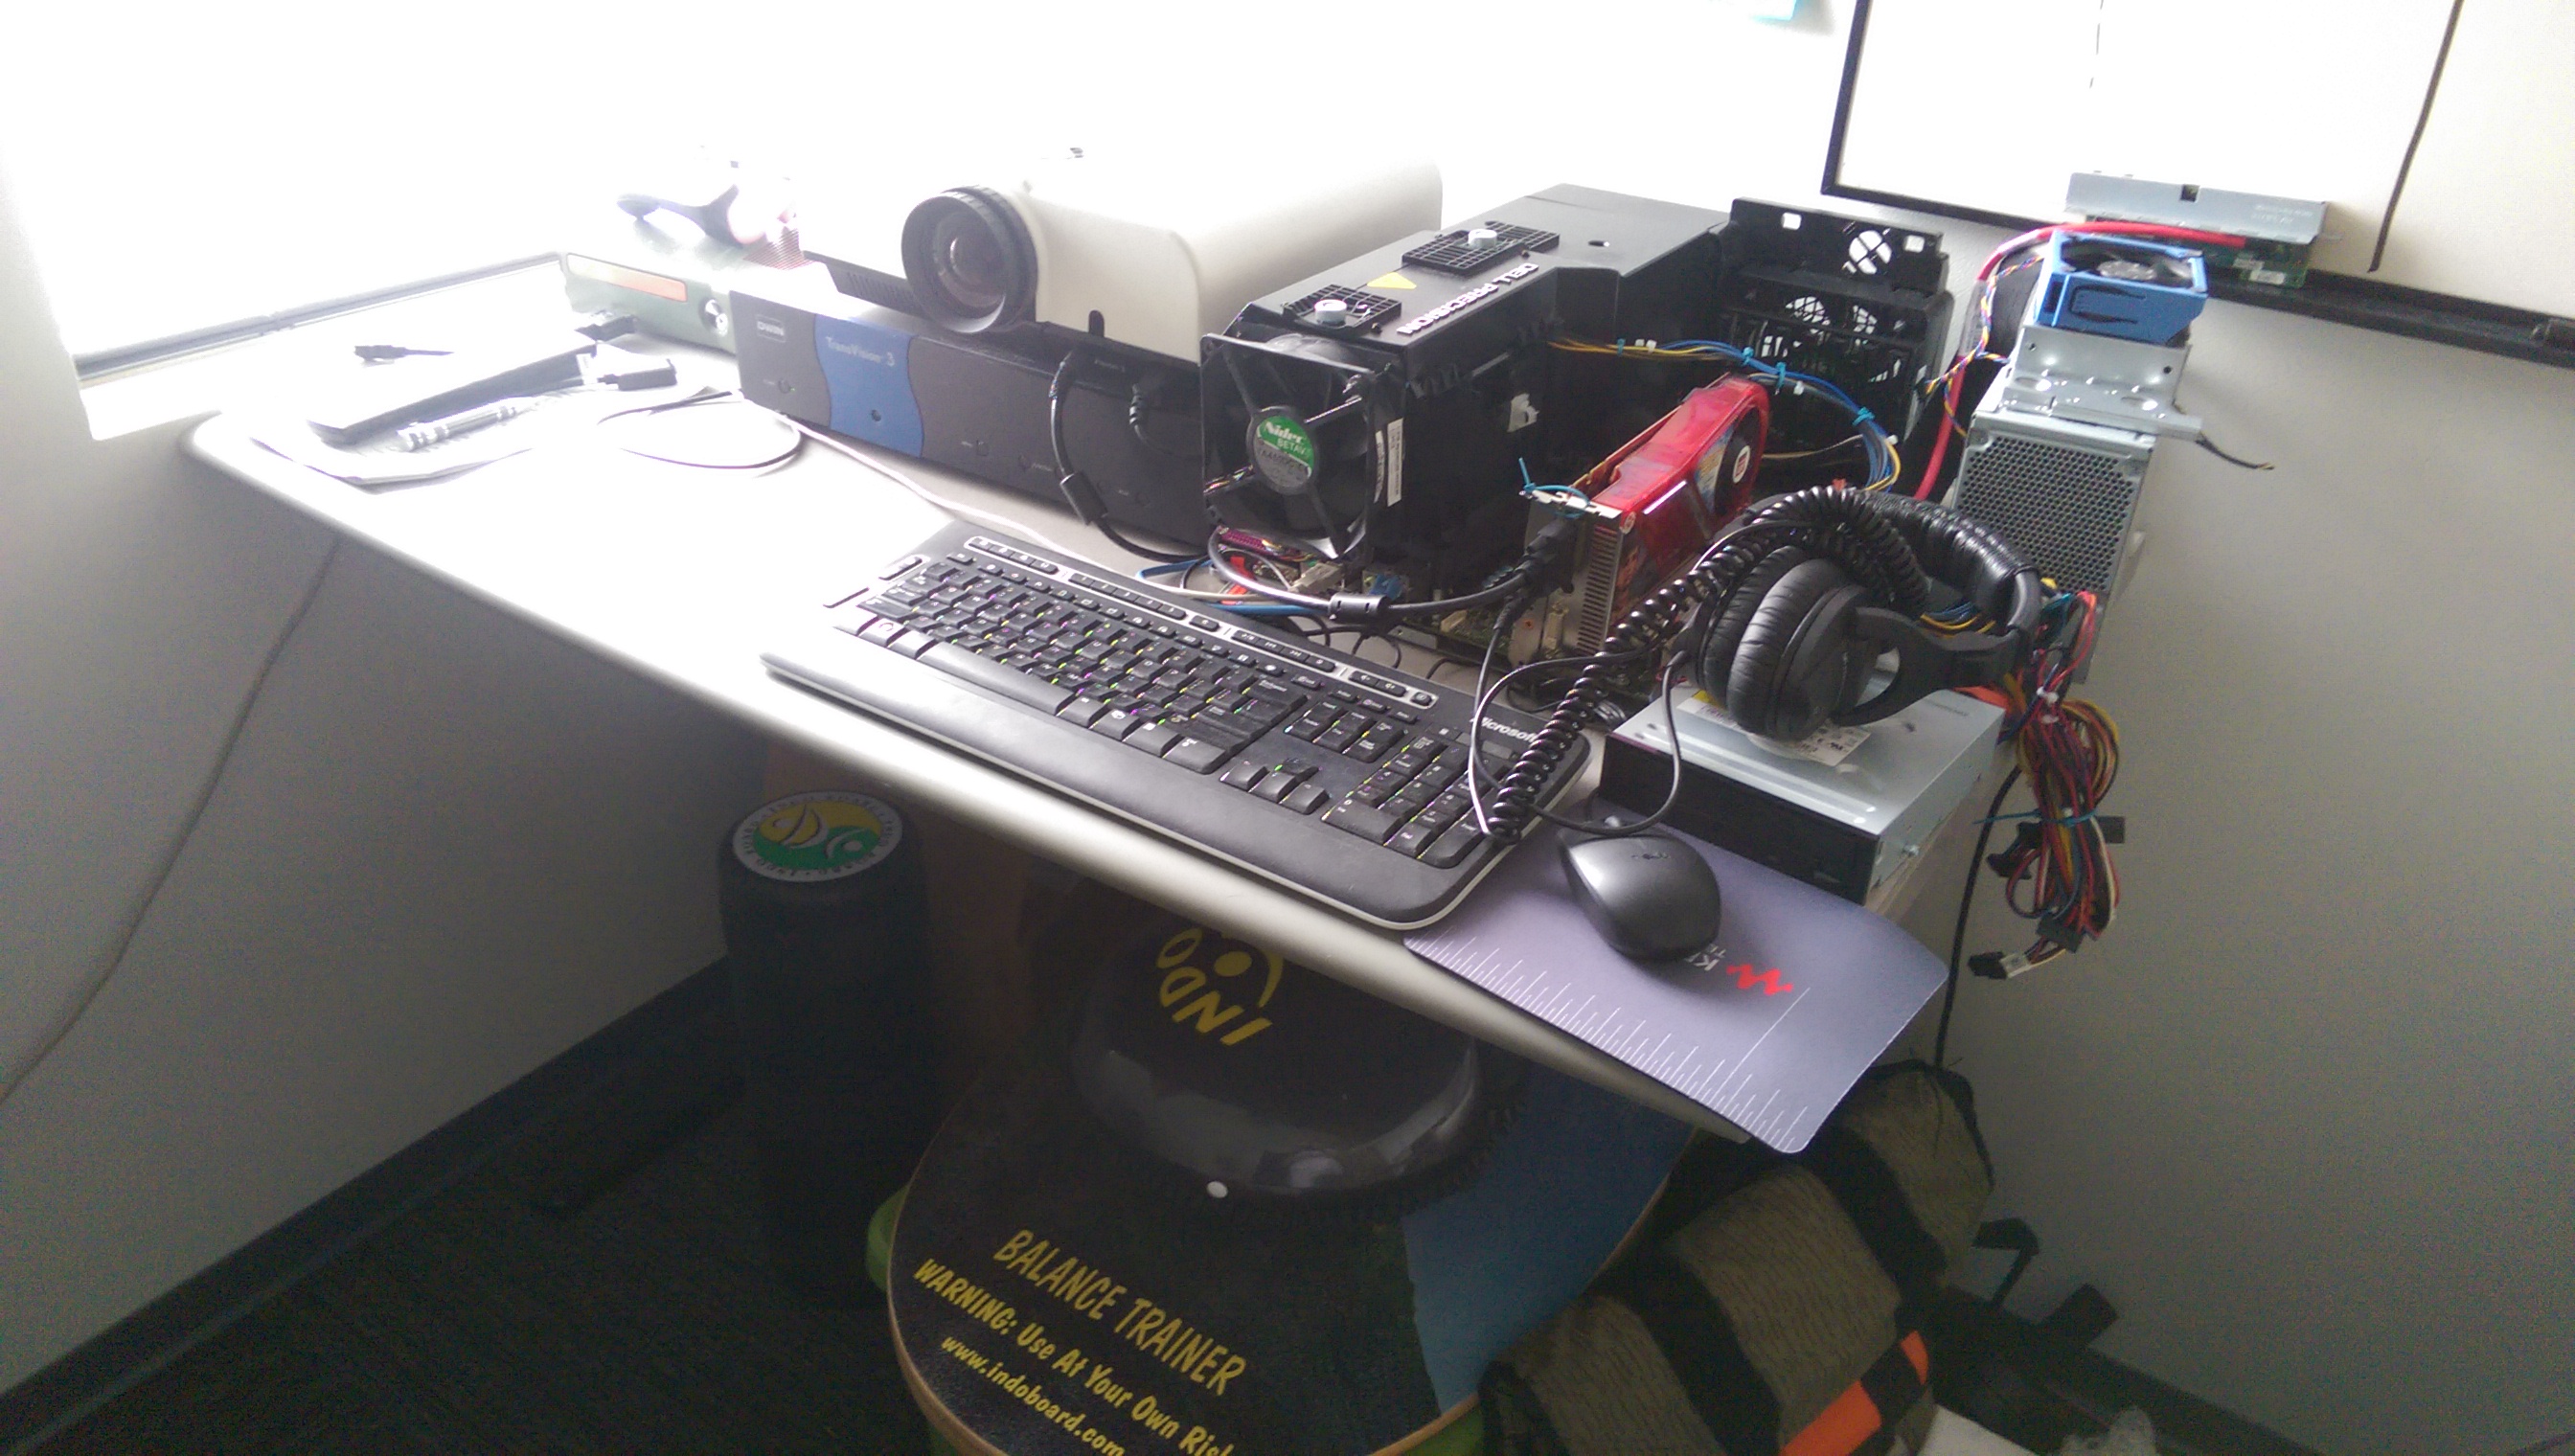
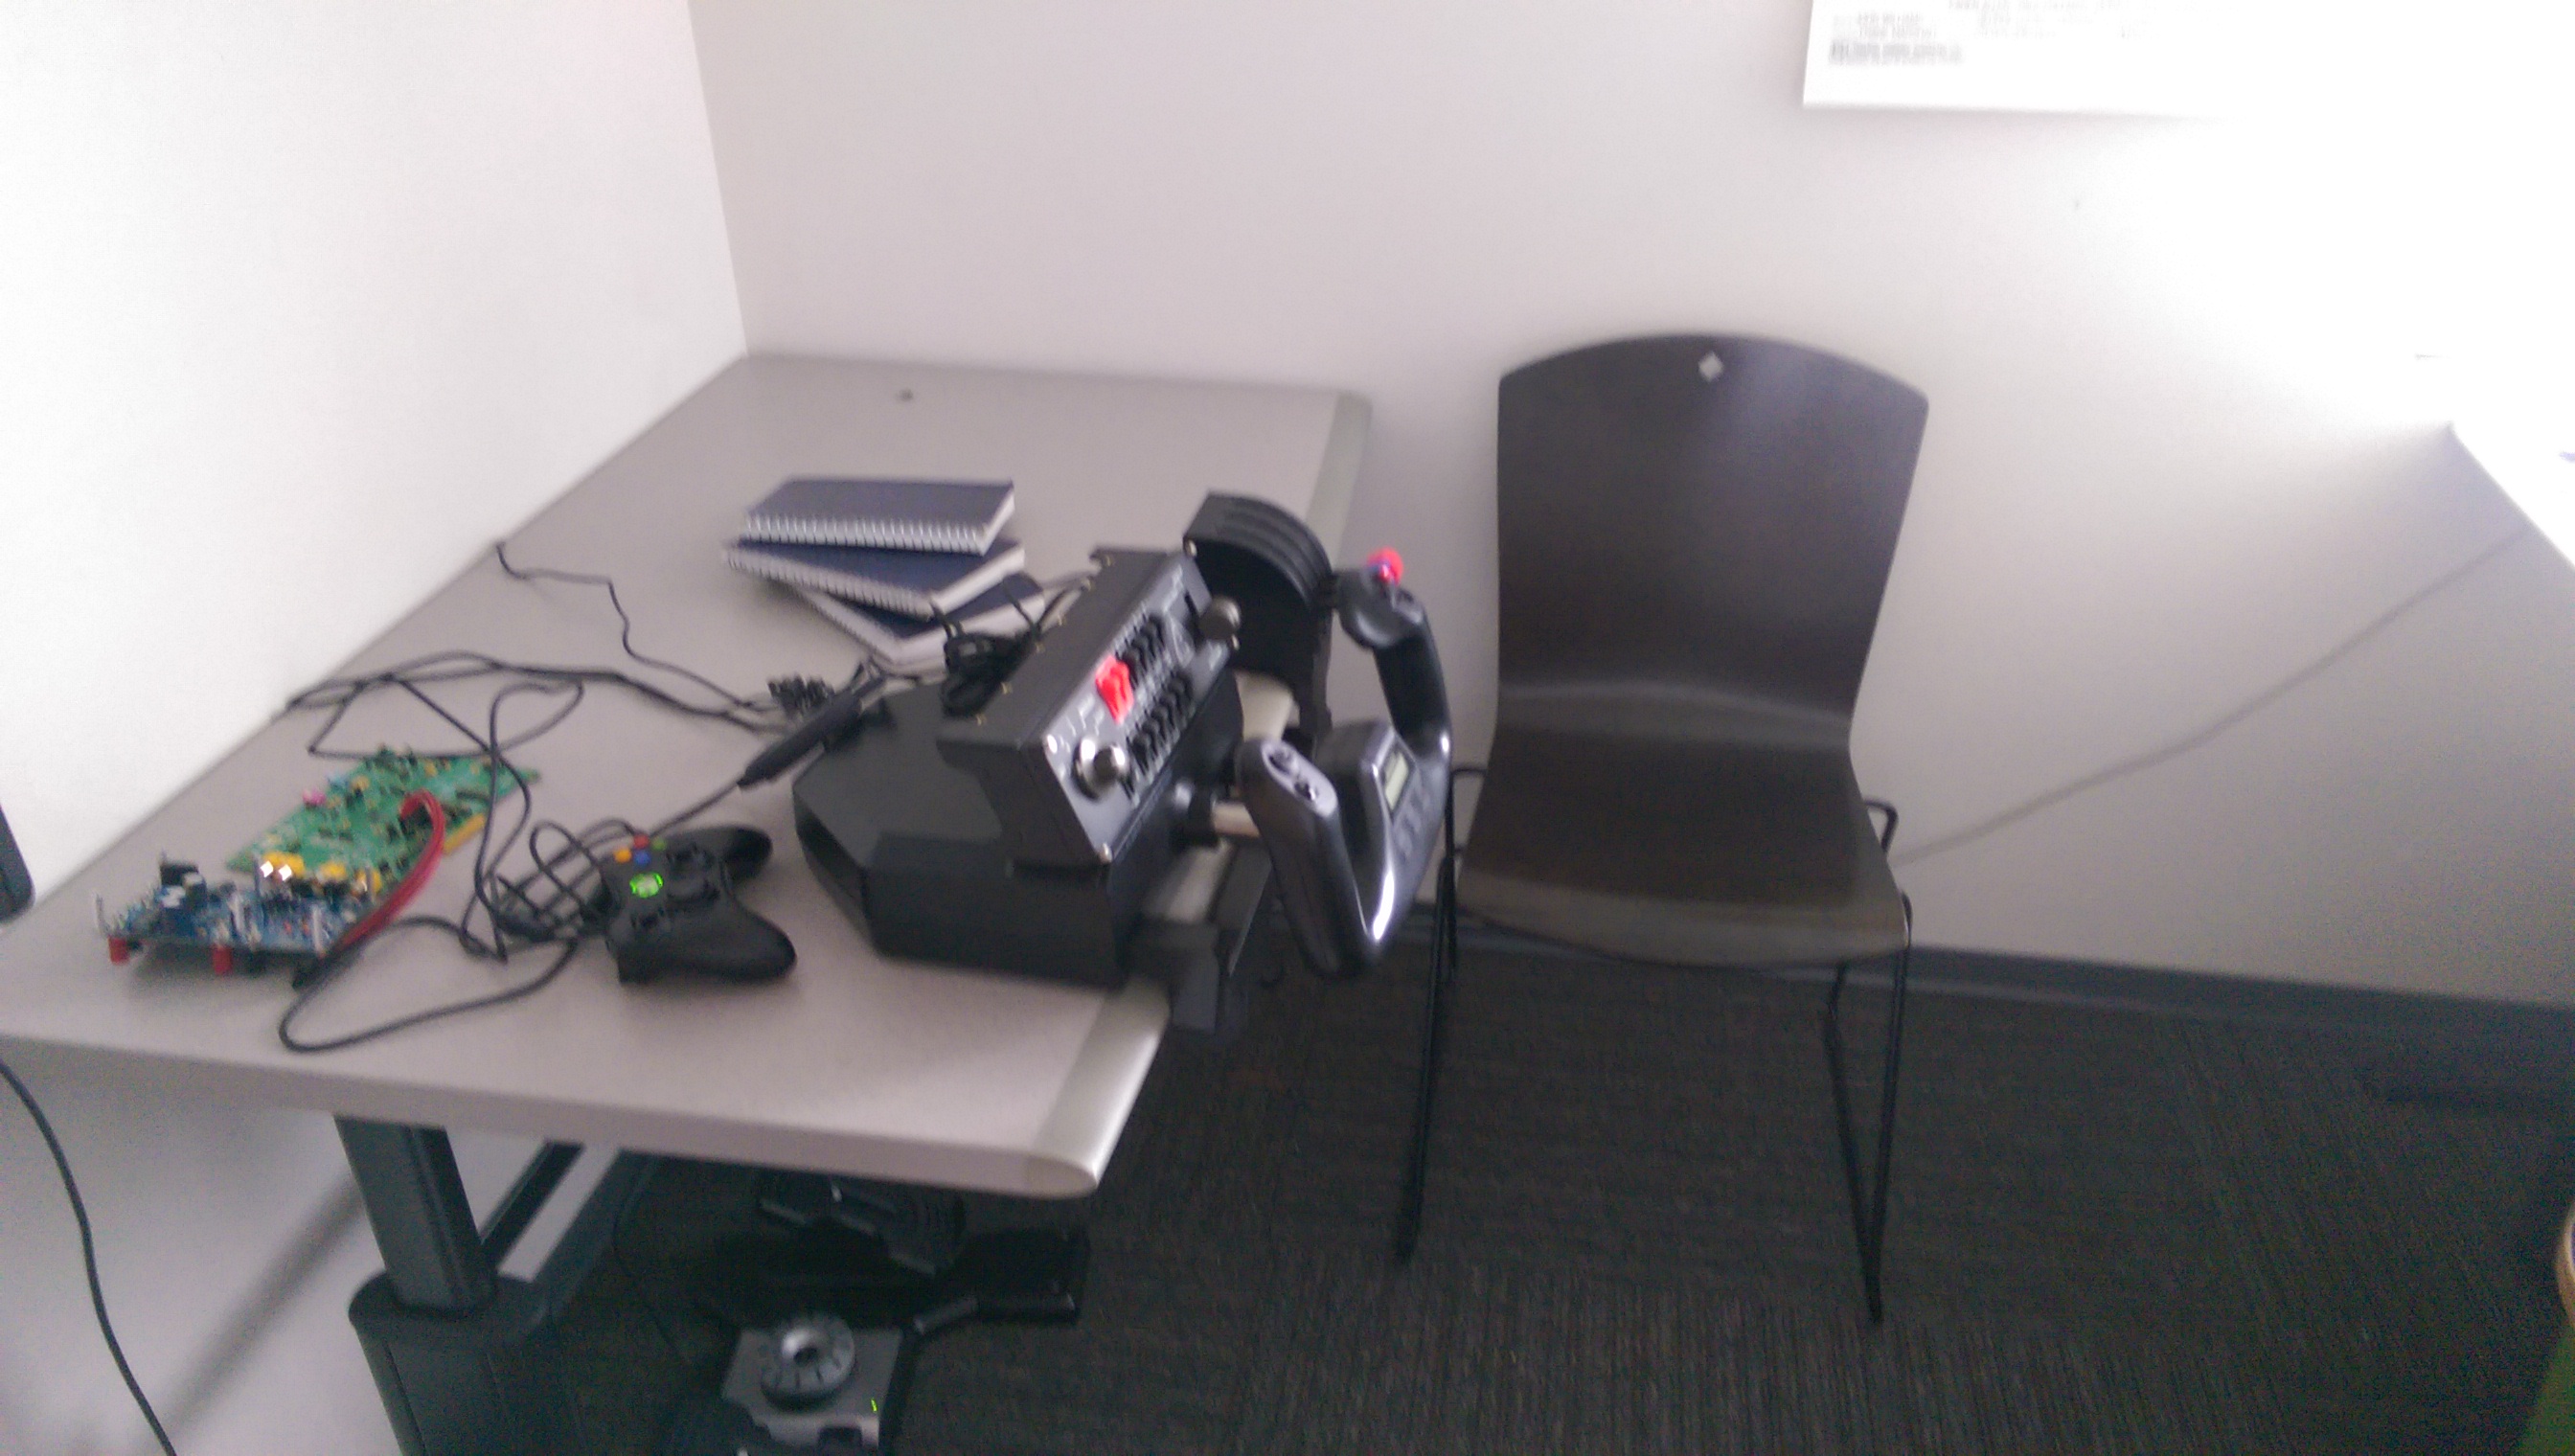
At first I used it to play movies and theme my office wall but then eventually turned it into a flight simulator when I found a scrap multiprocessing server. (I had a flight yoke and everything.) Office flight simulator!!
I played with projecting on objects and using video loops.
I also had pico projectors in my office.
For Halloween and Christmas I even had a projected fire complete with essential oils providing the smell of the fire.